Moar Strikers!
Had the plan to try to aim for R2-3 for a week, see how it goes.
Had a rather bad experience with one test of the 2 Wings of 2 + Centre Striker.
Basically, against Kylo/Blackout again but this time I choked the turn before pushing for engagement (one landed on a rock in such a way that he would take a rock again when moving next turn), then failed miserably at catching Blackout, then everything cascaded from there.
In short, I needed to stop going so fast because I could and needed to start focusing on actually positioning properly in the first place and not trying to get the jump on the opponent.
So, to change it up, I got rid of Afterburners and played Predator Black Squadron Scouts. 40 points a pop, again, but this time I3 with a Bullseye re-roll.
At the moment, there are a lot of people testing ARCs and massed Droids. I1 Strikers Do Not Like. I3, on the other hand.... maybe?
Also bringing large Debris Fields so as to bring the game back to a sensible playing field. I need to have actual consequences otherwise I will get lax with my manoeuvres.
TLDR Report:
- Large Base Ships do not like Predator.
- If you can get in behind a Droid Swarm (or at least predict their K/Tallon moves), Strikers with Predator can do some solid work
- Darth Maul with Hate doesn't mind getting shot at... but that's not necessarily a bad thing for you if you have 3+ firing arcs against him.
- With Space Jam and many many ships on the board, double moving + re-positioning will significantly reduce the time of actual play....
- Loose Stabiliser is Terrible for Strikers ![]()
- 8 Energy Shell Droids.... one mistake, and you are losing a Huge chunk of whatever you are throwing against it. Be aware that it can definitely hold its own and might actually be a fairly forgiving way to play.
- Energy Shell Droids kind of want to be at R3 if you are only firing Primary Weapons.
- Droids individually do not like losing their Calculate action... but only if the others around them spend/do not use their calculate.
- Having a droid disengage but still have a Calculate is quite useful for the rest of the ships getting stuck in.
- Ailerons are Very Good when you start to get the hang of essentially setting two manoeuvres with the one move you have dialed in.
- Strikers still just disappear if you look at them funny. Try to dodge arcs and have Modifiers if possible.
***
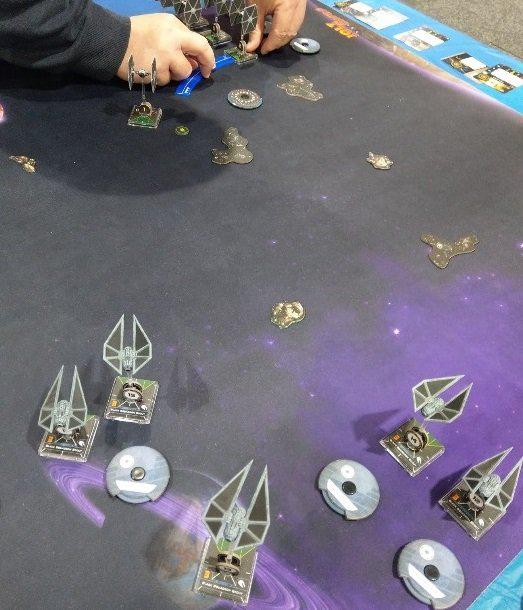
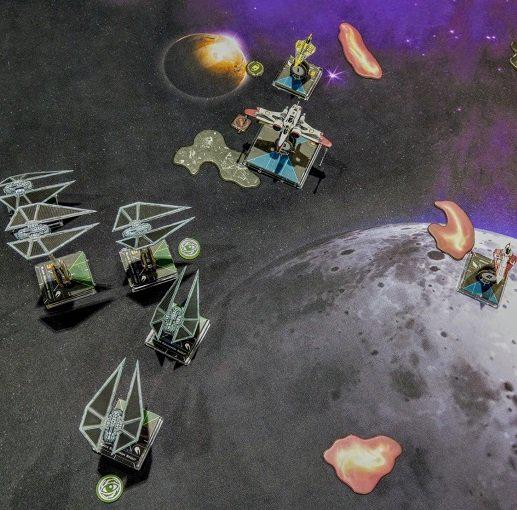
Game One: 5 Energy Charge Droids with Darth Maul (Hate, Grievous, Heavy Laser and... something else?).
He brought gas clouds, I spend two debris clouds setting up at about R2.5 from his edge and 3 from the sides. If he wants to bring those droids up the middle, he is going to have to bottleneck.
He deploys exactly like that, so I set my Strikers on the side with most obstacles, corner box formation as with before, fully expecting him to place Maul in the open on the far side of the board.
Darth Maul says, "No. Joust."
Strikers say "...ok."
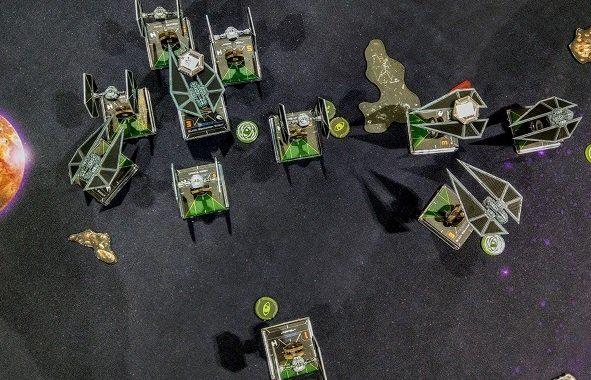
Turn two saw a block from one Striker whilst the others align themselves for a Bullseye. Maul dropped to three Hull and, due to favourable Dice Rolls, and a millimetre misjudgment from one droid over a gas cloud, I did not lose a Striker first turn.
Next Turn saw me with only one shot on Darth Maul and some horrendous space jam with Strikers and Droids colliding.... Losing me one Striker halved two others for no further benefit, though I did manage to get a precision arc-dodge by deliberate bumping Ailerons and 3 Straight Get Out. Next turn, literally every ship had stress on in some form, be it from Debris or Red Move. Lost another but started to carve through the Droids.
Final turn saw Maul drop and half pointed one other droid whilst having one full ship and two half ships.... and down enough droids for me to be ahead by 8 points.
Really tight, but this game also showed just how hard it is to spend time repositioning: We had 4 engagement rounds total. One turn we spent 20 minutes moving ships on and off the board to complete manoeuvres... It's just something to think about when flying Droids/Strikers/other massed crazy ships.
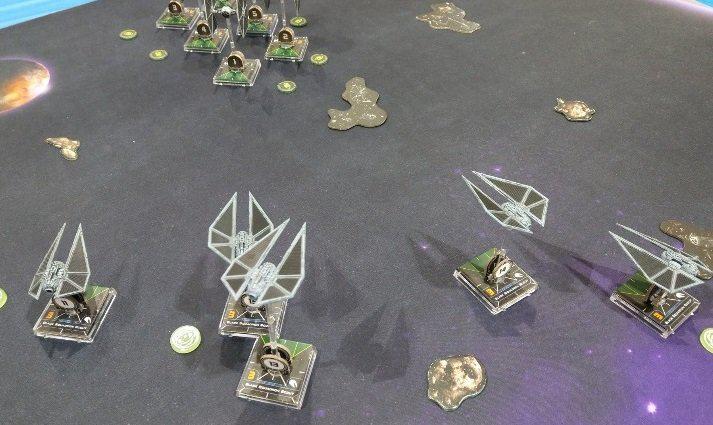
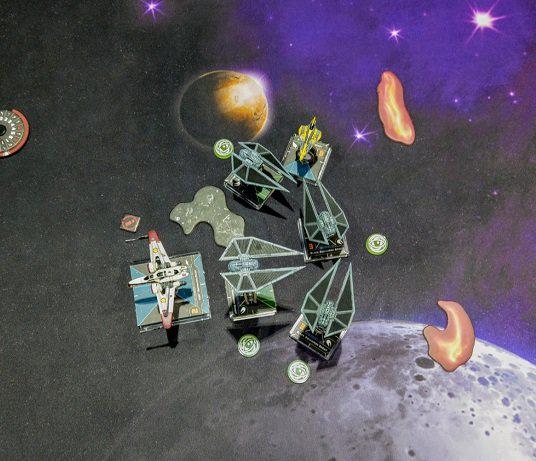
Next Match, 4 I1 Trade Fed Energy Shell Droids, 4 I3 Separatist Energy Shell Drones.
Well.. this does not look like fun. Looking at the lists, I think that my goal here is to Initiative kill the I1 droids.
Again, set the debris high on the board, just begging for a split deployment or massed in the middle.
Instead, he gave me First Player and set his I1 Drones in a gun line.
Not wanting to fly against that, I set up in box formation in the opposite corner.
After he added his I3 drones behind the first set, I decided to send up both of my corner edges.
This was a mistake, as it left the two on my board edge dangerously exposed and the lateral edge Strikers needed to pull some high speed moves and hope for my opponent to move a little more centrally than I would otherwise expect...
I was fortunate, in that my opponent decided to try for a wide net rather than pointing everyone in one direction. Favourable dice and token stripping when I shot meant that the dangerously exposed Strikers did not die... but I was still half pointed on three of them. Not Good.
The rest of this game was one of outmanoeuvreing/outthinking the opponent and trying to make the Strikers dial work for itself. Ailerons is Amazing at turning an average move into a great one and I am now starting to fully appreciate just how good Supernatural Reflexes was at its original points cost (I mean.... I didn't care with 4 Phantoms and a wide R2-3 net, but still....).
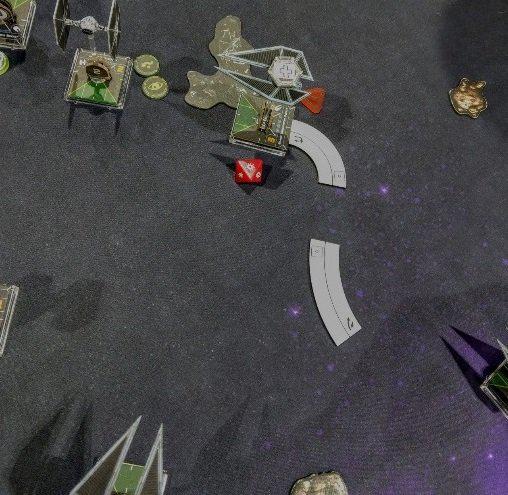
Even with Two Strikers down and one sucking on a Hull Breach/Loose Stabiliser, with some clever use of Ailerons and the 3 Bank (and a lucky Ionisation result against an otherwise untouched droid), I felt that I was in with a chance as some of the Droids were off reloading their Charge whilst I could still pounce.
Final turn had a 1 Hull Striker and an Untouched Striker having to try an take 3 I3s (two with one damage) and one I1 (one hull)... So I had to go for it. Unfortunately, the 1 Bank Aileron into a 1 Hard clipped a debris field by a millimetre and it turns out that shouting "Emperor Protects" still doesn't work on the dice rolls that matter. Furthermore, despite the clustering of opponent ships, the straight Aileron/1K from my remaining untouched Striker managed to keep my bullseye line directly in between the massed ships that all did Hard 2s or Tallons to keep firing arc.... then rolling mostly blanks in defense did not help.
Instead of a narrow MOV loss/potential unlikely win, I took a 200-112 loss.
Afterwards, my opponent and I both noted that neither of us positioned well in the opening... I did not get my focused attack on a corner of his line, but he was unable to capitalise on my poor positioning by opting to spread a massive net. However, with so many Calculating ships on the board, and being able to share them, the Energy Shell Droids appear to have a nice buffer to bad turns.
I am liking the look of the droids more and more (well... I am not, as I keep losing to them, but they seem like a forgiving list at times and seem to hold their own more often than not).
I also really need to work on my openings to coordinate my ships better if I do not have Afterburner Strikers.
Overall, I really liked this change from I1 Afterburners to I3 Predator.
There were more than a few times that I wished I had the Afterburners instead of Predator to get in/out of position.... I think that Predator definitely increases the potential of Massed Strikers, especially in an area that is currently baselining with low Initiative and/or large ships and/or ships in clumps.
Will definitely be flying some more of this (Massed Predator with generic pilots.... not necessarily limited to Strikers, though that may be the best generic pilot place for it at the moment).
***
I am considering toying with two Afterburner Strikers with three Predator Strikers.
In a corner box setup, the Afterburner Strikers can go up the board edges (one per side) and swing in harder and faster if need be. Alternatively, they can be set up so that they aim to get the blocks on lower initiative Action Dependent ships (like droids) and to make Bullseye easier for the Predators.
I also want to give a Reaper or two a go with some Strikers, maybe Predator or perhaps even Ruthless. 2 Reapers and 3 Ruthless Black Scouts fits..... Not sure if I have the Firepower, but I definitely have the blocking required. Fun thing about Ruthless is that your suffering ship does not need to be in the Ruthless firing arc... merely at Range 0-1 of the defender.... if you miss that block or your ships are not overlapping their fire, but can still draw a bead on the target, you can increase your output nicely if you are willing to suffer for it. You can potentially spread damage between the two Reapers and really nail the opponent into bad positions if you get some good blocks in. Seems like an interesting way to have a Super Predator effect.