6 hours ago, Wolftame said:Yeah, not exactly bantha podo!
Ha ha - thanks guys ![]()
6 hours ago, Wolftame said:Yeah, not exactly bantha podo!
Ha ha - thanks guys ![]()

He's got this guys!
I was thinking micron pens for Maul's tattoos. I might even do the same for Ahsoka, with very watered down white paint coat over it.
On 04/27/2017 at 3:43 PM, Sorastro said:Nice work JediJF! Can I ask which kind of varnish you're using?
Sorry for the late reply... I have a generic Armory Clear Matte Sealer. It usually works great but came out really wrong on Chewie. Might not have shaken the can long enough...
Chewbacca and Gaarkhan ready for battle. Just like for a previous poster they came out looking way glossier than expected after the matt varnish. 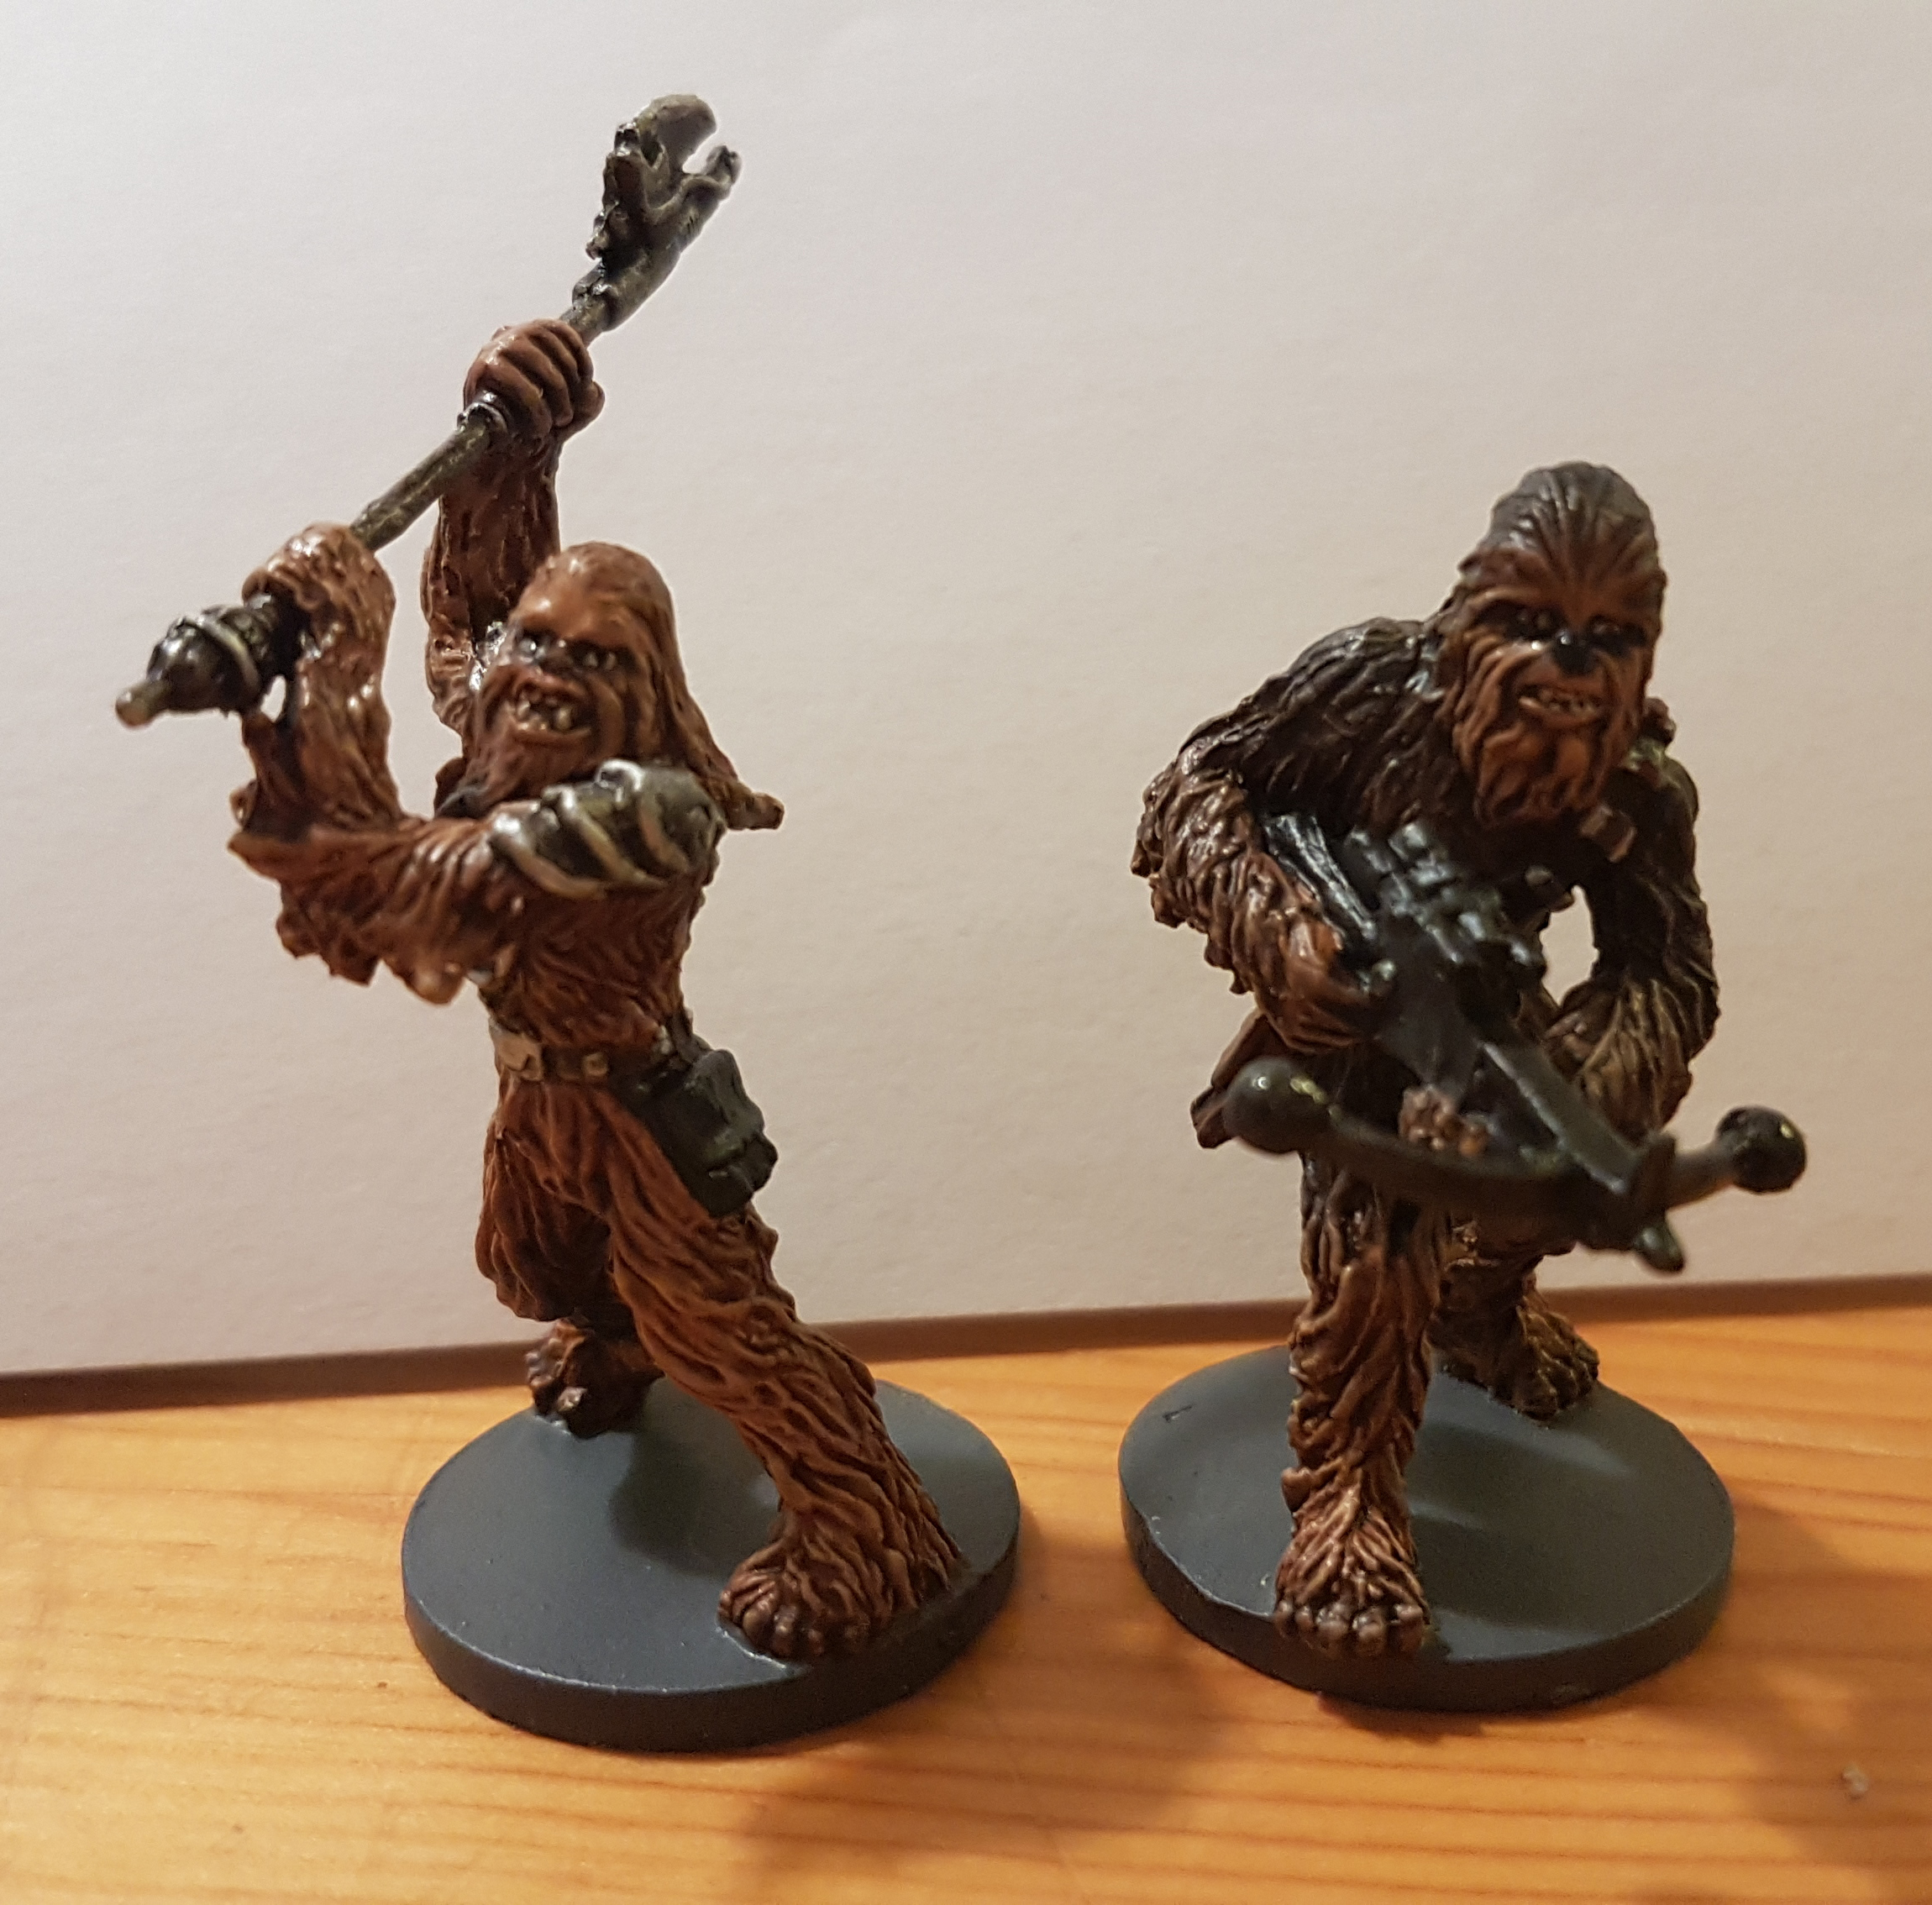
nice to see another Hoth hero make the cut! as it stands should be primed to run my Hoth campaign around the time of the summer solstice.
On 5/9/2017 at 8:40 PM, Wolftame said:Chewbacca and Gaarkhan ready for battle. Just like for a previous poster they came out looking way glossier than expected after the matt varnish.
Wolftame,
Lots of variables here that can cause the varnish to appear glossy. I haven't read back through the thread but the following can have an effect:
temp
humidity
type of varnish (brush on vs aerosol)
brand of varnish (personally have had great success with the testors)
age of varnish
how well shaken
My positive results are experienced as follows:
Outdoors (in garage with doors open), temp between 65-75 F, humidity < 75%, testors matte varnish, varnish < 1 year from purchase, vigorously shake for 2 minutes before applying, nozzle approximately 18 inches from figure, short quick bursts X4 with a 90 degree rotation of figures between bursts
2 hours ago, HK 47 said:Wolftame,
Lots of variables here that can cause the varnish to appear glossy. I haven't read back through the thread but the following can have an effect:
temp
humidity
type of varnish (brush on vs aerosol)
brand of varnish (personally have had great success with the testors)
age of varnish
how well shaken
My positive results are experienced as follows:
Outdoors (in garage with doors open), temp between 65-75 F, humidity < 75%, testors matte varnish, varnish < 1 year from purchase, vigorously shake for 2 minutes before applying, nozzle approximately 18 inches from figure, short quick bursts X4 with a 90 degree rotation of figures between bursts
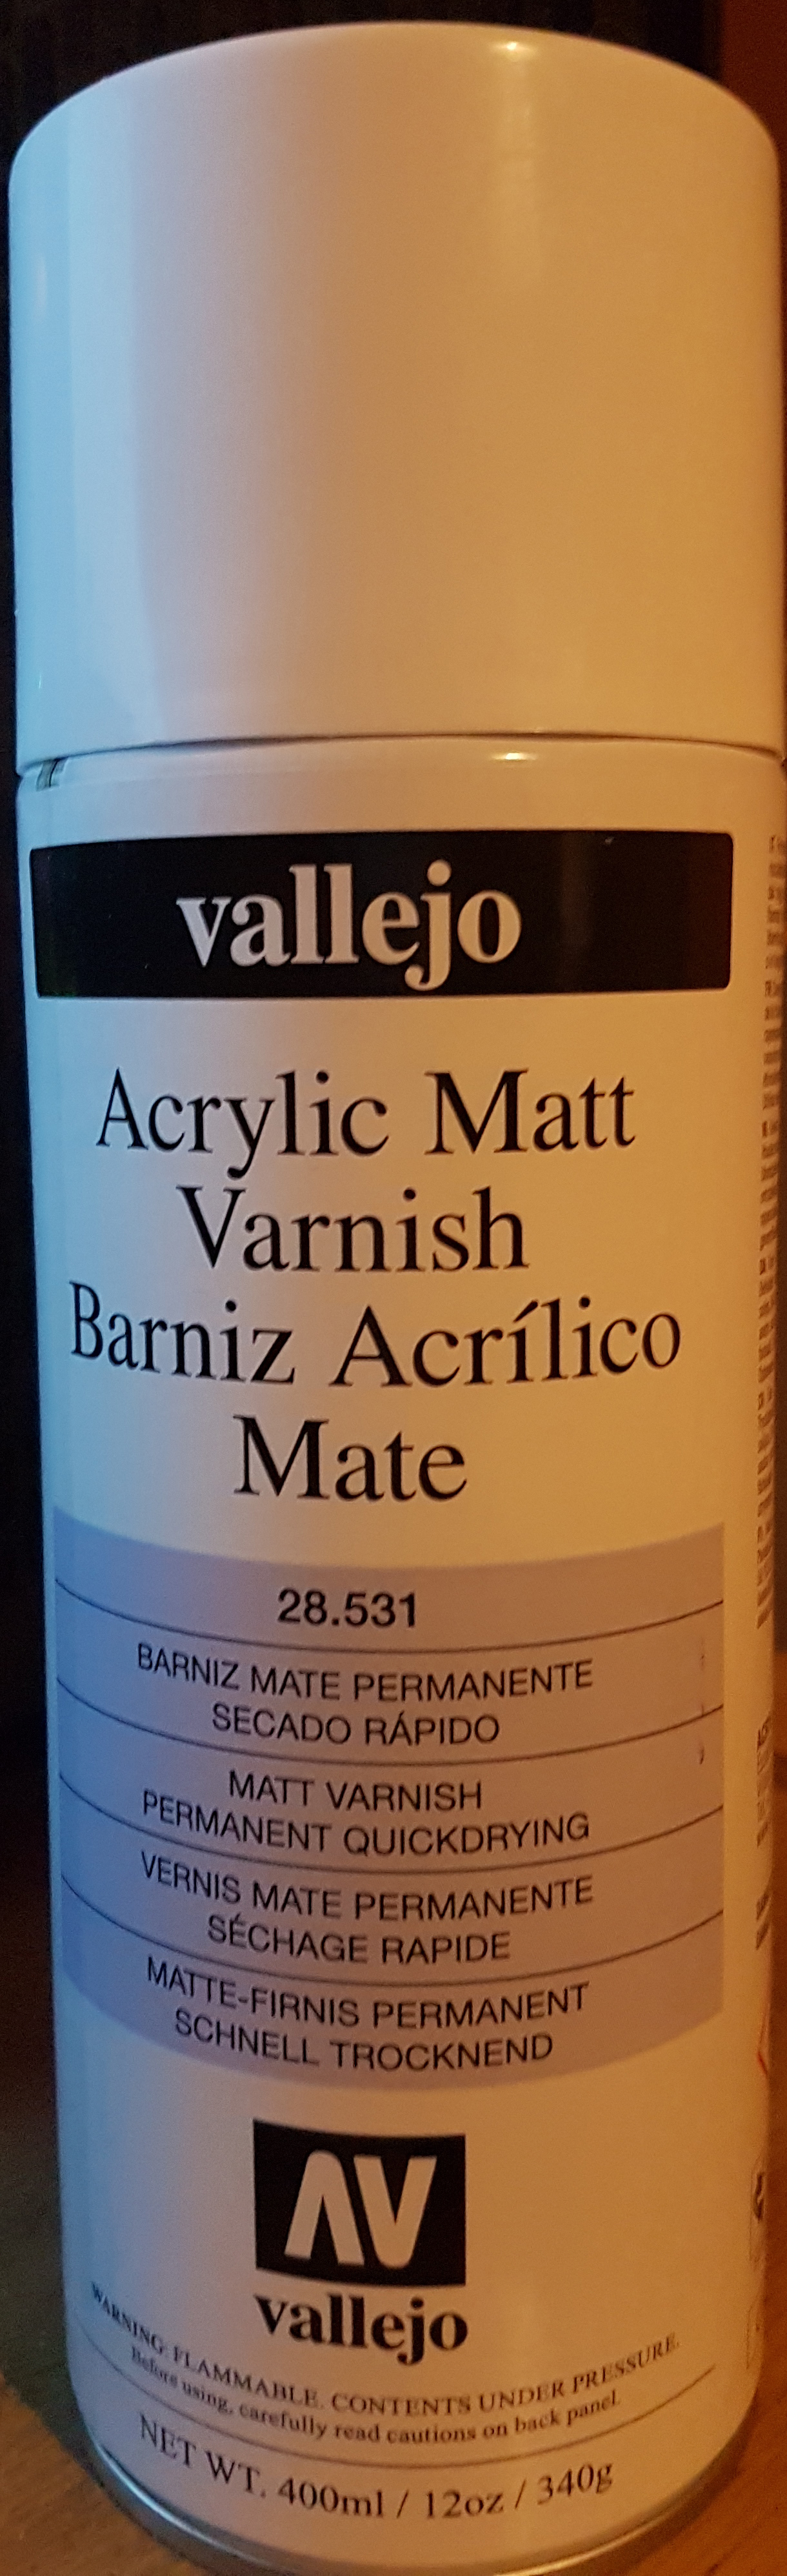
Well, Varnish is Vallejo spray can and it's 2-3 months old, sprayed indoors so fairly dry and warm (room temp), vigorously shaken for several minutes. Sprayed in short bursts.
And you're positive it's the matte varnish? Don't laugh, when I sprayed my first minis I had the gloss by accident. Both testors cans look exactly the same and it has in tiny little print dull coat and gloss on the label on the lid of the can.
If it is the matte, could it possibly have been applied to heavily?
5 minutes ago, FrogTrigger said:And you're positive it's the matte varnish? Don't laugh, when I sprayed my first minis I had the gloss by accident. Both testors cans look exactly the same and it has in tiny little print dull coat and gloss on the label on the lid of the can.
If it is the matte, could it possibly have been applied to heavily?
Fairly certain ![]()
As for too heavy, quite possible.
On 5/11/2017 at 0:52 PM, Wolftame said:Fairly certain
As for too heavy, quite possible.
It's not too late to apply testers dull cote over the top. It should just add more protection and will give it a matte finish, assuming that it isn't related to environmental conditions. I've never used the vellejo varnish. Other than that, nice job on your mini's!
21 hours ago, VadersMarchKazoo said:It's not too late to apply testers dull cote over the top. It should just add more protection and will give it a matte finish, assuming that it isn't related to environmental conditions. I've never used the vellejo varnish. Other than that, nice job on your mini's!
I prefer brush on finishes on my figures. I have done it that way for over 30 years on and off. Back when Testors was really the only brand out there for hobby painting. The good old days of if you couldn't find a color, you made the color. I also use Testors kit for decal making. Creating teeny tiny decals for Bossk's emblems and Mandalorian Skull symbols on Boba Fett's armor. I am also adding the Imperial Insignia to General Weiss' AT-ST and to my second SC2-M Repulsor Tank.
44 minutes ago, C3POFETT said:I prefer brush on finishes on my figures. I have done it that way for over 30 years on and off. Back when Testors was really the only brand out there for hobby painting. The good old days of if you couldn't find a color, you made the color. I also use Testors kit for decal making. Creating teeny tiny decals for Bossk's emblems and Mandalorian Skull symbols on Boba Fett's armor. I am also adding the Imperial Insignia to General Weiss' AT-ST and to my second SC2-M Repulsor Tank.
That's cool. What's your process for making decals?
20 hours ago, VadersMarchKazoo said:That's cool. What's your process for making decals?
Testors sells a Decal Making Kit that comes with a Disc, (which I never used) 3 sheets of Clear Printable Decal paper, 3 sheets of White Printable Decal paper and a small can of clear coat. The sheets are 5 x 8 inches. You can actually just find the sheets at a local hobby shop or craft store or online.
I actually used this for customizing HO scale slot cars. You could not buy a Rusty Wallace "Miller Lite" Racing or a Dale Jr "Bud Lite" Racing car as these were considered toys and they can't advertise beer or tobacco on toys. I have also created Star Wars themed slot cars and Disney themed slot cars.
I find the image I want to use as a decal and save it. I then open it up in Microsoft Paint and crop it to the appropriate size. If need be I will recolor or recreate the image in the appropriate color. The decals for Bossk were self made and shrunk down incredibly small. The skull for Boba Fett will be redrawn using Microsoft Paint side by side to an actual image in the correct color and then will be cropped down to fit.
Once the image is as you want it you simply print it out on the appropriate type of decal paper. If you use the white decal paper you MUST apply it over a surface painted white. Applying it over a different colored or dark surface you will not see the white on the decal. Trim the sheet as usually your decals are small and you can reuse a sheet several times or wait until you have enough to print a mostly full sheet. Allowing the ink to dry completely, you will then need to apply the clear coat to the decal bonding it to the sheet. All other basic decal rules apply. Trim the decal leaving a margin border, Soak the decal in water for a few seconds (10 to 20) to loosen the adhesive, then carefully slide the decal into place. I generally use a paint brush to slide my decals. For rounded areas you might want to apply a small amount of Testors "Decal Set" which I have found by accidentally spilling mine that it is pretty much just white vinegar. Allow it to dry completely and apply your choice of clear coat on your model/figure.
3 hours ago, C3POFETT said:Testors sells a Decal Making Kit that comes with a Disc, (which I never used) 3 sheets of Clear Printable Decal paper, 3 sheets of White Printable Decal paper and a small can of clear coat. The sheets are 5 x 8 inches. You can actually just find the sheets at a local hobby shop or craft store or online.
I actually used this for customizing HO scale slot cars. You could not buy a Rusty Wallace "Miller Lite" Racing or a Dale Jr "Bud Lite" Racing car as these were considered toys and they can't advertise beer or tobacco on toys. I have also created Star Wars themed slot cars and Disney themed slot cars.
I find the image I want to use as a decal and save it. I then open it up in Microsoft Paint and crop it to the appropriate size. If need be I will recolor or recreate the image in the appropriate color. The decals for Bossk were self made and shrunk down incredibly small. The skull for Boba Fett will be redrawn using Microsoft Paint side by side to an actual image in the correct color and then will be cropped down to fit.
Once the image is as you want it you simply print it out on the appropriate type of decal paper. If you use the white decal paper you MUST apply it over a surface painted white. Applying it over a different colored or dark surface you will not see the white on the decal. Trim the sheet as usually your decals are small and you can reuse a sheet several times or wait until you have enough to print a mostly full sheet. Allowing the ink to dry completely, you will then need to apply the clear coat to the decal bonding it to the sheet. All other basic decal rules apply. Trim the decal leaving a margin border, Soak the decal in water for a few seconds (10 to 20) to loosen the adhesive, then carefully slide the decal into place. I generally use a paint brush to slide my decals. For rounded areas you might want to apply a small amount of Testors "Decal Set" which I have found by accidentally spilling mine that it is pretty much just white vinegar. Allow it to dry completely and apply your choice of clear coat on your model/figure.
That's great. I had been searching online for aftermarket decals for miniatures and couldn't find any. I was especially interested in the imperial emblem for vehicles. I'll consider this in the future. I've been free handing my emblems (like the Mandelorian on Boba). Do you have any pictures?
Bah, kinda stuck right now, haven't painted for over a week. Have Jynn with bases+washes done and just got the last paint pots to do Diala. Need to find some inspiration soon and get going again (been to ill to have the energy).
E-Webs done....
And some pictures over a mat made by me......


On 2017-5-20 at 5:08 PM, mjusto said:E-Webs done....
And some pictures over a mat made by me......

Awesome! I love the "grassy" rug too!
The Captain Terro tutorial is now live; I hope you enjoy it (now coming to you in glorious 4K resolution!) ![]()
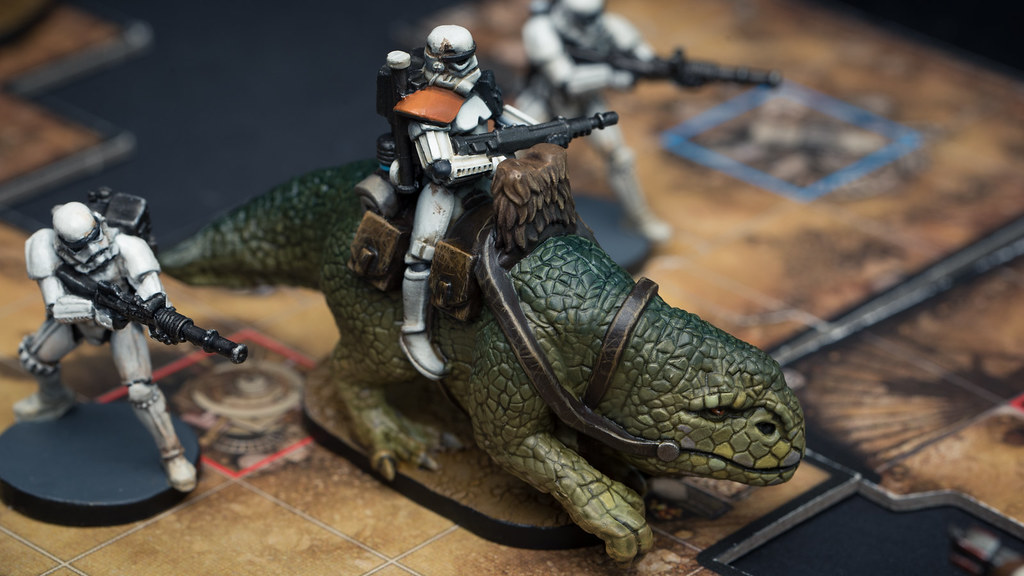
Wow...awesome Captain Terro!
Edited by mjustoAnyone have any tips for keeping citadel paints from drying out?
Do you have new pots (clear top) or old ones (black top)? Either way, you can just add a few drops of water. It even works if they're already too thick, or even going slightly solid (source: did not paint for about 5 years, lots of paints needed reviving). Store them completely closed in a cool space, out of sunlight, don't paint directly from the pot. I've been super happy with my Citadel paints and I'm sure yours will serve you for many years as well!
16 hours ago, FrogTrigger said:Anyone have any tips for keeping citadel paints from drying out?
Yeah don't buy them. LOL You can try to transfer them to dropper bottles. I transferred two of them from the pots to bottles. I will transfer others as well. Not a big fan of their pots. I use more Vallejo and Reaper paints.
One issue with "store them closed" is they're kinda double hinged. I've often closed a can and heard it snap, only to notice after a while that the back half isn't properly shuta dn you have to press the back hinge a bit for that to snap shut too.
My main issue with the paints is that the more expensive washes in high bottles keeps tipping over, I've wasted far more wash in spills than I've ever used on minis ![]() (not their fault of course, just saying)
(not their fault of course, just saying)
For the record I've been using citadel for over a year now and just absolutely love the brand, I have a few other brands but I find Citadel is just a step above in terms of quality. I've never had a problem with a pot drying up, but I've read that others have. I have a new addition in my life combined with a new job opportunity that I know will drastically hamper my painting time over the summer, so I just wanted to get pro active about it to preserve my collection for the fall ![]()
So far it seems storing in a cool dark place and shaking often are the best tips out there. Also spending some time to remove any gunked up paint from the lid so it seals properly is a big one, but I do that regularly anyway.
