We played our second game of Legion the other day. It was a bit of a walk-over for the Empire, but we still had fun.
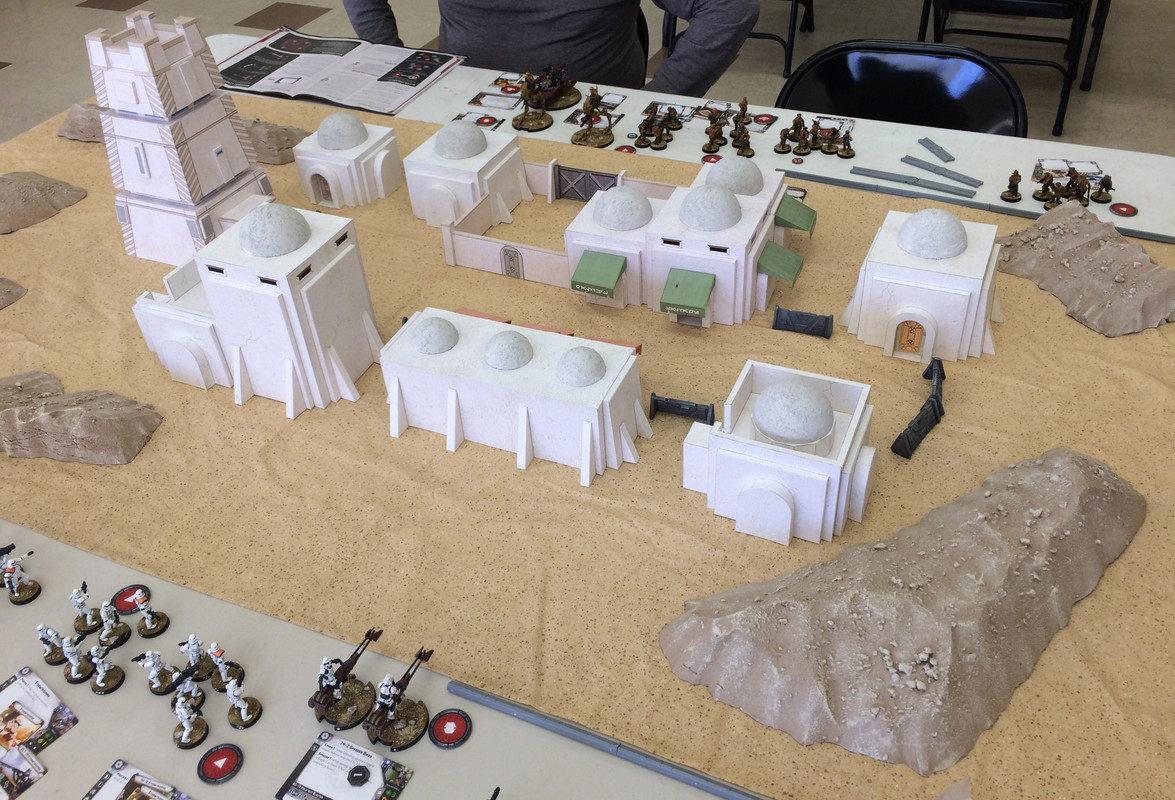
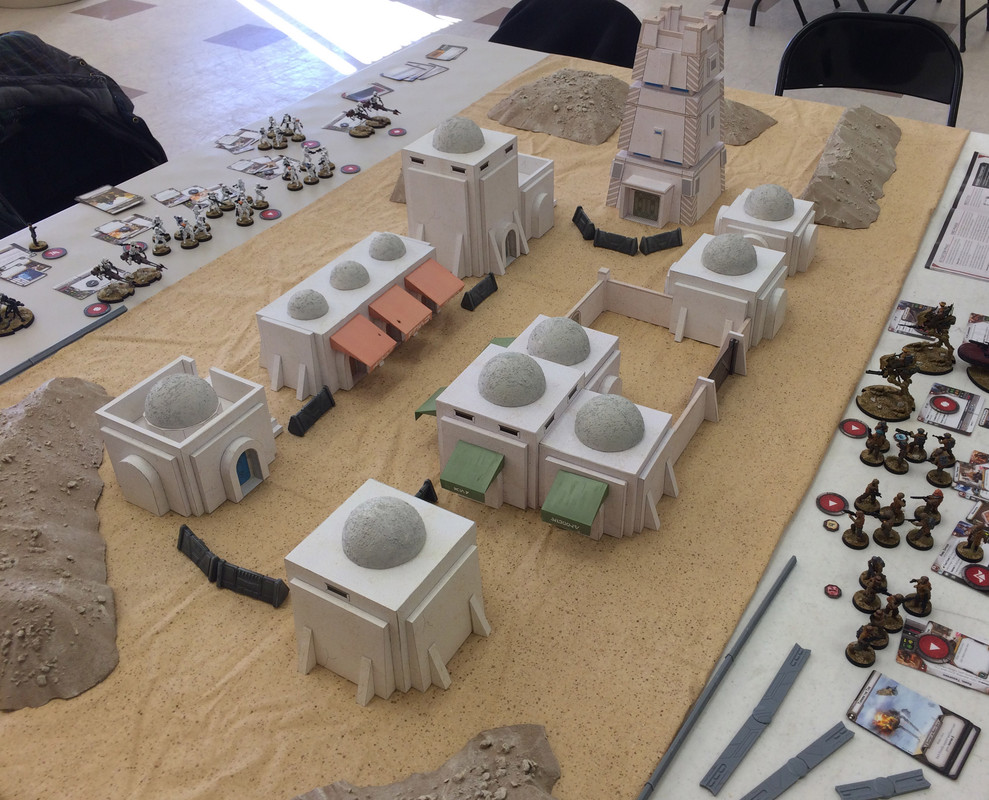
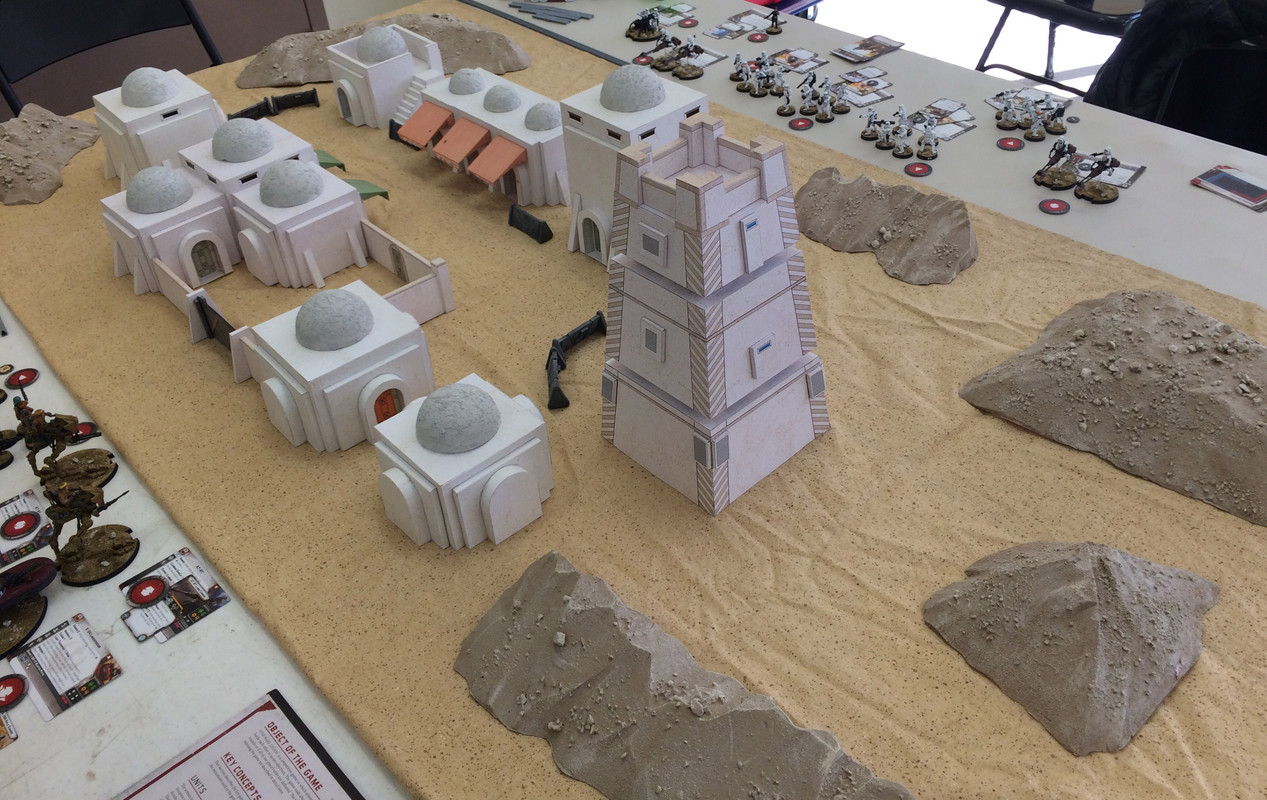
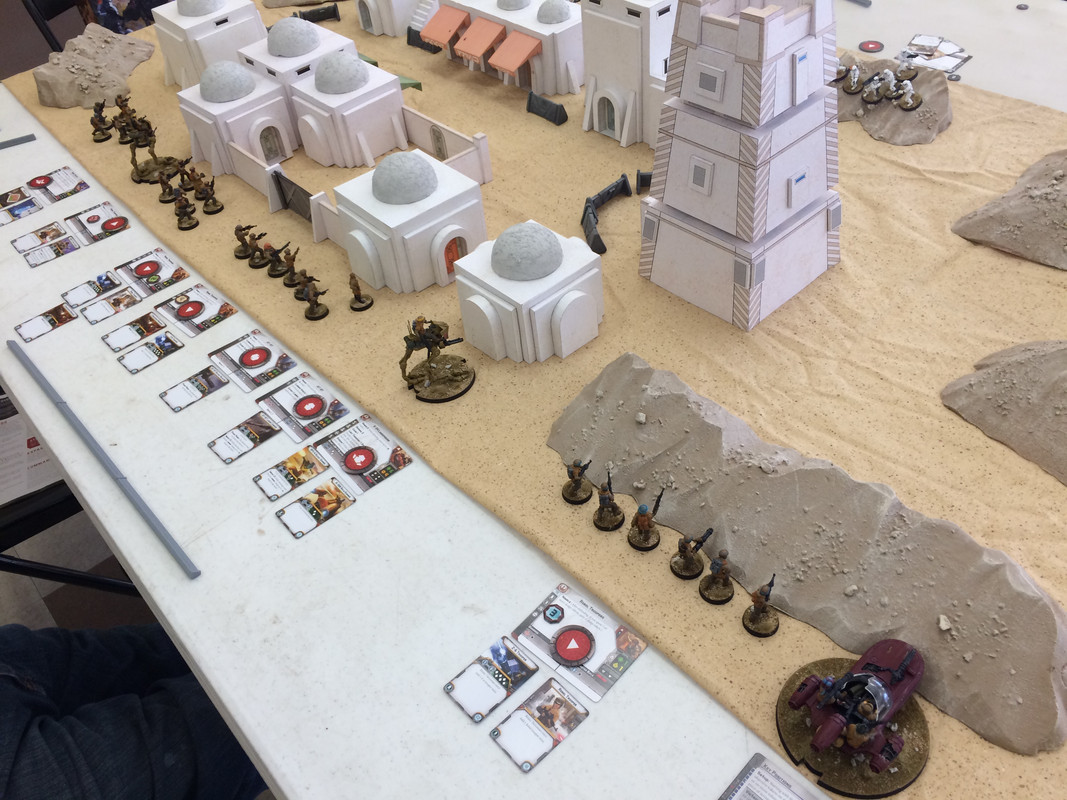
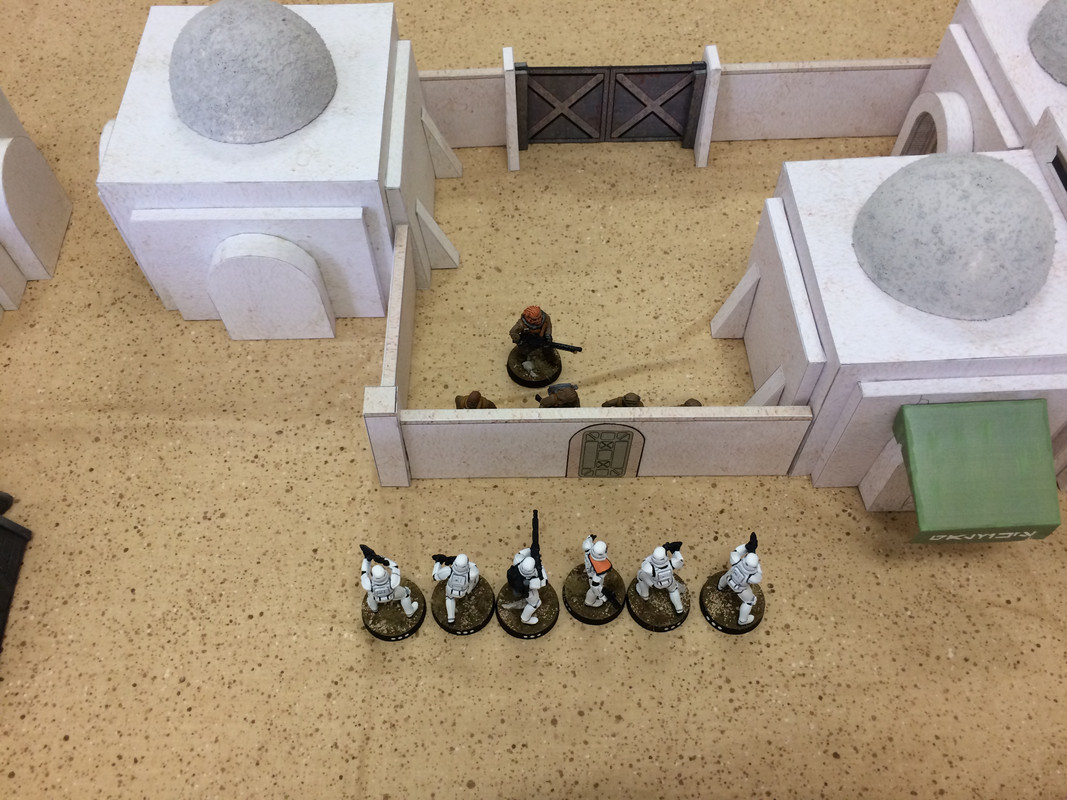
The battle was fought in and around the small village of Roxford Valley on a backwater planet in the Outer Rim called Leander’s Hope. The village itself dominated the center of the battlefield with a scattering of low rocky hills around it.
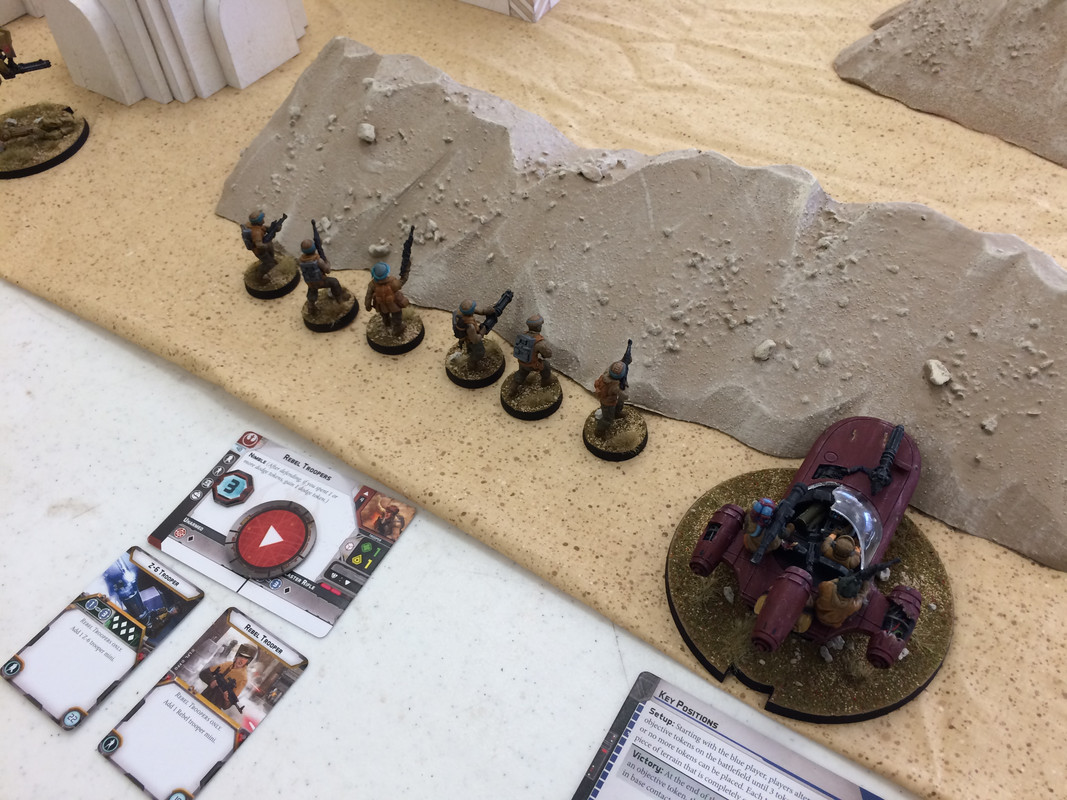
The Rebel force consisted of a generic officer, 4 squads of troopers (each with an extra trooper and a heavy weapon), 2 AT-STs, and a heavily armed speeder. Two of the squads had concussion grenades.
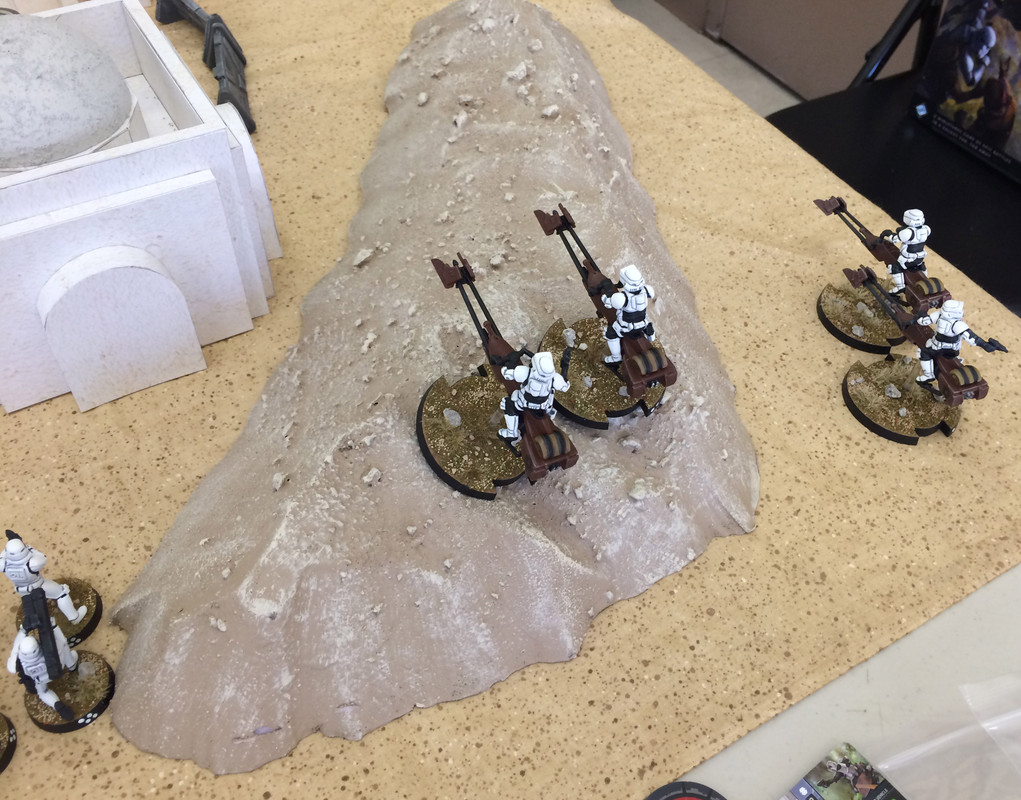
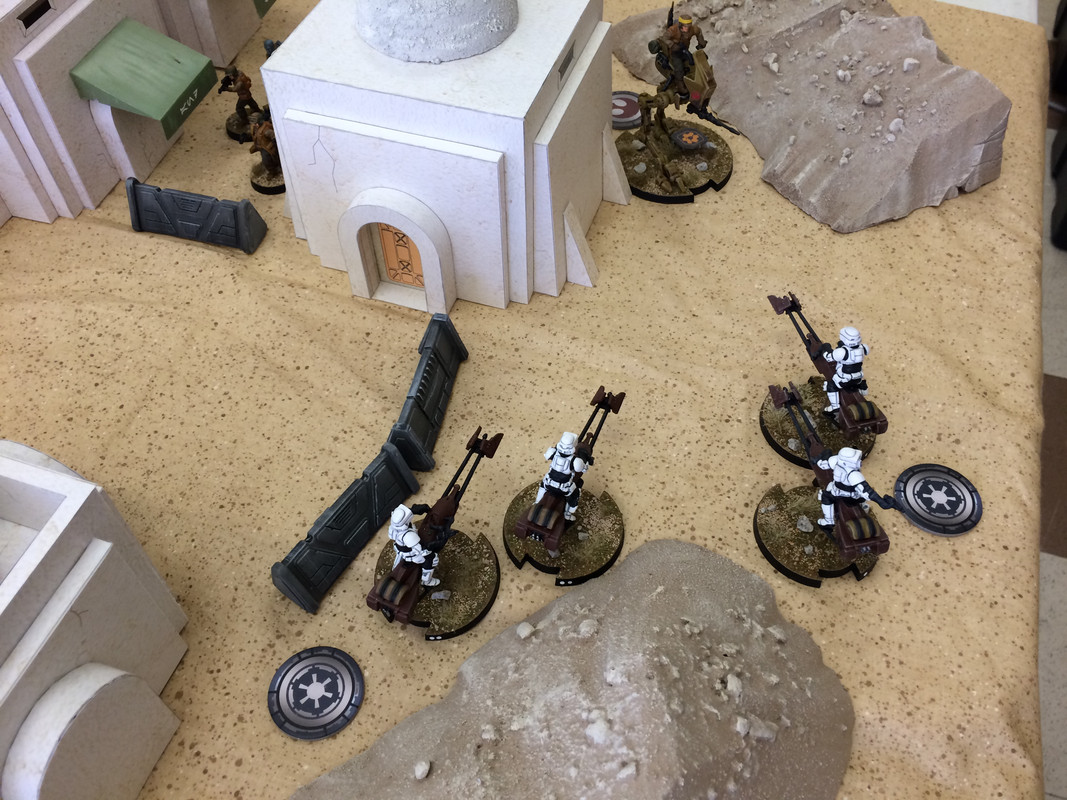
The Imperials also had a generic officer and 4 squads with extra troopers and heavy weapons. They also had a heavy blaster team and two units of speeder bikes. Two of the squads had concussion grenades.
We drew the setup cards and made our choices of which ones to eliminate. The results had the victory condition be to seize three objective points, the deployment zones were just the rear edges of the long sides of the table, and the environment was reduced visibility (a dust storm blowing through).
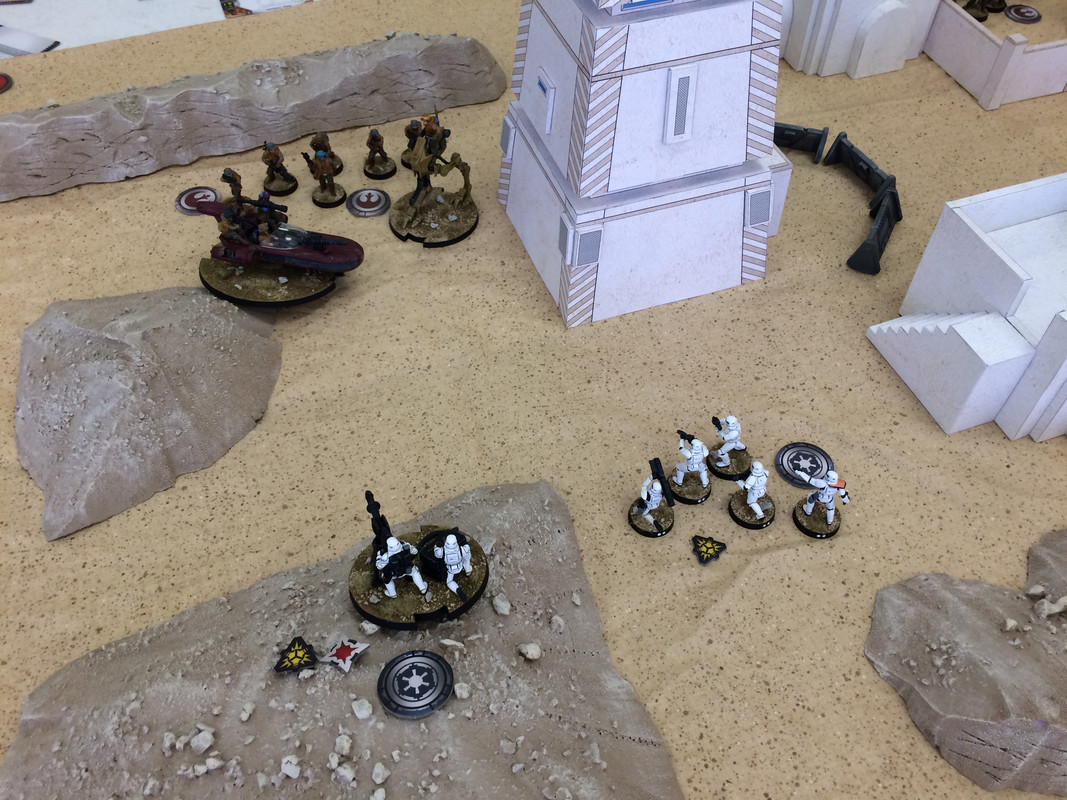
Deployment saw the Imperials concentrating on their right with three of their squads and the two units of speeder bikes massed in that area. The nearly immobile heavy blaster, supported by one squad was left to hold down the left end of the line with the blaster on a hill what gave it a pretty decent field of fire.
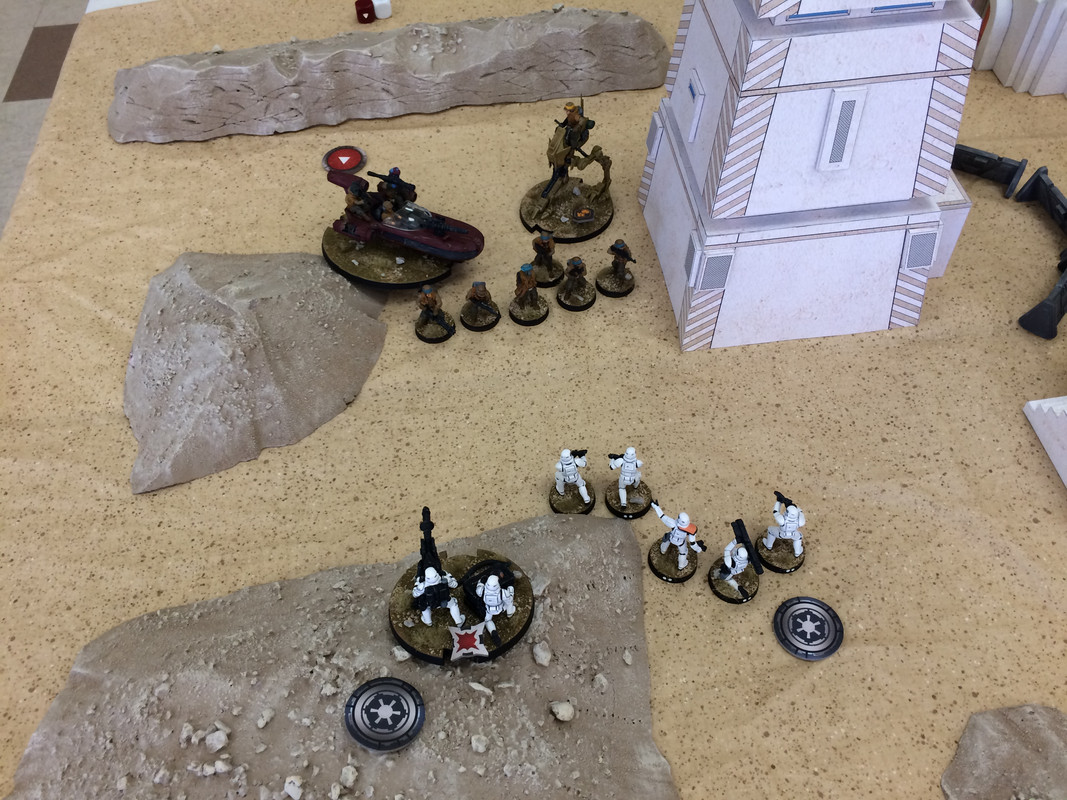
The Rebels were distributed a bit more evenly along their line, although their right had more power with both the speeder and one of the AT-STs supported by a squad.
Turn 1 saw the Rebels play a one-pip card, while the Empire figuring that with the reduced visibility on turns 1 and 2, he might as well play the 4-pip standing orders card. So the Rebels moved first, but the Empire had order tokens placed on everything except the corps units.
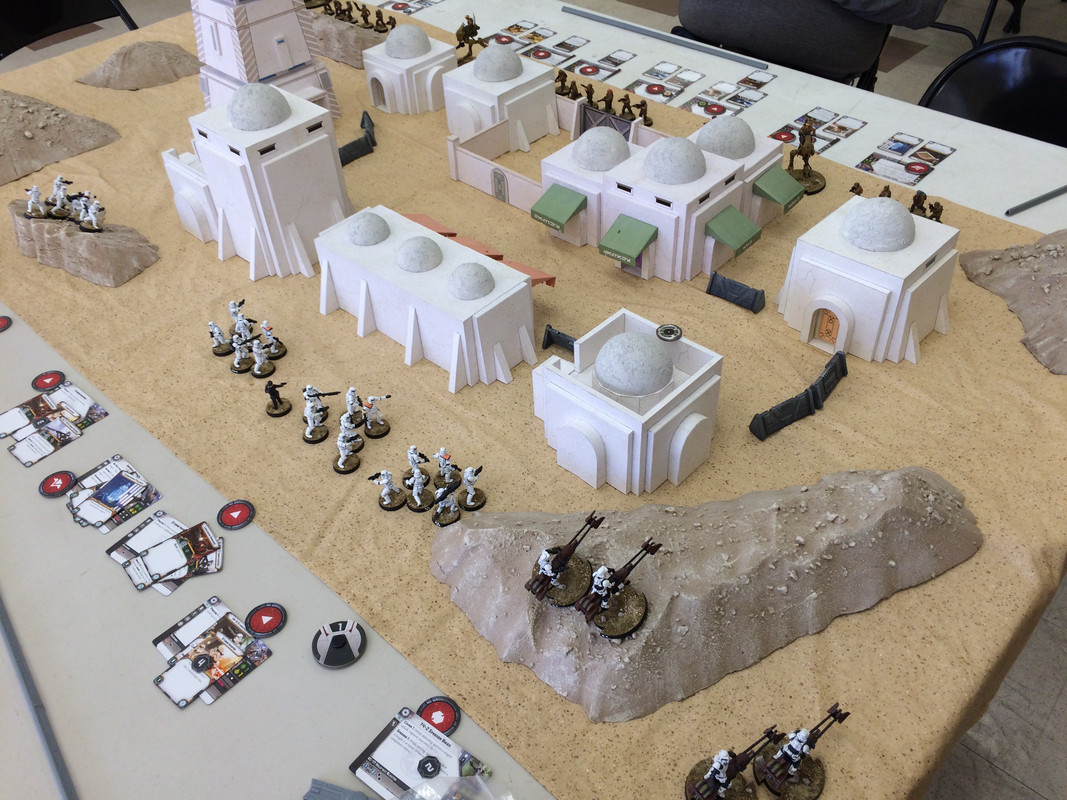
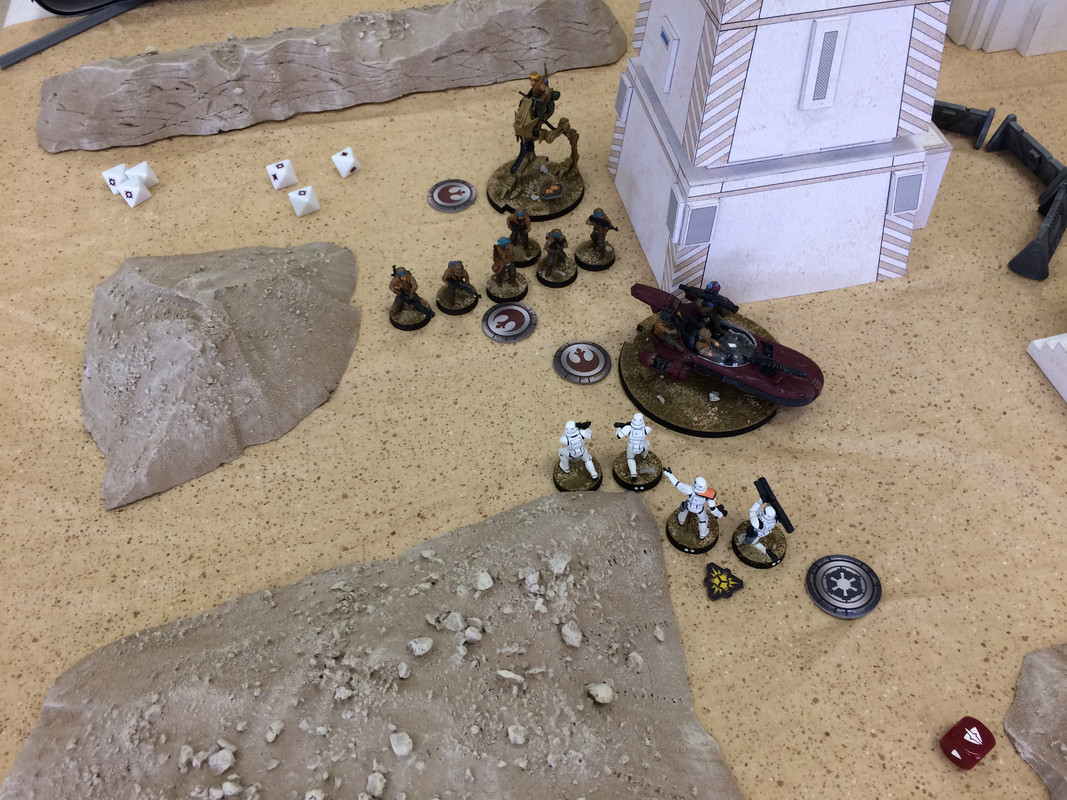
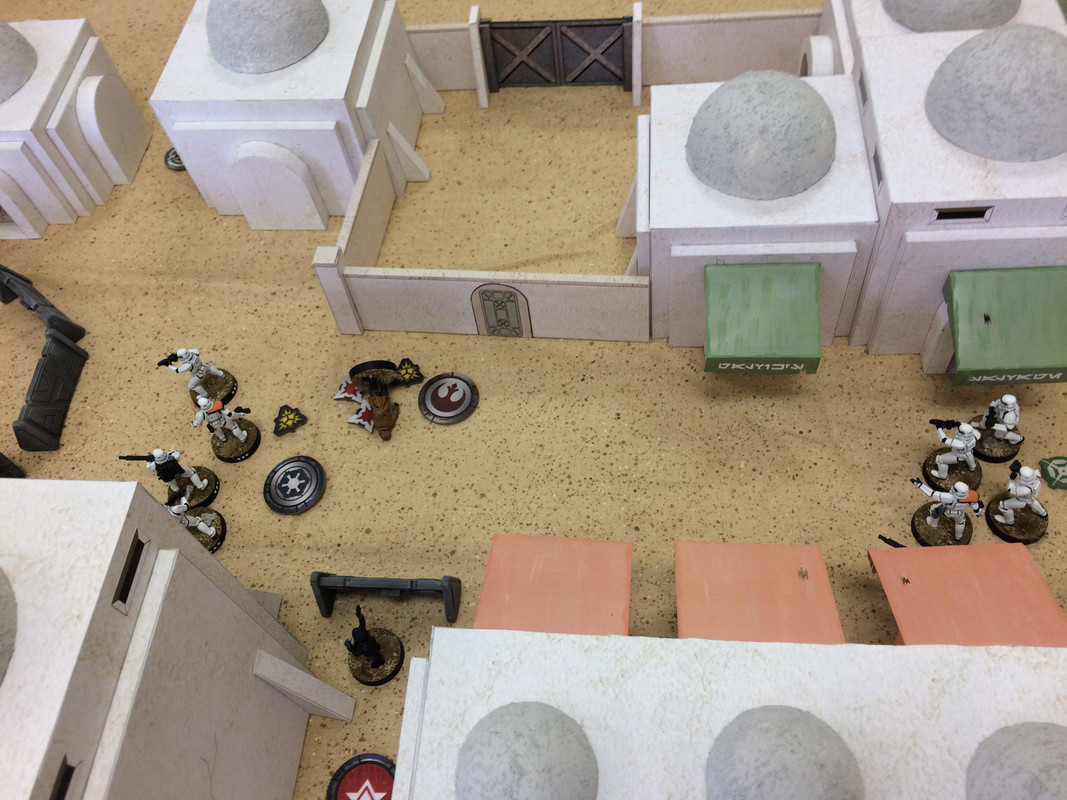
With weapons ranges limited to 2, there wasn’t a lot of firing on the first turn, but there was some. The Rebel right pushed forward with the speeder the one AT-ST and an infantry squad, but the Imperials were concealed by the swirling dust storm. In the center, the Rebels climbed some walls and moved into the village. On their left the other AT-ST led the way, curling around one of the buildings, looking to turn the enemy flank.
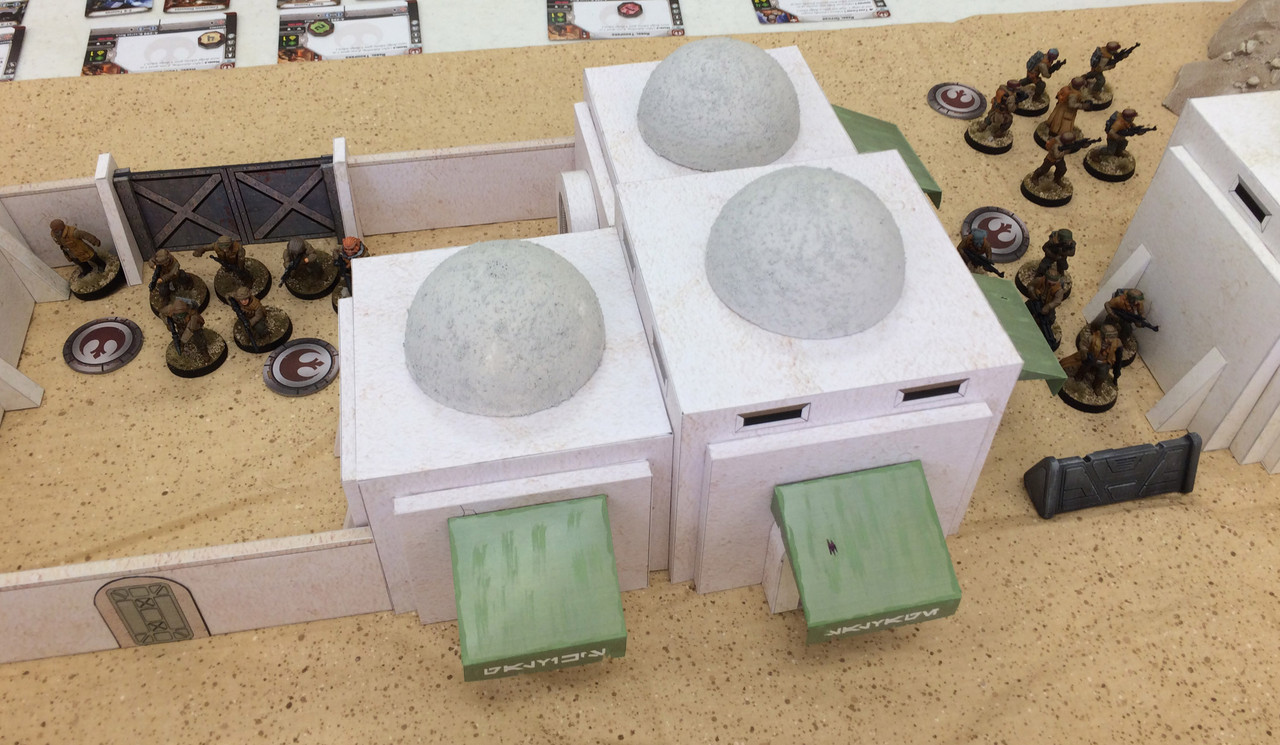
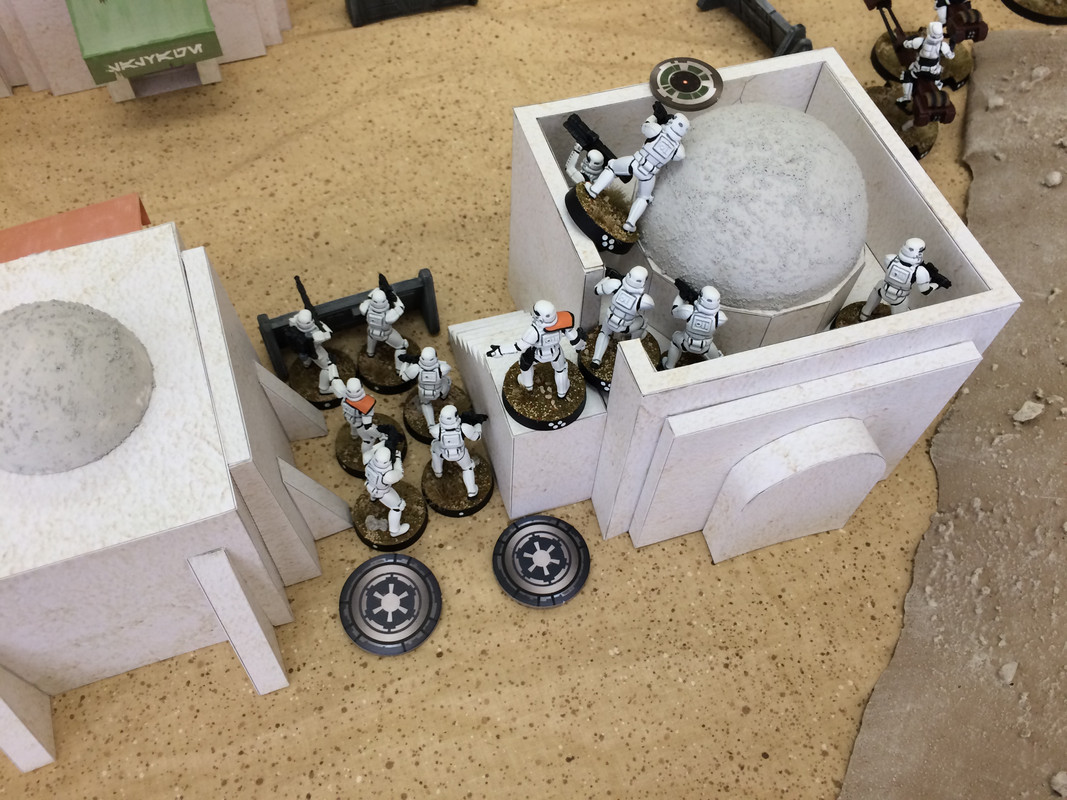
The Imperials did most of their initial moving in the center where the Stormtroopers moved though alleys or occupied the roof of s building. They deliberately waited to move their flanking units until last in hopes of drawing the rebels close enough to fire, and this is what happened.
On the Imperial right, the two units of speeder bikes sprang forward and plastered the lone AT-ST scoring 4 hits and disabling it.
On the left, the heavy blaster and the Stormtrooper squad managed to put three hits on the other AT-ST.
The only return fire was the Rebel squad supporting the speeder and AT-ST. With its rotary blaster the squad was throwing 11 dice against the Stormtroopers—and managed to only come up with a single hit—which the Stormtroopers dodged!
Sadly, this was to be the recurring theme of the game: horrible Rebel die rolls and great Imperial ones. The Force was clearly swinging to the Dark Side today!
Moving on to Turn 2, the Rebel again moved first (I don’t recall what cards were played). Visibility was now up to 3, and most of the forces were inside that range, so the dust had no further effect.
On the Rebel right, their forces concentrated their fire against the heavy blaster and its supporting squad.
They fired the AT-ST and the squad of troopers and scored a hit on it and killed a Stormtrooper, but the Imperials managed to fire back and get two more hits on the AT-ST (disabling it) and also kill a Rebel trooper. But then the speeder was able to finish off the heavy blaster and kill another Stormtrooper.
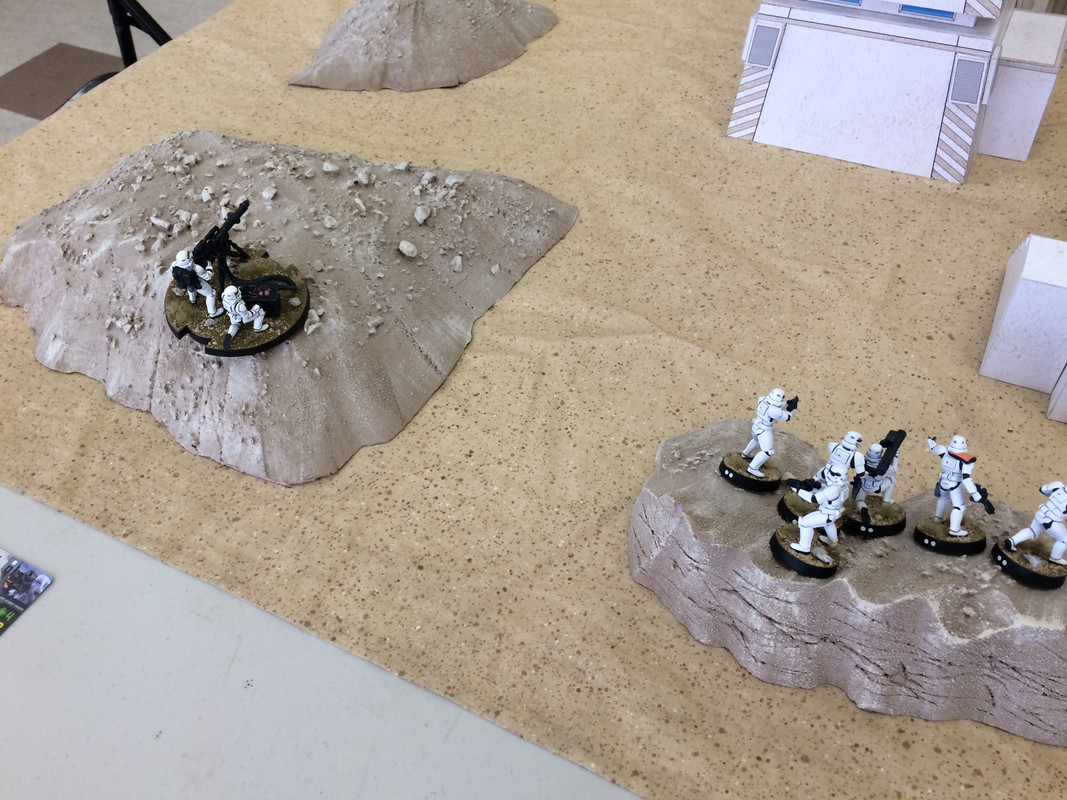
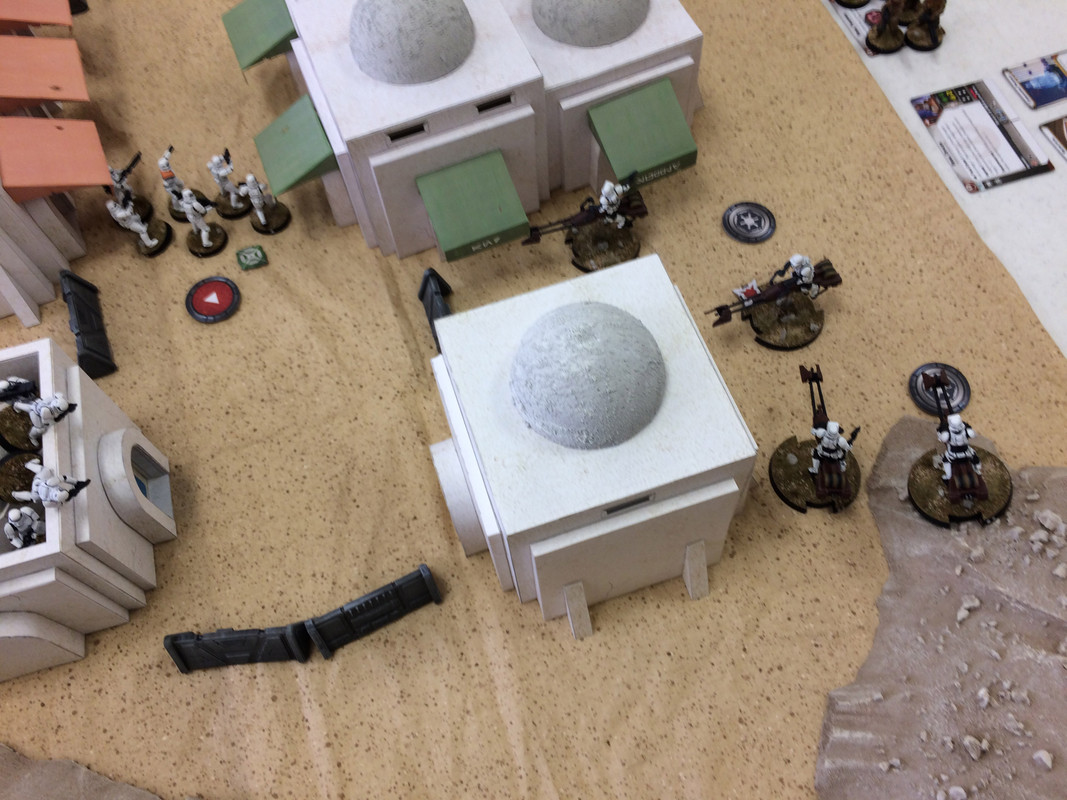
Over on the Rebel left things did not go well for them at all. The disabled AT-ST only had a single action and rather than stand and shoot it out with the four speeder bikes, tried to be clever and moved forward trying to get behind the bikes (whose mandatory move would take them farther away), but that only put it in sight of the missile launcher on the roof of the building. This fired and scored a direct hit inflicting two points of damaged which sent the walker crashing to the ground. The remaining troopers blasted away at the rebel squad in the alley opposite them, killing two.

The speeder bikes fired at the Rebel squad to their front and killed all but two of them.
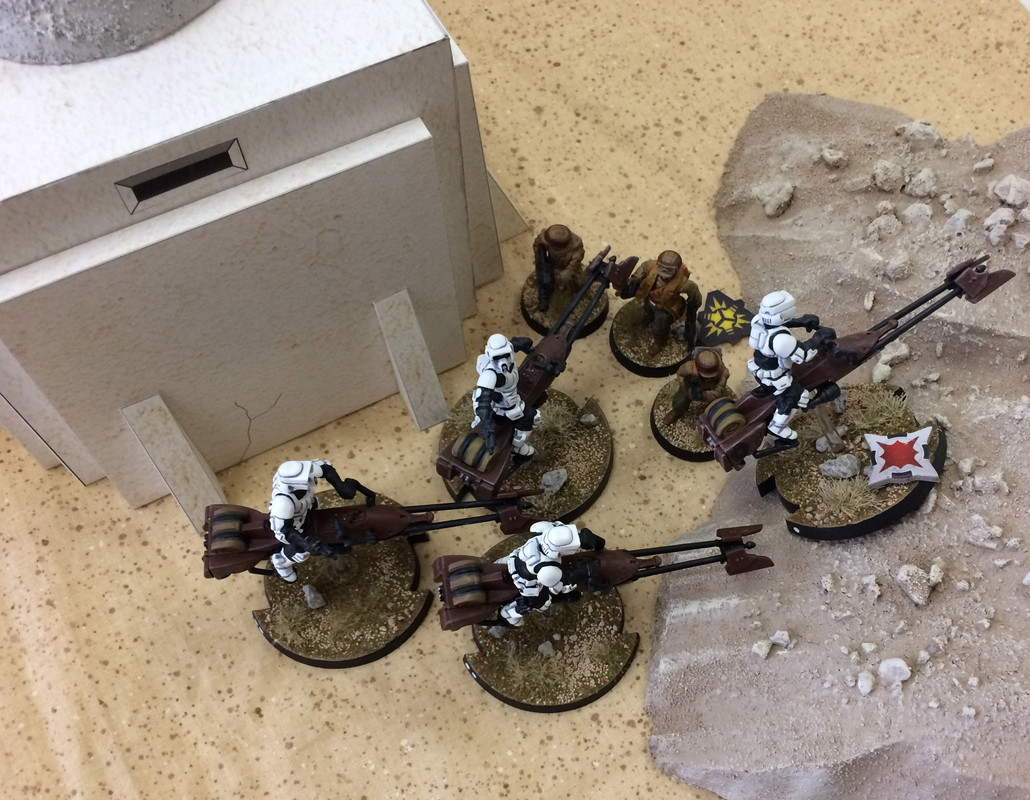
In the center, the squad of Stormtroopers were faced by a squad of Rebels hiding behind a high wall. Suddenly they remembered: ‘Hey, we’ve got these grenades! Let’s throw them over the wall!’ They dashed across the street and heaved them. Pow! Two Rebels fell.
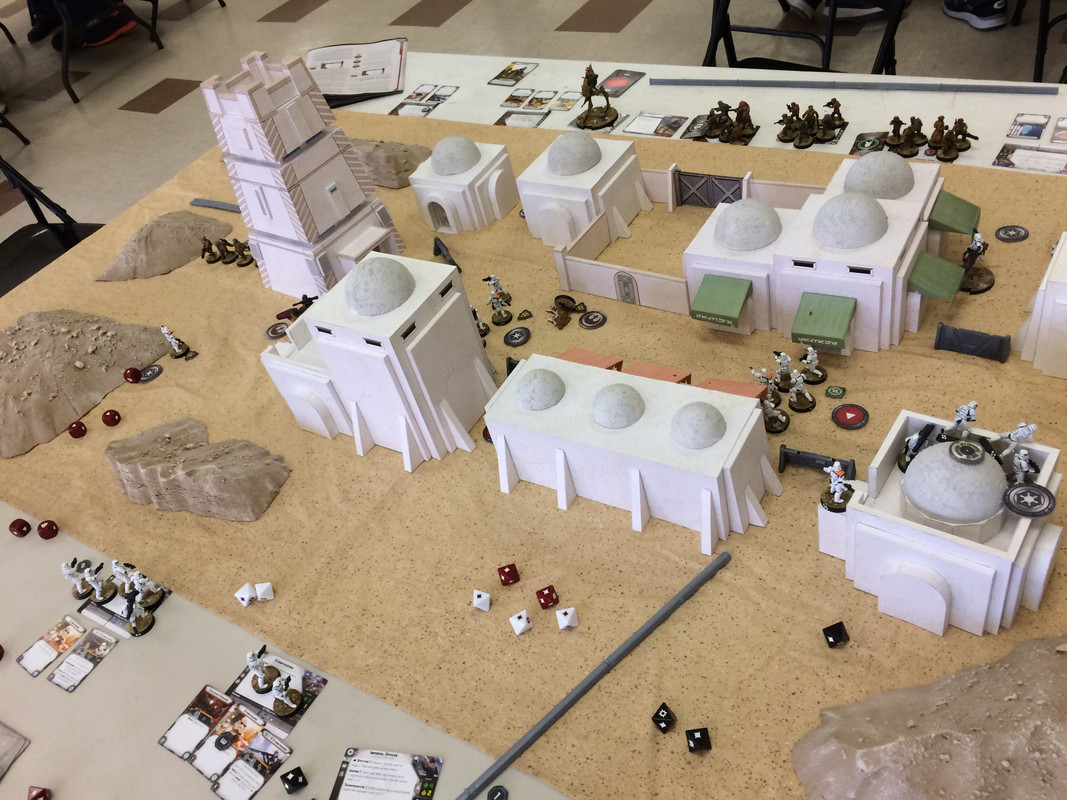
The turn ended with things not looking too good for the Rebels, but worse was yet to come.
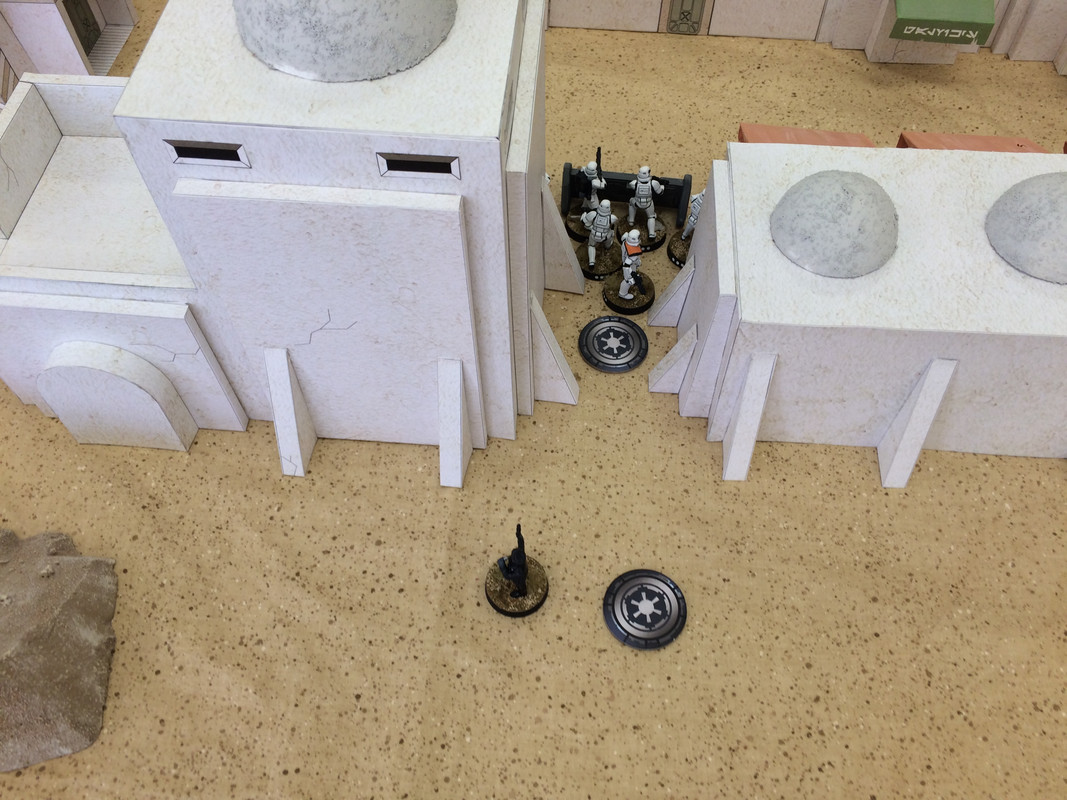
On their right, the Rebels managed to reduce the Stormtrooper squad to just its leader, but not before the missile launcher took out the remaining AT-ST. In the center, the squad of Storm-grenadiers threw another batch of grenades over the wall and wiped out the Rebel squad completely! They then used their second action to move toward their left to help out their lone comrade on that flank. Behind them, the enraged Rebel commander jumped the wall and blasted away with his pistol into their backs, but with no effect.
On the Rebel left things just got worse. The speeder bikes managed to wipe out the remains of both the Rebel trooper squads and then the fire from the two squads of Stormtroopers cut down the Rebel commander!
At this point the Rebels had had enough. Over half their force was gone and the Imperials had barely been scratched. The few survivors turned and fled. Victory for the Empire!
Despite the lop-sided results, it had been a fun game. Much of the Rebel woe could be attributed to really poor die rolls. They failed almost every dodge roll and even very modest Imperial fire was stacking up a lot of bodies. The Empire on the other hand was dodging Rebel fire with ridiculous ease. But the Rebels will be back!
Edited by ScottWasburn