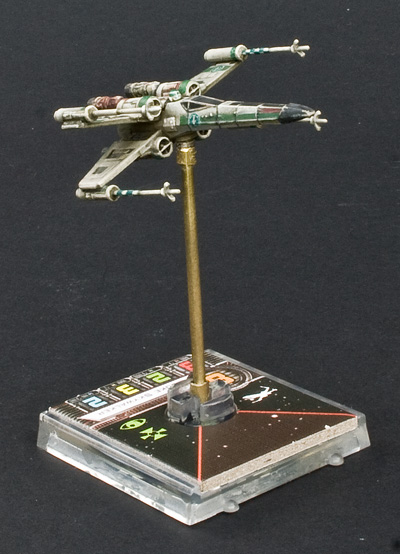
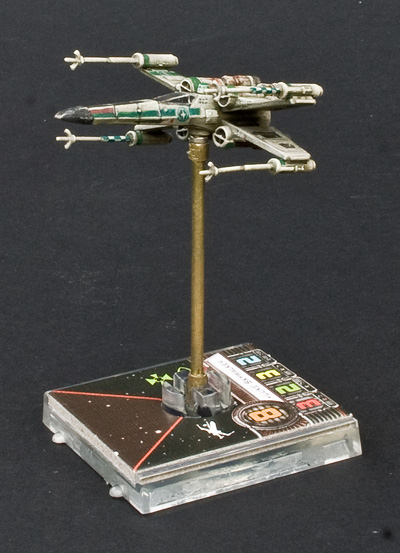
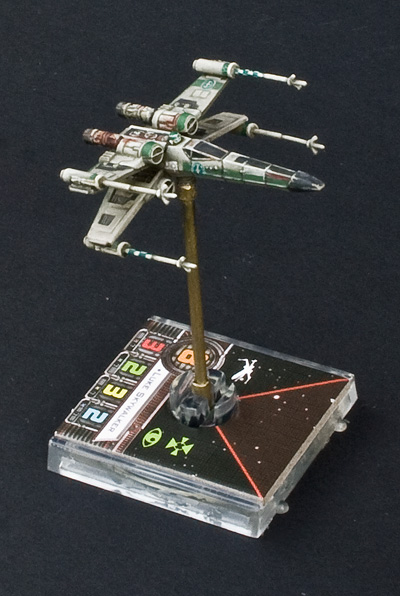
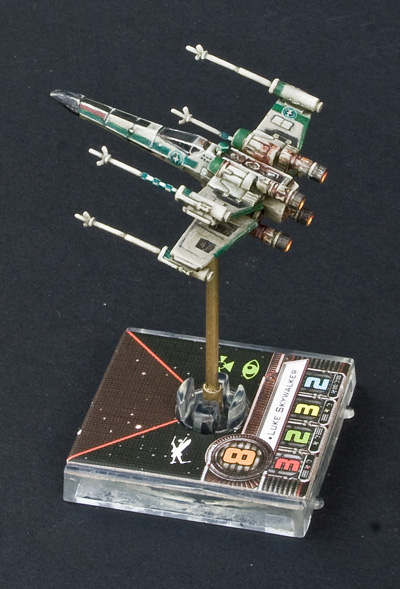
Definitely, I was very conscious when making the molds to leave raged edges, and when I put in the putty to thin it out along the edges and over flow them slightly. This is how I got the effect on the YT and Bomber parts that the shell had been exploded outwards.
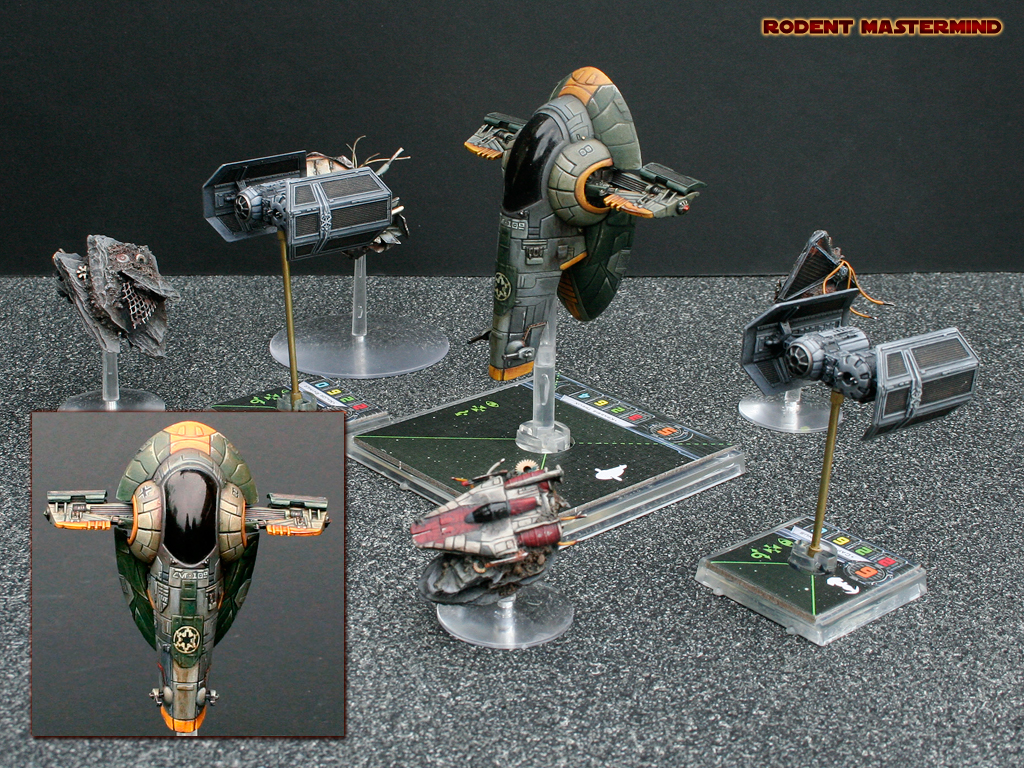
Some Photos of stuff, you know Slave-1 & Interceptors.
I've started on my next side project, though I am going to make another couple of z-'Ceptors.
To go with my Asteroids I want a large scenery piece, probably between 13-17cms long. I'm planning a hidden Pirate Asteroid base. I'm going to build the core from blue insulation foam, and then carve out room for
- Internal light sorce. I've got a flickering yellow LED which I'm going to put in.
- Observation Deck
- Hanger, with modified patrol A-Wing (it's going to be fairly stuck together and UGLY), and transparent dome
- Hanger Door and landing strip
- Large underslung storage container, made out of a large Industial cylinder
- Sensor Arrays.
- Launch tubes for defensive ordnance.
- Docking arm, so you can dock a Freighter.
I've started casting up the grebling and othe parts I think I might need for it
Wow this sounds like it will be quite the project. Seems pretty large too. I'm definitely looking forward to seeing it. Do you have any sketched that we could maybe see?
I don't make sketches, I just see these things in my head.
BTW, there is a bit more detail on how I make the Asteroids over on Bell of Lost Souls.
http://www.belloflostsouls.net/2013/10/showcase-stunning-x-wing-repaints.html
Annoyingly, no signatures over on this forum, so I can't put my painting tracker in one... But what I can do is embed the image, and just move it onto my last post in this thread.

Wow. Great looking stuff.
You know I've always loved your stuff and this just blows it away for me...
Now I want some destroyed ships for asteroids!
You know I've always loved your stuff and this just blows it away for me...
Now I want some destroyed ships for asteroids!
Hey there Lord Shaper, nice to see you again. glad you like my models.
Yay finally finished my last 2 TIE/Ln.... Those guys took ages.. Only got the Engines of the second Firespray, and the X1 Advanced (when it arrives) to paint and then my Imperials will be done for now.

photos to come.
Edited by Rodent Mastermind1st Tie/Ln finished, another 2 on the production line, just a bit of Weathering and the panel lines for the Wings to finish, so hopefully either tonight or tomorrow.
Will try to get some photos up tomorrow.
Is that an official FFG Empire's Guard TIE/In that you repainted, or standard TIE/In? If the former, how do you have that set already?
OK.... Not quite finished.. the back might be er quite plain... or something... But I like how it came out. Looks very nice next to the other big ships and fighters.


And a comparison shot with a more classic Slave-1 repaint

This is an interesting idea.
What you could do is have a scenario where when a ship is destroyed you'd swop it out for one of the wrecked ships creating debris that the other ships would have to then avoid.
1st Tie/Ln finished, another 2 on the production line, just a bit of Weathering and the panel lines for the Wings to finish, so hopefully either tonight or tomorrow.
Will try to get some photos up tomorrow.
Is that an official FFG Empire's Guard TIE/In that you repainted, or standard TIE/In? If the former, how do you have that set already?
The latter converted it and painted it before they announced.
This is an interesting idea.
What you could do is have a scenario where when a ship is destroyed you'd swop it out for one of the wrecked ships creating debris that the other ships would have to then avoid.
I have discussed this before, My thought is you roll a D10 when a ship is destroyed, if you roll under the starting Hull value, replace with a piece of Wreckage that moves 1 in the direction of the ship that was destroyed at PS 0.
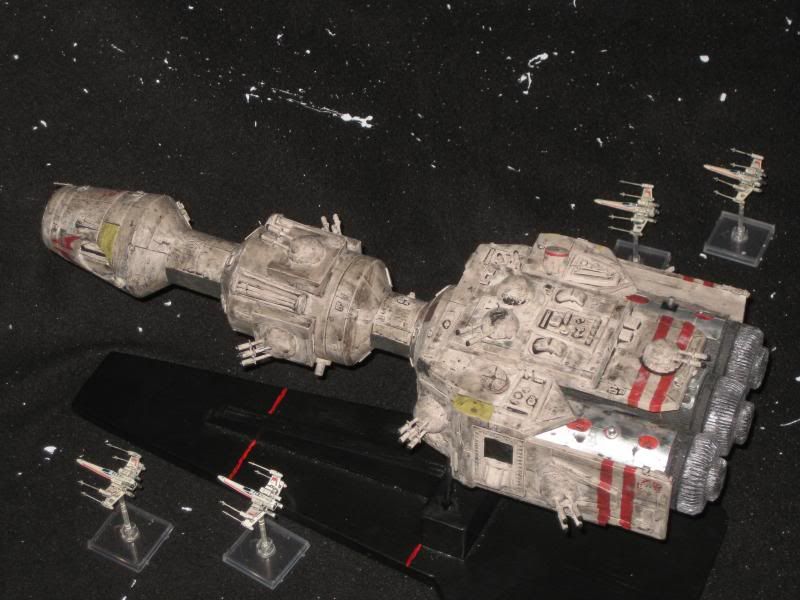
DP20 Corellian Gunship on system patrol.
Painting a Rebel Symbol
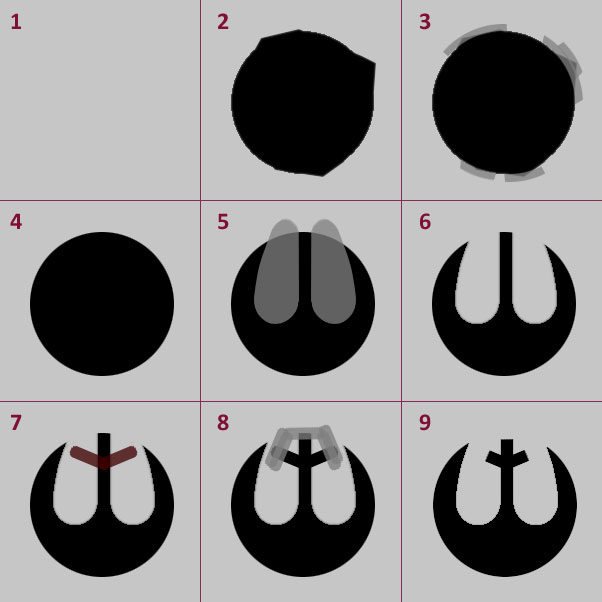
Someone PM'd me to ask how I got the Rebel Symbol on the A-Wing I'm currently painting. As I was making up images I thought I would share this with everyone. They are hand painted. This may seem daunting at first but they are not the most difficult thing to paint. You don't just paint it directly on, you use simple shapes and the background colour to make your job easier.
So here is a list of how I do it and a diagram
- First things first get the background colour down
- Then paint a circle in black and fill it in
- If it's slightly distorted or the edges are rough you can then clean them up by using the background and painting lines around the edge to round it off
- So you now have a circle, sit back and enjoy your work.
- Next paint 2 tear drops in the background color.
- This should now have the base shape of the Rebel Symbol
- Next paint a black V on the stem.
- You should now have more or less the Rebel Symbol But the end of the center spoke is a tough big, so use the original colour to paint over the ends of the spikes to make them a tiny bit shorter
- And there is your rebel symbol
- Practice, Practice, Practice.
The Imperial Symbol uses very similar techniques, but many many more lines and shapes.
Edited by Rodent MastermindThanks for the explanation!
SO finally got round to painting the Engine Block of the ME-109-8..... YAY.... Hoping for some decent light today, as it was horribly overcast all of yesterday (I had to keep an eye out for those Vampire Penguins as they could operate openly during the day), so I can get some photos.
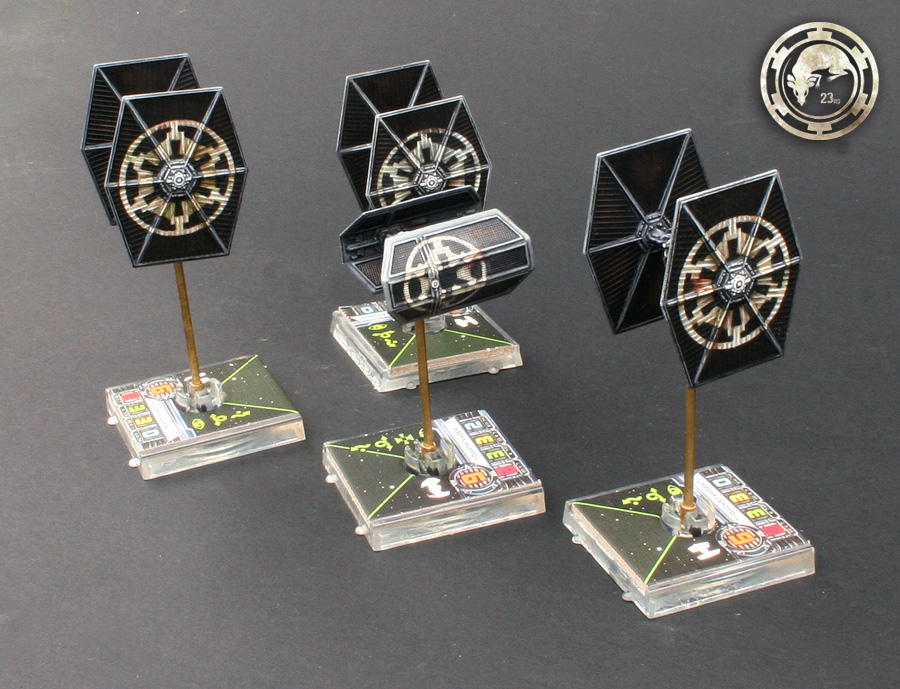
That's the last of the Imperials that I have to paint at the moment.. Though I'm hoping my X1 Advanced arrives this morning.

The light wasn't brilliant today, but I'm guessing I'm not going to get decent weather any time soon so go some photos done. Will get some better photos of the Tie X1 Advanced when things clear up.
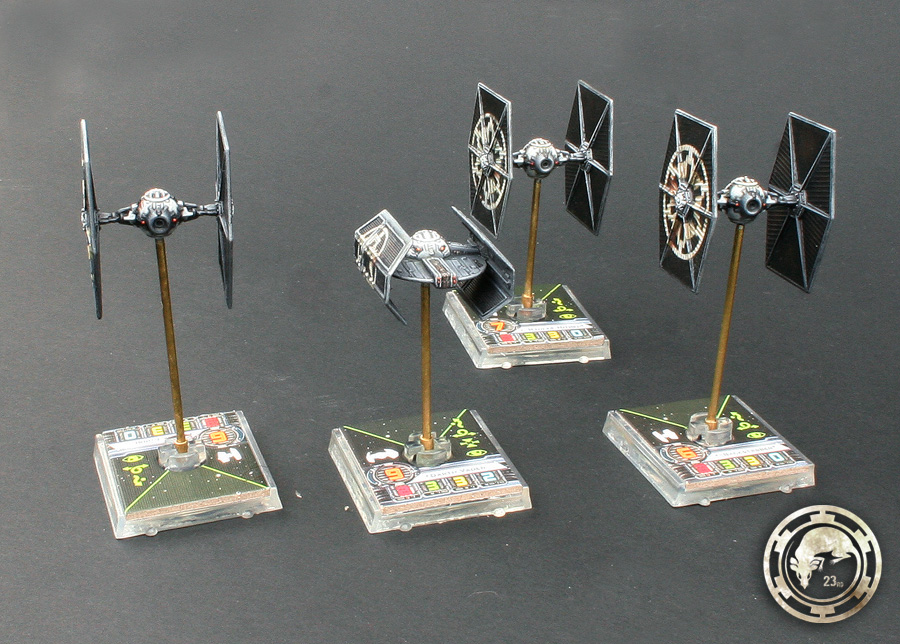
Now I have finished my Advanced, I now have 4 members of my newly christened 23rd Flying Womp Rats, operating in the Outer Rim in proximity to Tatooine.

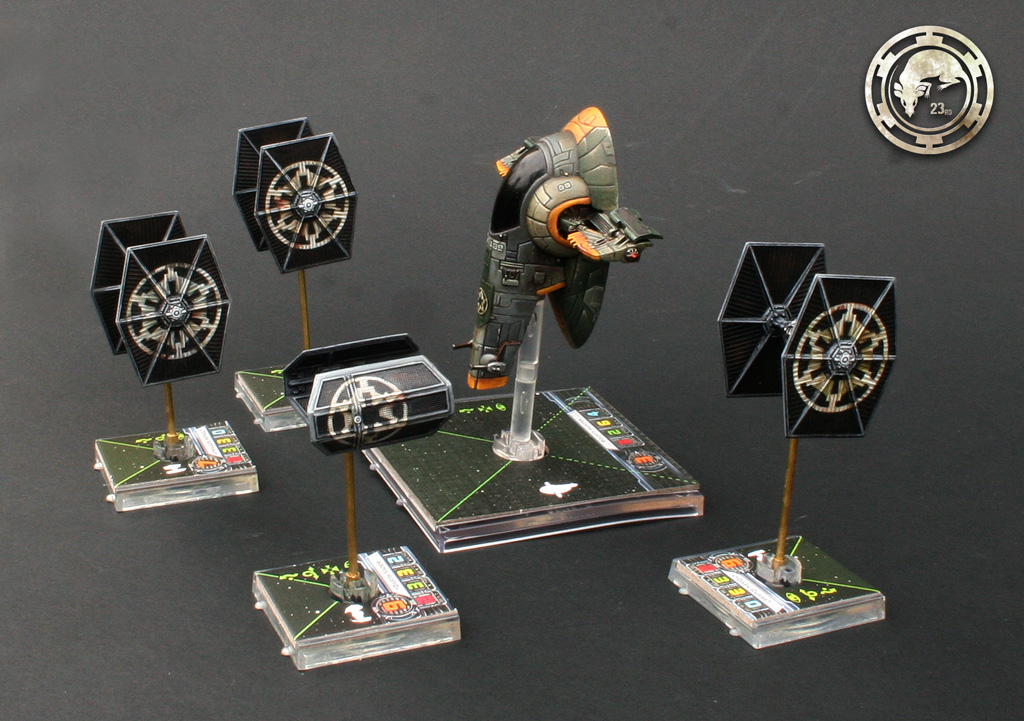
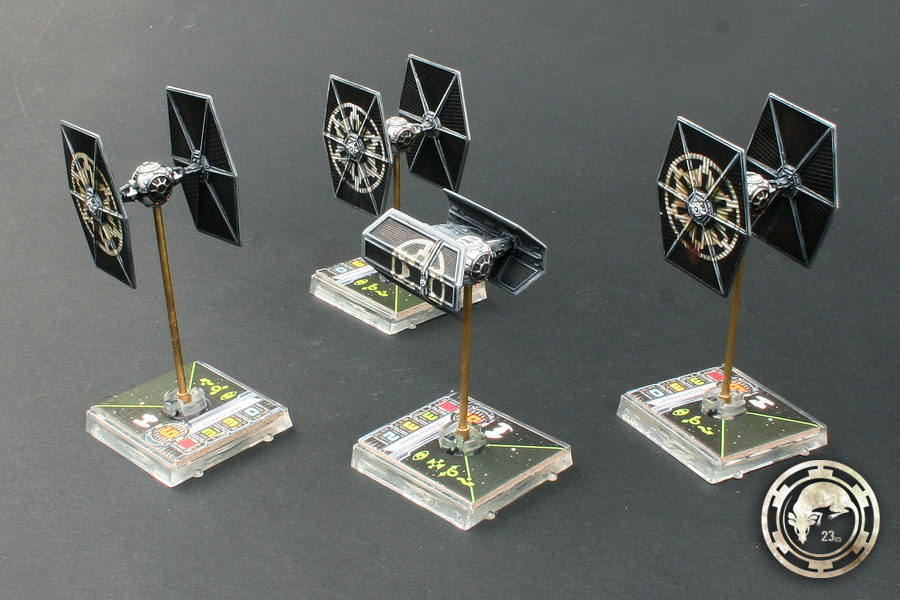
Also got some pictures of the Engine Block on ME-109-8.
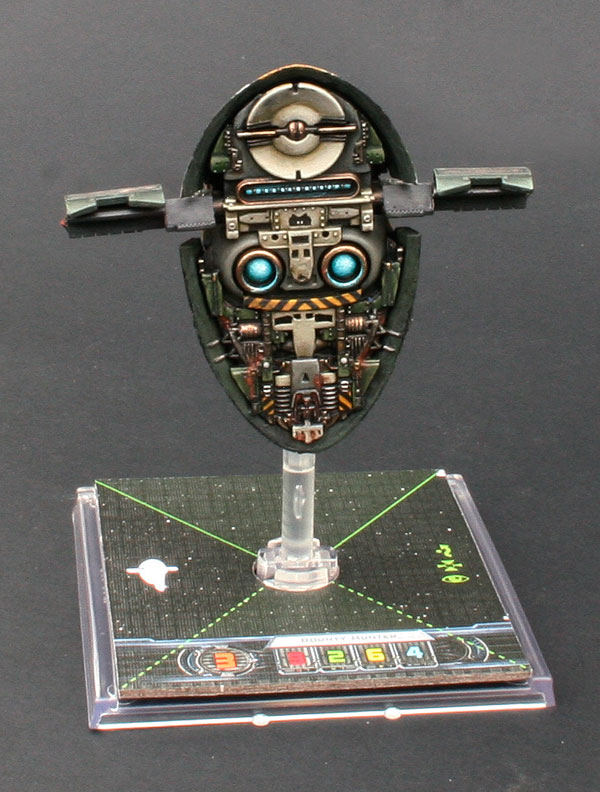
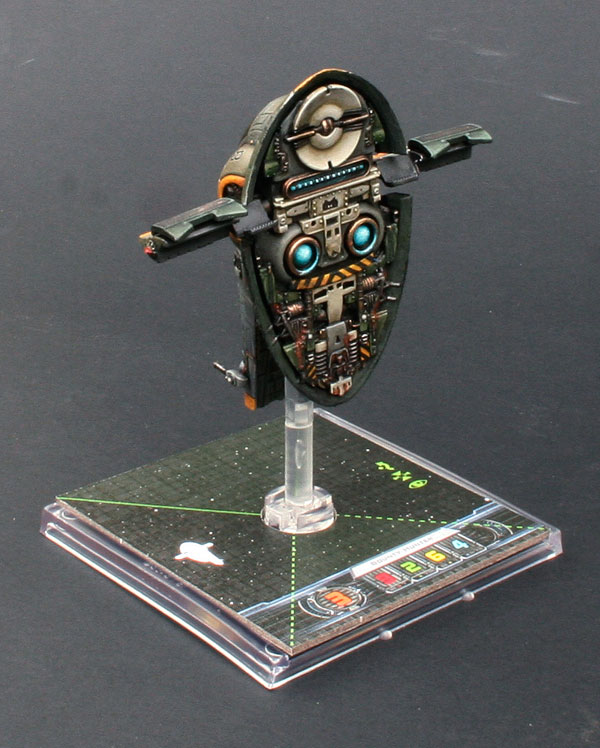
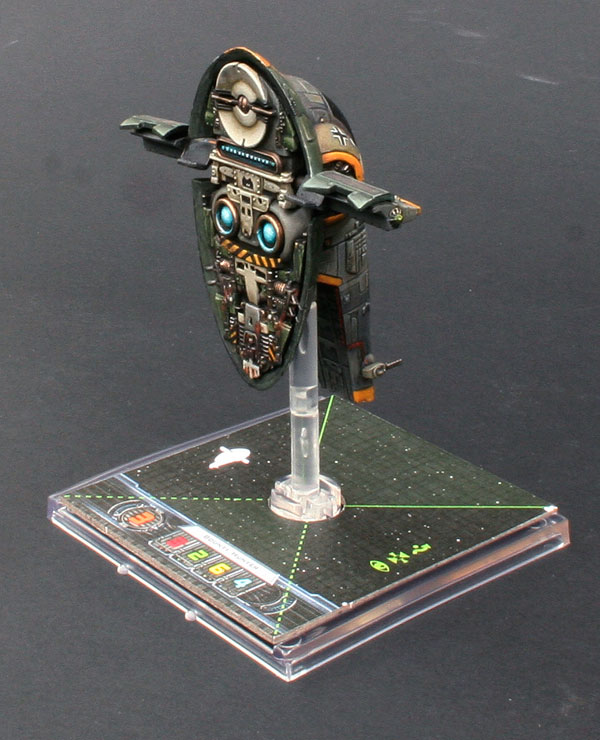

Looking good Ratty!
SO... which version should I do?
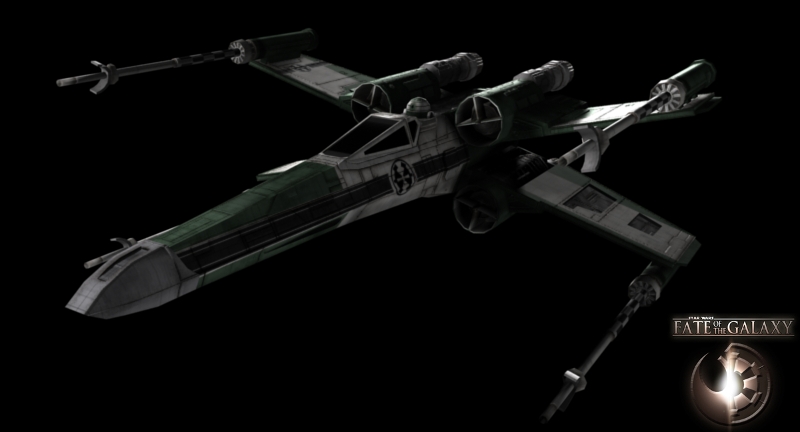


I'm thinking the Fate of the Galaxy Version, the Green Nose Cone and Black Stripe combo will make it stand out... but I also like the last version with the black tip and stripe down the center, the only issue is the symbol is tiny.
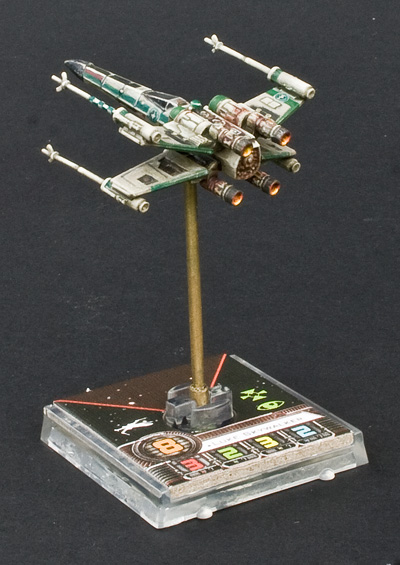
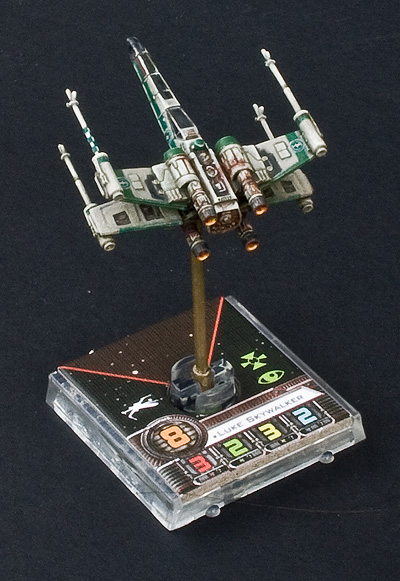
So I've actually started work on my Corsec X-Wing, which I mentioned on page 1 of this blog, It's going really well Got all the base colours down, given it a wash, and I'm now in the process of highlighting up the pale white plating. I think it's going to look really nice.
In the end I went with the bottom colour scheme with a few modifications, I went with the small red splashes by the nose seen in the second picture and the symbols on the side of the cockpit will be around the size shown in the first picture.
I'm going to try and subtly reintroduce the panel lines on the nose that are missing from the model when painting it. It's also likely to have a similar rust pattern to the middle picture, it's also going to have the slight beige tinge to the white the middle picture has.

can't wait to see it dude.. so what happens when you run out of models? can i send you mine for painting when you're all done?
![]()
The actual paint color for the hull that he used is Camouflage Grey, but at this scale it would be good to mix a few drops of white in there so it doesn't look too dark.
The actual paint color for the hull that he used is Camouflage Grey, but at this scale it would be good to mix a few drops of white in there so it doesn't look too dark.
yeah you definitely want to up the contrast at this scale. Even though he has used a grey, there is quite a bit of discolouration added via rust and oils that gives the whole thing a slightly beige tint.. which is a good thing I think.
Edited by Rodent MastermindStill not the best weather, the photos came out very washed out. I tried to do my best with curves, but they are still not nearly as crisp as I would like, it looks so much better in the flesh.
Anyway, here are some photos of the Corsec X-Wing, as flown by Corran Horn.

