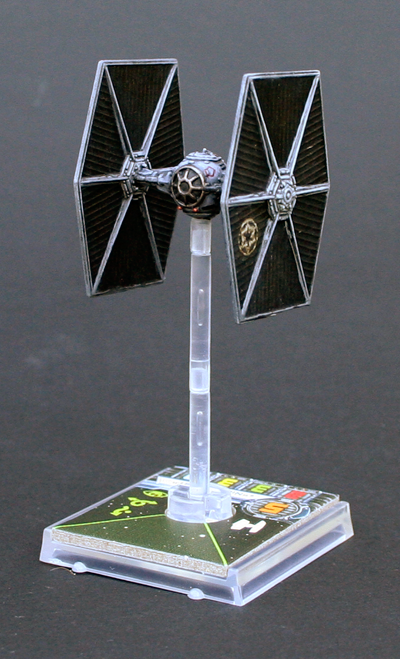
Some Photos of stuff, you know Slave-1 & Interceptors.

By Rodent Mastermind, in X-Wing

OK actually if I had the money to waste on half a dozen models to destroy, and the artistic ability to make them look like cool wreckage, I have to admit that a debris field made out of ship parts would be a pretty freaking sweet alternate asteroid field.

....

In other news I'm glad I'm replacing the stems as the new box set seems to be missing them entirely. It was a bit annoying when I was demoing it to mates today. As all my models except this set are at home.

Edited by Rodent Mastermind

double post... So as I can't delete it, I'll use it to promote Cthulhu. I mean why vote for the lesser evil?

Edited by Rodent Mastermind

I would use this wreckage in place of an asteroid in a hearbeat!!!

Awesome work.

I've done something like it here with a radar blink

strike-cruiser.jpg

Edited by Rodent Mastermind

**** fine work!

beautiful work Rodent Mastermind

if only i had the patience to learn the talent you have to pull this kind of work, off

only thing i've done in terms of repaints to any of my ships is one of my Tie Advanced, by giving it a dark wash and painting the flashing red lights on the fighter (used Vader as my example) and it still doesn't look even half as good as your work

keep it up.. i look forward to seeing more.. particularly more interceptors

I finally got a hold of 2 more A-wings to complete my rebel case.

pic1773298_md.jpg

pic1773299_md.jpg

Filled in my missing Tie interceptor at the same time. Now I have to get a case for my wave 3, which should be in the mail very soon.

"I grow tired of asking this, so it will be the last time: Where is the Rebel Case?"

Looking good.

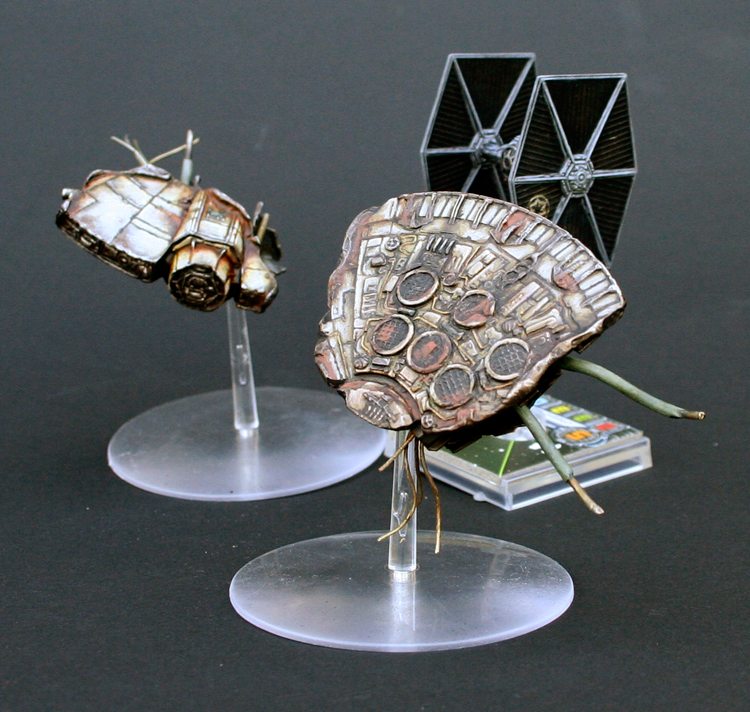
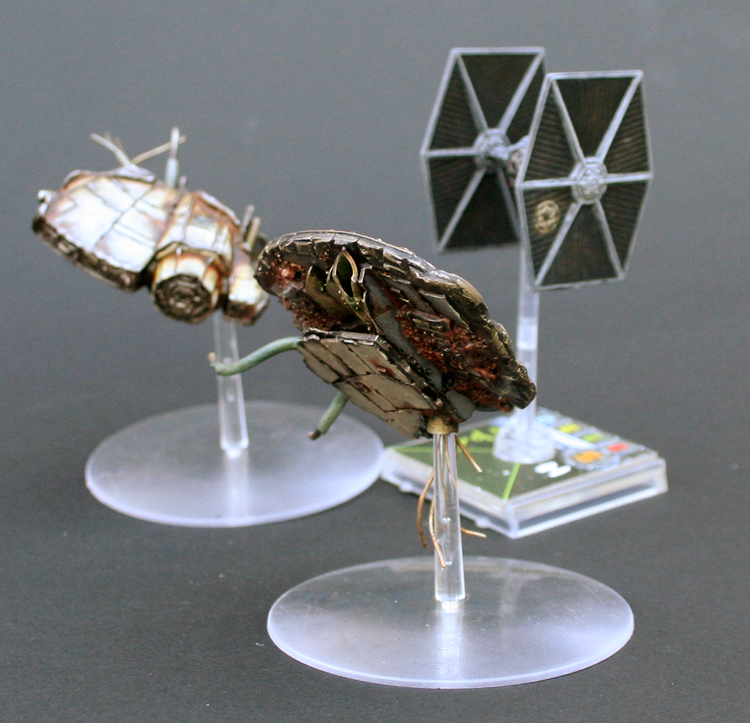
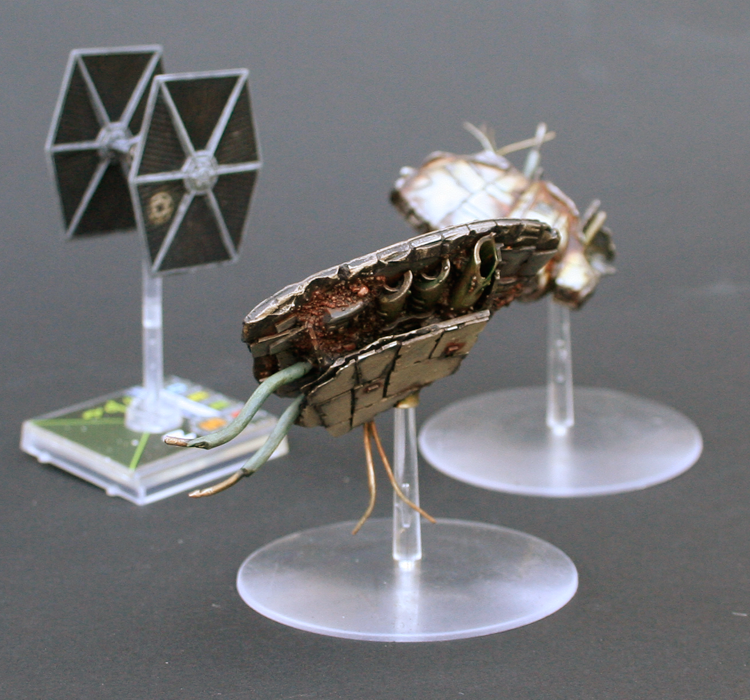
I don't think the light is quite right outside as a few of these photos didn't come out well. But here were a few things I was working on before the Asylum (The big Steampunk Event I was at this weekend). Firstly got the 2nd Asteroid finished. So I can have more bits of the Millennium Falcon floating around my board.

Wreckage1.png

Wreckage2.png

Wreckage3.png

Edited by Rodent Mastermind

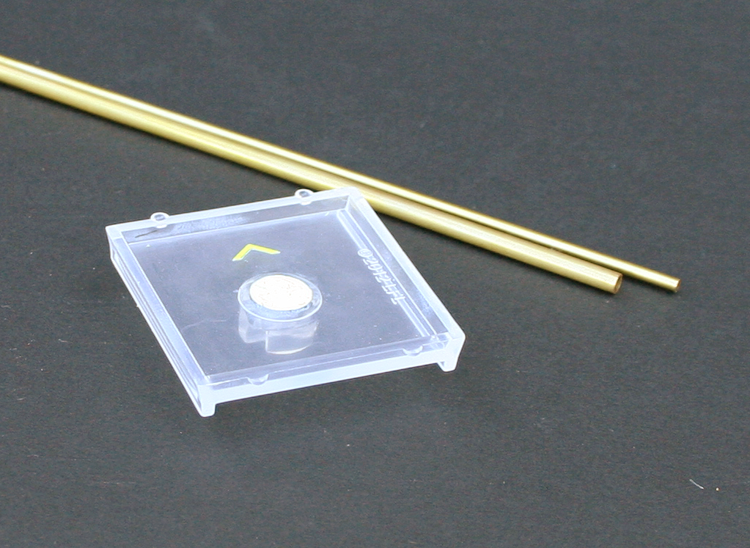
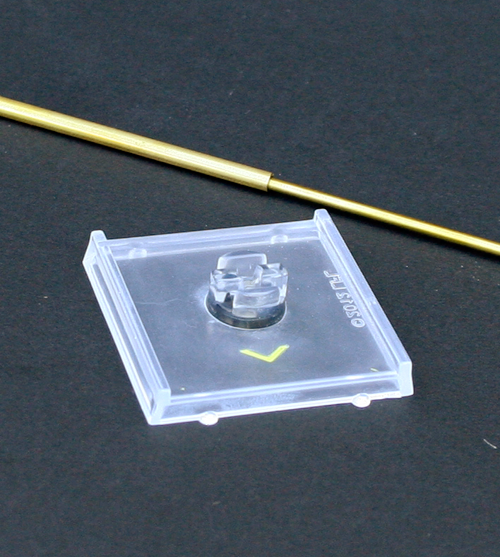
As some of you may know, I don't particularly like the stems that come with the game they are very brittle and crack easily so I've been planning a system using Brass rod and magnets.

I picked up some of the parts I needed at the weekend.

The first stage is to strengthen the base so it doesn't crack or have any issues when I start drilling to make room for the Brass sheaf to slide into place. If you look at the underside of the bases you will notice it's not solid in the middle, there is a bit of a gap where the stem mounting comes out of the base. I painted this area black to match in with the Pilot cards and then filled this entire area with a mix of Green Stuff and Milliput. This should make the whole piece much more solid. I'll leave this overnight to dry.

Base-Stage1.png

Base-Stage2.png

Edited by Rodent Mastermind

This picture came out dreadfully (You know I said about lighting, all the colours are really washed out and the detail is really fuzzy). But this is the start of my work on the A-Wing. I've got down the base colours and started getting in some of the symbols and markings.

A-Wing-WIP.png

Edited by Rodent Mastermind

This was going to be my last Tie/Ln for a while, but er... I seem to have gained 2 more.. it's more or less the same as the others but I've added a tiny Imperial Symbol to one of the wings.

Not-Last-Tie1.png

Not-Last-Tie2.png

Edited by Rodent Mastermind

Looking good. I am planning to try to make my bases with a new rod too...I am still thinking about how to do it. Do you think that your bases will need to be filled to balance the new weight the metal rod will add?

Edited by Joe Boss Red Seven

Looking good. I am planning to try to make my bases with a new rod too...I am still thinking about how to do it. Do you think that your bases will need to be filled to balance the new weight the metal rod will add?

Nope I don't think so, though I'm still going to do it as they are a bit light out of the box.

Okay that is cool.

I think a washer is the way to go with some putty...nothing new for us.

Now how do we get the ships to rotate? I have been looking around for options but I would like to read what you have to say about it...

;)

How the heck do you make those tiny symbols?

How the heck do you make those tiny symbols?

With a 0 brush and by thinking about the symbol and the negative space equally when painting. So for something like the Rebel symbol, it's a circle with 2 tears drops painted over it in the original plate colour, then a small V painted across the line where the 2 tears meet.

You can get much finer lines by painting a line and then painting a line either side of it.

brush.gif

You can also build up complex symbols by layering lines on top of each other. When I was working on my Epic Iyanden Eldar, I was painting Infinity symbols on the heads of some of the the 9mm Wraithguard using this technique

wraithguard-formation.jpg

Here is an example of the brush strokes I would use to do it.

decal.gif

Edited by Rodent Mastermind

Wow. You are very talented.

You're basically the best painter here if you ask me. Anyone who can do those little symbols has my infinite respect.

Also your RGI is leagues better than the one FFG is going to release. Even though I'm glad they're going to.

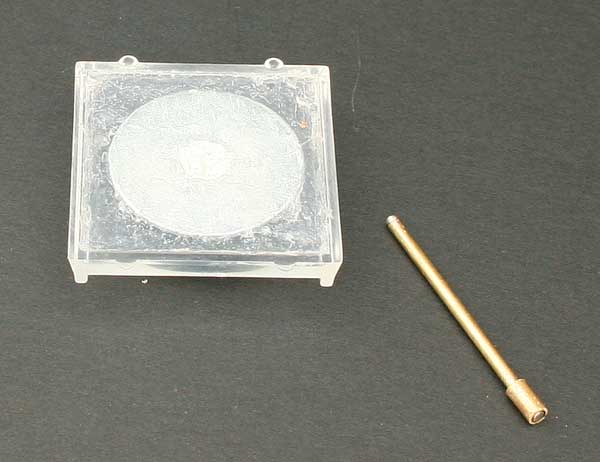
The Mk-1 bases didn't work 100%, the magnet broke of the end of the rod and got stuck in the sheaf, therefore I worked up a Mk2.

Base-Mk2-1.jpg

I moved the sheaf from the base to the rod, so it cups the magnet. This seems to have done the trick and it stops the magnet from escaping.

Base-Mk2-2.jpg

I've also added weights to the bases, and Silicon to make them non-slip. These changes make a huge difference and aren't too hard to do, so even if your keeping the normal stands I would recommend doing them.

Edited by Rodent Mastermind

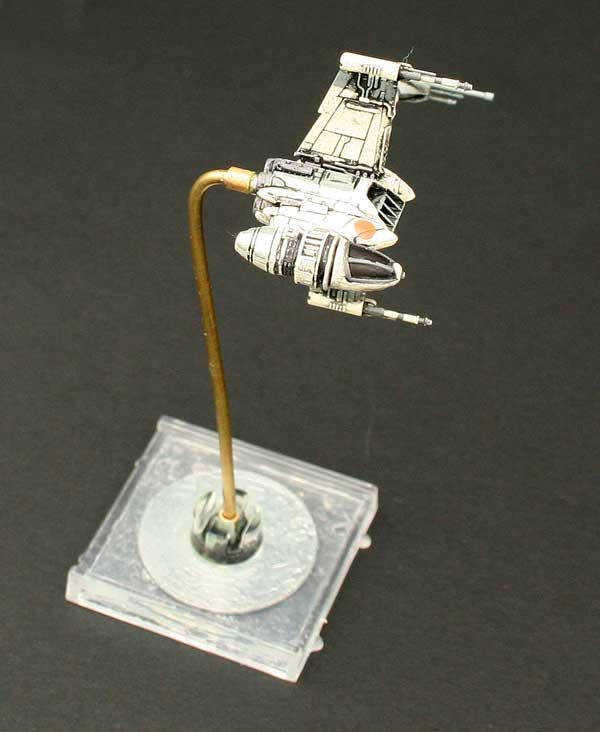
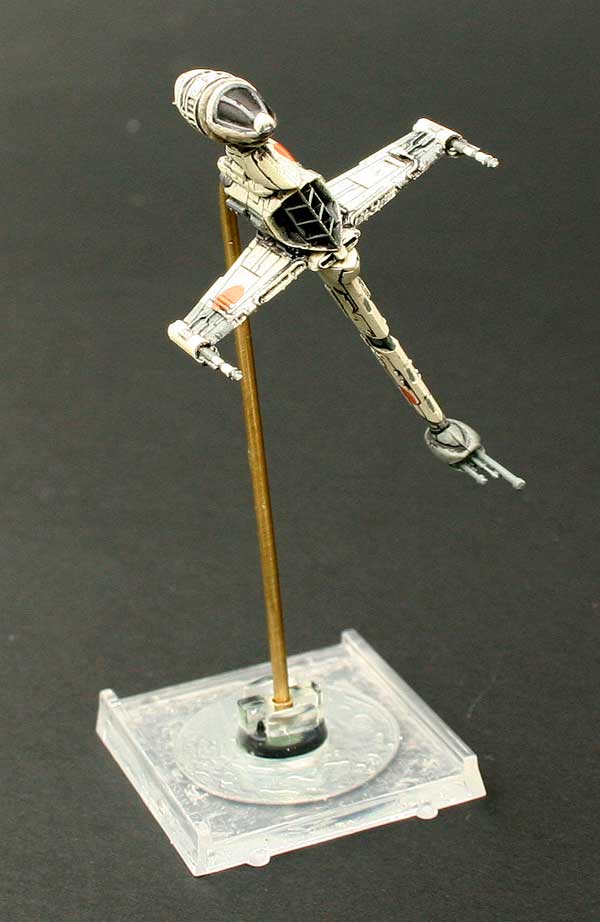
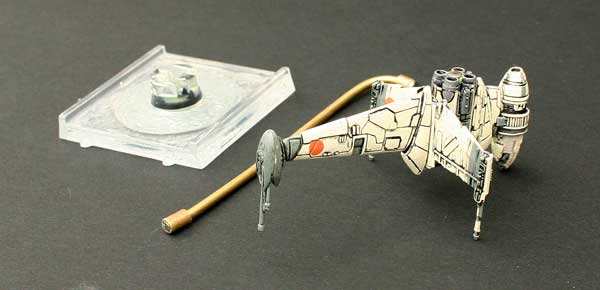
I used a modified stand for my B-Wing

B-Wing-WIP-1.jpg

B-Wing-WIP-2.jpg

the 5mm magnet is enough to hold the B-Wing in and orientation.

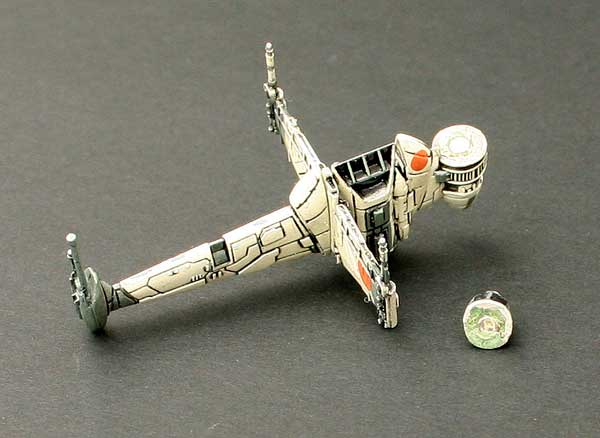
B-Wing-WIP-Parts-1.jpg

I also put a pair of magnets to allow me to turn the cockpit

B-Wing-WIP-Parts-2.jpg

Edited by Rodent Mastermind

Just for completion I thought this should be posted here too.

This is my Shuttle. Since I messed it up so much trying to get the wings to work I just pinned it into flight position. It looked like it would have scraped off any paint I had on the chassis anyway. Luckily the back fin of mine comes seperate so it shouldn't be hard to store.

I went with a very different colour scheme. I thought it would look striking in black. So here is the ST-623 "Eclipse" requisitioned to the Emperor's Shadow Guard.

Shuttle1.jpg

Shuttle2.jpg

Shuttle3.jpg

Shuttle4.jpg

Shuttle5.jpg

Shuttle6.jpg

And here is a close up of the tail detail, It's the ships call sign and reference number in Aurebesh.

Tail-Detail.jpg

Edited by Rodent Mastermind

and lastly a group shot of my Imperials so far, still have some Bombers and Ties to paint though.

GroupShot.jpg

Edited by Rodent Mastermind
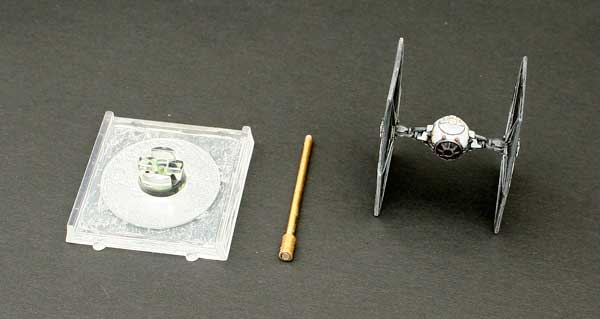
Thats awesome work guys.. But one of the reasons i started to play this game is that i Didnt have to paint anything! And thats a good thing.

Love the paintjobs, I would love to be able to do stuff like that... I'm stuck with the standard paint jobs though.

Also, I enjoy the fact that your roysal guard is flying sideways...

LOL... yeah it can do that.. it's THAT maneuverable.