Still only got one Tie/Ln finished, though the others are **** close.
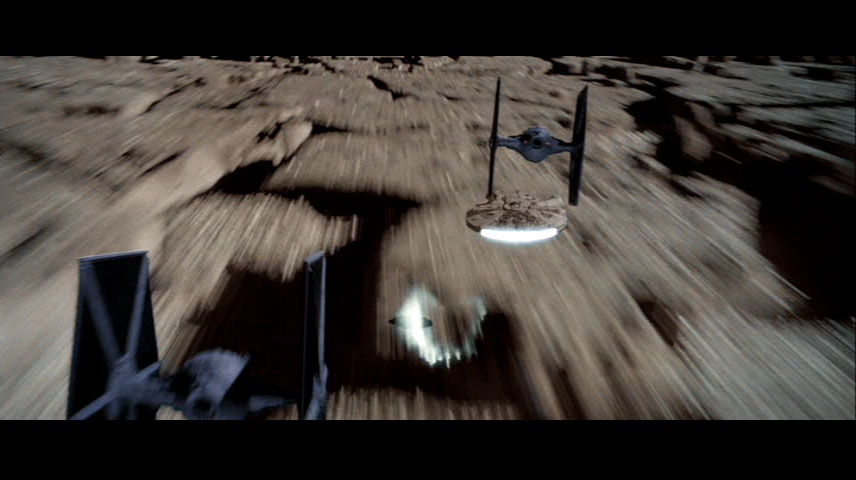
Therefore I thought I would make a composite image of it to make it feel like I had more.
Okay now put a nice engion glow on it...
Except Ties, as far as I can tell, don't have Engine Glow.. I did wonder so I looked it up as I was painting... I should however put on the lights.


Still only got one Tie/Ln finished, though the others are **** close.
Therefore I thought I would make a composite image of it to make it feel like I had more.
Okay now put a nice engion glow on it...
Except Ties, as far as I can tell, don't have Engine Glow.. I did wonder so I looked it up as I was painting... I should however put on the lights.
Those two red dots between the cockpit and the wings are the engine glow. Twin Ion Engines. The tutorial has you painting the back window/ rear hatch.


