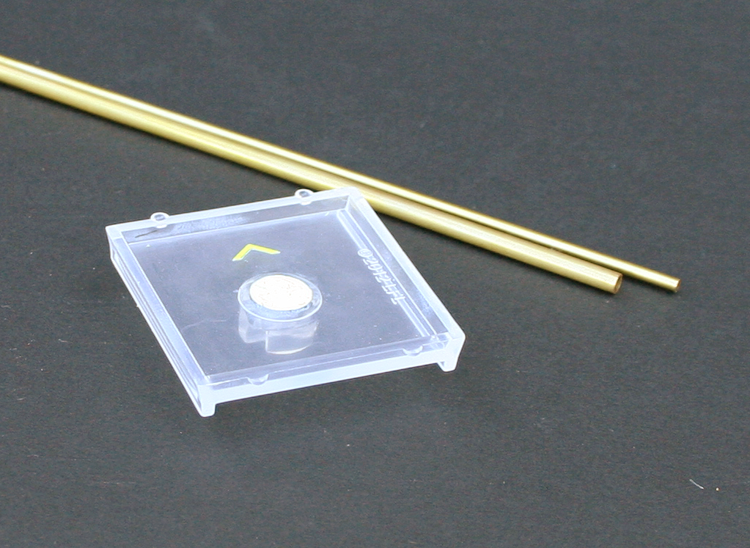
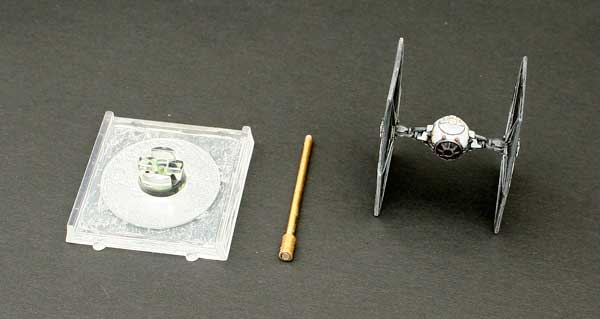
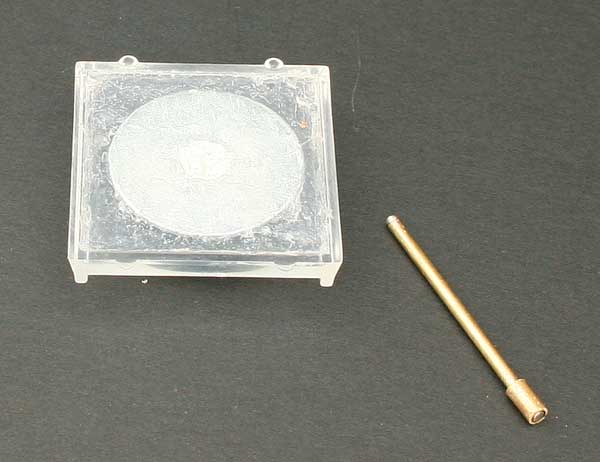
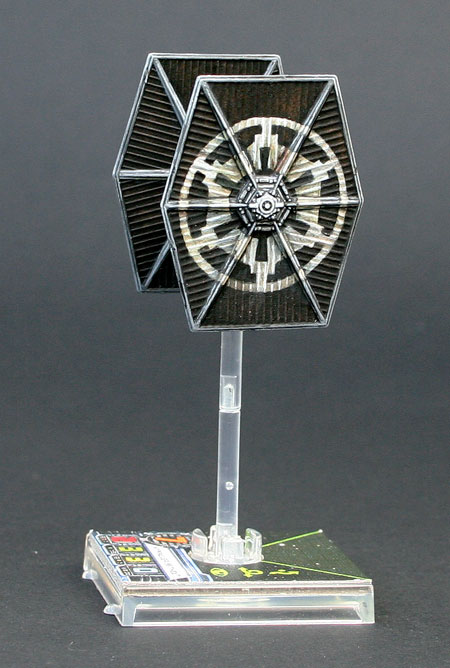
OK a few people on Facebook have asked me about the bases and how they are made. As you lot here will know these went through lots of iterations but I will describe how I made the Mk3 version which is the one I will use in the long run.
I started up with 3 types of magnet
- A Big chunky one which is used inside the base, it is 6mm diameter and 3mm deep.
- A Small one 2mm diameter by 1mm deep, these were set into the vast majority of the smaller fighters.
- A Slightly bigger 3mm by 1mm deep magnet, which where used for heavier ships like the X1, HWK and the B-Wing, as they rotate far too easily under there own weight with the smaller magnet. They are also used on the bottom end of the rods where they plug into the base.
- 2mm brass rod
- 3mm brass tubing
- 30mm steel washers with a 6mm hole (has to be at least 6mm so the magnet can fit in)
- Milliput or Greenstuff (I generally use a mix of the two as it's more robust)
- Black Spray
- Silicon used for sealing baths.
- Paints (Dark Red, Black, Dark Blue, White, Grey, Grey Blue)
- Washes (Crimson, Blue)
- Araldite Epoxy Glue
- Super Glue
- Gloss Spray Varnish

Step 2. While this is drying you can glue the washed into the back with Araldite. Then leave it overnight for everything to dry.
Step 3. Take a 6mm drill bit and drill through the hole center of the washer, this is the bit where you have to be careful, what you are aiming to do is drill out the center pin and leave a hole where the magnet can sit flush, so the magnet on the rod can touch it and give a solid connection. This will invariably cause some damage to the inside of the mount but this can all be fixed.
Step 4. Get some putty and use it to fill in any damage caused by the drill. Wet down the end of your 3mm piping and push it into the hole to make sure it sits snuggly and there is no putty on the face of the magnet, you can also use a probe, pin or sculpting tool to clean up the inside. This bit can be a bit annoying but the more careful you are in Step 3 the less work you will have to do. Then leave it to dry, I would recommend overnight.
Step 5. Glue in a 6mm Magnet with superglue... IMPORTANT: make sure the polarity of all your magnets match so any rod will fit any base
Step 6. Fill the back of the base with Silicon. try to get it into all the gaps so it doesn't leave air holes, then use a metal ruler or the straight back of a knife and in a smooth motion run it across the top of the silicon to remove all the excess and leave it flush. The leave to dry for a couple of hours.


NEXT PAINTING.
Step 7. Put all your bases on a spray board and give them 2 or 3 coats of black spray.
Step 8. Paint them, you could skip this stage and leave them black if you want, or paint them any colour you like, they could look awesome in brass to go with the rods.
My Paint Scheme. First thing I did was use a largish brush to tint areas of the black dark blue or dark red. On some of these areas I highlighted up with more red and the grey blue to give the hint of the edges of gas clouds. I also used the Crimson and the Blue wash to make the areas look smoother against the black
Next I got a small brush and painted lots of small grey dots. In some areas I washed over these with the Blue or Crimson wash and then painted more in the grey to give denser areas of stars. I then got the white and painted a few white dots into the mix.


