PEWPAIGN CONCEPT
After experimenting with several rule sets and Star Wars tabletop games over the last few years, my game group and I have finally embarked on a Star Wars campaign (a.k.a. the “Pewpaign") pitting the immovable forces of the Galactic Empire against the plucky Rebel Alliance across both space and terrestrial theaters. Utilizing a rule-set based on many of the elements introduced in Armada’s Corellian Campaign, the cabal of generals and admirals that comprise the leadership of these factions will have to manage the composition and deployment of their forces, recruit and direct intelligence assets to reveal their opponent’s hidden secrets, and foster diplomatic relations in the political arena that they may one day call upon to advance their cause. The strategic visions that result from this decision space will be played out on Armada’s Corellian Campaign map, with the subsequent battles represented by tactical-scale wargames such as Armada and Legion.
While we fully expect to continue fine tuning the nuances of our rule set as we dive into this adventure, the ultimate goal for each faction is gain the support of the men, women, and xenos of the Corellian sector – whether through fear or sympathy – to bring the sector into each faction's respective fold. The amount of control each faction is exerting in the sector is represented by the Corellian Campaign’s planetary Victory Points; re-purposed in our iteration to be static resource claimed by a faction through their bases and outposts (rather than cumulatively gained via battlefield victories). The first faction to seize 14 of the 21 available Victory Points will claim the sector and its valuable shipyards as their own, bringing their faction that much closer to galactic rule/freedom/bragging-rights.
PEWPAIGN INTRO
/pic5239804.jpg)
The rule of the Galactic Empire strains. Cracks in Imperial order have begun to emerge throughout the Empire, including among the core worlds of the Emperor's domain. Among all these sparks of rebellion, the budding whispers of freedom and reform in the Corellian Sector stand above the rest. Their loyalty and service long taken for granted by their Imperial rulers, the men, women, and xenos of the sector wield power far beyond their current understanding. Should these secret whispers become public cries and public cries become declared rebellion, the Empire will not only face an existential crisis as it's legitimacy is questioned at a galactic-scale due to the perceived inability of the regime to benefit the Imperial loyal, but will also risk material shortages and economic fallout should the sector's industrial hubs fall. For the Empire the risks are too high to ignore; for the Rebellion the opportunity too great.
The Imperial Navy responds by redeploying Sword Fleet Delta from the Mid-Rim to reinforce the Corellian Sector's 1st Defense Fleet. Meanwhile the Rebel Alliance sends Battlegroup Beskar to defend the bases and outposts of its sympathizers and establish new bases of operation to advance the Rebel cause...
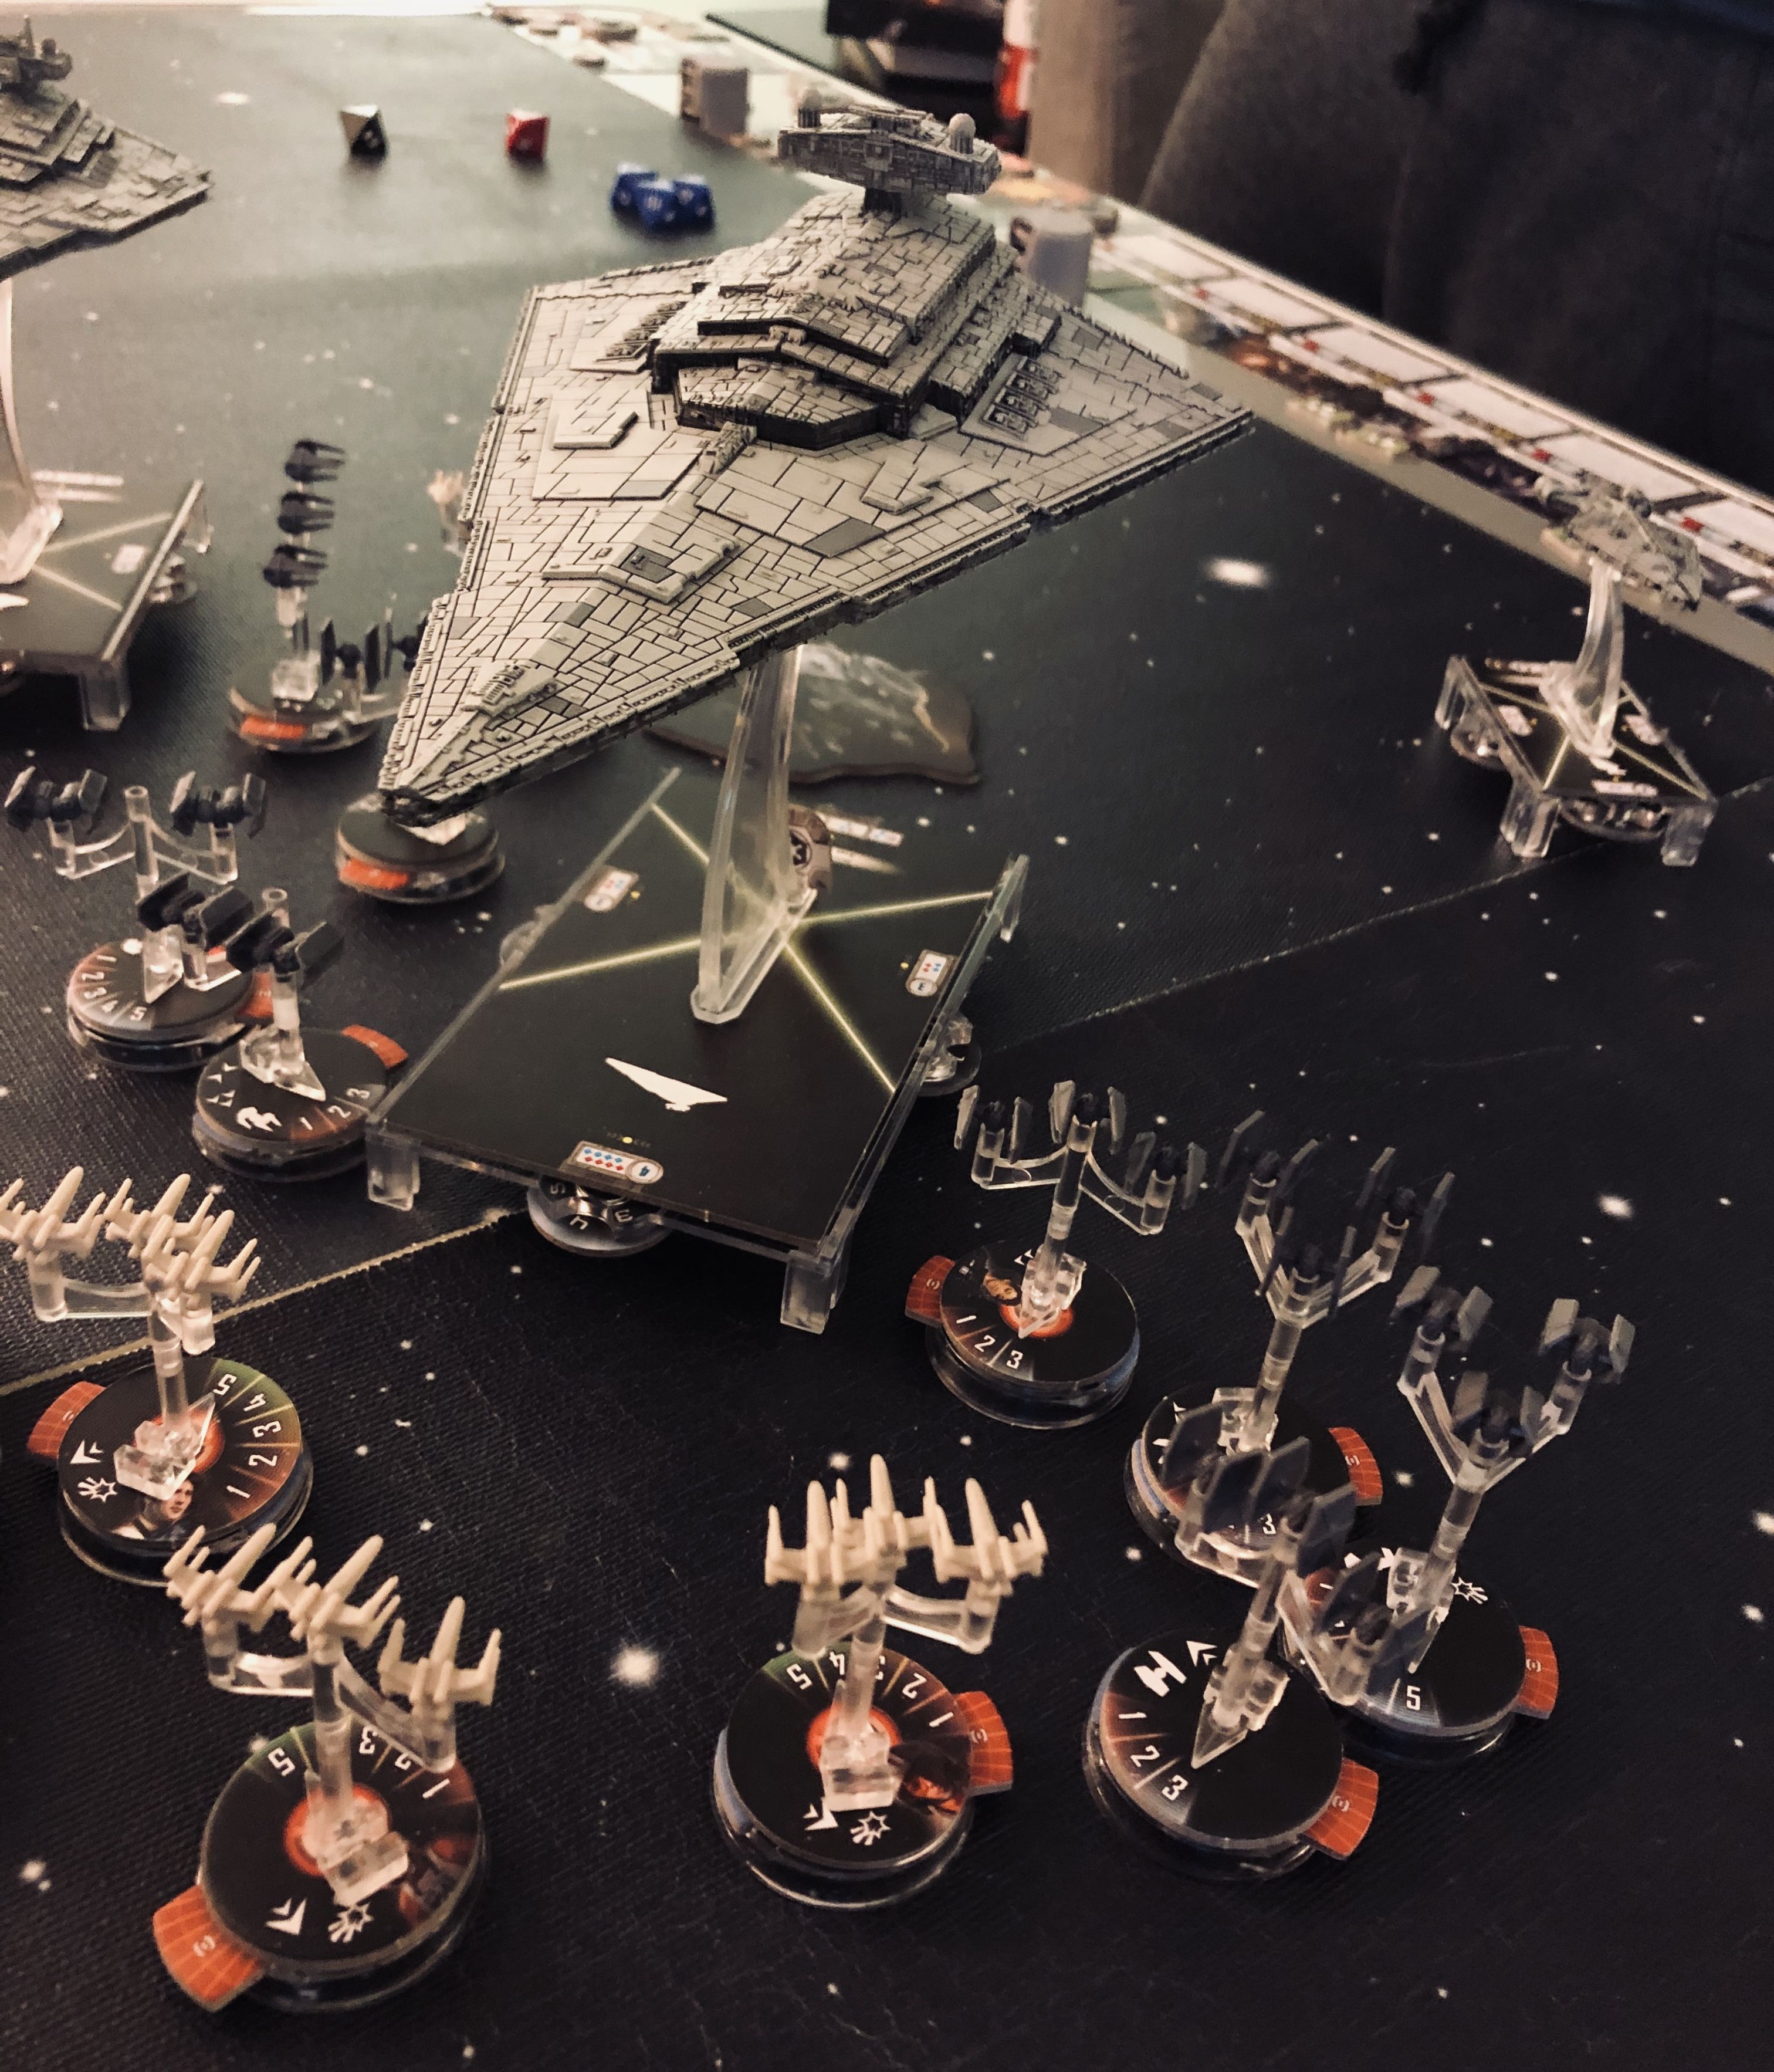
STRATEGIC PHASE - 1.1
/pic5239806.jpg)
With the Imperial 1st Defense Fleet tasked with defending the Corellian System proper, Sword Fleet Delta begins its patrol in the sector's galactic south, restocking perishables on Aurea before embarking on a Show of Force mission at Saccoria.
Meanwhile Battlegroup Beskar launches synchronized raids in the sector, deploying Task Force Porg to intercept Imperial military shipping transiting near the planet Nubia along the Corellian Run Hyperspace Lane while Task Force Grave burned towards the imperial controlled planet Selonia, intent on raiding Imperial war material shipments stockpiled at the planet's orbiting repair yards.
Already in system, the Imperial Navy's 1st Defense Fleet responds, **** bent on intercepting the Rebel fleet barreling towards Selonia and setting the stage for the sector's first major clash between the two factions...
TACTICAL PHASE - 1.1.1
Scenario
/pic5239803.png)
Special Rules:
Imperial Repair Yards - Stations only heal Imperial vessels due to Imperial control of the planet (Imperial base on the surface).
Fleets:
Imperial - 1st Defense Fleet (400 pts)
/pic5239846.jpg)
-
Imperial II-class Star Destroyer
- + Admiral Motti
- + Veteran Captain
- Victory I-class Star Destroyer
- Arquitens-class Light Cruiser
-
TIE Fighters
- Mauler Mithel
- Black Squadron
- TIE Fighter Squadron (x3)
-
TIE Interceptors
- Ciena Ree
- TIE Interceptor Squadron (x2)
-
TIE Bombers
- TIE Bomber Squadron (x3)
-
TIE Advanced
- TIE Advanced Squadron (x1)
Rebel Alliance - Task Force Grave (398 pts)
/pic5239901.jpg)
-
Profundity - MC75 Armored Cruiser
- + Mon Mothma
- Yavaris - Nebulon-B Escort Frigate
-
Hammerhead Torpedo Corvette
- + Expanded Launchers
-
Hammerhead Torpedo Corvette
- + Rapid Reload
-
A-Wings
- Shara Bey
- A-Wing Squadron (x1)
-
X-Wings
- Wedge Antilles
- Biggs Darklighter
- Luke Skywalker
-
Y-Wings
- Dutch Vander
Pew Pew Pew
Under the command of the traitorous senator and Rebel hero Mon Mothma, Task Force Grave arrives in the Selonia system intent capturing reportedly undefended Imperial war material stockpiled at Selonia repair yards and destroying that which they cannot seize before a local Imperial defense is mustered. However, as Mon Montha looks across the black from her perch on the MC-75 Profundity's bridge at the two stations that were to be Grave's prey Rebel scanners detect the presence of an Imperial fleet.
/pic5239900.jpg)
Alerted to the imminent Rebel raid by Naval Intelligence, Admiral Motti orders the sector's 1st Defense Fleet into action from the bridge of Imperial II-class Star Destroyer.
/pic5239898.jpg)
As the two fleets race towards one another Task Force Grave's two A-Wing squadrons - one under the command of Shara Bey - rush ahead, forming a picket line against the closing Imperial Fleet.
/pic5239903.jpg)
/pic5239899.jpg)
With the opportunity for an Alpha-Strike by his three TIE Bomber squadrons thwarted by the aggressive Rebel A-Wings, Motti decides his squadrons back to defend his capital ships, hopeful that a later bombing opportunity will present itself.
/pic5239869.jpg)
With the two fleets soon closing to firing range, Shara Bey leads the two A-Wing squadrons on a mad dash to Motti's right flank, gambling that Motti will redeploy some of his squadrons to protect the flank and hoping that the cover provided by a Selonian repair station would allow the A-Wings to weather the pending storm.
/pic5239868.jpg)
Motti, however, refuses to be baited and presses the entirety of his command forward towards the out numbered forces of Task Force Grave.
/pic5239866.jpg)
The first shots are fired by a Rebel Hammerhead Corvette at Motti's flagship, but proved to be relatively ineffective as the Star Destroyer's shielding easily absorbed the corvette's relatively weak turbolasers.
/pic5239819.jpg)
Sensing an opening, Motti's 3 TIE Bomber squadrons dash through laser fire towards the Hammerhead, dealing heavy damage to the small escort just as an A-Wing squadron desperately barrels into the center of the Imperial fleet to engage the TIE Bombers' escorting TIE Interceptor and TIE Fighter squadrons in the hopes of preventing further damage to the wounded Hammerhead.
/pic5239865.jpg)
Meanwhile the fore of Motti's Star Destroy becomes a hornet's nest of fighter craft as a squadron of X-Wings and Y-Wings led by Wedge and Dutch pounce on the now vulnerable TIE Bombers while two X-Wing squadrons under Biggs and Luke engage the remainder of the TIE Fighters led by Ciena Ree.
/pic5239863.jpg)
The Profundity joins the scrum, trading broadsides with the Imperial II and opening its hanger bay doors...
/pic5239817.jpg)
... launching a second Hammerhead Corvette into the heart of Imperial formation! Modified with Expanded Launchers at its fore, the newly launched Hammerhead unloads a devastating barrage of torpedoes at the unsuspecting Victory I-class Star Destroyer escort.
/pic5239816.jpg)
Unfortunately for Mon Motma, the Rebellion's initiative is short-lived. With all their forces now engaged in a close quarters brawl with 1st Defense Fleet, casualties quickly begin to mount for the outnumbered Grave raiders. The Victory's crew quickly recovers from the Hammerhead's torpedo volley, loosing their own broadside against their assailant.
/pic5239815.jpg)
Reinforced by Mauler Mithel, the surviving bomber escorts decimate the Alliance A-Wing squadron that had recklessly engaged them, forcing the remaining A-Wings to retreat (scarred) under the withering fire wrought by the Imperial ambush.
/pic5239814.jpg)
The Hammerhead escorts soon follow suit: Under coordinated bombardment from Motti's flagship and its escorting Arquitens-class Command Cruiser, the original corvette is forced to withdraw(scarred).
/pic5239813.jpg)
/pic5239810.jpg)
Fresh but out-gunned, the newly launched Hammerhead covers its sister-ship's withdrawal, surviving several exchanges with the enduring Victory before it too is forced to withdraw (scarred), leaving only the Profundity and Yavaris in system.
/pic5239811.jpg)
Despite the loss of the Hammerheads, their sacrifice was not in vain. With the majority of Imperial fire concentrated on the corvettes, the elite pilots of the Alliance Starfighter Corps gain the upper-hand in the on-going squadron battle, eliminating (scarred) two of the three TIE Bomber squadrons, Black Squadron, and Mauler Mithel in quick succession.
/pic5239933.jpg)
/pic5239932.jpg)
The Yavaris finally joins the fray, finally downing the shields of the plucky Victory and blocking the Star Destroyer's advance...
/pic5239935.jpg)
... forcing the Victory to collide with the frigate, and allowing coordinated fire from both the bow and starboard batteries of the Profundity to finally force the Star Destroyer's withdrawal (scarred).
/pic5239809.jpg)
Meanwhile Shara Bey's squadron exacts revenge for the decimation of her sister-squadron, defeating (scarred) Ciena Rae.
/pic5239936.jpg)
However, the Yavaris - its shields now severely weakened from point-blank fire from the Victory and hull damaged from the collision - is shortly forced to flee itself (scarred) following a lucky shot from Motti's Imperial II.
/pic5239807.jpg)
As the battle draws to a close Luke and Biggs' X-Wing squadrons are also forced to retreat (scarred), but Rebellion's Starfighter Corps is ultimately able to claim a minor victory over their opponents after they defeat seven of the twleve squadrons deployed by the 1st Defense Fleet - including all their named squadrons - compared to the Grave's loss of three of its six deployed squadrons. Despite this silver-lining, Task Force Grave's raid on the Selonian repair yards ends in a defeat for the Alliance - as they suffered higher overall loses (fleet points) and failed to achieve their tactical objective (victory point loss) in system - and Mon Mothma is forced to withdraw to Alliance repair facilities in the Saberming Asteroid Belt.
Nevertheless, the sheer volume of losses sustained by the the Imperial TIE squadrons challenges any Imperial claim at a decisive victory, promising a bloody, enduring conflict for the Corellian Sector.
/pic5239859.jpg)
/pic5239860.jpg)
Outcome
Victory Points:
Imperial - 1st Defense Fleet: 2
Rebel Alliance - Task Force Grave: 1
Fleet Status:
Imperial - 1st Defense Fleet
-
Veterans (1):
- Imperial II-class Star Destroyer
- Arquitens-class Light Cruiser
- TIE Figher Squadron (x1)
-
Scarred:
- Victory I-class Star Destroyer
- Mauler Mithel
- Black Squadron
- TIE Fighter Squadron (x1)
- Ciena Ree
- TIE Interceptor Squadron (x1)
- TIE Bomber Squadron (x2)
-
Destroyed:
- None
Rebel Alliance - Task Force Grave
-
Veterans (1):
- Profundity - MC75 Armored Cruiser
- Shara Bey
- Wedge Antilles
- Dutch Vander
-
Scarred:
- Yavaris - Nebulon-B Escort Frigate
- Hammerhead Torpedo Corvette (x2)
- A-Wing Squadron (x1)
- Biggs Darklighter
- Luke Skywalker
-
Destroyed:
- None
LOGISTICS PHASE - 1.1
Fleet Points Earned:
Imperial
- 1st Defense Fleet: 40 (victory at Selonia)
- Sword Fleet Delta: 60 (uncontested Show of Force)
Rebel Alliance
- Task Force Grave: 20 (defeated during Hyperlane Raid)
- Task Force Porg: 60 (uncontested Hyperlane Raid)
Intelligence Operations:
Imperial
- None
Rebel Alliance
- None
Diplomatic Actions:
Imperial
- None
Rebel Alliance
- None