Count Dooku
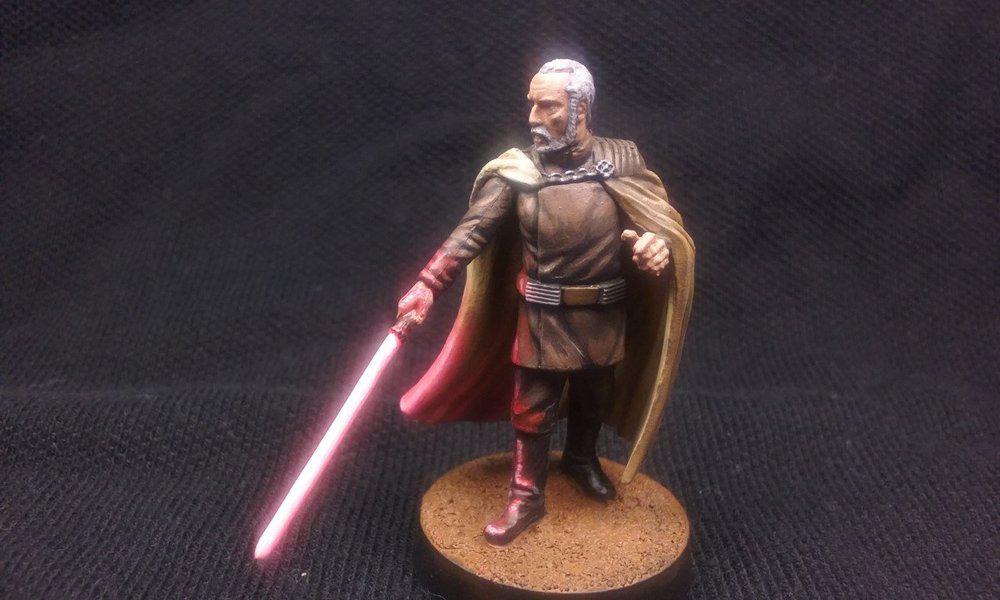
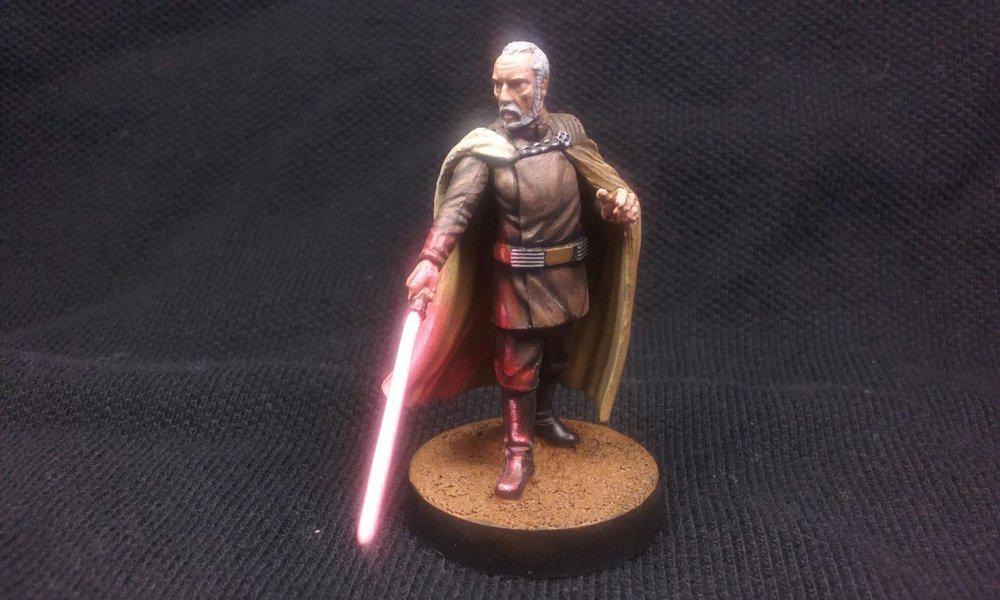
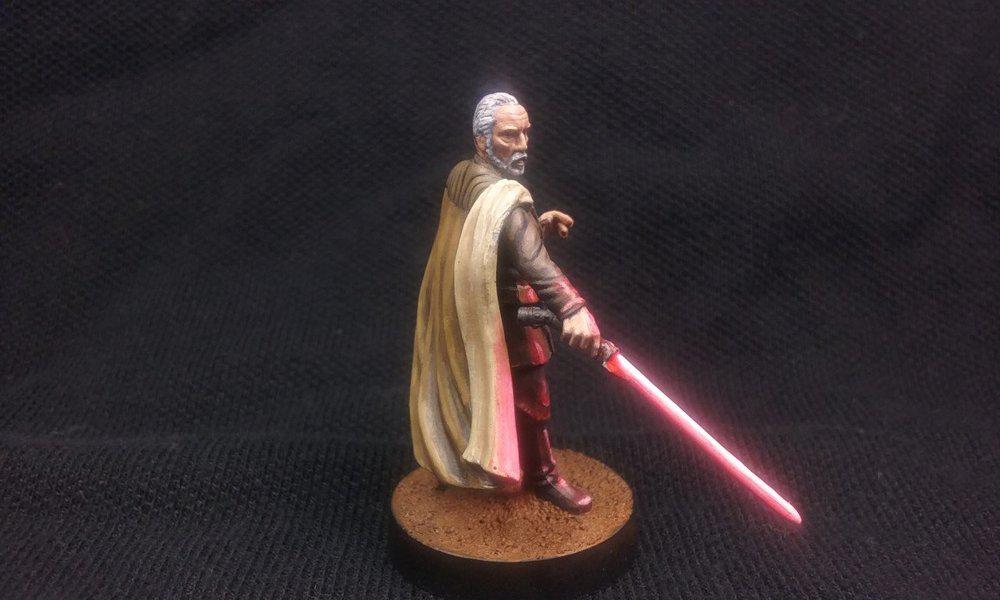
First of all let me say that this is truly amazing! Is the mini sealed in any way? I ask because some sealers can dull the light effects. Either way the paint job is impressive, most impressive. I wouldn't mind commissioning you to paint my Dooku.
Edited by Chili-52Spelling error
13 minutes ago, Chili-52 said:
Hi Chili,
I regret to say I dont take commissions anymore. Not because I stopped enjoying them. But I simply do not have the time I once did for painting. This is in fact the first figure I have gotten done in the last two months. Otherwise I would have loved to take the commission.
Oh, and this has been sealed.
Wow. Must invest in some flourescents
I completely understand. I find myself having very little time to paint lately. This is none the less a really good paint job, you should be proud. Is there any way we could convince you to write a quick tutorial on how you painted the lightsaber and the glow effect on Dooku?
What was your color pallet for the outfit?
Of course!
Time to paint I might not have, but I love helping others to do so. So while this would work better with pictures and a step by step demonstration, I can at least give an explanation of how this works.
How to do Object Source Lighting: OSL is when you paint a light source on a figure, in this example a light saber, that is not actually emitting light.
Step One: Paint a miniature completely. OSL is the last step in painting a figure. Your going to be painting over your existing paint job.
Step Two: Select your light emitting object, and paint this white. Next consider how your object is giving off light. To do this you have to draw Line of Sight from your object in straight lines to where it is striking your miniature. The further away the reflecting surface is the dimmer the light will be.
Step Three: The next is a matter of practice. What you want to do is thin down your paint until its mostly transparent. Start with a medium color and paint your largest reflected light areas first. Next you paint with a lighter color (still darker than your white object) in a smaller area mostly on the areas closer to the light source. Finally your painting your last highlight in the smallest area closest to the saber.
Step Four: Clean up your highlight area if you have over done it. Remember in daylight saber light isn't particularly strong. refer back to my picture of Dooku. Your notice the area of light reflection is actually pretty small over all, with only the brightest areas closest to the saber.
47 minutes ago, joewrightgm said:What was your color pallet for the outfit?
Cape: Vallejo Game Color: Heavy Brown,
Inside of cape: Vallejo Game Color: Heavy Brown + Vallejo Dark Sand 50/50%
Tunic: Vallejo: Olive Brown
Tunic Washed: Black
Tunic Highlight: Vallejo Leather Brown
Boots: Black
Belt: Vallejo Game Color: Heavy Brown
On 12/6/2019 at 11:00 PM, Godsgopher said:
Cape: Vallejo Game Color: Heavy Brown,
Inside of cape: Vallejo Game Color: Heavy Brown + Vallejo Dark Sand 50/50%
Tunic: Vallejo: Olive Brown
Tunic Washed: Black
Tunic Highlight: Vallejo Leather Brown
Boots: Black
Belt: Vallejo Game Color: Heavy Brown
Bit of a long shot as this is an old post, but what colors did you use for his skin? I have never seen skin amd wrinkles done so perfectly. I'm starting to paint this model so if appreciate it.


