Greetings, admirals!
Just got into the game and I thought I'd try to paint some tiny ships. I quite like the result and thought I'd post a simple painting guide that anyone can follow to make great looking rebel ships. If you found this useful I may do other ships in the future!
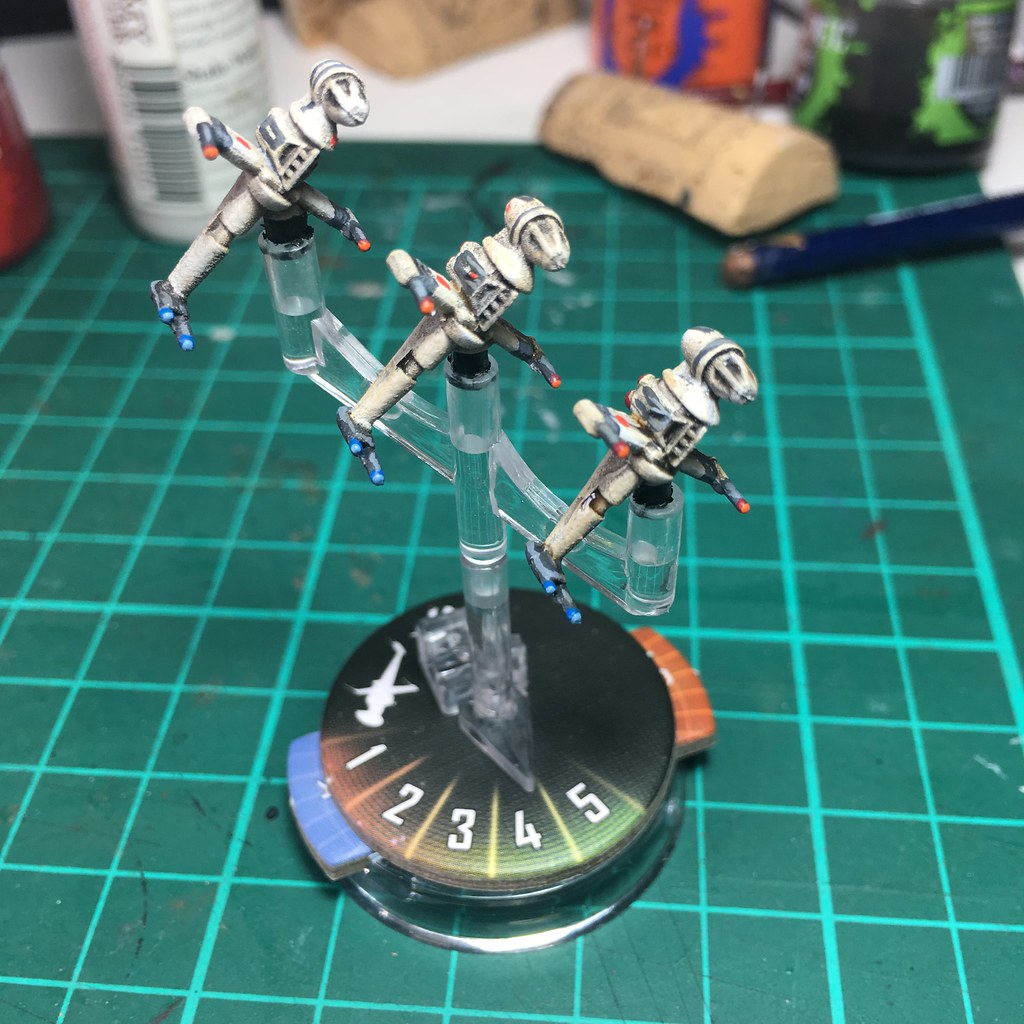
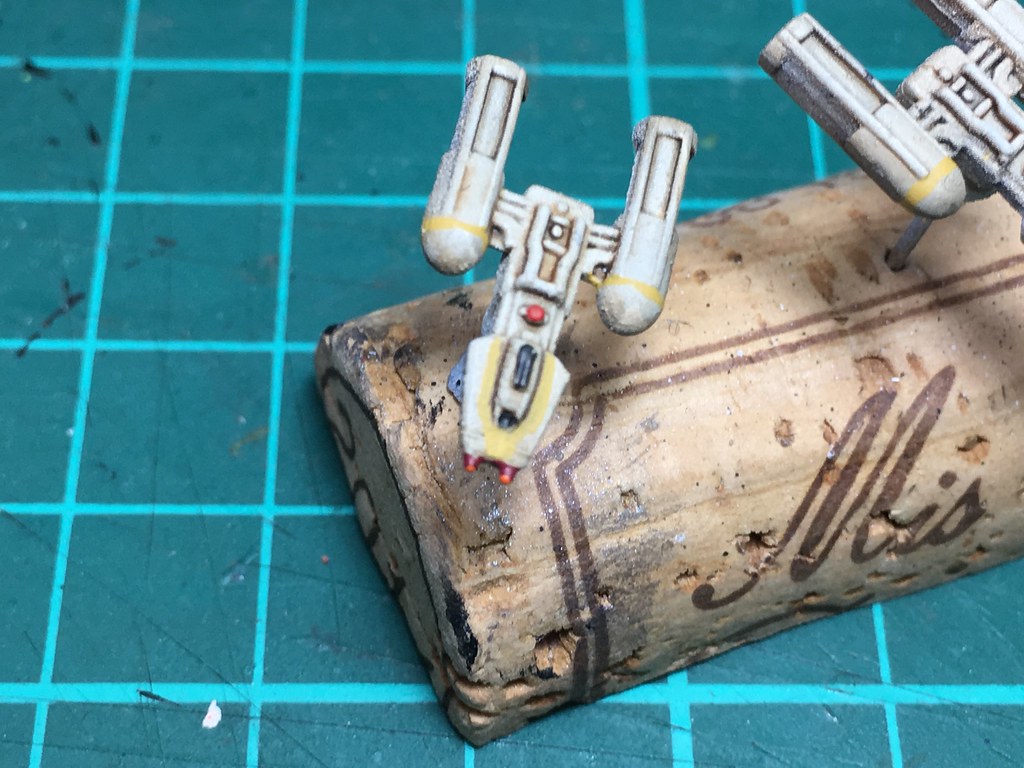
This is the end result - if you like it read the step-by-step guide below:


Here goes:
These are the paints I used in this guide - obviously you don't need to use the exact same ones, but I really recommend "Spaceship Exterior" and "Banshee Brown" as they work fantastically well for Rebel ships.
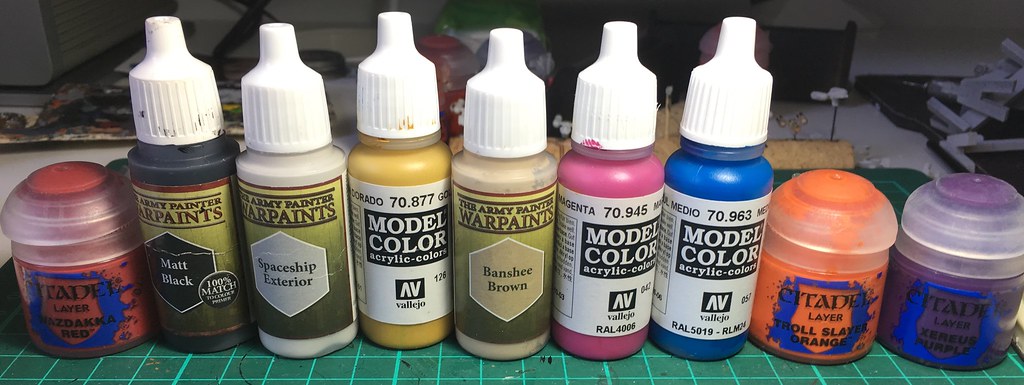
These are the washes and a black weathering powder (any will do).

Start by drilling holes under the pegs - about 3mm will do. Cut some wine corks in half and mount some pins or similar on them. This 10 min prep is worthwhile as it will considerably speed up the painting process.
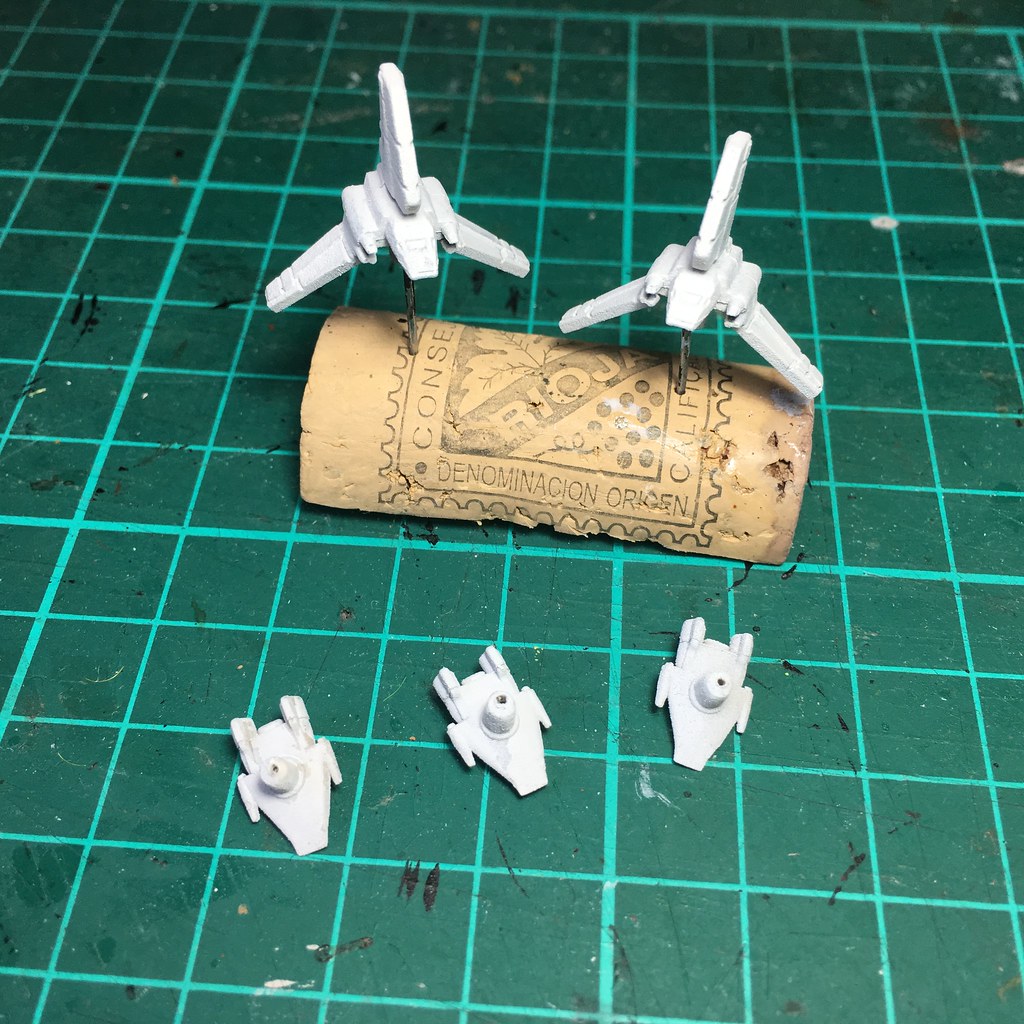
Starting from a white undercoat, base coat the models with Spaceship Exterior. Ensure full coverage.

Then apply a thinned wash of a sepia brown (I used Light Brown by Army Painter).

Then apply a thinned wash of black (about 50:50 water to wash).

Next step is to paint the astromechs the colours of your choice. Also paint the front window and the laser turret black.

Then apply the squadron colour details in the areas shown. I used a strong ochre colour for Gold Squadron.
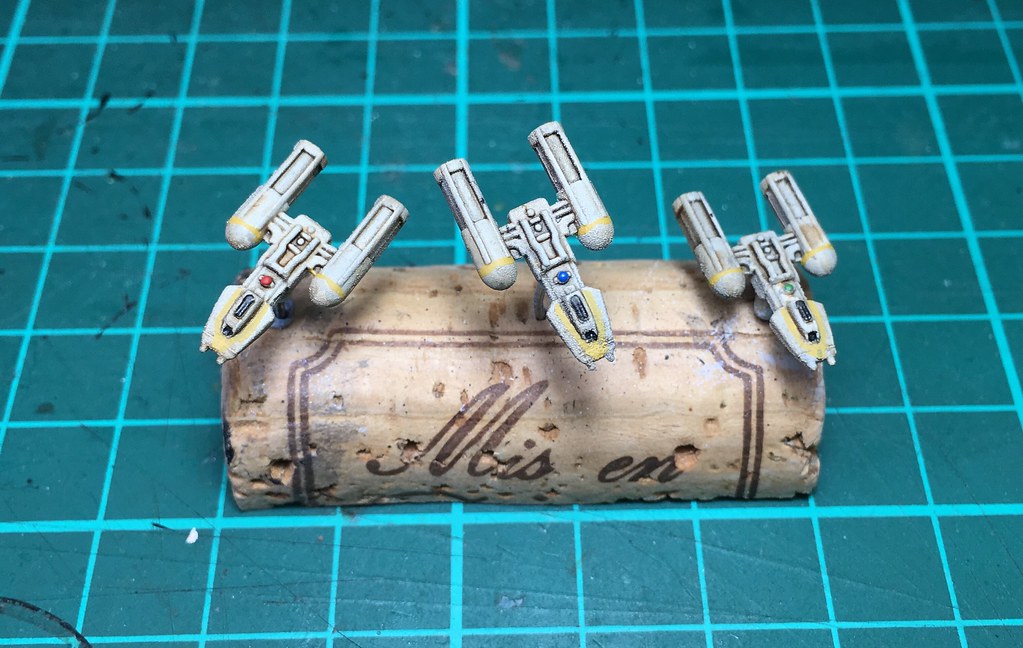
Next up, lasers. Paint the lasers with a dark red and add a tiny dot in the front using a bright orange.
Now we start with the engine glow. Don't worry about being too neat - we will correct mistakes later plus at this scale at arms length the eye is easily fooled. Start with a light purple (I used a 1:1 purple to magenta mix and added some white for the first stage near the enigine).

Second stage is the same mix as before without the white.

Third stage is the purple on its own.

Fourth stage paint the remaining parts of the engine with black, as well as the back of the engine pod.

Now is the time to correct mistakes using Banshee Brown. I used the side of the brush and gently brushed the straight rods of the engine pod. Also went with horizontal lines at the bottom of the pods. Its nice to add some "highlights" on some raised areas such as the "cheeks" of the pilot pod, the round bit of the engines and the random wiring on the top.

Finally we use some weathering powder to *sparingly* add laser blast damage.

I also painted the pegs black before mounting them on the stands. Don't forget to add some varnish before you put them on the stands - but allow everything to dry first.
"This is Gold Leader. Starting my attack run."