1 hour ago, Vespid1311 said:The more I think about it, the more I like the idea of Intimidation on Strikers.
Me too. A lot.
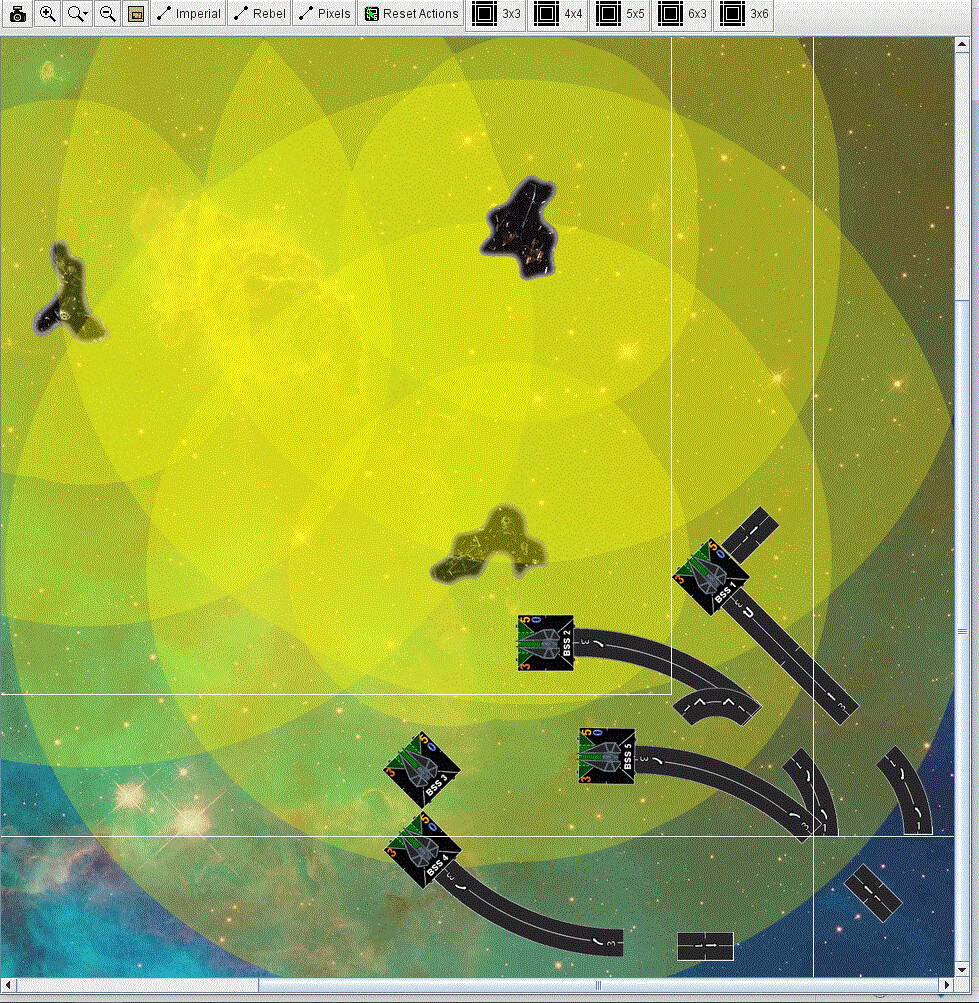
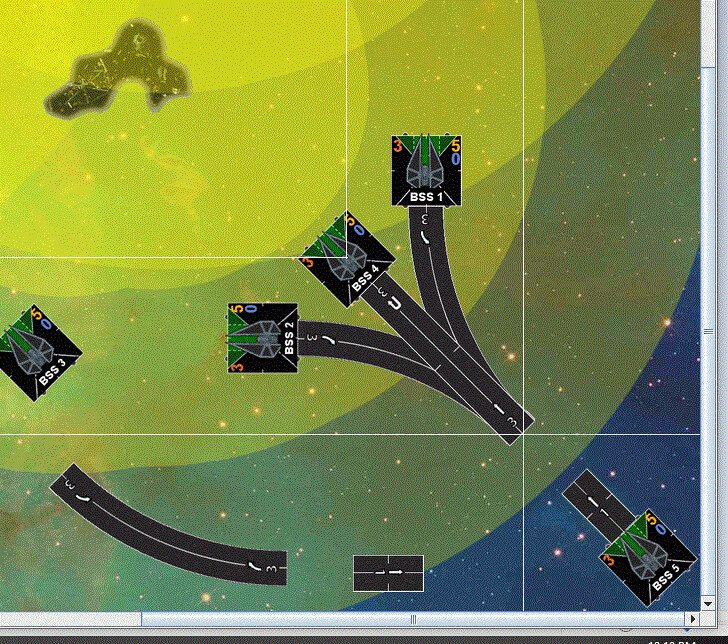
1 hour ago, Vespid1311 said:Time is an issue for me at the moment, but a bit later on I want to discuss Obstacle theory and starting positioning. I feel that there is a large discussion to be had there.
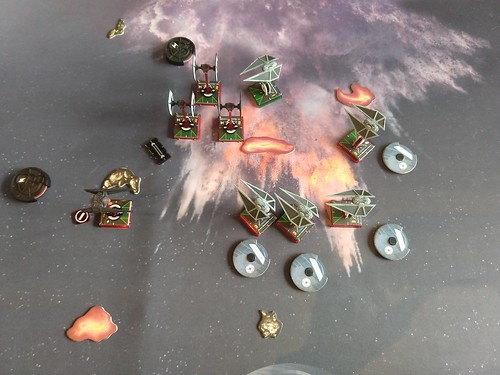
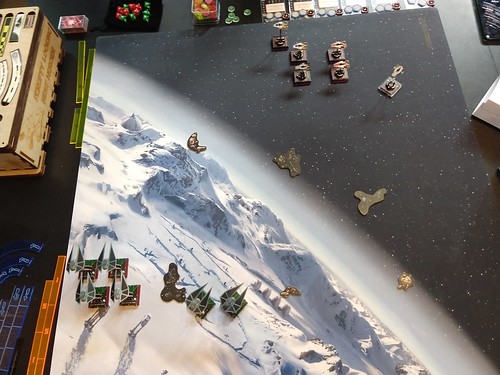
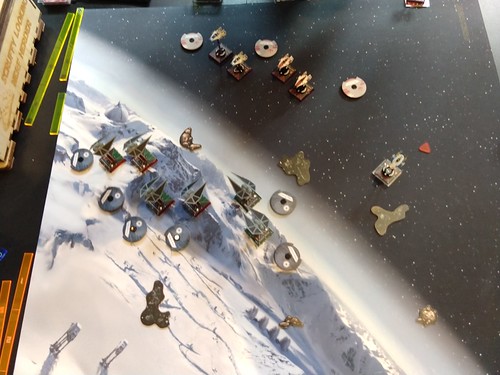
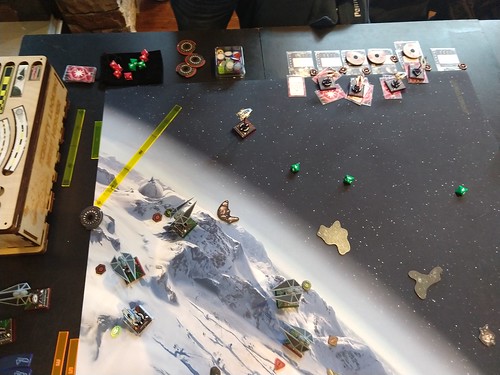
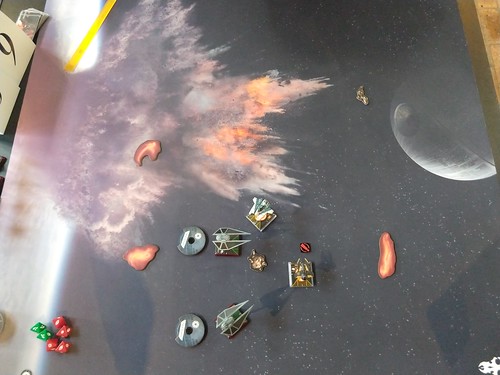
I am looking forward to it. I'll try to take pictures tomorrow at my Store Championship and we can discuss as a community what I did well and where I could improve.