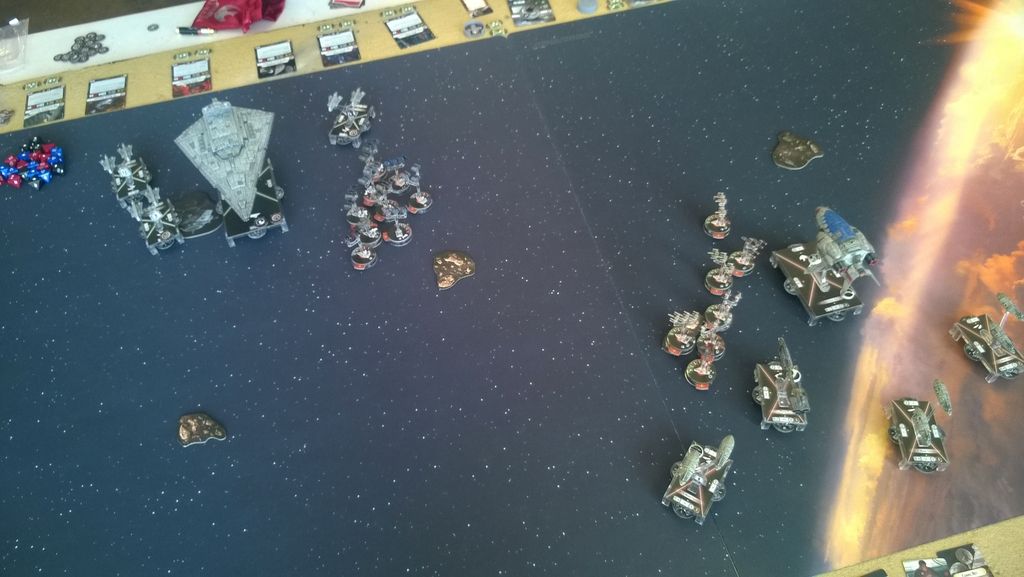
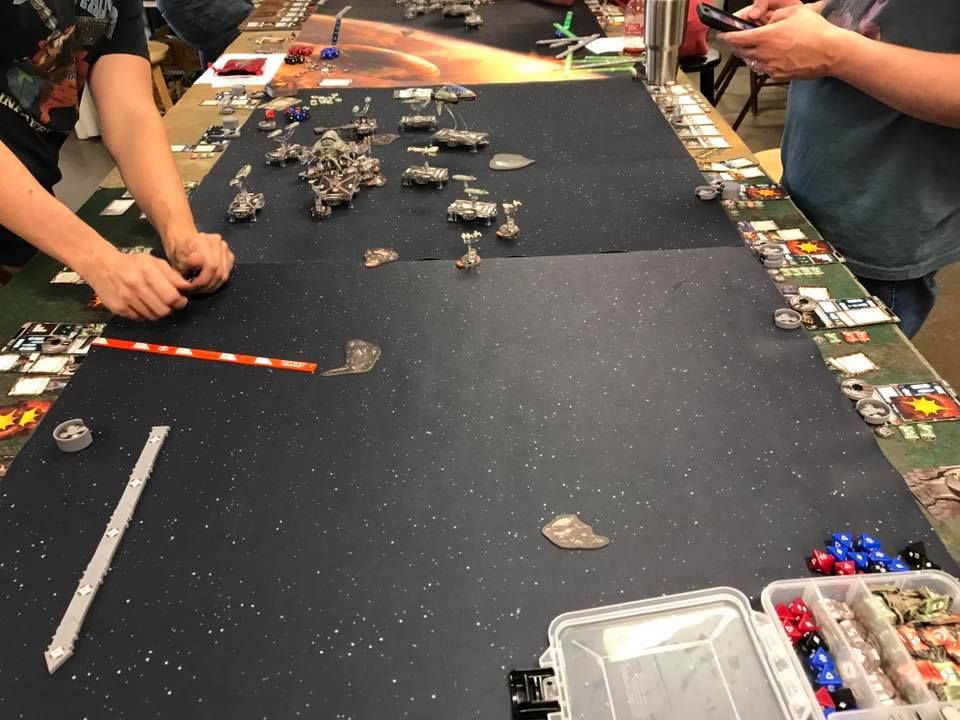
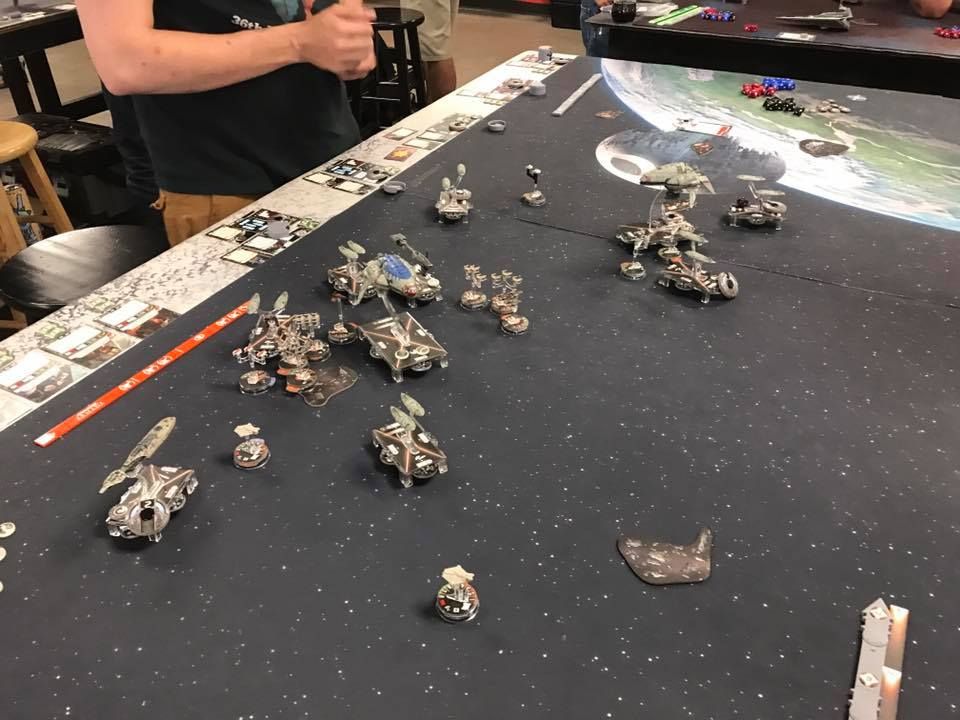
So took the following to Store Championships at Giga Bites in Marietta, GA:
The Magnificent Seven
Faction: Rebel Alliance
Points: 400/400
Commander: General Rieekan
Assault Objective: Station Assault
Defense Objective: Fighter Ambush
Navigation Objective: Solar Corona
Assault Frigate Mark II B (72 points)
- Gallant Haven ( 8 points)
- Toryn Farr ( 7 points)
= 87 total ship cost
Nebulon-B Escort Frigate (57 points)
- Yavaris ( 5 points)
- Fighter Coordination Team ( 3 points)
= 65 total ship cost
GR-75 Medium Transports (18 points)
- Adar Tallon ( 10 points)
- Boosted Comms ( 4 points)
- Bomber Command Center ( 8 points)
= 40 total ship cost
[ flagship ] GR-75 Medium Transports (18 points)
- General Rieekan ( 30 points)
- Ahsoka Tano ( 2 points)
- Comms Net ( 2 points)
= 52 total ship cost
GR-75 Medium Transports (18 points)
- Leia Organa ( 3 points)
- Comms Net ( 2 points)
= 23 total ship cost
1 Keyan Farlander ( 20 points)
1 Ten Numb ( 19 points)
1 Jan Ors ( 19 points)
1 Norra Wexley ( 17 points)
1 Luke Skywalker ( 20 points)
1 Wedge Antilles ( 19 points)
1 Biggs Darklighter ( 19 points)
Felt pretty confident with the list itself as I had playtesting and refining for a while. We had a total of 24 show up...I was pretty surprised on that one, expected 16-18.
Round 1:
Playing against imps with a fair number of fighters and a small Rhymer ball with an ISD and 3x Gonzantis.
He gave me first activation and I picked his Solar Corona objective. The game was something of a bat fight. My opponent was a regular and not hugely eager to engage the list from previous experiences. The squadrons didn't start shooting until turn 5 and only one capital ship volley was fired. That being said, the Magnificent Seven did kill Vader, Soontir, Zyrtek, Rhymer, Tempest Squadron, Gamma Squadron and a Jumpmaster with no losses, but the one capitol ship shot was the ISD at the bomber command which killed it. On turn 6, I forgot to Fighter coordination team Luke forward to shoot at a regular Tie Bomber at 1 hp, but figured it didn't matter...as it turns out my MoV was only 54 and 59 is needed for 7-4, so it totally did matter.
Round 2:
Playing against Sato with an Assault Frigate, Foresight a TRC90, transport and some Lancers (one was Ketsu), A-Wings (one was Tycho), Y-Wings and Han.
He took first and picked Solar Corona. His first real error was leaving Ketsu a little too close to Gallant Haven on a turn where no other fighting was taking place, so I took the chance to jump Luke and Biggs out to kill her with Toryn re-rolls then moved up Haven. I figure the rest of the squadrons would be pretty safe with just a Haven protected Wedge escorting and wanted to get rid of her ability quickly as it would make it harder to use intel. The game really took off when the Assault frigate barreled into the swarm looking to press the issue, but promptly got taken out by just Keyan, Ten and Norra. The CR90 took a bad volley to the front from the assault frigate leaving it on 2 health and Luke promptly finished it off with a quick shot. Foresight got absolutely hammered by the bomber trio and when it was down to 1 shield on the side and 3 hull with nowhere to redirect, Keyan scored 3 damage with a Norra crit and knocked her out. The rest of the fight was him trying to conserve points, but only the life boat, Tycho and a Y-Wing escaped with the Magnificent Seven again suffering no losses. Pretty firm win with a 324 MoV which puts me better positioned for first.
Round 3:
I get paired against another regular, this one is running Sato with 3 mostly naked Transports, Paragon, Admonition, Tycho, Sharra, 2x VCXs and 4x X-Wings.
He gave me first and I picked Most Wanted (Yavaris and his flagship). I oriented my squadrons to meet him as the two fleets started to join. Experience has taught me that A) there's no such thing as overkill against against Admonistion and B- Assault frigates are pretty frail, so Keyan, Ten, Jan and Wedge went to meet Admo and Biggs, Luke and Norra stayed oriented to Paragon. He did let two of his X-Wings stray a hair too close, so I was able to send Luke and Biggs with Bomber command to tap each one, then retoggle luke with Adar and next activation, have Yavaris tell Luke to kill the one he was fighting, then come back and send Norra to kill the other one before using the FCT to drop both of them back as well. On the other side of the field, Tycho almost got one shotted by Wedge (two accuracy and 3 hits, but even the Toryn re-roll didn't give me the third), but there wasn't much fighting to be had on that side of the table at that point, so Jan finished him off. Around turn 5 Admo finally fully committed after taking a few harassing volleys from Gallant Haven. He had been taking some pot shots at transports, but struggled to get accuracy and took a long range obstructed shot at Yavaris. My thought was "As long he doesn't double hit/crit, I'm fine because I can just evade one and there's really nothing to attack me on that side". Surprise! Double hit/crit. I evade one and Brace...so naturally the faceup card from APTs says I can't spend exhausted defense tokens. This was where I basically knew how the game was going to end. He couldn't save either of his big ships and his squadrons were on their last legs not being able to offer resistance or hurt anything, but with just one brace and four hull left, I was pretty sure even Paragon's one broadside shot would do it and sure enough it did. Turn 6, Paragon and Admo both died. I was fairly confident that with the board position I could set up, both Admo and Paragon would drop to Yavaris' opening salvo turn 6, so this stung a lot. Only a 134 MoV.
It wasn't a bad showing and I'm not dissappointed with the fleet or my opponents, but going undefeated, being in relative control of all 3 games and only getting third feels aggressively not good. I was more than a little surprised that there wasn't even a cut for a field of 24 because 3 games just doesn't feel like enough time in such a large field especially because we had 3 undefeated, so the difference in placings felt very coin flippy, but what can you do.
That being said, Rieekan was literally superfluous. I lost two ships and zero squadrons all day and the time in the turn sequence both ships were lost were beyond the point of Rieekan mattering. The Magnificent Seven themselves were a lot of fun and their combination of abilities gives a lot of options to play with especially with the rest of the fleet's buffs. It didn't hurt that all of them survived every game.


