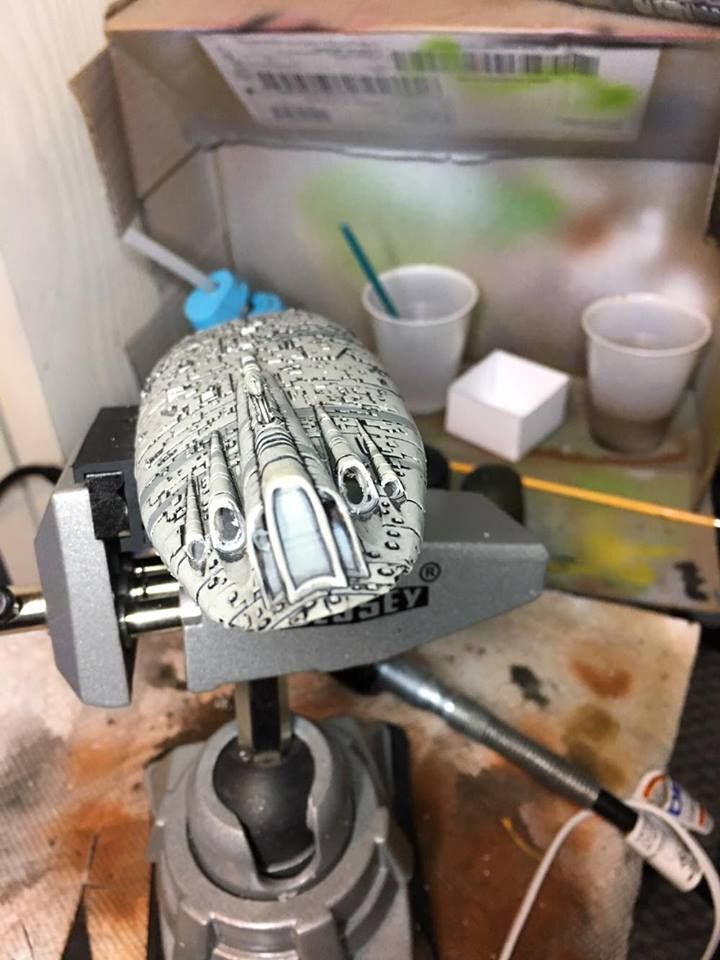
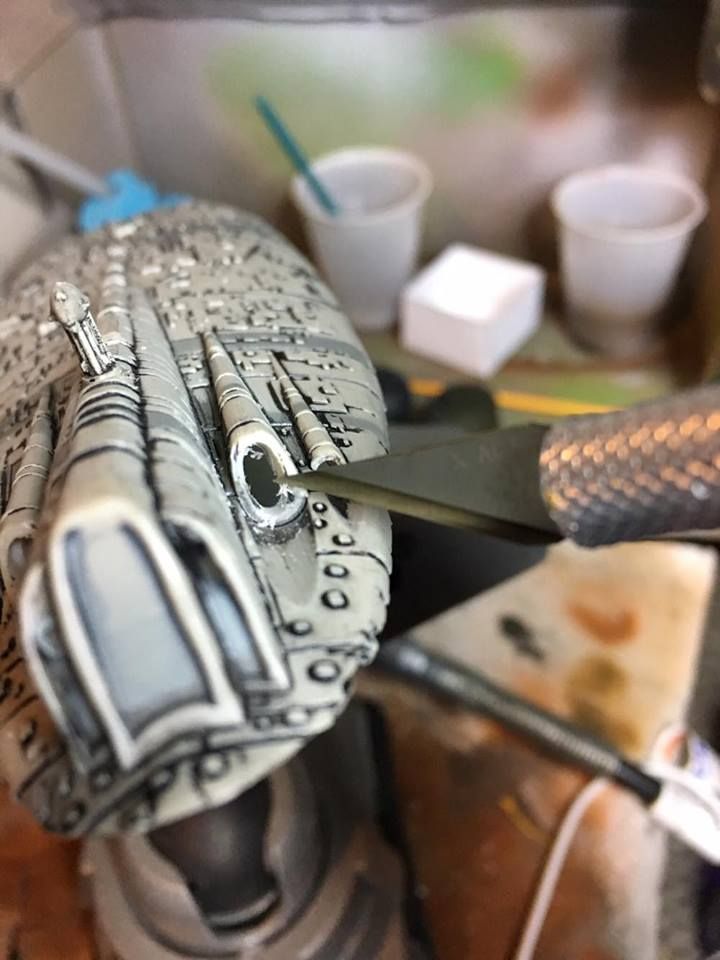
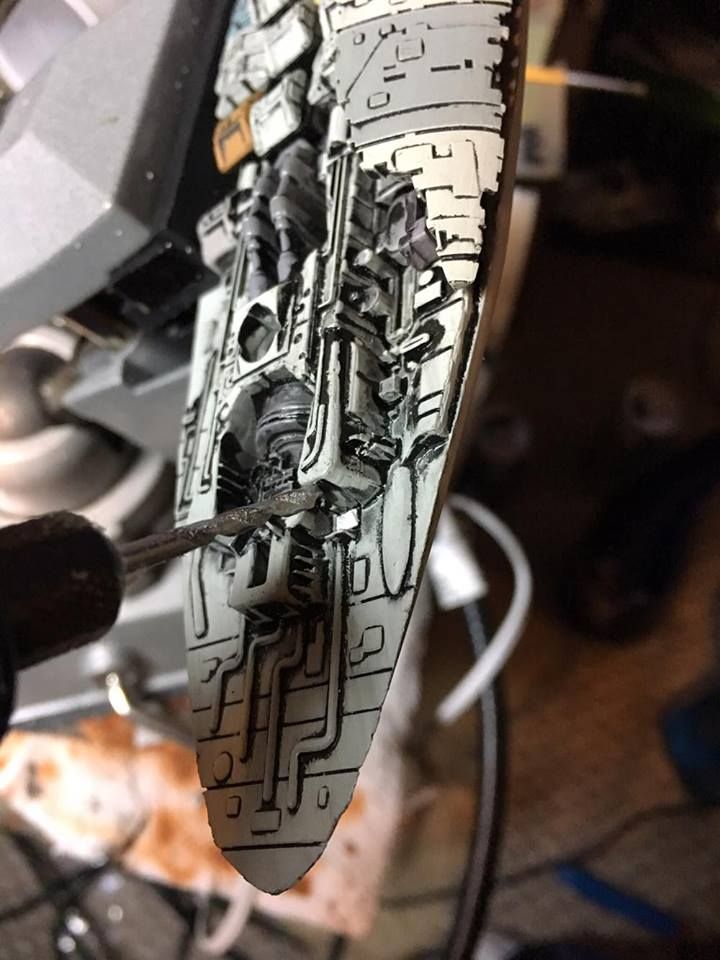
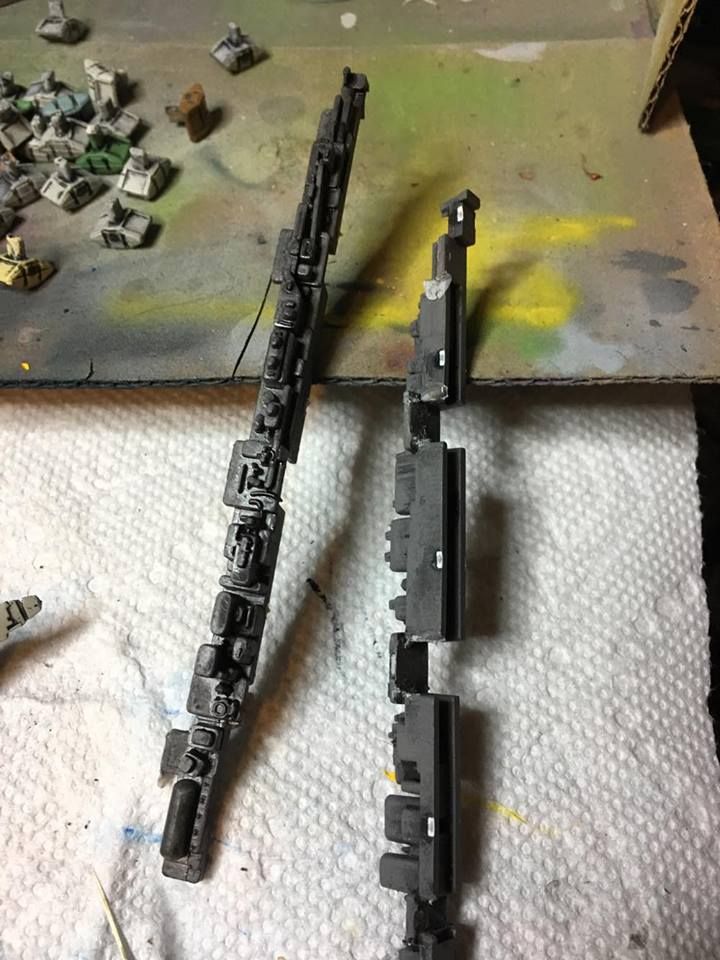
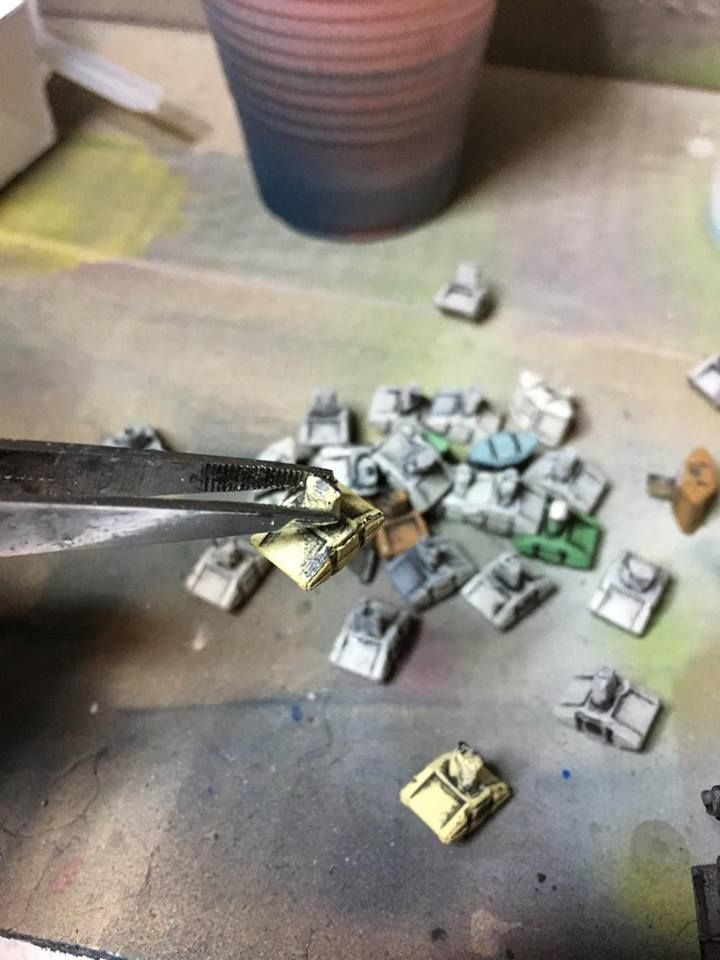
As I'm sure we've all seen there is a multi-tone brown GR-75 in the background of Mos Eisley during Star Wars: A New Hope. I know I have seen a fair few of the conversions here and on other forums/image boards, just felt like sharing mine.
That Scene:

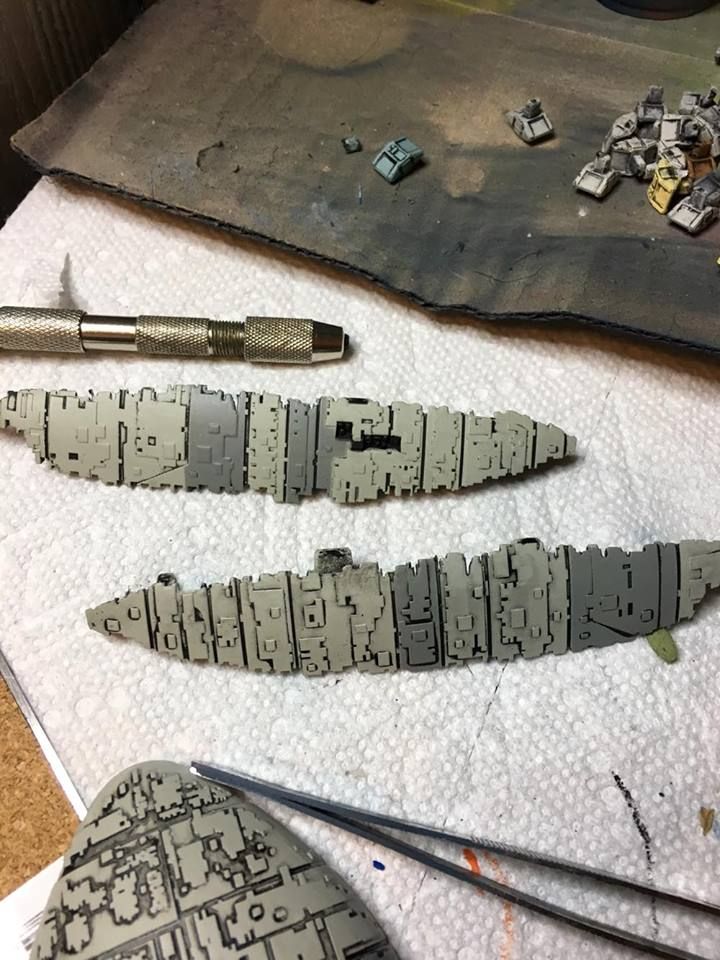
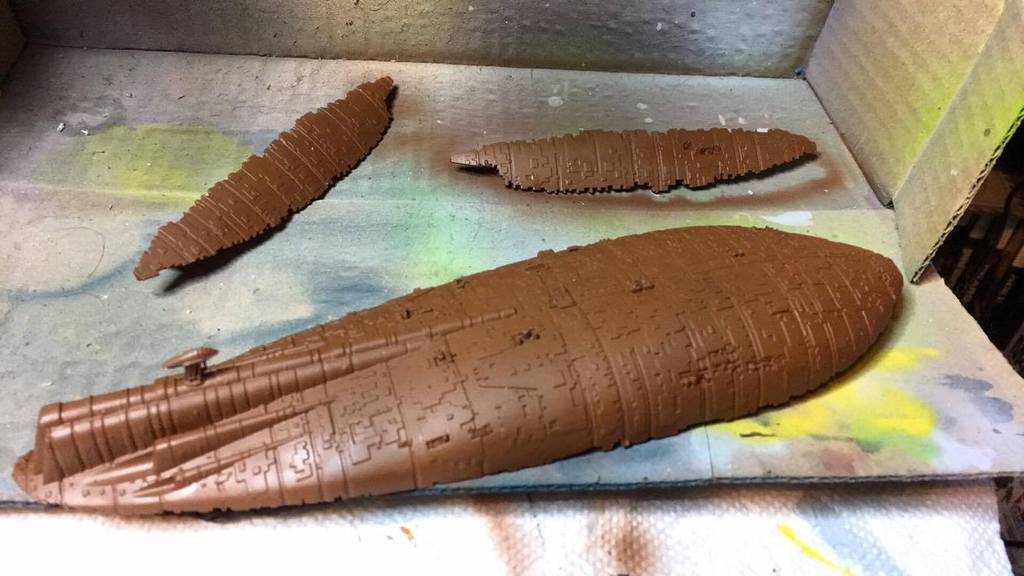
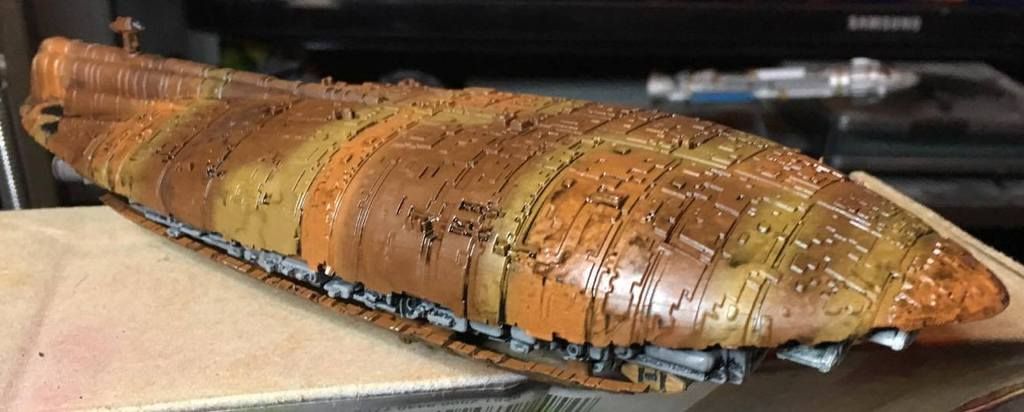
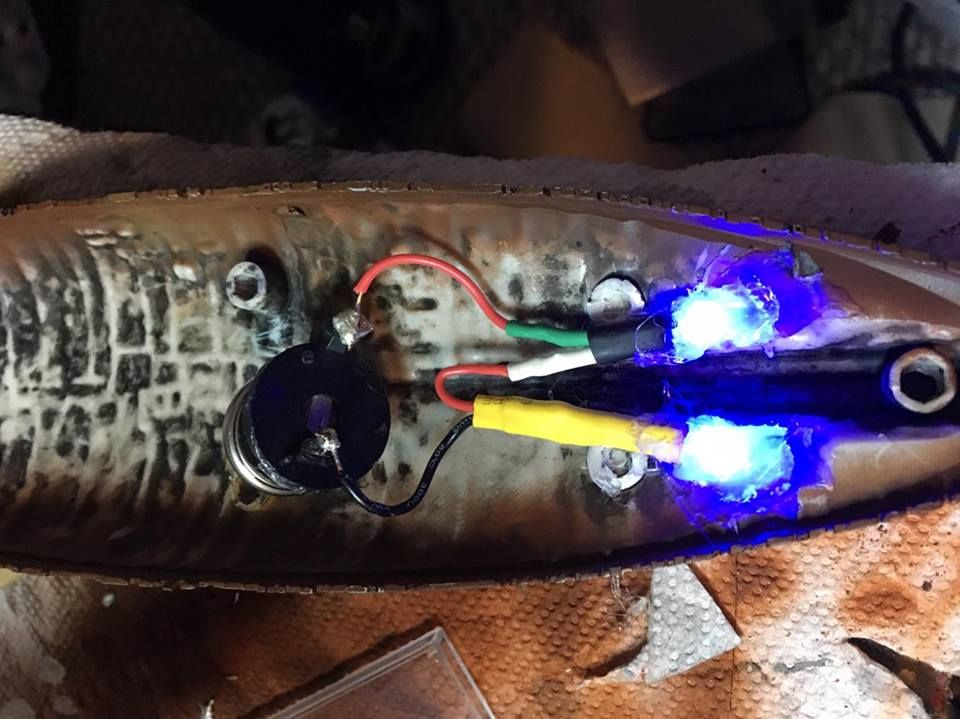

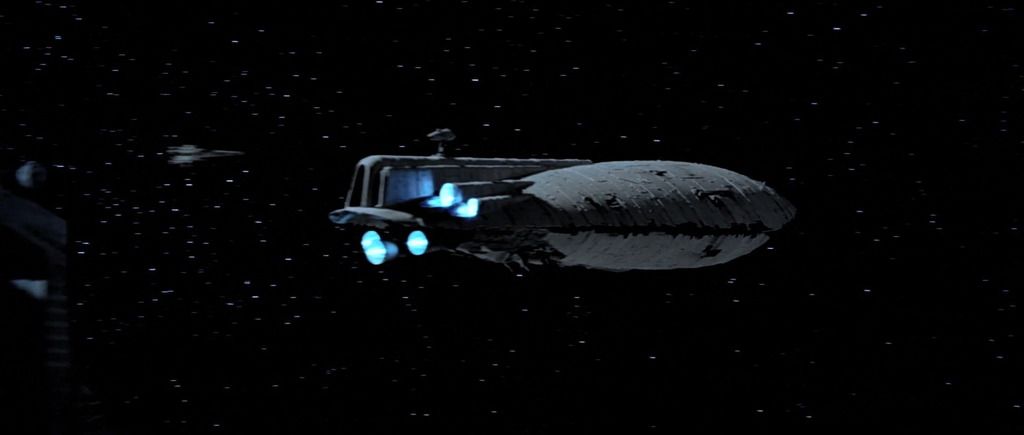
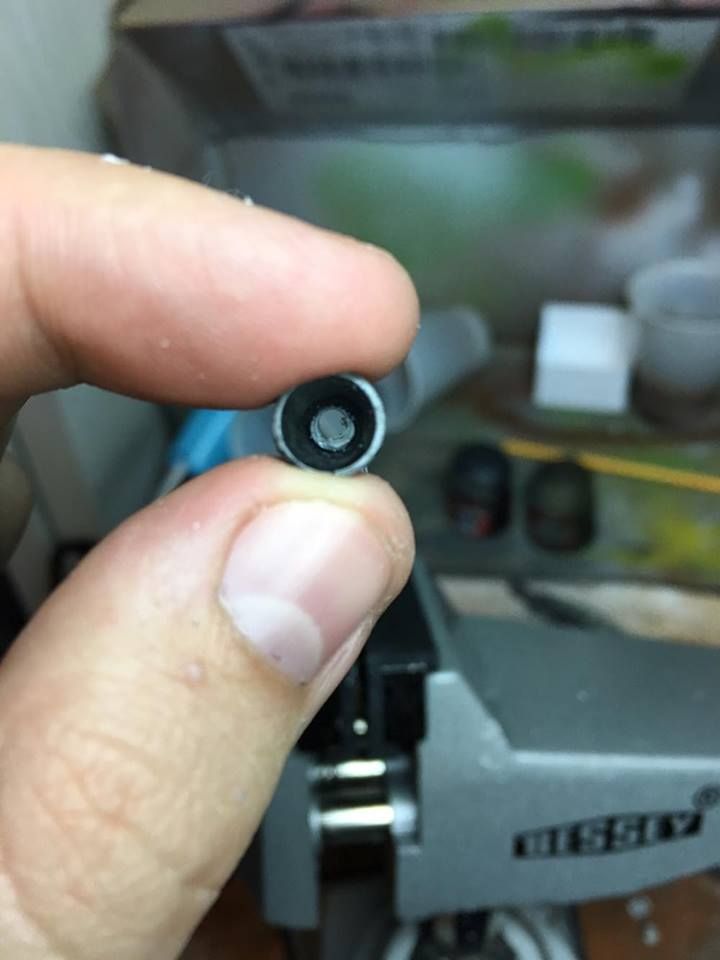
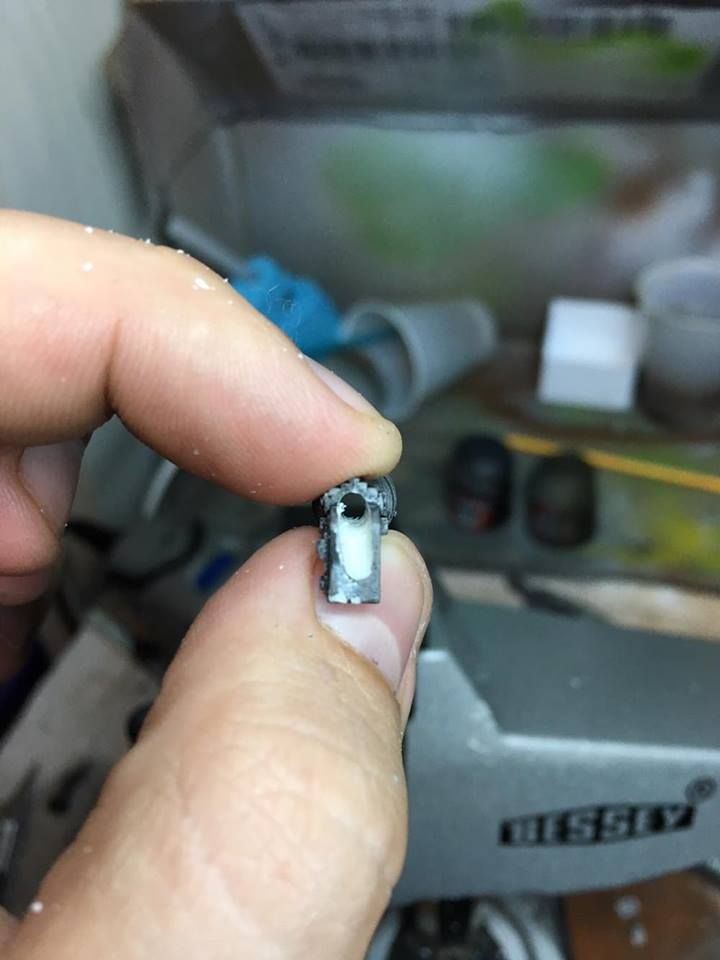
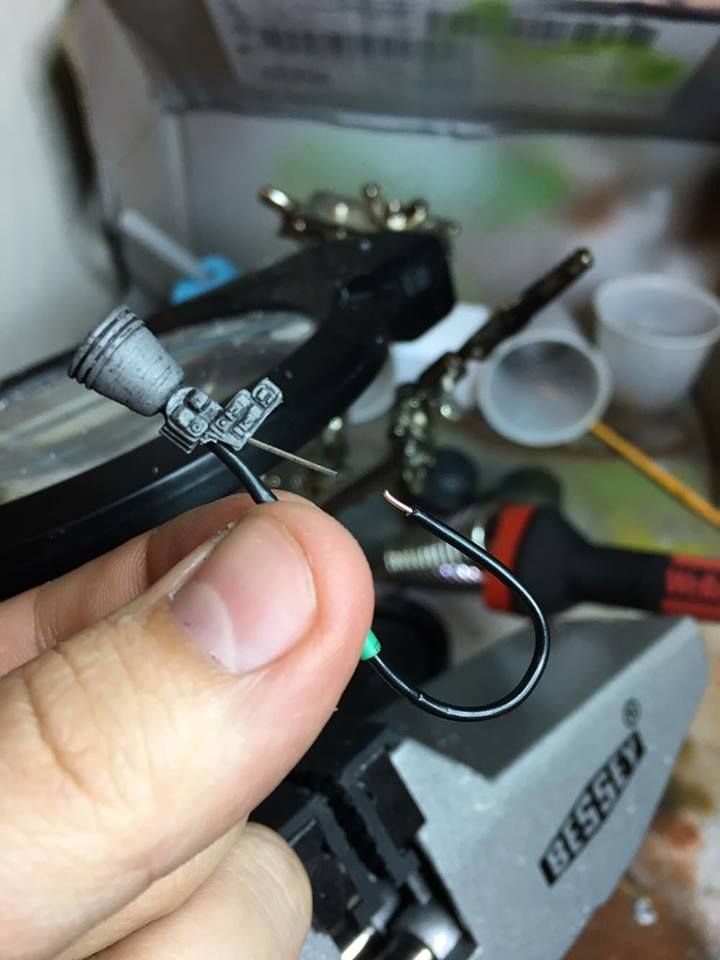
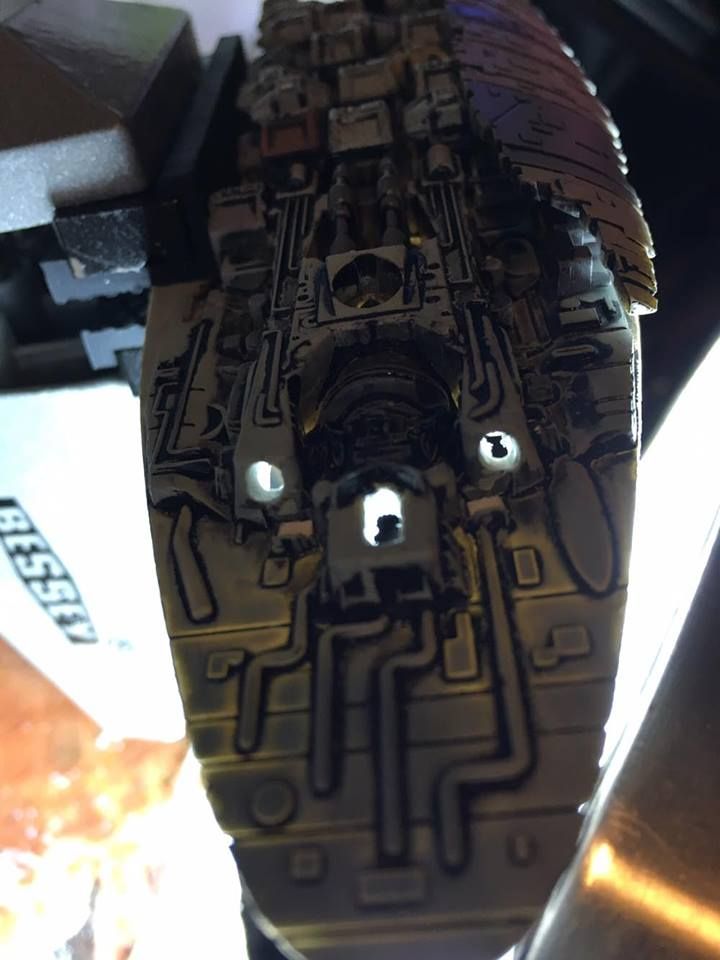
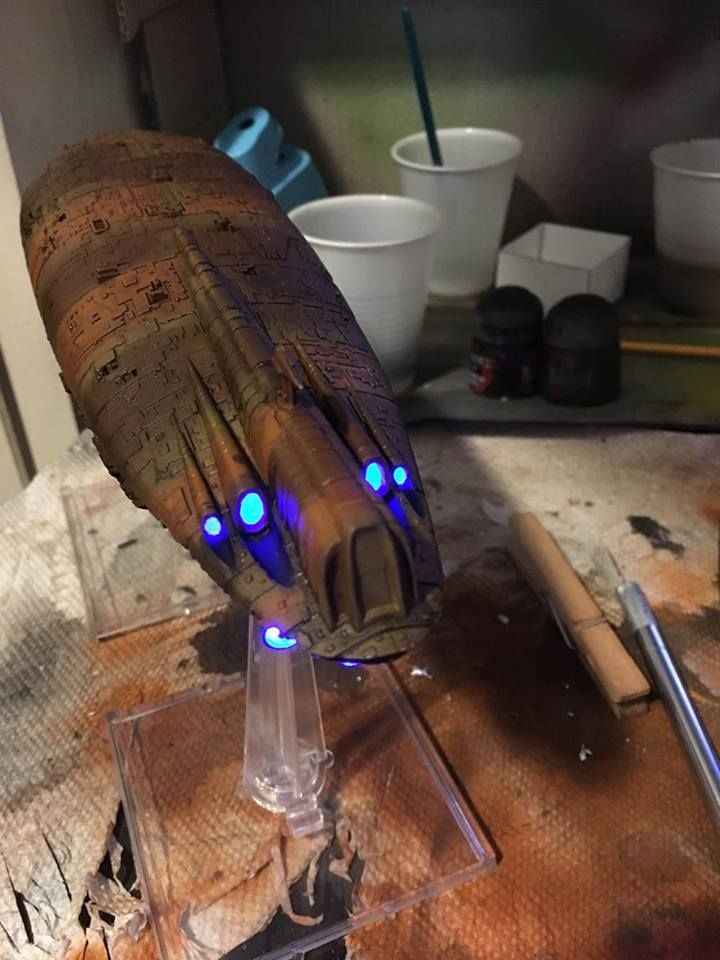
 FFG released this model with a paint scheme that makes them look like they are engines but no model used in the filming of any of the Star Wars movies has those humps a glowing, rather they're actually textured surface areas...maybe an aft docking port?