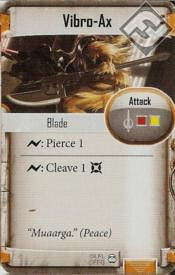
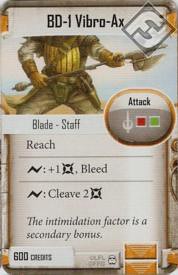
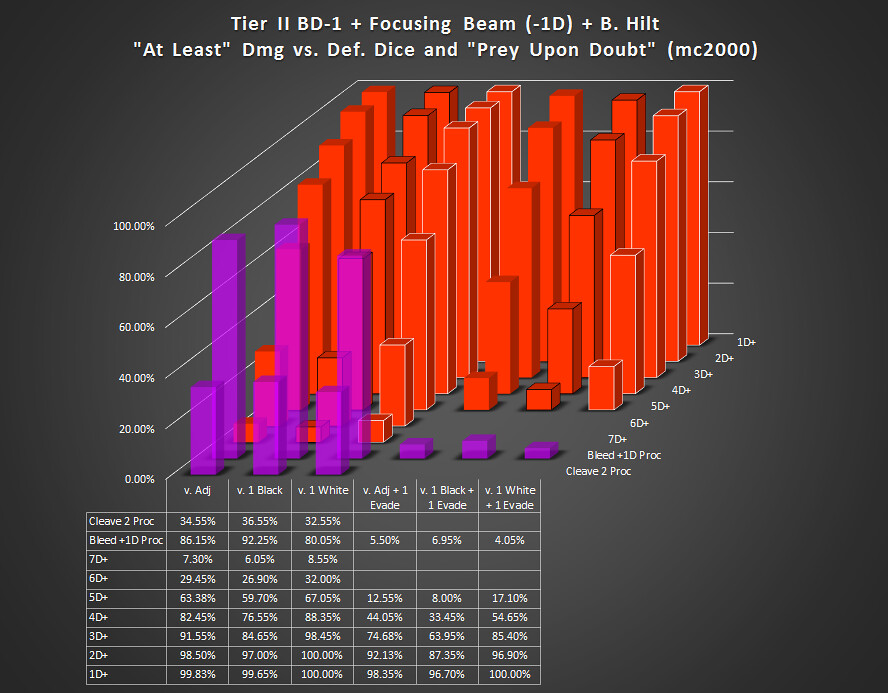
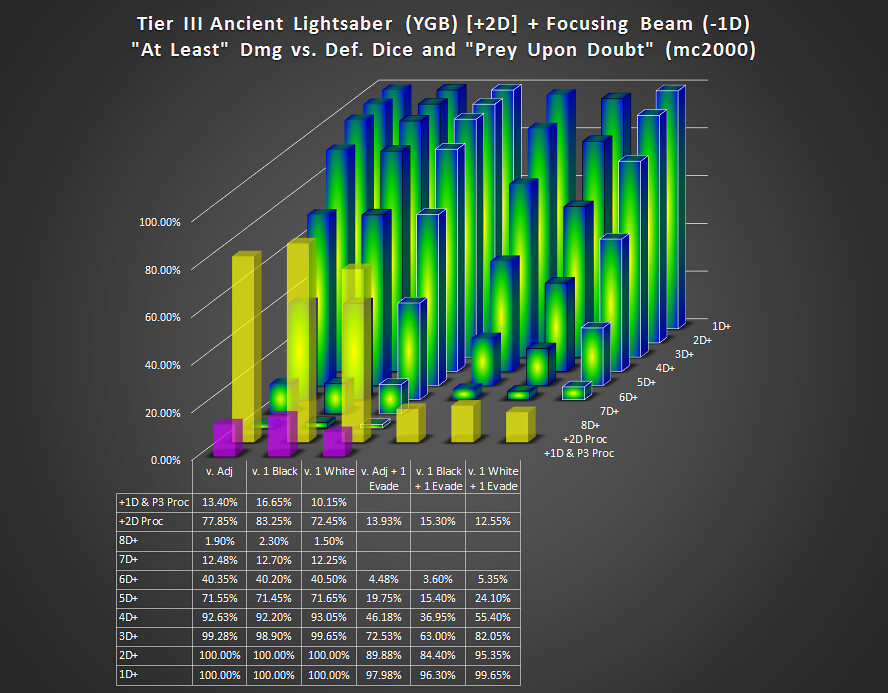
One of the more important impacts of this the Focusing Beam is its impact on the Reactive Defenses class deck. Looks like some of the higher single target damage Tier 2 weapons (BD-1 Vibro-Axand Polearm) have a 75-81% chance to remove 88-Z in a single attack when combined with the Focusing Beam.
Obviously there are other ways to apply damage to a figure with a built in Dodge but it usually requires more special circumstances (adjacent to other figures for Blast, close enough for Cleave, etc.). I'm guessing it's not game-breaking for the Imperial class deck otherwise some adjustment would have been made in play testing.


 I'll see if I can get them back online.