I've got butt loads of plasticard, I also have some parts from a japanese site that are robot pieces.. lots of circles . I have possibilities galore. Just was thinking out loud. Looks like you have a good start.
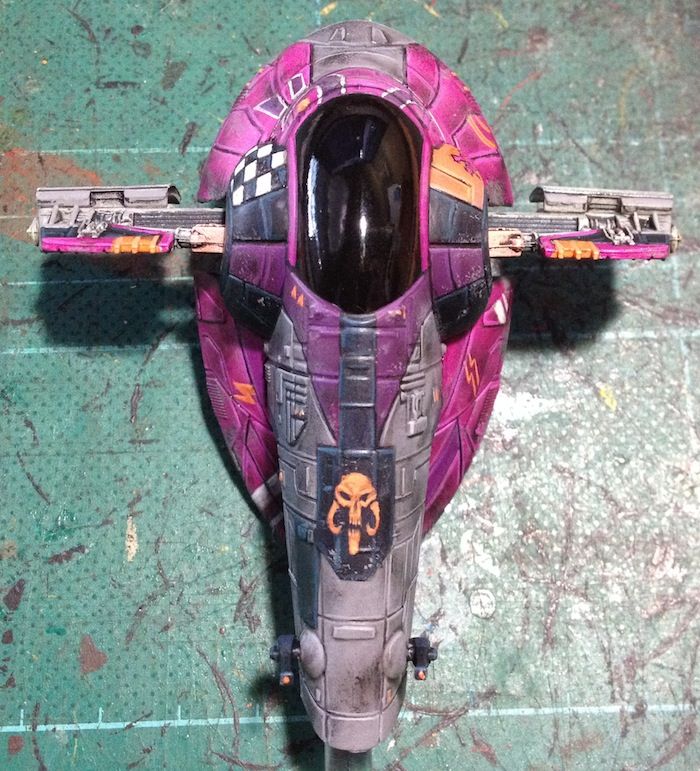
That's from a long time ago, when I tried out some acrylics, and haven't gotten back to redoing it using real model paints yet.