I love the step by step pics you showed on the conversion! very nice!
My Repaints
Great work Sir!
These are the kind of repaints I appreciate and try to achieve the same with mine. There are some repaints that (with some exaggeration) look like they are dipped into paint bucket and left there without any kind of shading. Original miniatures, although great, are missing depth and saturation and you have fixed just that + some personal touches.
I started my repaints with TIE Bombers as I did not like their too blueish tone just drybrushing with grey and then working panels back to darker with Nuln Oil. Even this easy job made them look so much better. Your Y-wings are great. The easiest thing a man can do is just use dark wash on the "revealed" hull parts on Y-Wing. -Super easy, and helps a lot, but sure it is not like yours ![]()
Nice job on the YT, I also like the step by step pics. Thanks.
This is probably the best YT conversion I have seen. Huzzah!
Keep up the good great work and thanks for the step-by-step.
Chris
This thread is what got me into re-painting my minis after initially swearing not to do it.. Indeed a job well done!
These are incredible and an absolute inspiration to start repaints! Great job, thanks for sharing.
String, eh? Thinking outside the box there, like a true smuggler.
I wish I had come up with that when removing and patching up my YT-1300's dish. I ended up gluing a plastic tube to the opposite side of the inner hole and cutting the tube down to height. The remaining holes were small enough to putty, but my first attempt is still rattling round inside the hull.
Thanks everyone, I noticed no one had done a how to yet on these things so thought I'd document it as I went on my version. I really should update my blog and put this on there I have been lax of late.
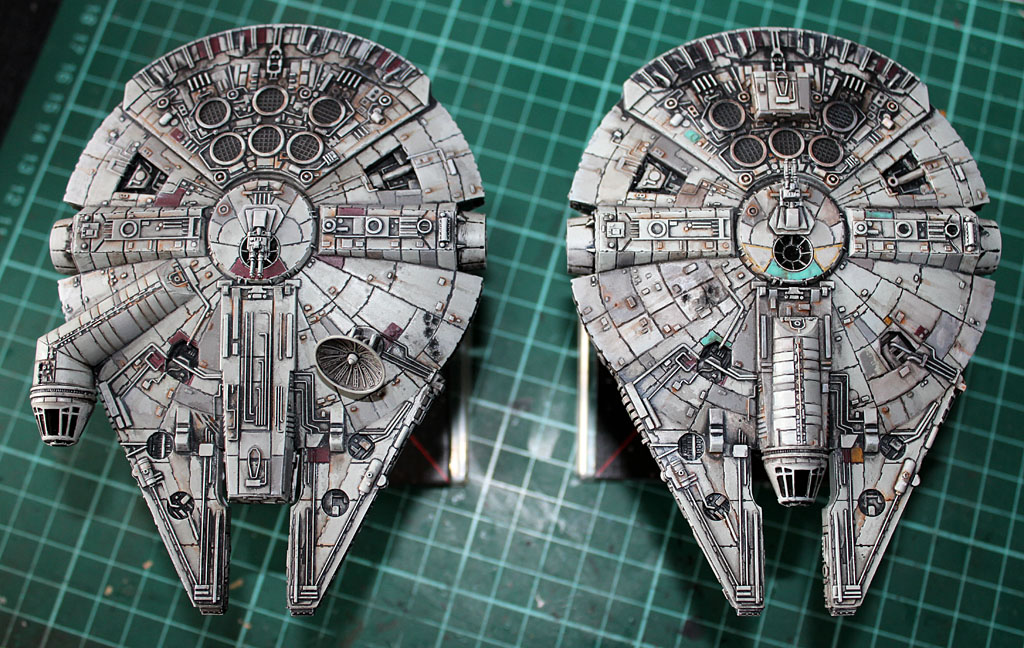
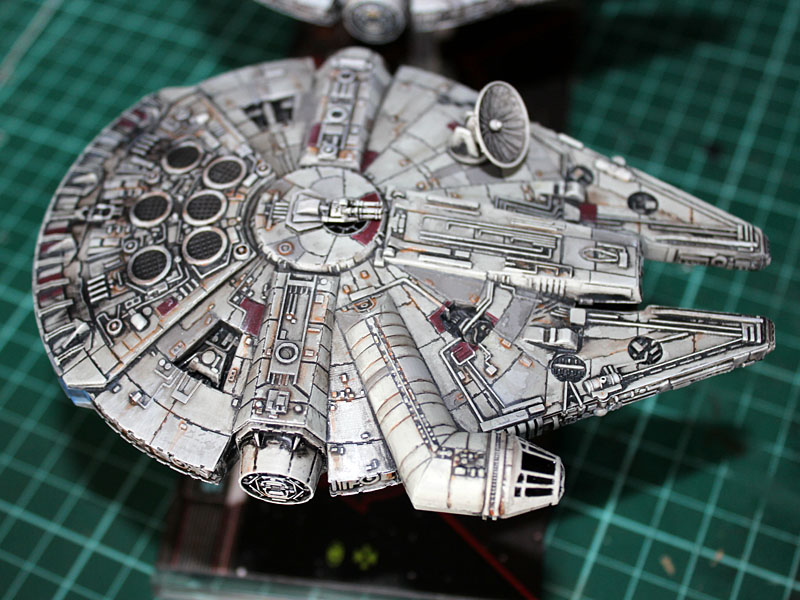
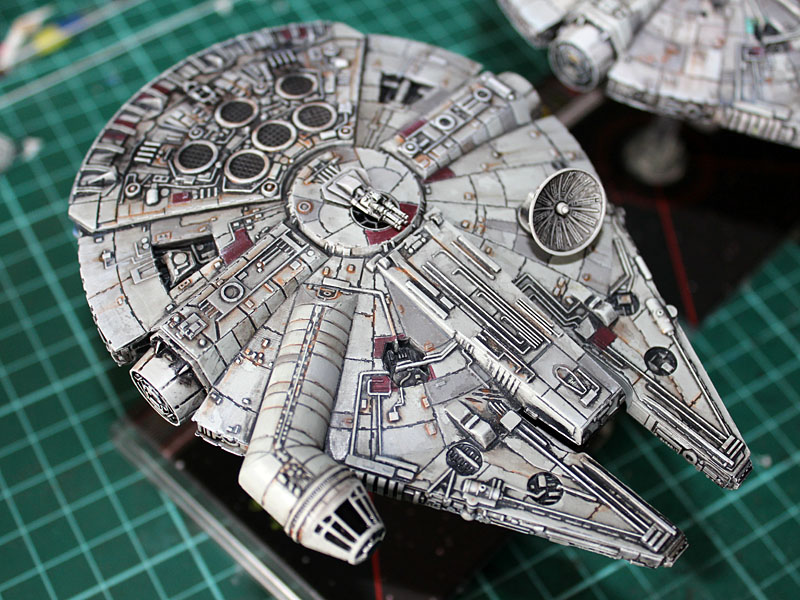
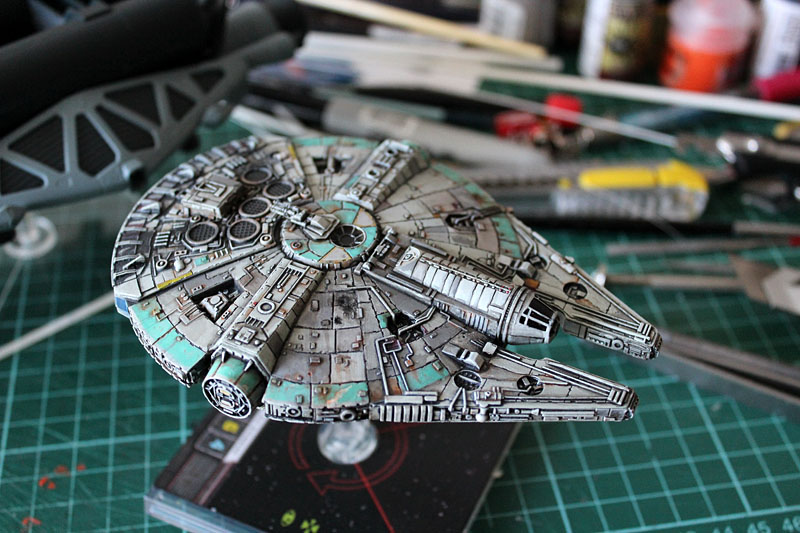
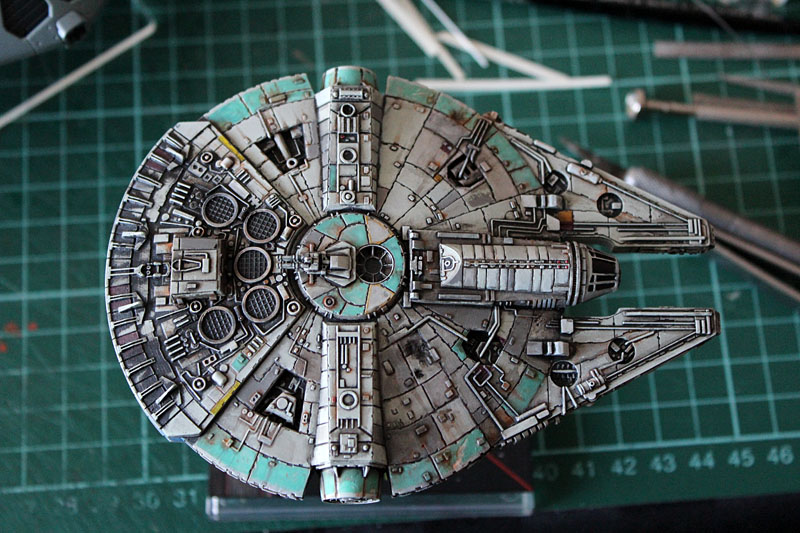
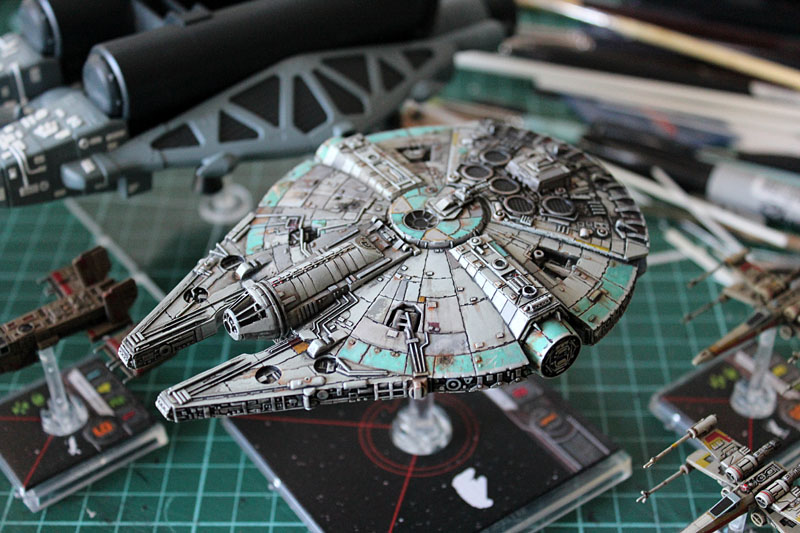
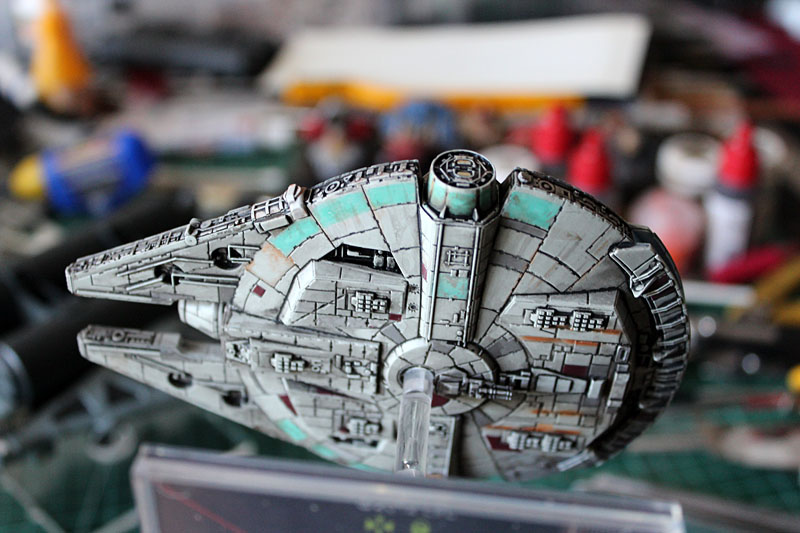
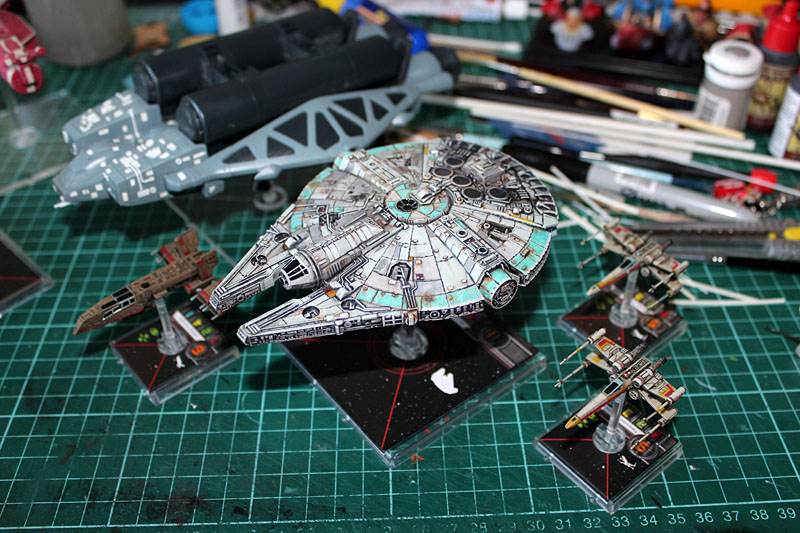
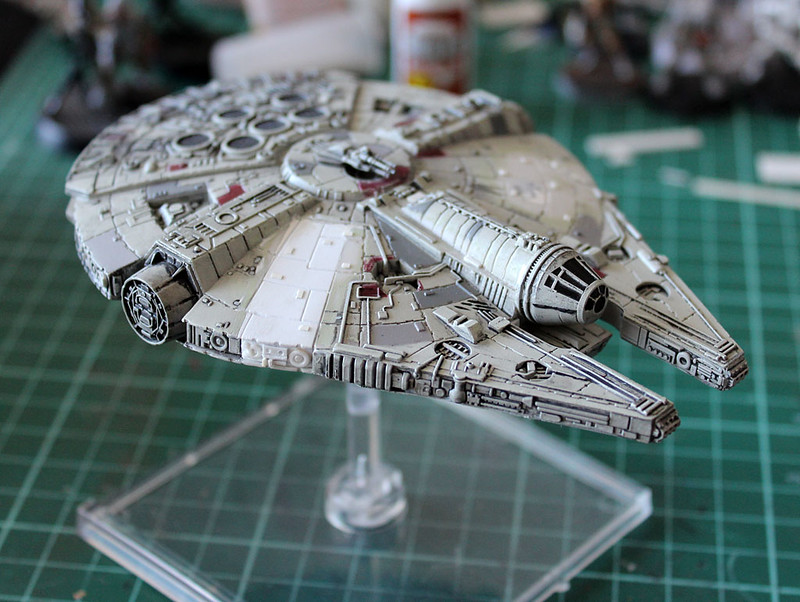
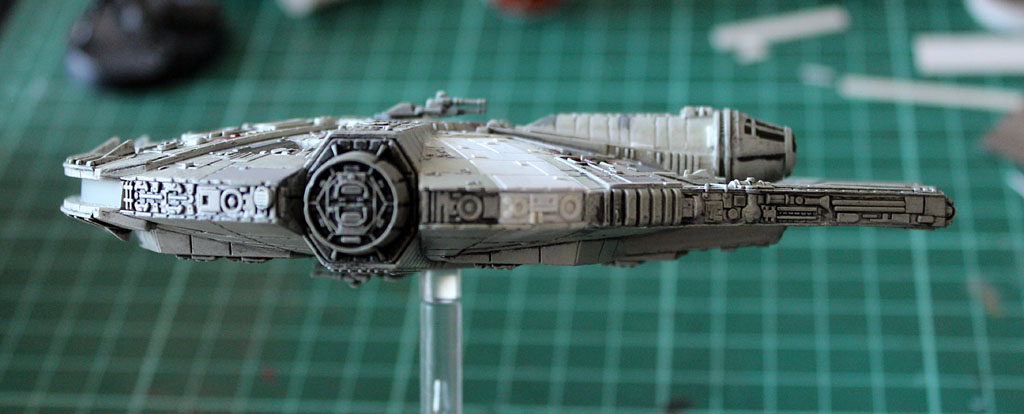
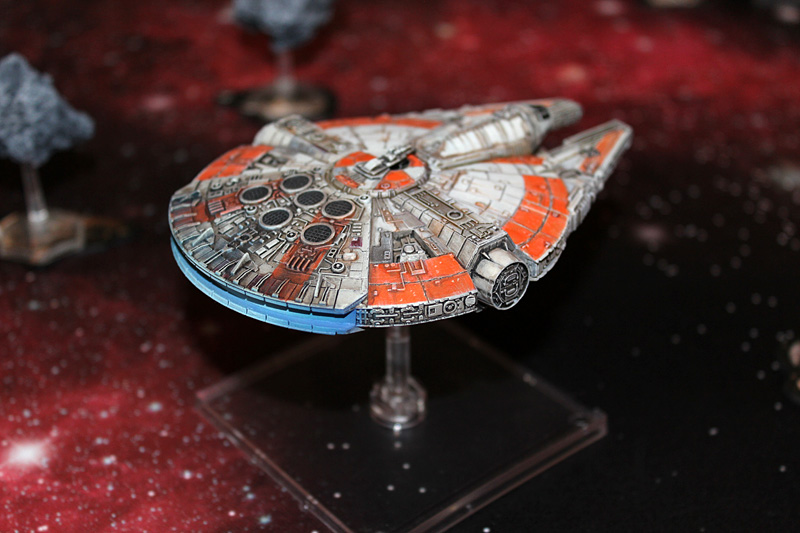
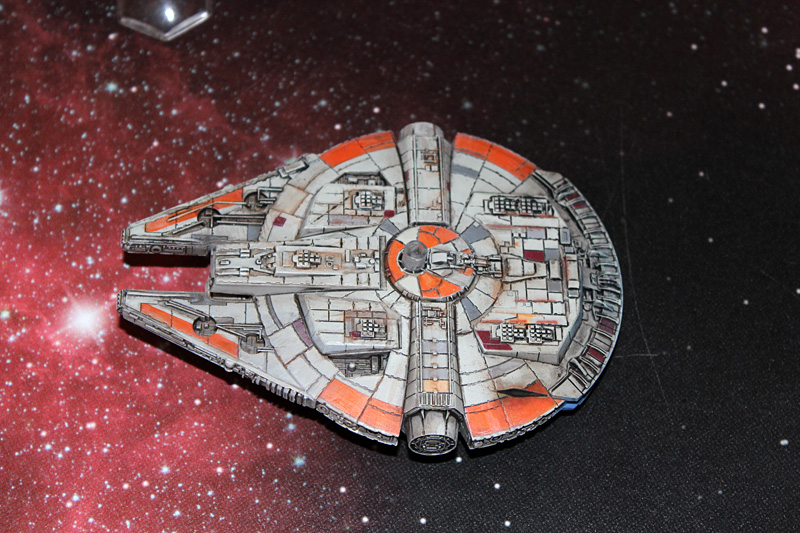
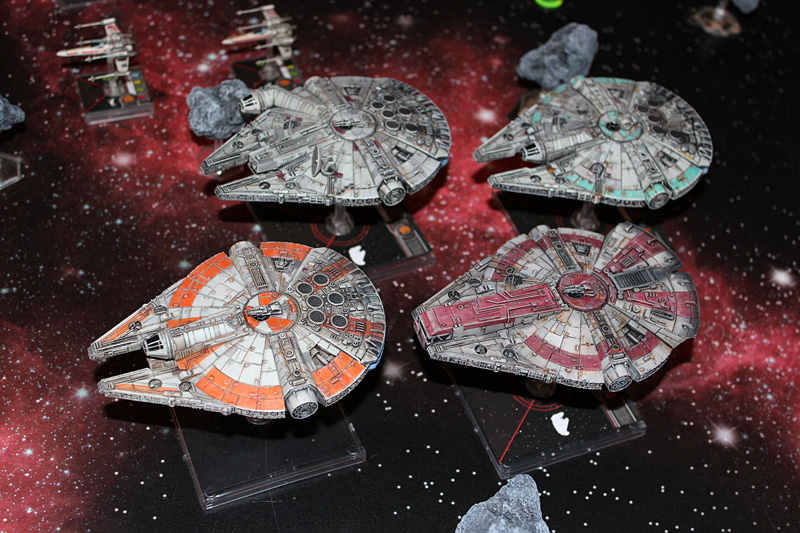
Been continuing the weathering on my converted YT adding rust stains and more streaks plus changing the colouring of the red panels. I also threw some washes at the Millenium Falcon and gave it the same treatment, adding more panel colour variation and lots of stains and rust streaks all over the place and a touch of drybrushed light grey to pop the edges a bit, deciding if they need a brighter highlight.
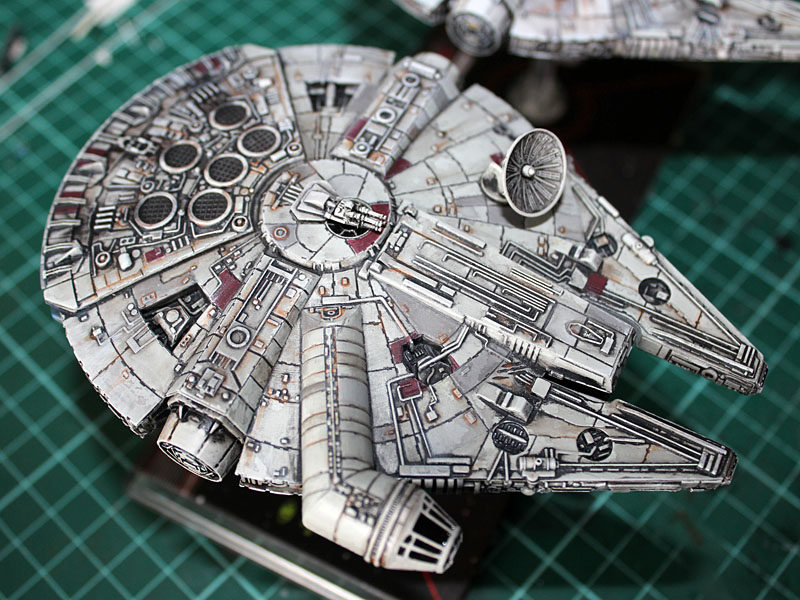
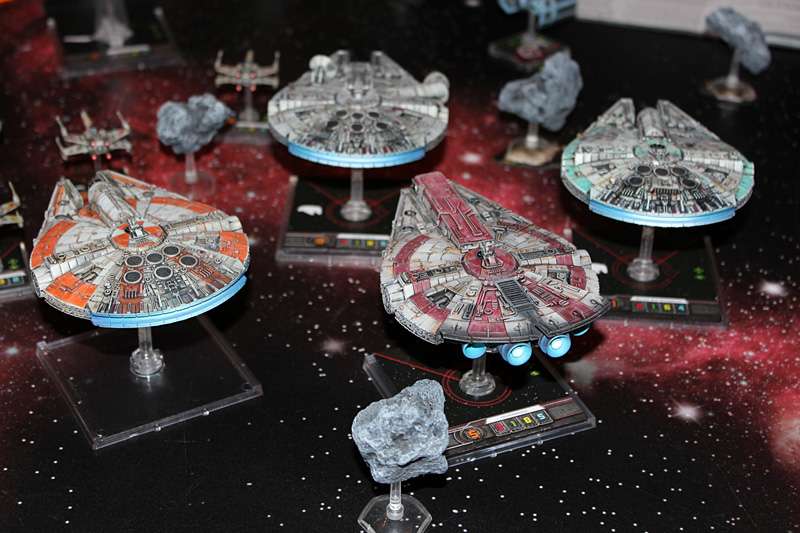
Used a mix of Model Color fleuro magenta and orange to get the right colour then a bit of white mixed in then straight white in the middle to get the nice glow effect. For the big ships I pulled out the airbrush
Could you do me a favor and either take a pic of the bottles of paints you used or provide a link to where you got them. I'm truly amazing with how alive you made the engine glow look on your X-wings.
Sure here's the model color fleuro paints

http://www.acrylicosvallejo.com/en_US/model-color/family/15
here's a website for Vallejo paints
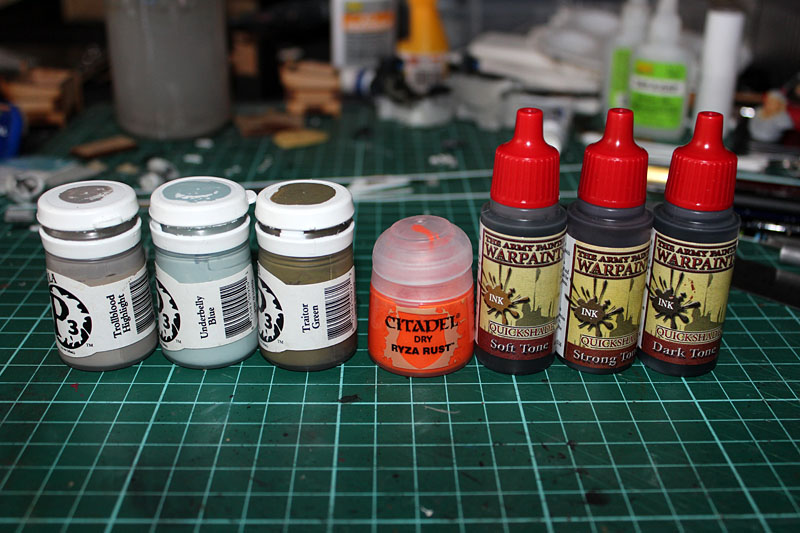
and here's a bunch of useful paints I just used on the YT-1300s
Edited by Rob JediAwesome! Thanks so much! Like I said I really like the way those engine glows turned out on the X-wings and the Y-Wings.
I actually used some Citadel paints to make the engine glow for my A-wing that I custom painted.

It's an unfinished pic of it. Out of curiosity what do you use to cut apart your miniatures? I'm wanting to install some LEDs in my Falcon?
Edited by Daniel AnteronOn this last YT-1300 I used a big heavy box cutter knife and a hobby knife and a pair of side cutter snippers. I started work on another new Falcon I picked up today and this time used a razor saw for most of the work since it's a lot less dangerous for my fingers.
On this last YT-1300 I used a big heavy box cutter knife and a hobby knife and a pair of side cutter snippers. I started work on another new Falcon I picked up today and this time used a razor saw for most of the work since it's a lot less dangerous for my fingers.
Thanks I've been pretty curious about this. I've got an exacto as well as some of those box cutter knives with the snap off blades. I wasn't sure if that's what people have been using or if they've been using something else. 
Yeah an exacto lets you be nice and precise, the big heavy handle knife lets you put in some serious leverage. Need to be careful though. The advantage of using a knife over saws is preserving the parts you are cutting off for putting back on the conversion.
Very nice, I love the paints and colors you have going for the miniatures.
Beautiful job on all the ships, I love the X-wings
outstanding.
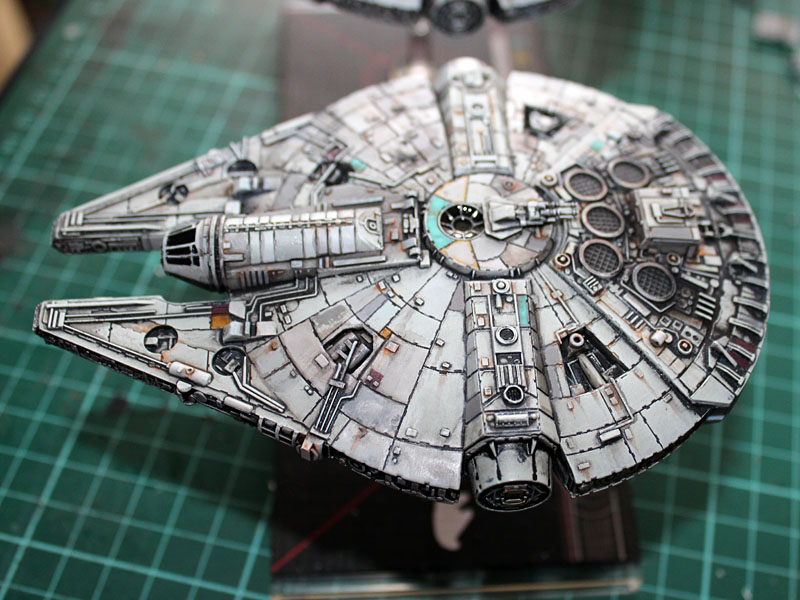
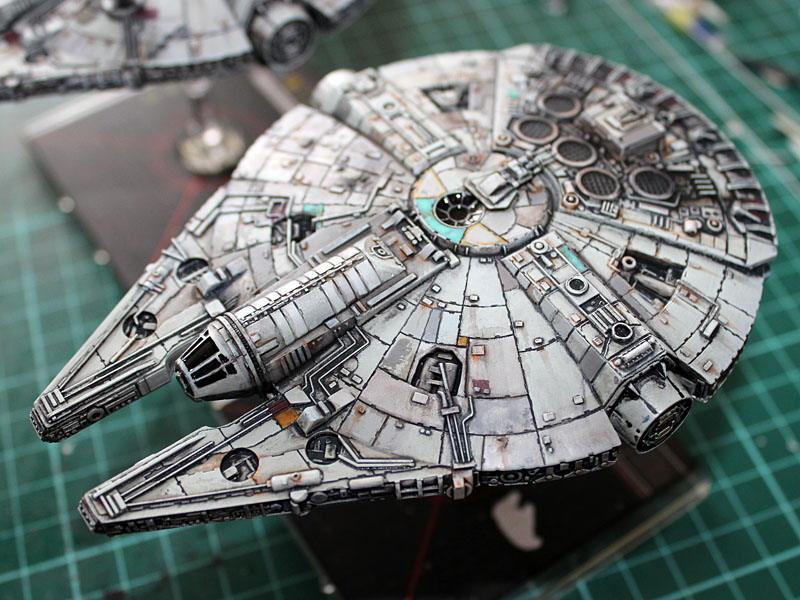
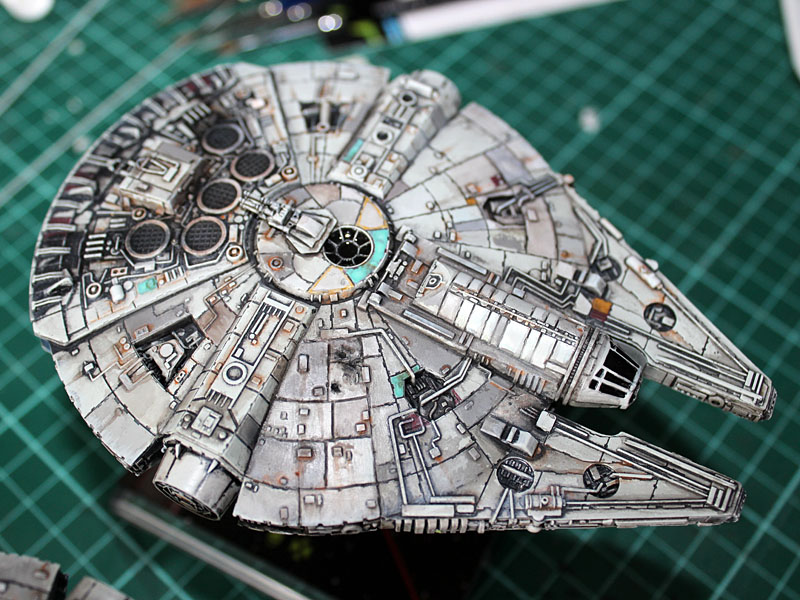
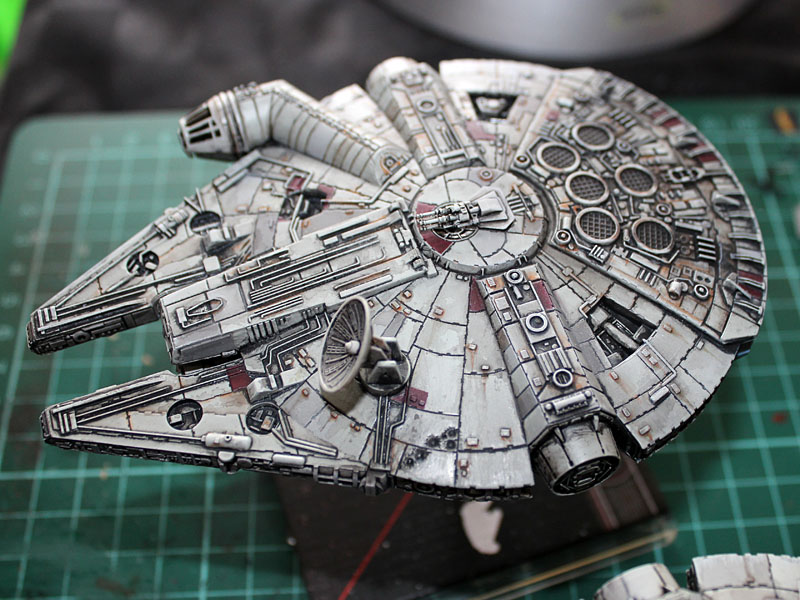
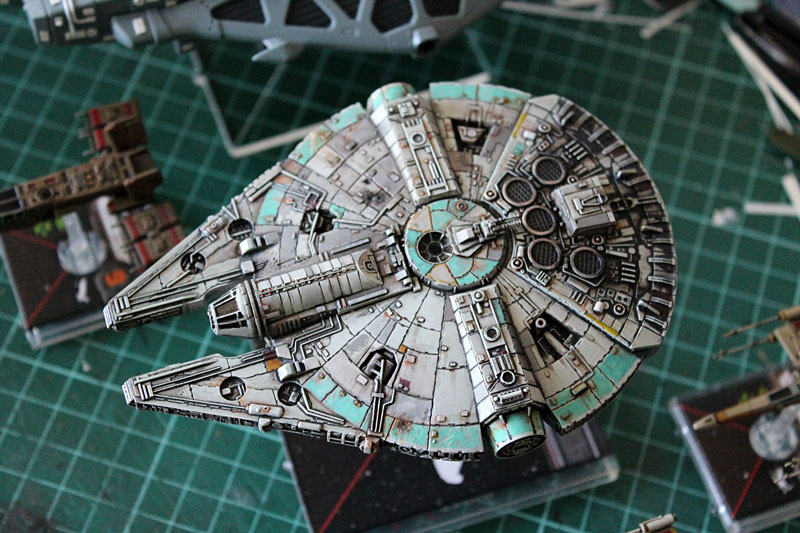
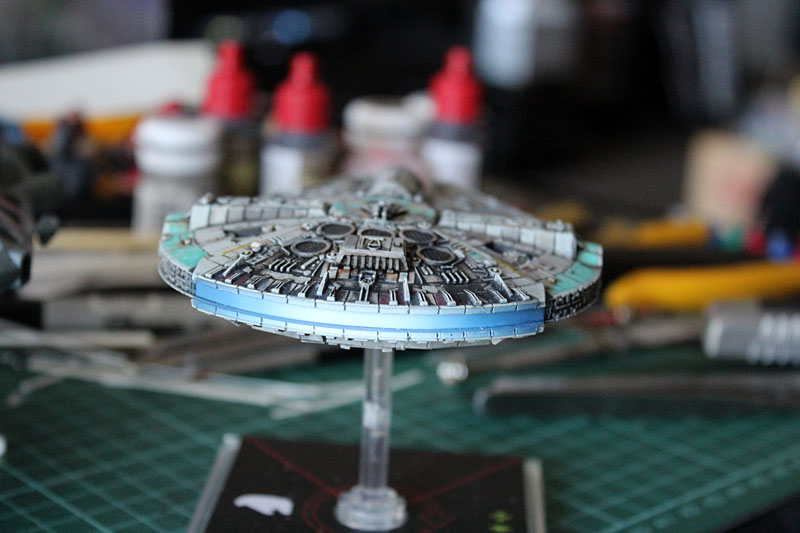
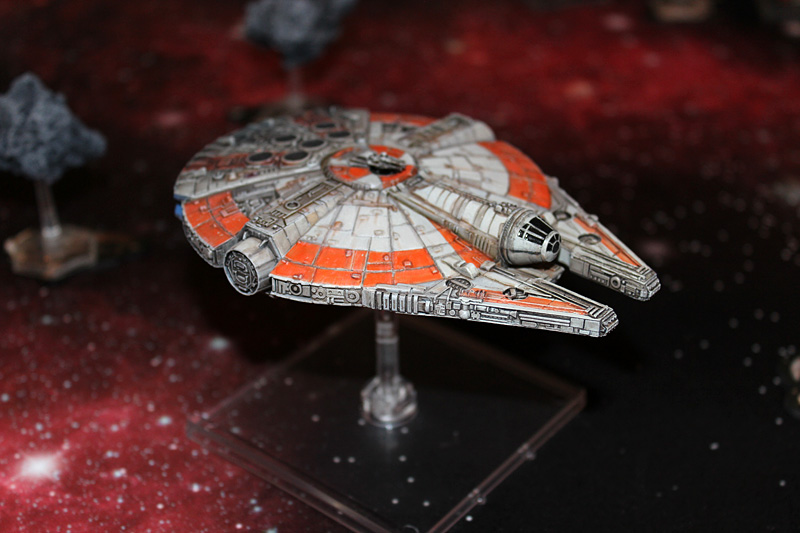
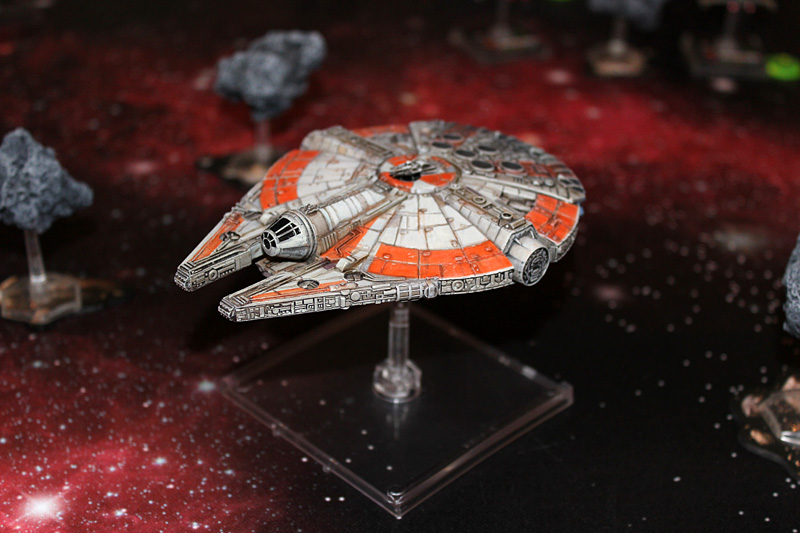
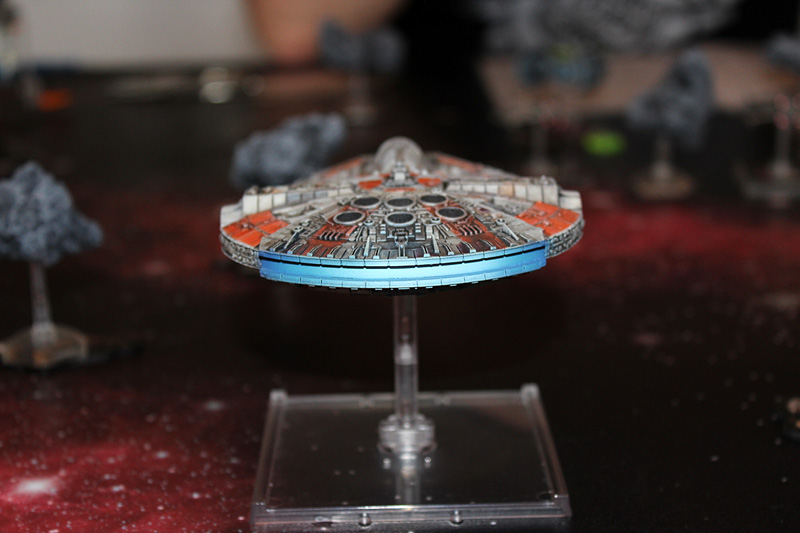
Decided to throw a bit more paint on my centered YT-1300 from the start I wanted to paint a coloured ring around the edge but was a bit undecided on what colour. i went with the faded turquise from GWs weathering range since I had it on hand. The rust streaks contrast with it really nicely but I wonder if i should have gone a more primary colour.
Like that color, its unique and subtle.
I wonder what's next, amazing job, greettings.
Back with more repaints and conversions
1st up another YT-1300 conversion I did on commission
He wanted the cockpit to be a bit higher and for me not to cut off the bottom mandible in the middle since that is supposed to be where cargo goes in, though I've never been clear how. After these shots though I also took off the piping detail and filled in the pit to the right of the cockpit so it's a much smoother ship than the normal one.
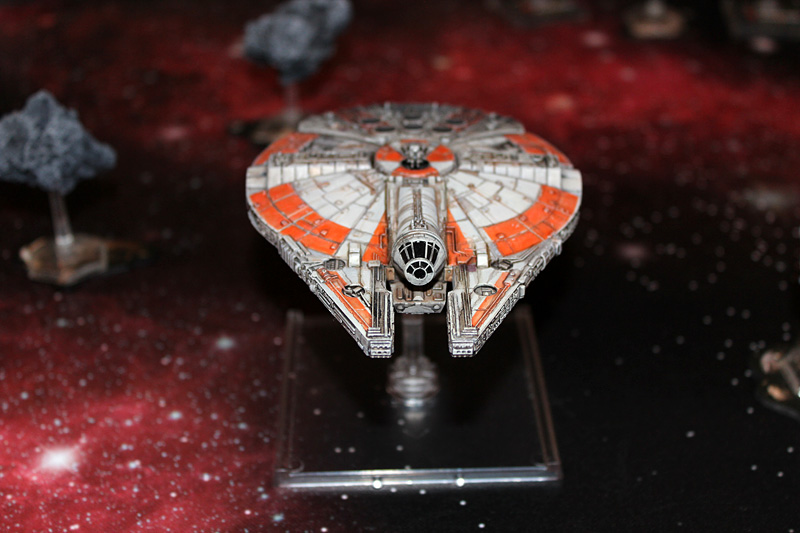
Was nice painting something to a very exact scheme, the guy photoshopped the pattern he wanted over a drawing of the ship from the Haynes manual. i think it turned out quite striking.
with my freighter fleet of flying hamburgers
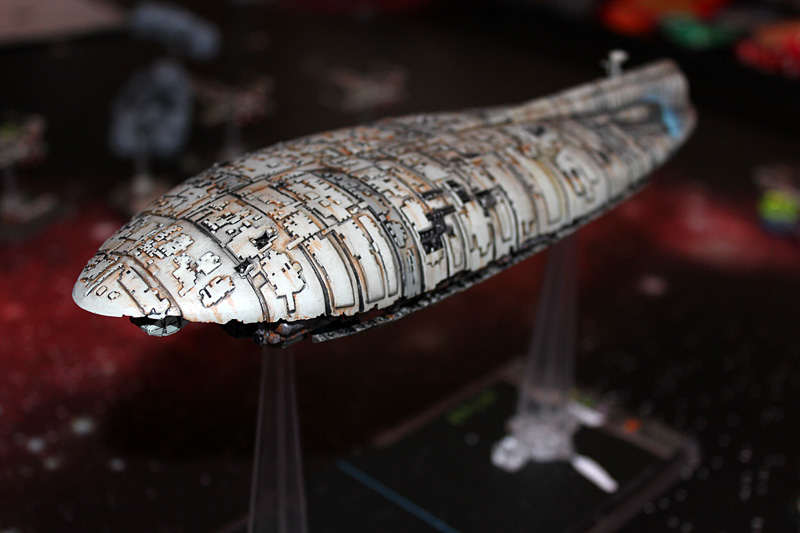
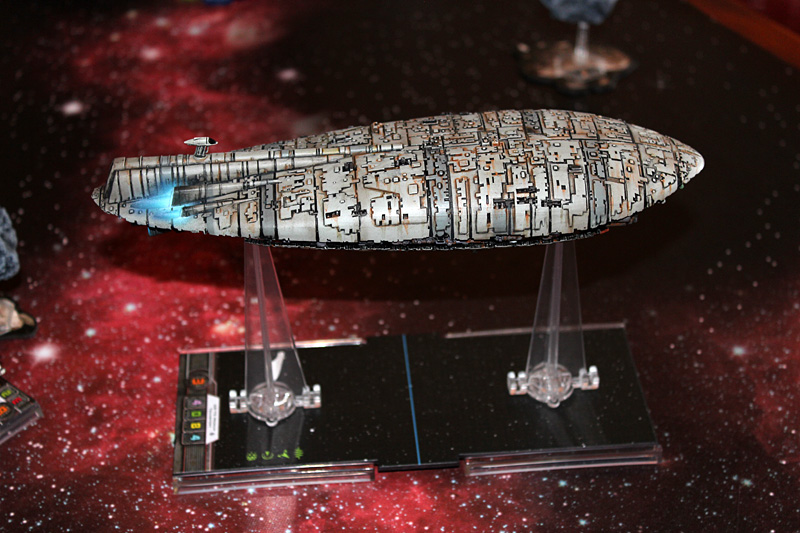
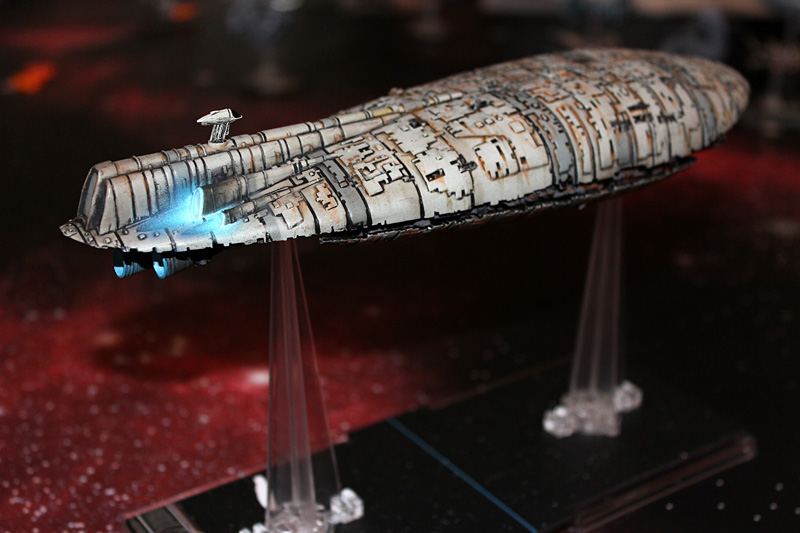
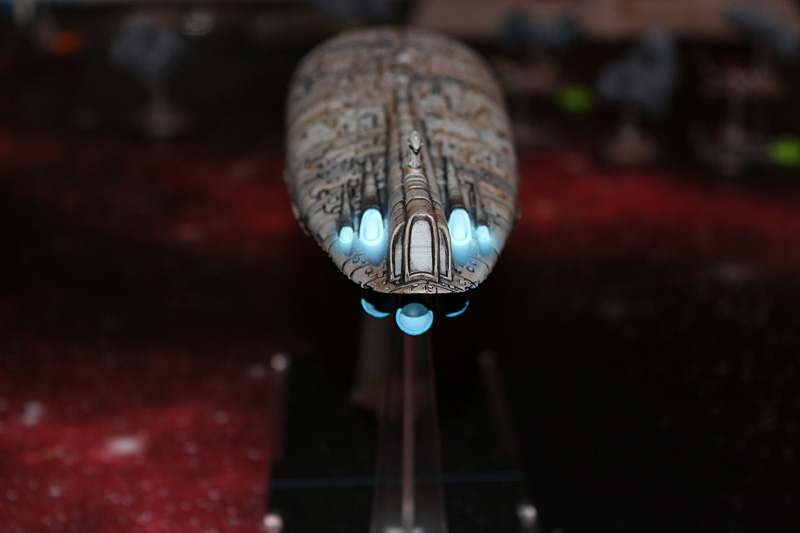
Next up I've been messing around with my Rebel Transport, I started with painting the containers and adding labels to them, then got to dirtying the ship with heaps of rust streaks and discolourations and the most eye catching part the sprayed engine glow and darkening of the engines to contrast with the glow and make it really pop.

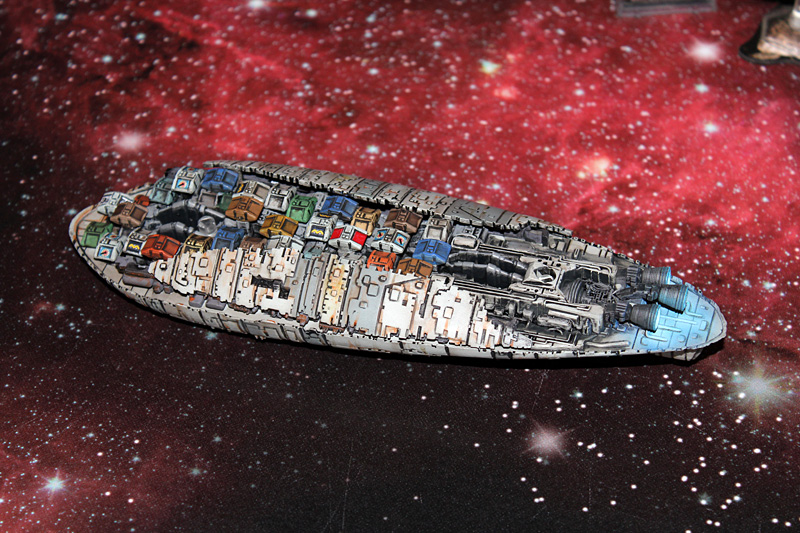
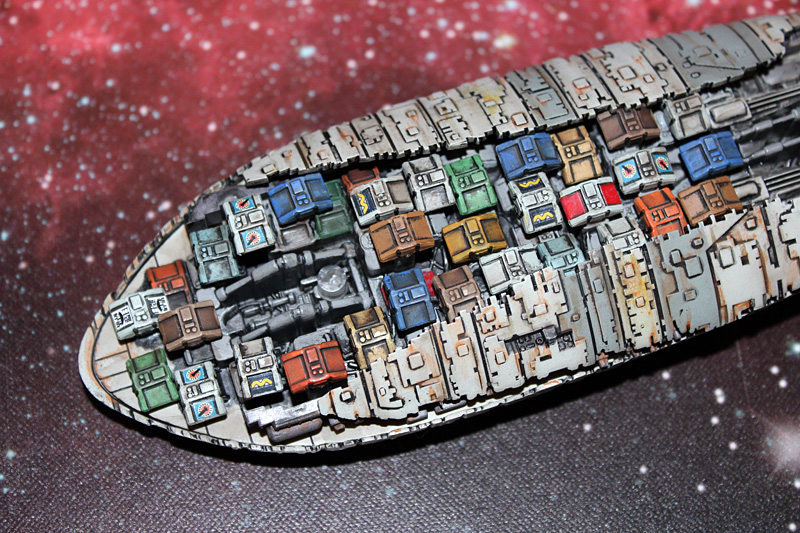

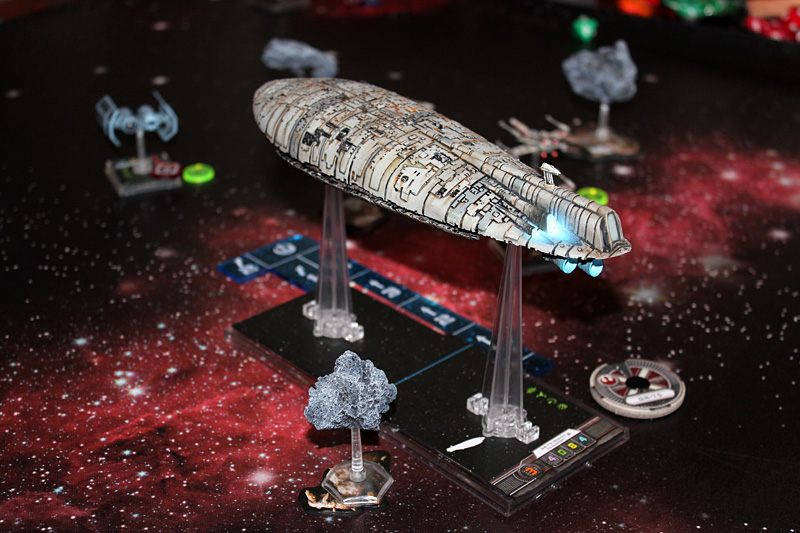
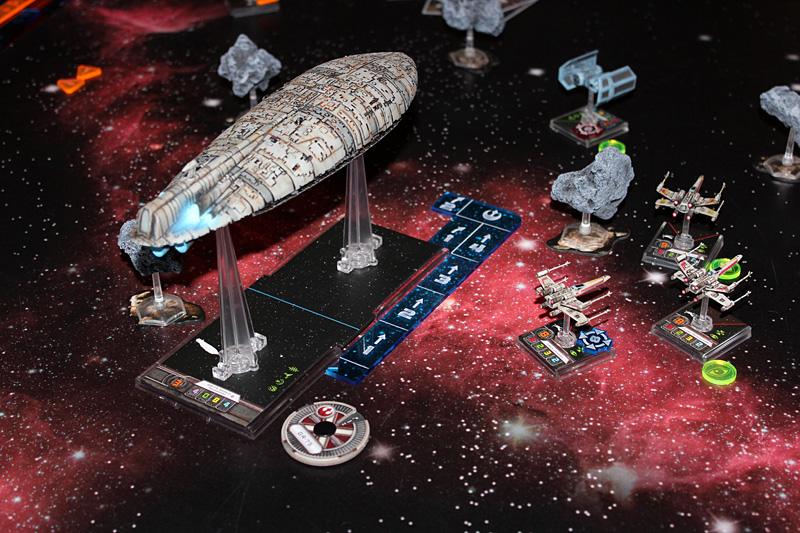
Wow. Love this transport, especially the cargo modules.
I really like the Before/After pitures, and the detail pictures of the process, congratulations, greettings.