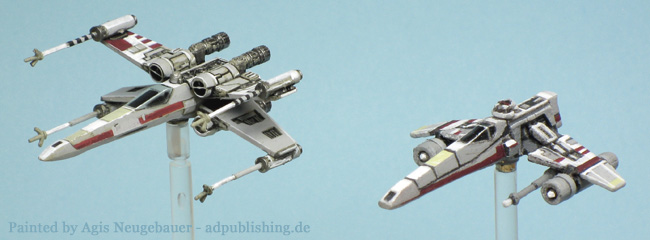
So here is my first repaint: Luke’s X-Wing and an after market E-Wing (Shapeway design by Gosric).
If you are asking what an E-Wing is... See here (http://starwars.wikia.com/wiki/E-wing_escort_starfighter).
Quote from the Wiki: “The E-wing escort starfighter was a single-pilot starfighter developed by FreiTek Inc. It was the first fighter designed entirely under the support of the New Republic.
As designed, the E-wing was intended to match, or exceed, the performance of the preceding X-wing series in nearly every respect, and was originally intended to replace the older design in New Republic service. However, the craft suffered from some significant problems when first deployed among front-line squadrons, including malfunction issues with the laser cannons and the new R7 astromech units. As a result, many pilots continued to fly upgraded versions of the venerable X-wing.”
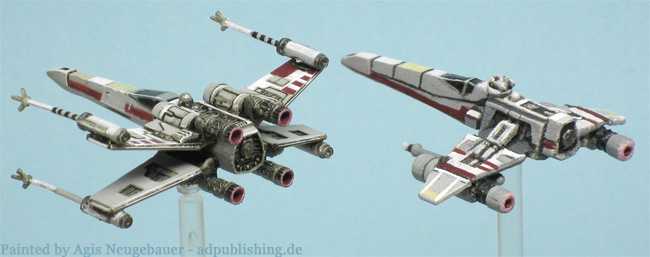
The X-Wing was painted on top of the already fine pre paint. The E-Wing was harder! The model design is absolute superb. However, the material Shapeways is still using is BAD. It is soft, seems to soak up the colour and has a lot of rough spots, and that using the Frosted Ultra Detail material. However the overall result after being painted is still OK IMO.
more pics: http://www.adpublishing.de/html/x-wing.html