X Wing Miniatures Tournament at JJ’s 11-23-2013
I just recently got to play in a local tournament for X Wing. It was the standard 3 rounds (unless there was a tie) at 100pts.
Since World’s was not that long ago, I decided that I definitely had enough play time with the Tie Swarm. So I wanted to do something different…..and went completely opposite. I also hadn’t flown either of my firesprays in a competition, and I also had the shiny new Boba Fett card, so I decided on a dual firespray build:
Boba Fett + Navigator + PTL +Assault missile + seismic charge = 52
Krassis + Recon Specialist + Heavy laser cannon +seismic charge = 48

Yes, going with only two ships is very risky (especially since they aren’t falcons). However, I felt it would give myself a challenge, and get some more practice time moving big ships. First off, I figured that I needed to try the Fettigator build, cause it looked like too much fun not to try. Also, with only two shots a turn, I figured I needed some extra punch so I went with heavy later (as per normal on Krassis) and assault missile on Boba with PTL to help with the first engagement damage. Also seismic are pretty good to help with multiple ships, and is pretty much ‘free’ damage on lower level pilots. I also wanted to invest in their defense some (since losing half your points in one bad turn is never good). Since I usually want to focus with Krassis, Recon Specialist seemed like a pretty nice option (especially with no elite talent). I also like PTL to help Fett stay alive if he got into a bad situation, plus it really helps with a great alpha strike with the assault missile.
At the tourney, it looks like there is a good spread of rebels and imperials. There were BWs and XWs a plenty, as well as several firesprays and falcons. Not many Ties however, which was almost disappointing since I wanted to see what my AOE could do to a swarm.
Note that I did miss some pictures here and there, so I’ll do my best to describe what happens between the turns.
Game 1:
I got matched up against Max and his 4 ship rebel build. When I first saw it, I thought it was my nemesis build, but it was actually a little different. He was running:
2 Blues with FCS, 1 Rookie, and Wedge with swarm tactics
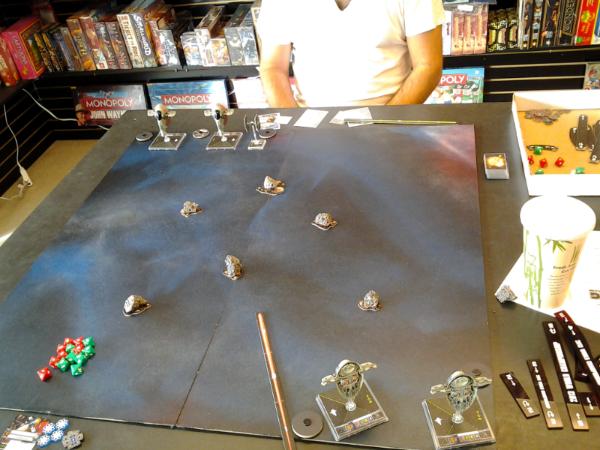
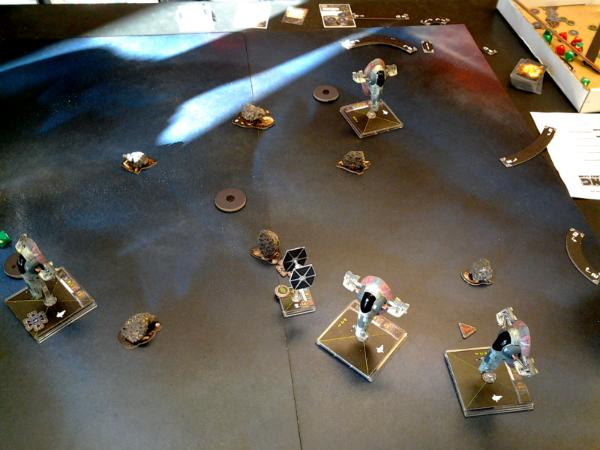
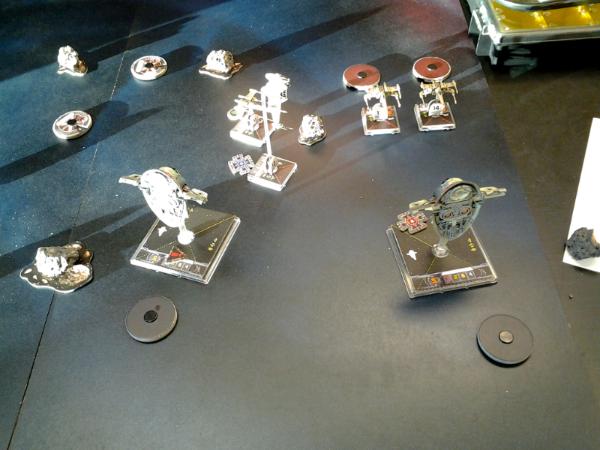
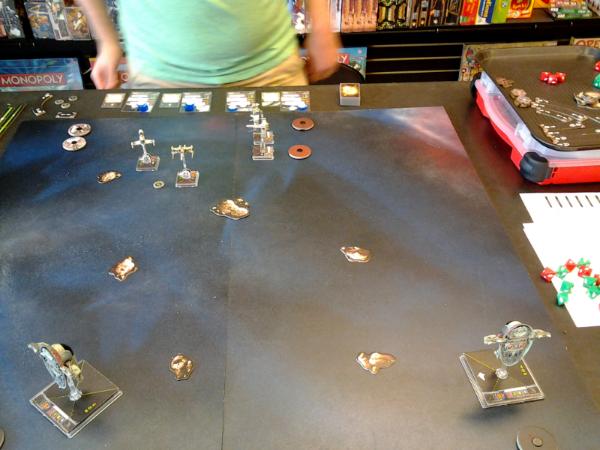
During setup, it looked like he wanted to fly the 4 ships mostly in formation right in the center. So I wanted to try and split up my firsprays, and make Fett look like the better target since there was less asteroids in his path.
G1 Turn 1
I decide to mostly go kind of slow, and head down my firing lanes. However, he kind of surprised me by going hard 2 right with everyone, looking to take out Krassis first. This was a good move.
Nothing to shoot so onto the next turn.
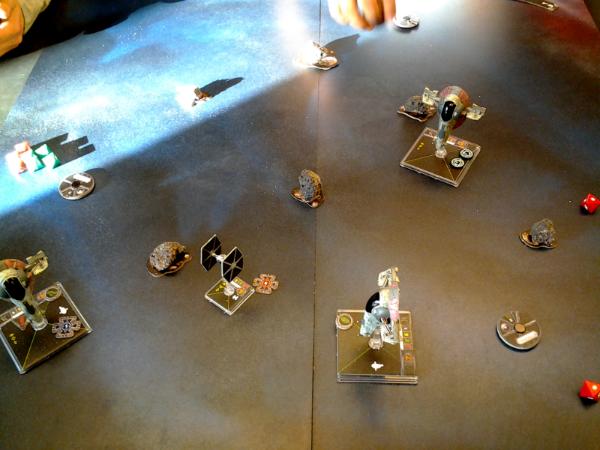
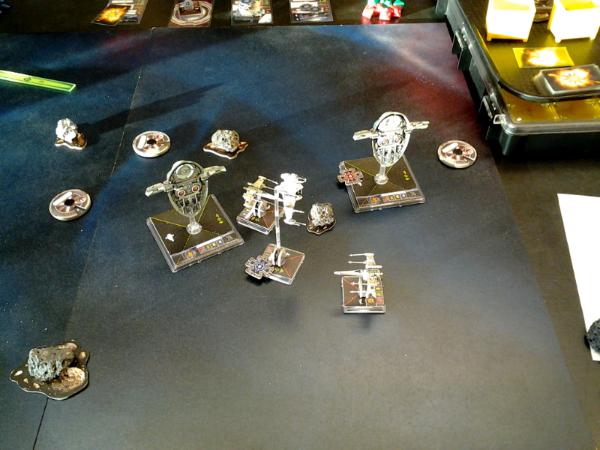
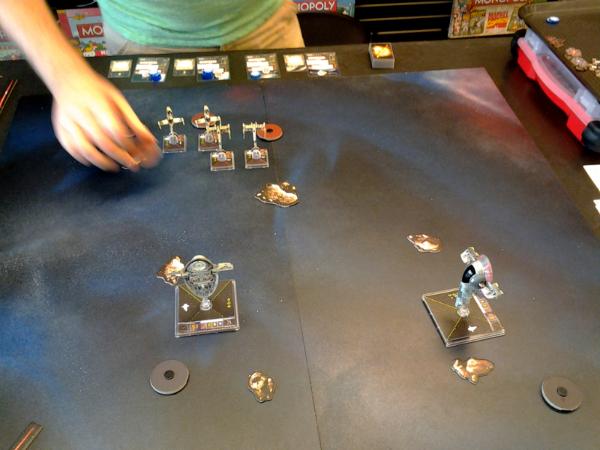
G1 Turn 2
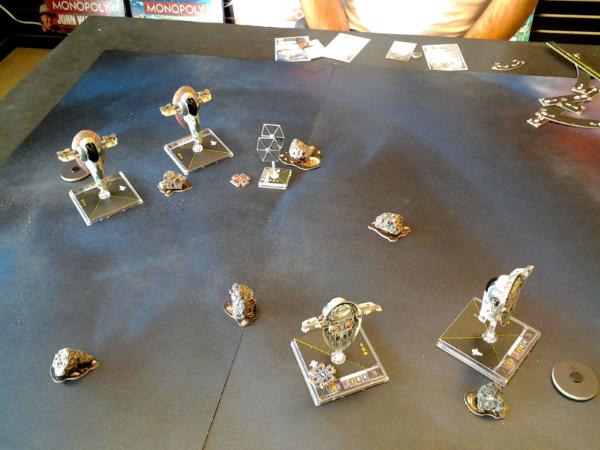
Here is where my lack of experience with big ships starts to show. Krassis isn’t in a good position. I really want to bank slow, but that would screw over my T3 movement with an asteroid right in his path. So I went with a 2 bank hoping it would put me far enough to the right. Also, I don’t think I can bank well through the asteroids with Fett, so I go with a hard 3.
So, max does another 2 hard with his guys, and barrel rolls the BWs back. I make my moves. Fortunately, Krassis lands short of the asteroid, but it will be blocking most of his maneuvers for next turn. However, he does something similar with Wedge’s final position. Anyway we begin firing. Wedge shoots along with the rookie at PS9, and take off a few shields from Krassis (having two focus is pretty nice). I fire back and take both shields off Wedge with the heavy laser, and unfortunately Boba is out of range. I also got pretty lucky that both BW’s were just BARELY out of range of Krassis.
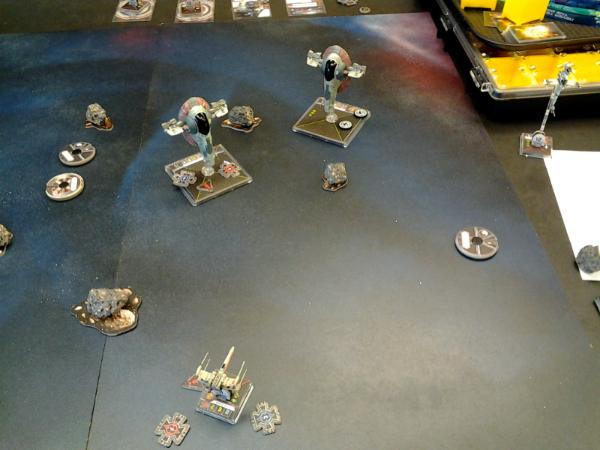
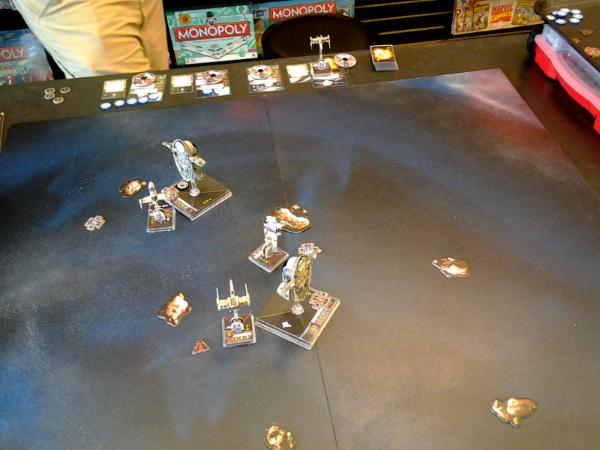
G1 Turn 3
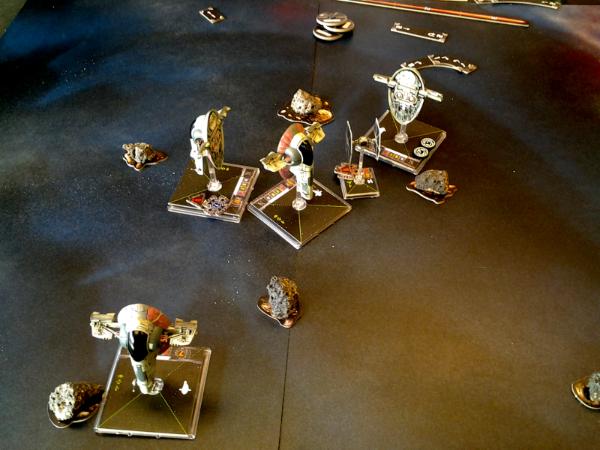
So, Krassis is in a bad spot. I can’t go straight since he will probably move up the rookie to push me back onto the asteroid. Can’t go hard 3 left since I would clip the asteroid, and be facing the board edge. I could go hard right 2, but I think that will leave me in R1 off all 4 of his ships, which is a death sentence. So I got for the 3 bank left and hope the BW on the far left banks in.
He moves, banks the BW in (sweet), but then barrel rolls back left right where I need to go (crap). The rookie and other BW move up slow. I move Krassis, but cannot clear the BW. I backup, and the back left sliver of my base lands on the asteroid (CRAP). Boba banks in and does focus/TL on Wedge. Thankfully for me, wedge tries to bank 1 in, but collides with the rookie (but misses the asteroid). He fires both XW’s, and takes off the last shields and a couple hull on Krassis. Then Fett decides that since Krassis screwed up his movement, he deserves to get hit and launches the assault missile. It obliterates Wedge’s 3 hull, and splashes the rookie, the blocking BW, and Krassis. So, that turn went pretty well, since I still have Krassis with a few hull and got wedge down.

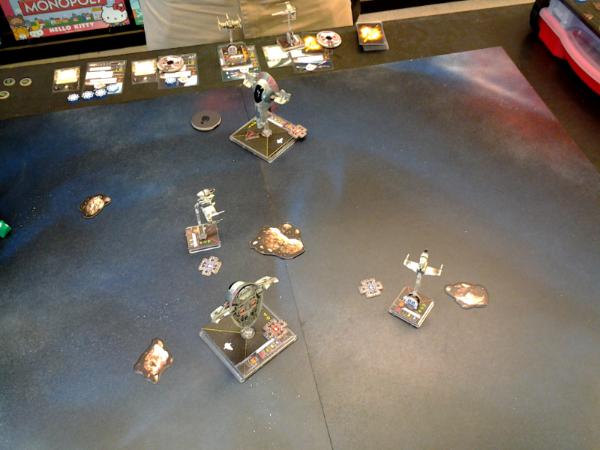
G1 Turn 4
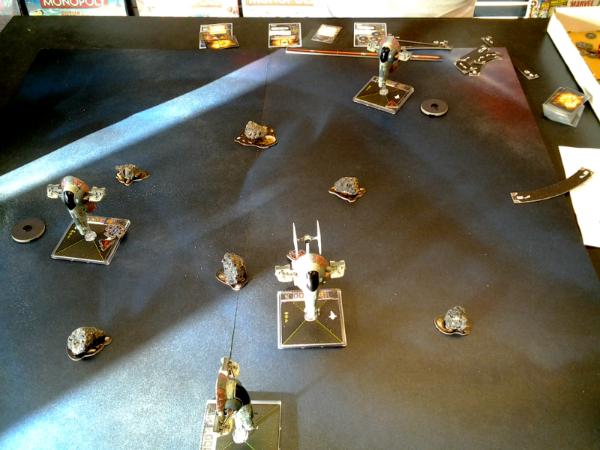
I decide to get a bit risky with Krassis again. I decide on a hard 2 right to get around the asteroids, and move Fett up 1 to clear stress (and probably ram something). We make our moves….
Surprisingly, the back BW moves first and bumps into the front BW, trying to block. The rookie goes 4 k-turn to get another shot on Krassis. The front BW moves over Krassis and rolls back to line up a shot on Fett. I move Krassis, and BARELY clear the BW (that was too close). Krassis, with the assault missile still fresh in memory, decides to drop his seismic which Fett is flying straight for. Fett moves up and rams the rookie. The Bomb goes off, takes the 2nd shield off both the BW and the rookie, as well as hitting Fett.
In shooting, Fett scores a couple hits that bring the right BW to 1 shield left. Krassis whiffs his attacks on the BW directly behind him, but makes up for it with good evade against the rookie’s shots. I think the other two BWs take all (or all but 1) of the shields off Fett with their shooting. I think I’m still in the lead, but there are still 3 rebel ships remaining…
G1 Turn 5
The rookie moves up 1 and TL? Krassis, both BW’s do a 2 hard, hoping to get their arcs in line on Krassis. Fortunately for me, I decided to do a 3 k-turn, which put me out of the arc of both BW’s (another close call for Mr. Krassis). Fett decides to just bank into the rookie to keep good field position.
Fett can’t shoot the 1 shield BW so he can only take off 1 shield from the left BW. Krassis then decides he doesn’t want to die yet, and with his reroll is able to take all 3 hull off the rookie, destroying him before he can shoot back.
G1 Turn 6
I miss a picture since I make a couple mistakes…….
Krassis wants to clear stress, but it I bank away I don’t think I’ll get a shot at the BW. However, he collides with the front BW after he does a bank and roll. I also go for a 1 bank on Fett, knowing that a 2 bank will hit the BW that just rolled in front of Krassis, however, I just BARELY clip the asteroid, leaving me no shot (but don’t take damage). The other BW does a hard turn, gets in range of Krassis.
So, the only ship with a shot this turn is the right BW, who is able to roll well and finishes off Krassis.
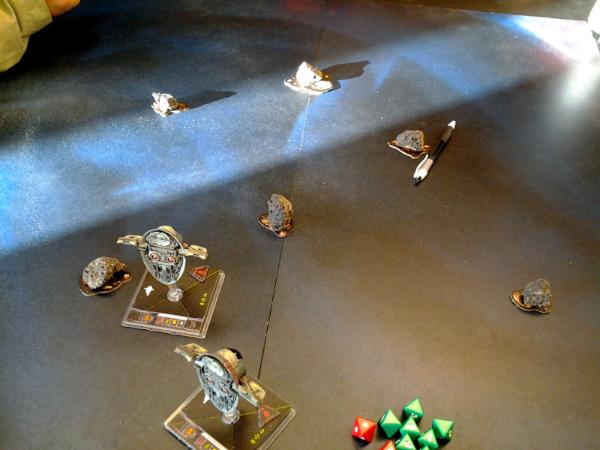
G1 Turn 7
He does a 2 k-turn with his blocking BW, and the other one moves up slow with TL and focus on Fett. Fett tries to get fancy, and does a 3 bank left, hoping to get out of the arc of the blocking BW. Unfortunately his base is too big and the BW can still see him… so he goes for a focus/evade.

Fett fires and gets two hits in the hurt BW, brining him to 2 hull left. Both BW’s fire back, and peel off a hull point from Fett from what I remember.
Unfortunately, at this point we run out of time since we have gone just over 60min. It would have been interesting, since I was ready to drop my seismic (which would have hit both BWs), and probably gotten a R1 shot on the stressed BW to finish him off. Then it would have been close to see if the other BW could finish off Fett through his PTL defenses.
We count up points, and I destroyed 52 points of his, and he destroyed my 48 point Krassis. So I barely pull off the win by the skin of my teeth!
Onto next round….
Edited by Texx