here's pretty much what I do every single night before I sleep: get out the ships, and make them fly around.
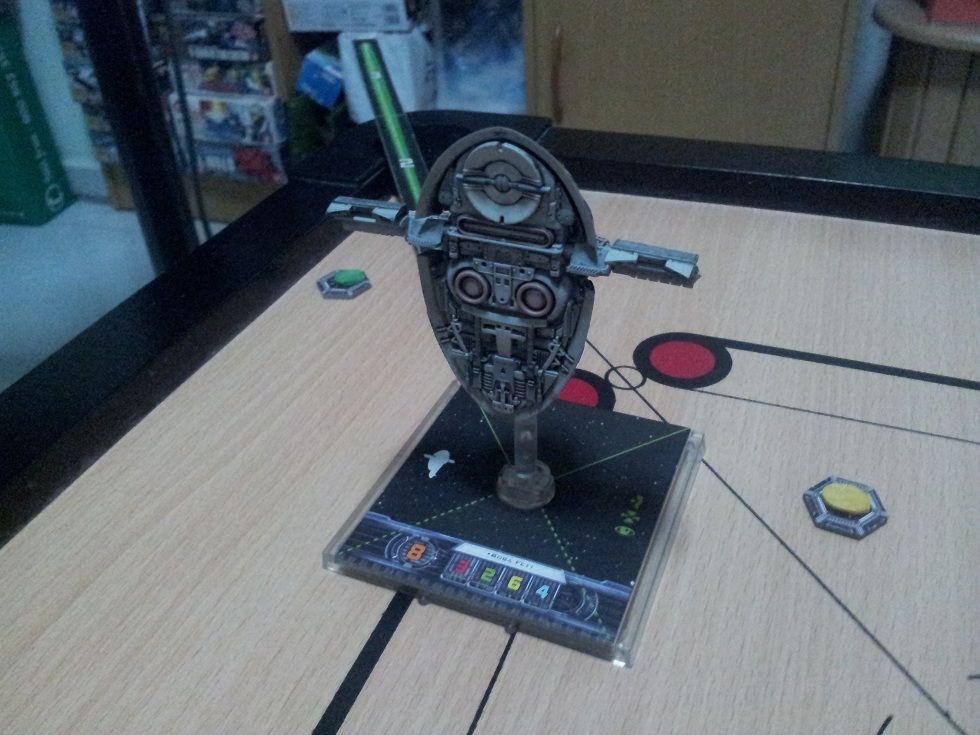
the board I use is a Carrom board, which is roughly 2.5 x 2.5, and range 1 is just behind the black lines. In this case, I'm flying around with the Slave I because I have yet to fully master its maneuvers. There are 5 tracking tokens (I will have to land on them), 10 critical hit tokens, red = range 3, yellow = range 2, green = range 1 (i will have to do an attack against them at that specific range, and it only counts if i manage to get in 2 hits in a single attack without focus nor target lock, also no range bonuses applied, and shooting through a rock = i need all 3 hits for it to count), and the proofofpurchase token, on which I need to drop a seismic charge that overlaps it. It's game over if i spend 2 consecutive turns without getting any tokens too for one of the runs, so that i can sharpen my planning and prediction skills
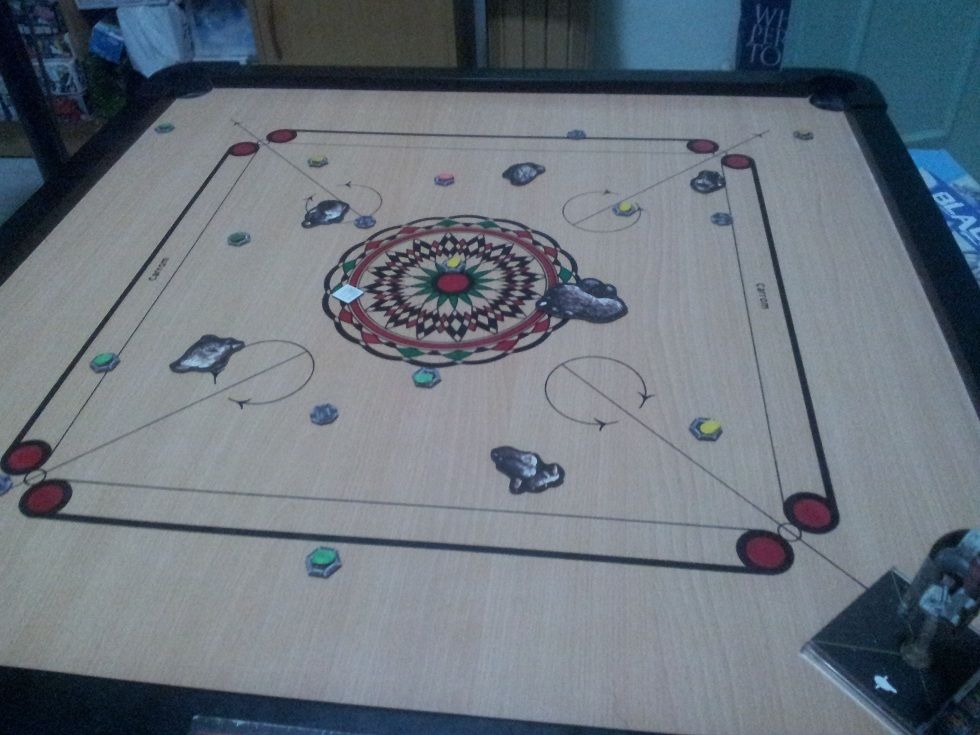
quick overview of the board before mission start. Everything is randomized, i simply threw the stuff onto the board and spread them out a little. a D6 was used to determine the range that i need to hit it for each token.
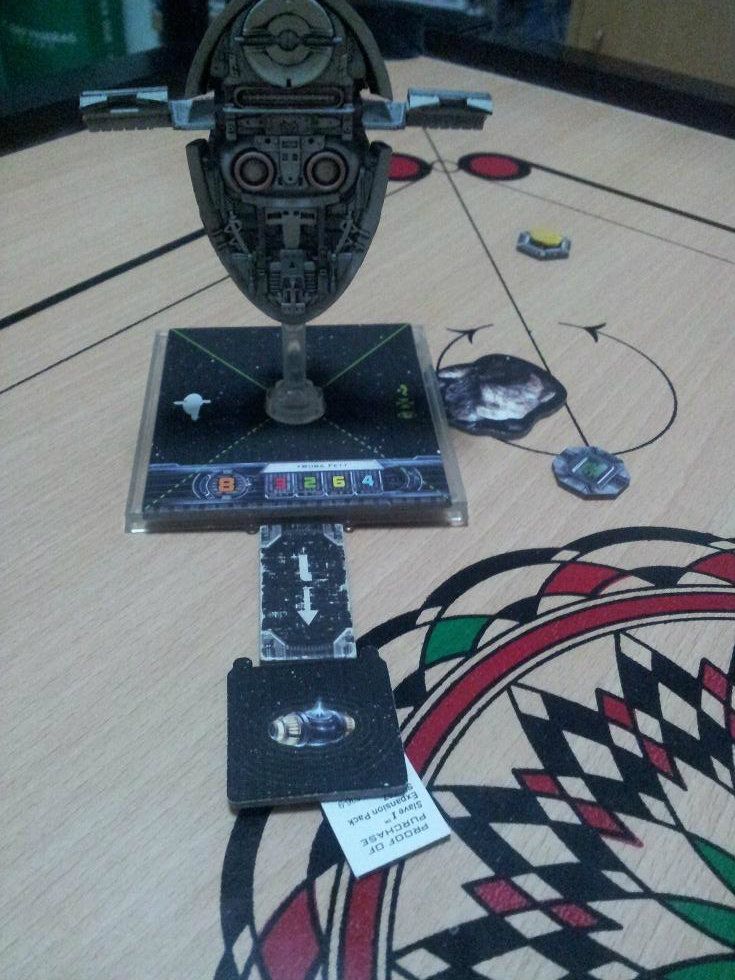
just missed the range 1 token there on the left, overestimated my approach a little
nailed it!

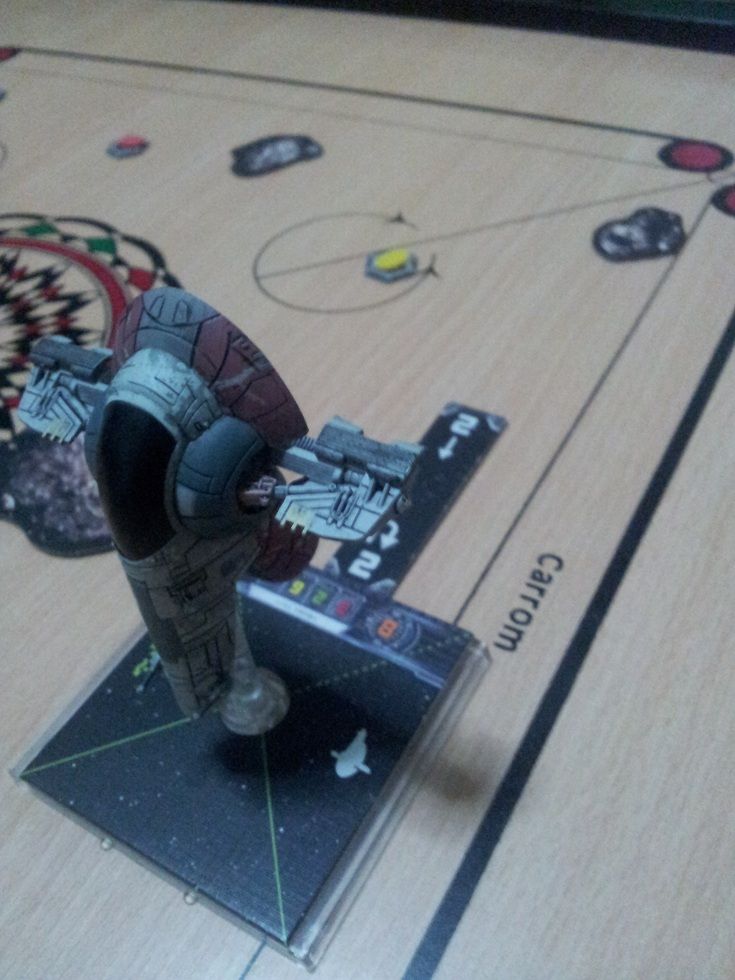
abusing the rear firing arc of the Slave I to get that range 2 token
Apart from these, i'd switch the difficulty depending on what I'd want to do, eg. I'd lay out shield tokens on specific spots, and get a 4 TIE square to land on each one of them at the exact same time for it to count as a success, I'd tape narrow strips for the TIEs to fly through without hitting, making them break formation then get back into formation then break it again, etcetc until flying becomes simple. It's also a good chance to retract your maneuvers, eg. suppose you were thinking of doing a hard turn 3, but you estimated wrongly and hit a rock instead, so you'd retract that and see what is the "correct answer". no pictures for these, since im fully confident I have mastered it completely and have no need to practice it for some time. Right now I'm concentrating on the Slave I alone, then maybe next week I can start to pair it with TIEs and then TIEadv for squad level maneuvers, if my progress is good enough.
no matter how you put it, maneuvering is one of the key elements of the game, and there is only one way about it: insane amounts of practice. The pictures here are from the first run i had with the Slave I for tonite, and I'm off to fly it a bit more. Every night, before you sleep, just set it up and go for like maybe 3-5 rounds of flying this, and you will get better for sure, especially once you introduce your own stuff to further ramp the difficulty up a few notches. This is very different from having a combat round with another opponent (or your left hand for that matter), as it lets you master the basics of movement first without any distractions. afterwards, when you think you are ready, you can start to have a controlled opponent (ie. you know exactly where he is going), then slowly switch over to a normal game where the dials are concealed, then finally playing with your opponent not using any dials (ie. when it comes to his turn, he may pick any maneuver he wants, and he can measure too). you can choose to either bugger your best friend to be your sparring partner, or you could actually fight against yourself too, not too much of a difference either way, and when playing with yourself you could further adjust the "difficulty level" or even cheat on the dice rolls and critical effects a little to fully test out what you wanted to test.