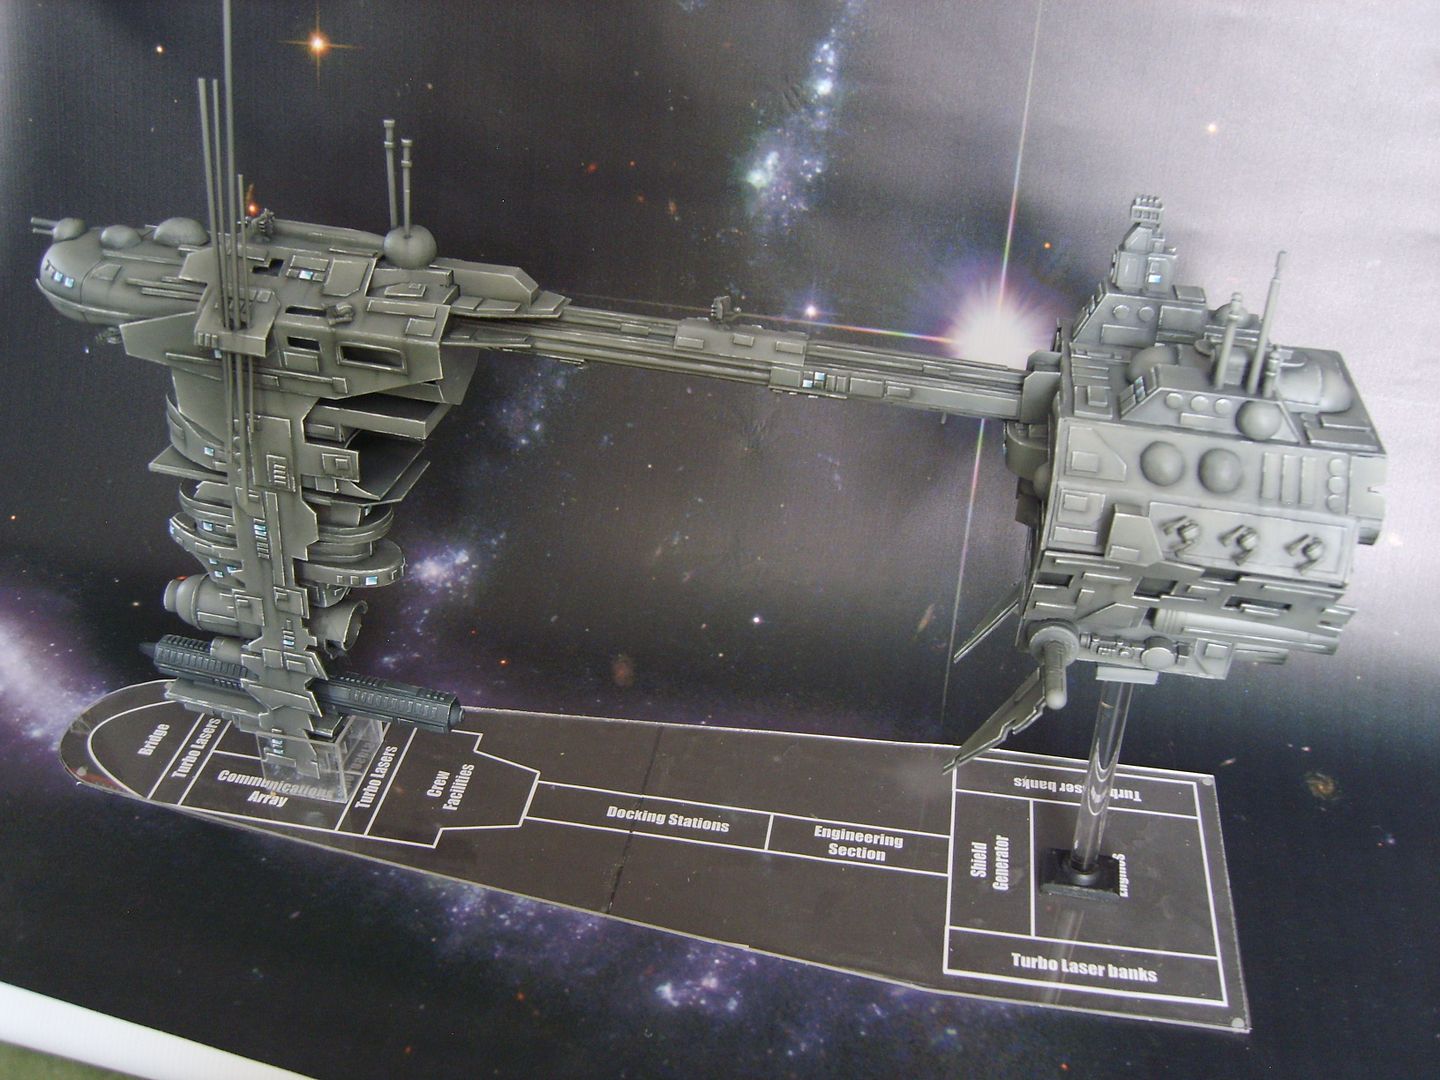
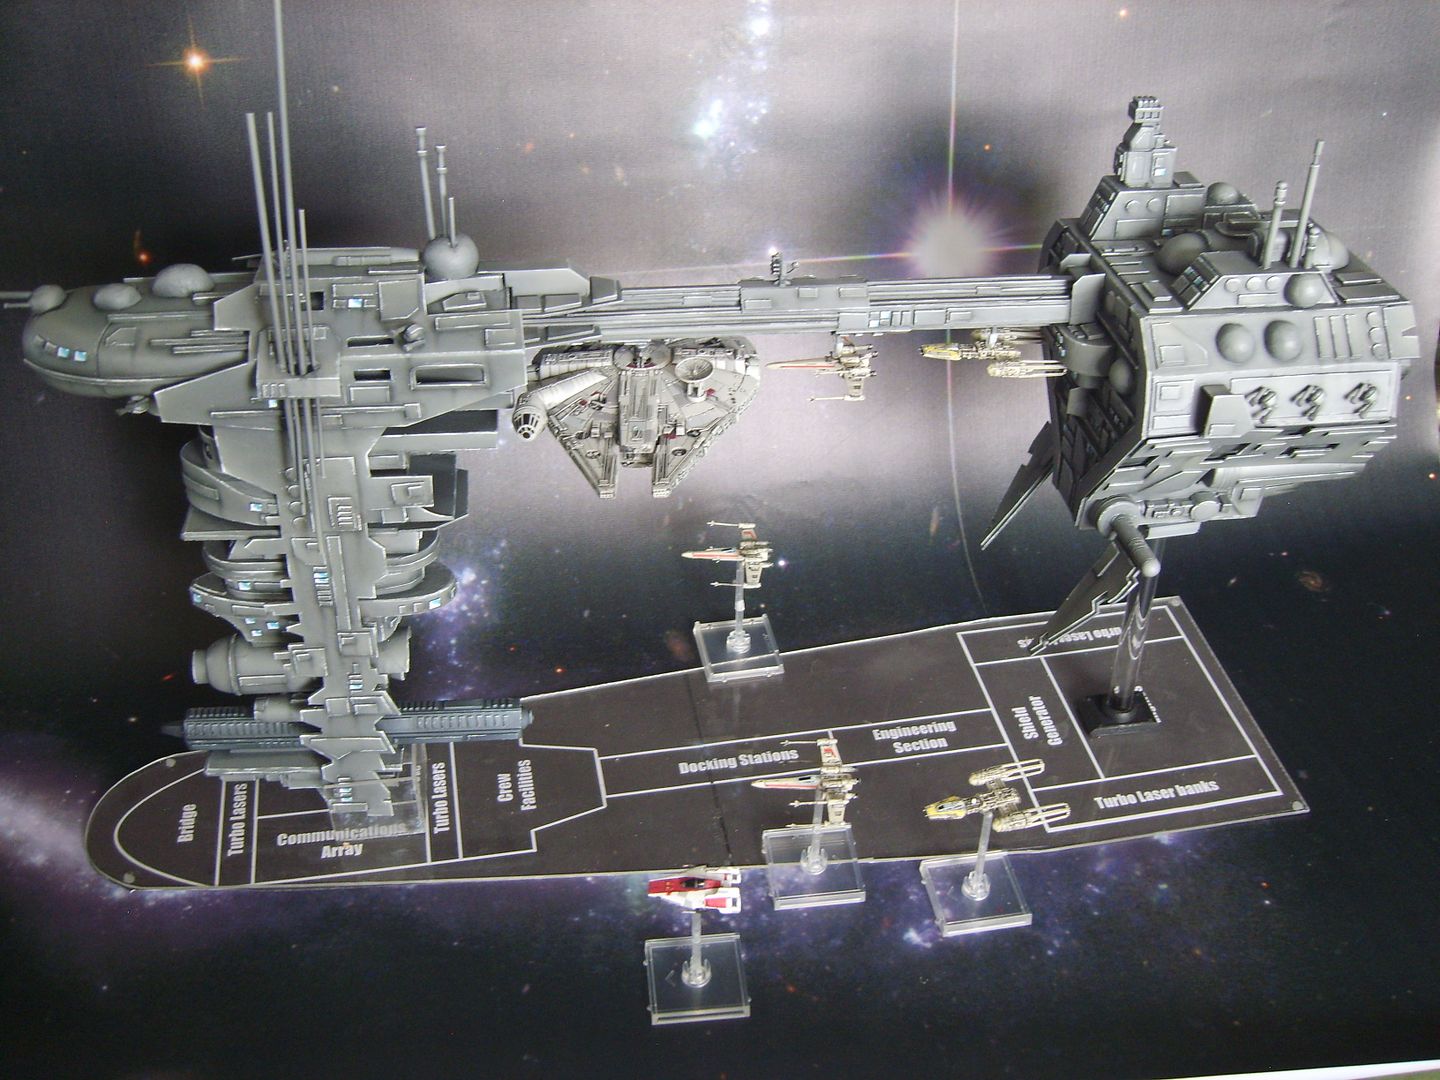
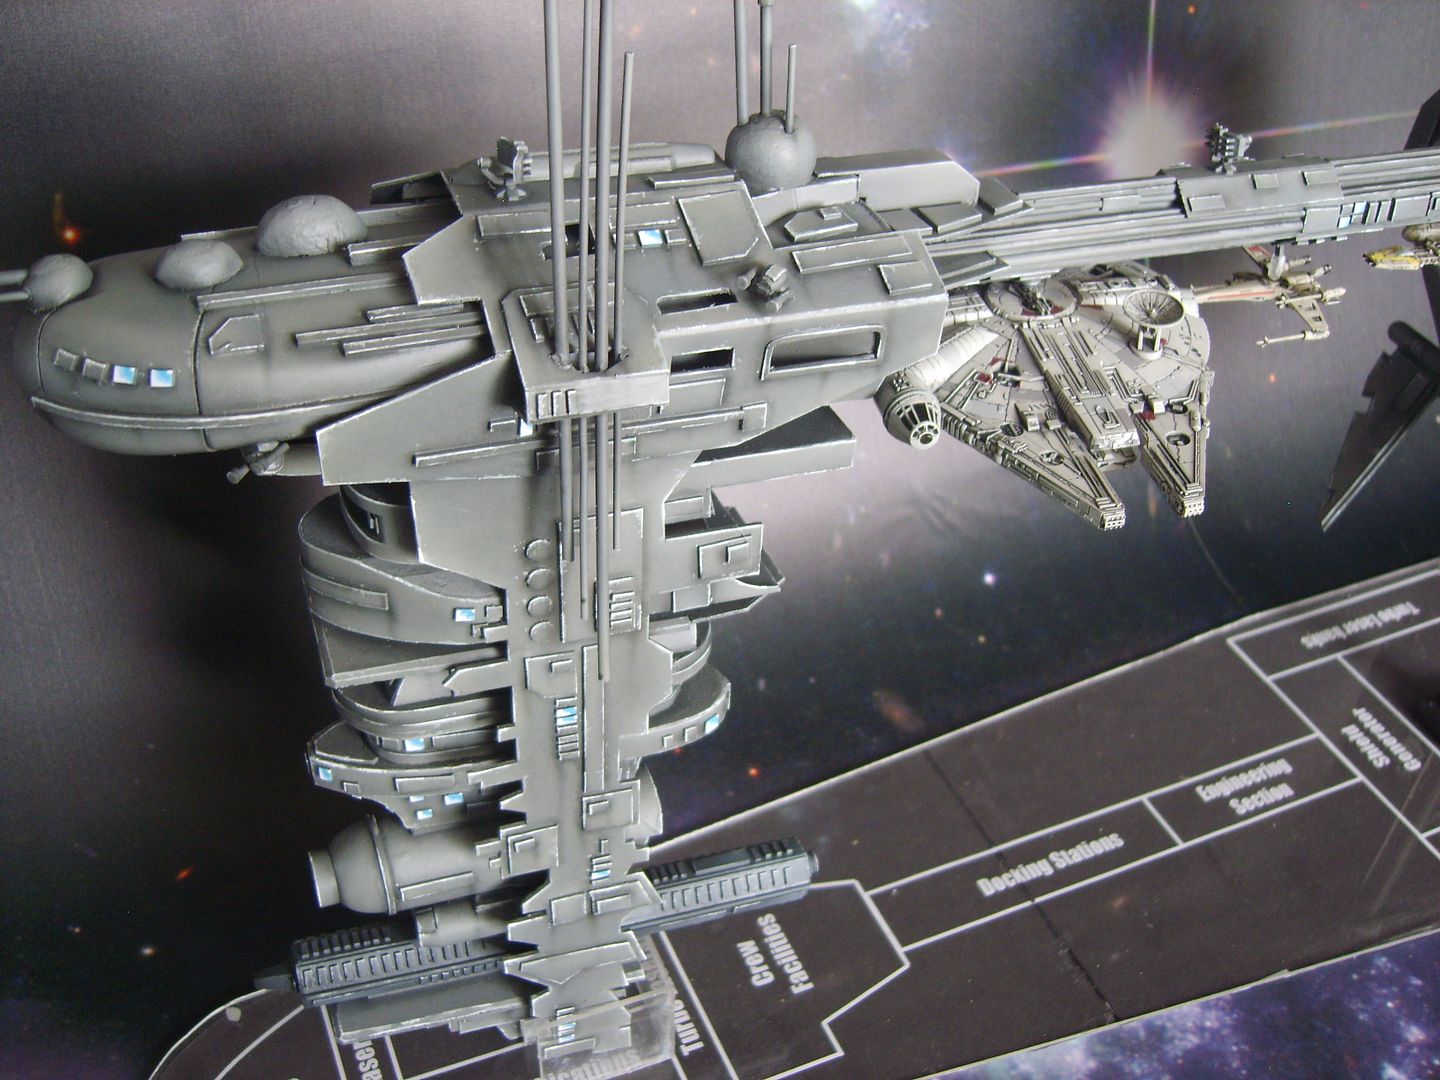
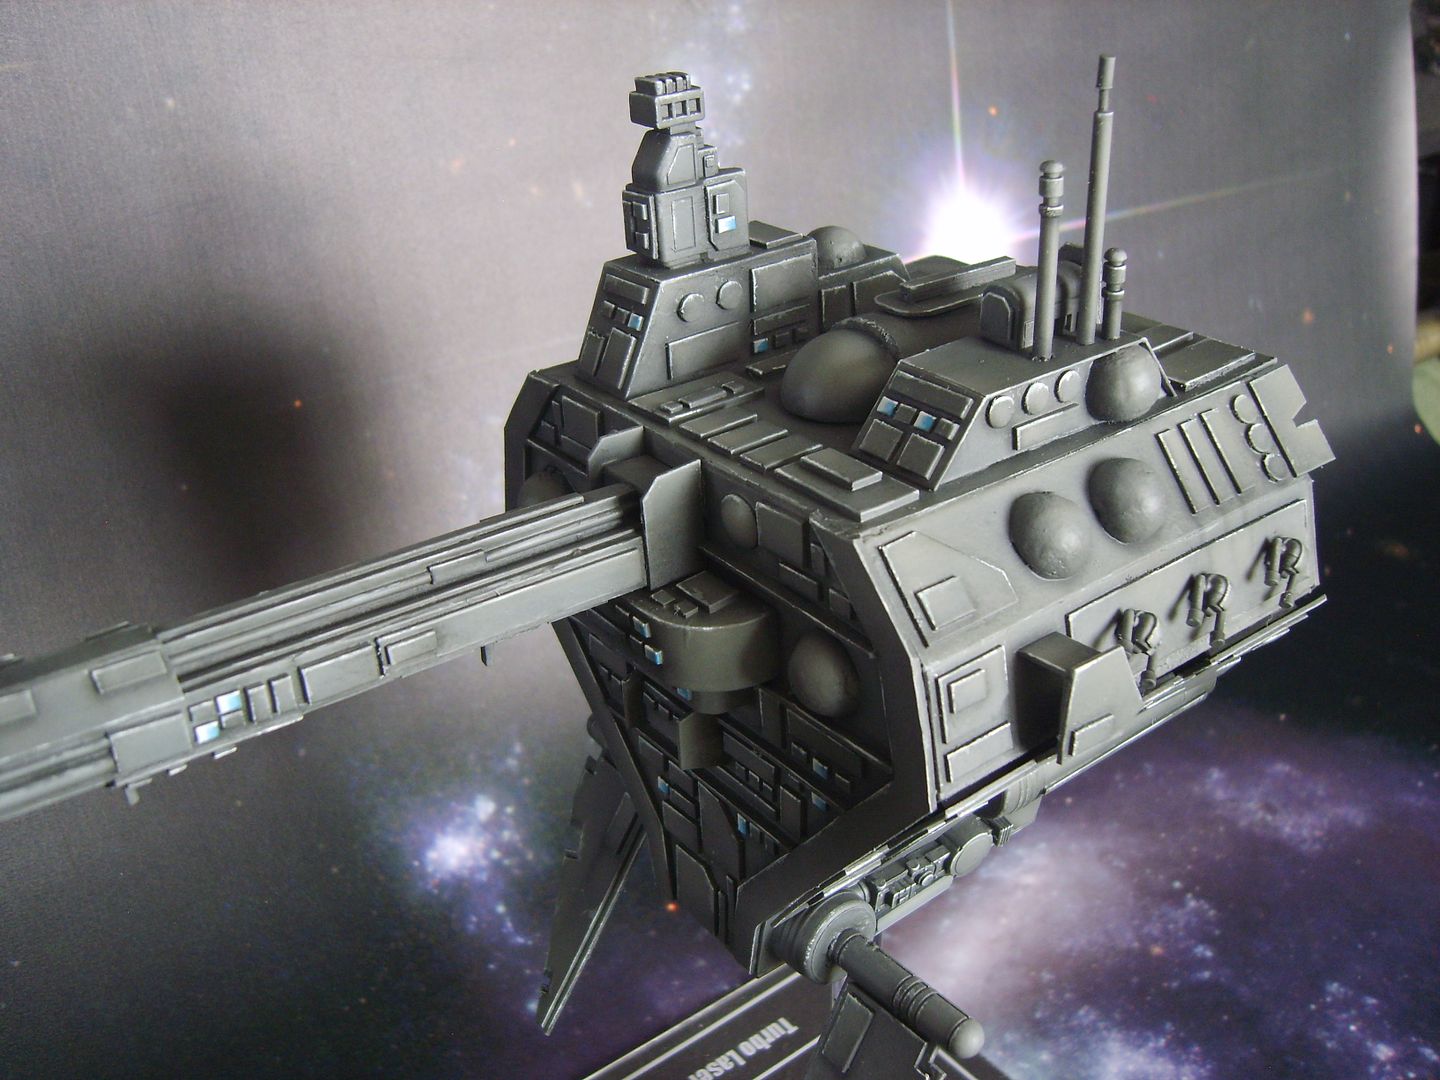
Cheers! That looks fantastic, I wouldn't want to be the pilot of that shuttle! In your honour I will rewatch the classic trilogy and pause the movie whenever I see a Neb B and say... that's quite nice but have you seen bulldoguk's one?
Kenner Blockade Runner - re-paint
Wow! You are truly a world-class model-maker! Love the Neb B, especially the ship-docking capability. Wonderful touch! What was the crossover reference?
Nicely done my good man!
RealGenius, aint got a clue what scale it is to be honest, I don't deal with grown up stuff like that, realistically it should be about 1.5m in length but that's simply not practical for casual gaming purposes and it takes up a lot of space on my already full shelves! This version will be approx. 50cm long which fits in with my other 'big' ships.
Yes, exactly. It isn't the "right" scale, but it is the perfect size!
Awesome work, as always. I can't wait to see it finished!
Could you please share with us how you made those awesome bases for the ships?
They look really well made especially the writing. Was it an Acrylic plate cut together and then using some solution to etch the letters into it?
What interests me most is how you have done the connection between the base, the rod and the ship itself. I got one of those really neat looking Republic Star Destroyer models from Revel on Ebay. It took quit a while to assemble. But now I am at a loss on how to make a proper base and stand for the ship.
Hi Terrano, it's not as complicated as you might think. The bases are cut from acrylic sheet which you can pick up from most DIY stores, it's quite expensive as they sell it in big sheets but tbh its handy for lots of different projects so your bound to find a use for it
![]() You cut it just like tiles, scoring a deep line then carefully snapping over a straight edge. It's simply a matter of measuring up your base and cutting, try to stick to straight lines unless you own a fret saw to cut curves
You cut it just like tiles, scoring a deep line then carefully snapping over a straight edge. It's simply a matter of measuring up your base and cutting, try to stick to straight lines unless you own a fret saw to cut curves
![]()
The lettering and target grids are just created on your favourite dtp program, I use CorelDraw. Again its just a matter of designing the target areas by physically measuring your model so everything relates. I then print this out, white text/lines on black background and trim around the base once in position, few spots of bluetak hold it in place...jobs a good 'un!
Beauty of this method is you have the originals on file too so you can adjust/tweak as you playtest and introduce alternative layouts for scenario play, etc.
The stands are made from 12mm acrylic rod, you can buy this from ebay. The little stands they slot into are a little more difficult to source, I had the originals in hand from an old build, I think they were Forgeworld parts, you could make up a similar shape from wood and just drill a hole in the middle to take the rod however. you just drill a bloody great hole in the bottom of your ship to take the other end of the rod, no delicate surgery required
![]()


Thank you, that helped alot, I was mostly unsure how you did the flight stand.
And I tought you had some magick wodoo with the letters and the lines (It did not come to mind to simply print it out
![]()
I might try to make something out of wood to both attach to the rod on both sides (I don't really want to drill a hole into my SD)
One last question (before I go and raid ebay, I did find a store that supplies both sheets and the rods with accepable prices)
How thick should the base acrylic sheet be? is 5mm too thick or just right?
5mm is a little thick I would say mate, it would be a real b%tch to work with, only plus side is you could probably drill a hole right into it to take the support rod. The stuff I use is 2mm.
Yes a support platform attached to the top of the rod would work, its how I did it on the Neb B, I was just too lazy to cut the rod on the other ships and I had my drill in hand
![]()
I got the Acrylic Glass and some Iron Rod from my local store.
Did some hours in photoshop to work out the lines so I could do a proper model to cut out after. (Getting that into photoshop was quit difficult for me since I usually dont do that kind of stuff.
I had to first measure the angles on the ship itself and its measurments and then began drawing on A3 paper, that I scanned and then gave it some polish in photoshop.)

Here is my work so far. Next step is to print that on A3 printer so I have the prototype to cut the Acryl glass to size and then invert colours so I have a black background with white lines.
Edited by TerranoBrilliant Terrano, love the idea of the little stat sheets for each area, I will add that to my plans! Are there available files for download of blank stat bars or did you scan and modify?
Btw, I only have access to a standard A4 printer and simply printed the plans onto several A4 sheets then glued them together
How do I add pictures directly via the forum instead of having to go trough some stupid other imag hosting site? I seem to not be able to find that option anymore since they ffg updated the forums.
http://www.afewmaneuvers.com/forums/viewtopic.php?f=28&t=183
Here you can find empty templates for the cards so you can cut and paste stuff as you wish and make it easily modifable.
My plan was to have a Capital Ship that had its own areas as a mission objective. So for instance I could design a mission where a rebel Bomber Squadron had to take out the engines of the ship in order for boarders to capture it. Or simply as a big objective where the other player(s) could choose if they wanted to try to disarm the ship first or directly try to hit the shield generators and then the bridge. (Currently my homemade rules are that you need to disable the 2 shield generators first before you can attack the bridge. If the bridge is destroyed the ship is considered disabled/destroyed. But you could also first clear out some laser banks to make it easier on the Y-Wings to get their torps out)
I have yet to play test the values I used, but since I keep all the numbers as seperated Layers in my picture software I can easily modify the numbers if it seems completly unbalanced.
Doing the acrylic base was quit the challenge. Usually I am double left handed and really bad with diy stuff. First I tried cutting with a cutter and breaking the acryl base but I had no success on that with a small sample plate (cracks everywhere). Luckily I had a good hand saw at home so I started with cutting the acryl first into lines and then sawed on those lines. Turned out pretty well despite my utter lack of skill.
The flight stand will follow tomorrow.
Edited by TerranoI have yet to find a proper stand. I have the acrylic base, the underlying texture and also just threw together a Ship Card for the Venator. But I still can't make up my mind how I can attach the flight rod to the base and to the star destroyer (I lack the tools and knowledge to build something like that from plastic or wood)
Here is my Ship Card, I will print that on A4 paper and foil it.
I took inspiration from a Ship Card found on BGG from the Capital Ship Rules found here:
http://boardgamegeek.com/filepage/87166/star-destroyer-templates-and-command-cards-v-1
But reworked it to my taste and the Venator

That's the dogs danglers Terrano. love it! I will defo be using it in my next game and if you ever get chance to throw one together for a Neb B, Blockade runner and Star Destroyer (hint hint) it would be a please to use them in future games too!
Btw, regarding the bracket to hold you stand to the ship, seeing as you don't want to drill a bloody great hole in the bottom, how about an angle bracket bent into a shallow 'V' to cradle the ship? you could carefully drill and screw it into the acrylic rod
Incredibly cool all this: the ships, the bases the re-paints!
Terrano -> Seriously sweet!
Here are updated ships for the link you gave above.
http://boardgamegeek.com/filepage/87313/new-templates-for-star-destroyer-with-updated-card
Here are the rules for the ship ssd's you gave above.
http://boardgamegeek.com/filepage/87163/star-destroyer-pdf-v-1-rules
Not mine, but I do look nice.
Tell me your thoughts?
https://docs.google.com/file/d/0Bx0Ap5YjAn6eSUFnTTY4bThaU2c/edit?usp=sharing
I'm still not sure how to post images. It says I'm not allowed to use that image extension???
Heavy Laser has a range of 2-3 and should require sensors to be operational. The Laser Cannon has a range of 1-2.
Should both have a gunner to allow it to shoot a second time of it misses. Both the Heavy Laser and laser cannon are actually quads.
Yes I change it from Turbo Laser to game weapons since Turbo Lasers are actually 4 to 5 times more powerful that fighter based Lasers/Blasters and more importantly are ineffective against fighters due to rate of fire and targeting abilities.
P.S. Are the shields under protected (more shield or hull)???
Edited by Ken at Sunrise
No thoughts/comments on the CR-70
![]()
Layout wise. I cannot read the blue text on that black background. A different colour variation for the shield blue would be nice.
Stats wise. Sorry nothing I can really think of because I would need to playtest those stats a few times against bigger tie squadrons (and I lack bombers until Wave 3 for Imerpials so its a bit harde to judge balance wise) However why do the shield generators have 2 defense die?
Most subsystems on my ship dont have any because it should not be too hard to hit them (Bridge is kinda obvious and big so hard to miss) Just my Missile Launcher Tubes and Laser Turrets have defense die because they obviously are smaller and harder to exactly hit. I guess the smaller corvette has a smaller profile thus the defense die.
If you want I could upload the psd file somewhere and post the link here. It has all the layers arranged neatly (not all named perfectly) but it should be fairly easy to change any variable as well as any background/pictures/text with that.
Edited by TerranoYes, if you could upload the psd that would be great, or drop box, or google or...
Shields, well I wasn't sure where the generators were suppose to go. I've see a few locations but the center seems to be most common. With Blasters on top and Escape Pods on the bottom I thought 2 agility seems reasonable. I lowered the shield points a little because of the added agility. Though it may be too low with bombers.
As for the guns:
The dorsal/ventral Heavy Laser should require the Sensor Suite to be active and also have the equivalent of a gunner. (fire again if you miss). That's because, like the MF, it is a pair but on the top (dorsal) and bottom (ventral) of the craft.
The laser cannons I'm really debating keeping it the way it is or doubling it, 2 port wing turrets and 2 starboard. Their fire power doubles of course. I could leave it that way: restrict the firing arc to 90 deg; drop the hull value to 1 each???
I have no idea how many ships to play on a side with this and am definitely open to suggestions. I'm guessing it should have a point value. But the standard assumed method should apply since there are area with points that may not matter in a given mission, i.e. docking bay, etc...
I hope this works:
https://www.dropbox.com/s/lys1d9lhe8o3ee8/star%20destroyer%20blueprints.psd
https://www.dropbox.com/s/7c0k0i82nlicx69/Star%20Destroyer%20Sheet%20Updated%20New.psd
Both the Star Destroyer Ship Template and the Ship Card here as psd
Also I was finally able to massacre some wood pieces with my drill. Now I just need to buy some double side sticky tape or those poster stickers and I can finalize everything. Its too bad that I cannot paint for my life or It could look so much better. At least its star Destroyer grey already ^^
Edited by TerranoNeb B finished, looks OK considering it started life as a Ylang Ylang and Iris Shower gel bottle!
Right, got a Micro-machines Rebel Transport coming my way for a re-paint and another Blockade runner to convert into a Gunship...any suggestions what to scratch up after I have done with them? Bear in mind anything 'big' will be scaled down to game size
That is beautiful. Love the moorings for the Falcon and fighters!
Top Notch work!!


