http://www.dakkadakka.com/dakkaforum/posts/list/0/479387.page#4821427
This guy did an incredible job on creating his world for X Wing. Check out his post, I found it while looking at different ways to create mats for Star Wars.
http://www.dakkadakka.com/dakkaforum/posts/list/0/479387.page#4821427
This guy did an incredible job on creating his world for X Wing. Check out his post, I found it while looking at different ways to create mats for Star Wars.
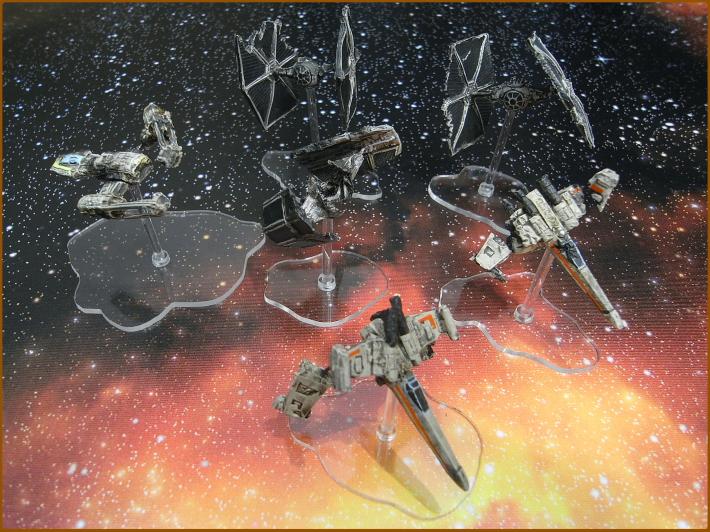
I just have to say WOW! Those damaged ships look amazing. Might have to tinker with some of that myself sometime…
That is some expensive wreckage.
CaptainRook said:
That is some expensive wreckage.
Instamold and putty are not really that expensive. I make X-Wing molds at a cost of about 10 cents for 6 x-wings with dental stone.
I didn't realize they were molded. I have bouts of illiteracy and lapses of logic. It's what makes me a dangerous opponent.
Yeah. He shows his process in the thread.
Wow, that all looks rock'n!
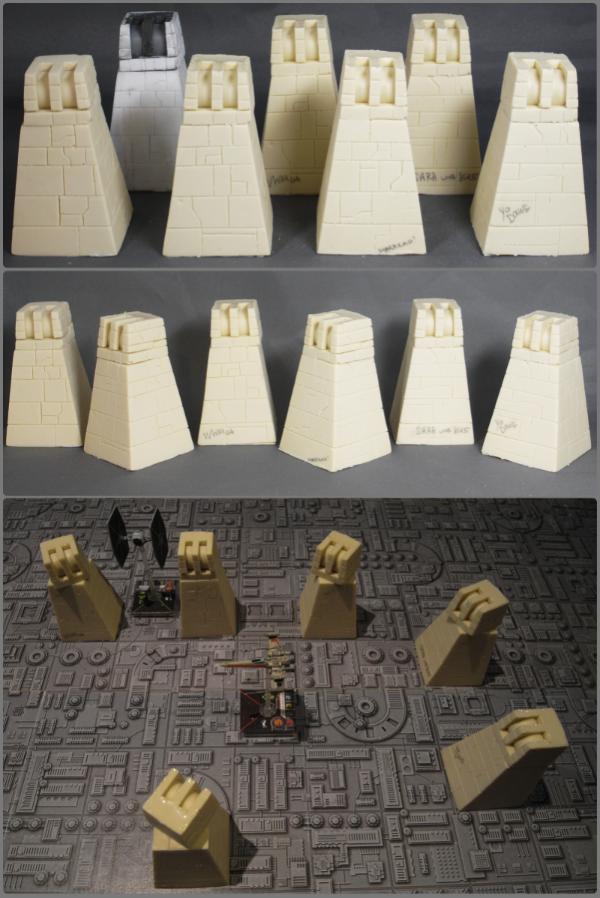
I would like to do a death star table, but have already painted mine as a starfield (I play Battlefleet Gothic too, so it's a multi-function table!). Actually, that gives me an idea! I could use my scratchbuilt space fortresses as turrets/orbital weapons platforms in SWXW too 
yeah,
Ha!
I found this thread while browsing the forum for tactics! I'm Glad you like the markers.
Very excited about the second wave of ships and increasing my ship graveyard!
I love this game.
Panic…
Wow! it looks really awesome. I tried to make once as well but fail. Now my boards are all black in color.
Anyone here has any idea what spray stuff should i get to make some sort of galaxy with stars for my board?
yeah,
I've been making turrets.
Check them out in my bloggy mc blog.
http://www.dakkadakka.com/dakkaforum/posts/blog/479387.page
Panic…
Ixamos said:
Wow! it looks really awesome. I tried to make once as well but fail. Now my boards are all black in color.
Anyone here has any idea what spray stuff should i get to make some sort of galaxy with stars for my board?
I made a very simple, kind of testing ideas, starfield over the weekend. Took a piece of black felt fabric, thumb tacked it to the wall in my garage, covered it with aluminium foil (thumb tacked to the wall as well), then took the smallest flathead precision screwdriver I own and poked a bunch of tiny holes with the corner of the screwdriver in the aluminium foil.
Step two, broke out the airbrush, threw some white (acrylic) paint in the cup, proceeded to spray all those little holes.
Went pretty quickly, pretty good effect, obviously very low cost, if a little generic. I figure it'll be my "away" mat when playing not at home. Still taking ideas into account for what to do for my home mat/ table/ whatever.
I'm tempted to try and free hand a galaxy type swirl with my airbrush. I'm not particularly good with it (mainly use it to basecoat vehicles and scenery- works a treat for that), but I think having a dual-action airbrush would make spraying a galaxy swirl fairly simple just by varying the paint concentration as you get away from the center. I've already used several spots on the "back" of my test starfield to try different sized holes in the foil (tried a couple of other items to poke the holes, really, the smaller the better. I used a thumbtack in a few places and they came out way too large, so I can't really stress enough that you need to go as small as possible if you're then going to spray with a can or airbrush) will try spraying a planet or two and a galaxy maybe next weekend.
Ixamos said:
Wow! it looks really awesome. I tried to make once as well but fail. Now my boards are all black in color.
Anyone here has any idea what spray stuff should i get to make some sort of galaxy with stars for my board?
White paint and a toothbrush.
Hey Panic,
Nice board. I just bought the same death star pdf myself. Did you re-scale it? As in your blog you say you printed 60 copies to cover two, 4x2ft mdf boards. If you used the original 8x10inch size images that the pdf comes with it should only take 20 or so copies. Did you alter the size, resolution etc? I only ask as, as I have mentioned I purchased this pdf earlier and I find the tiles to be really 'grey' in colour (compared to on my screen) and the image does not seem as sharp as on my monitor screen.(I own a really good photogaphic printer, thats why i ask) Did you do any fancy 'pimp up my death star' techniques I'm not aware of? What paper did you print on etc etc? Any advice, ideas greatly welcome,
Thanks'
yeah,
I printed mine out on a Laser printer at work using stretch to printable area.
I used a quality lazer printer paper 90gsm I think (most cheap paper is about 70gsm) while photo quality is usually over 150gsm..
Hope that helps.
If you read my blog pasting warped my boards and took a few days to sort out.
I saw someone on here using A4 sticky paper which is what I plan to do when I print a star field, I've seen some fairly cheap on eBay.
Panic…
yeah,
I didn't use all the sheets I printed, I did have a bunch left over…
But i think it will take alot more than 20 sheets to cover a 4' by 4' area.
48" x 48" area. Using 8" x 10 " sheets thats at least 6 x 5 grid = 30 pages
plus If your printer doesn't do edge to edge printing you need to trim… now its a 7x6 grid = 42 pages
Plus I messed up a bunch of pages so I was probabily close to using 50 sheets.
Panic…

Well done!
Love the battle damage. How did you do that?
yeah,
Using a 'press mold' process using product called insta-mold and a quick setting putty.
The process/products makes crappy copies of things, but is perfect for wrecks!
More details in my blog… in my signature.
Panic…
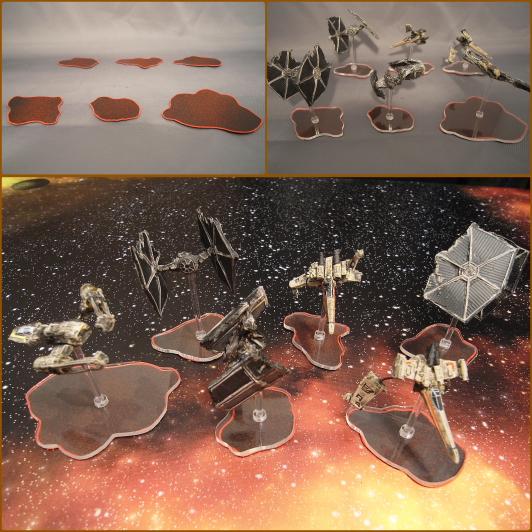
yeah,
I finally got around to basing the wrecks properly.
These are the asteroid bases from http://www.gamesofwar.net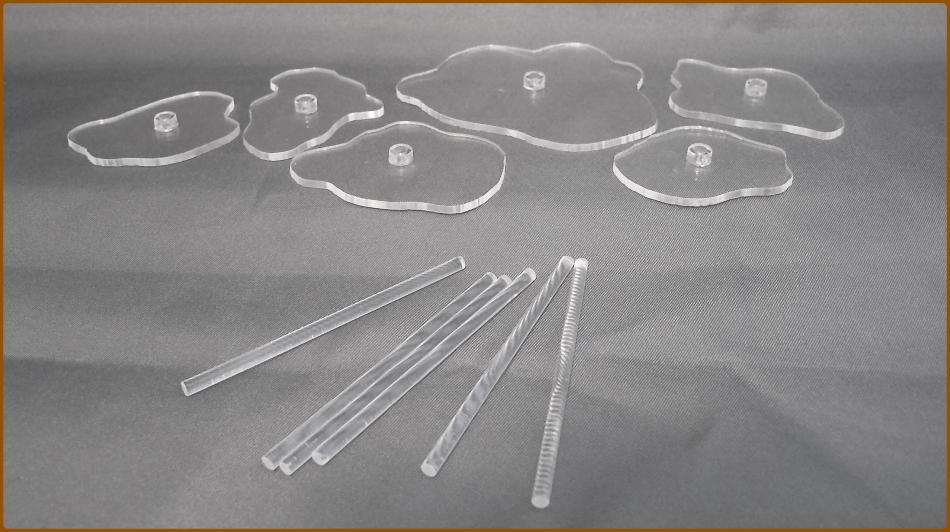

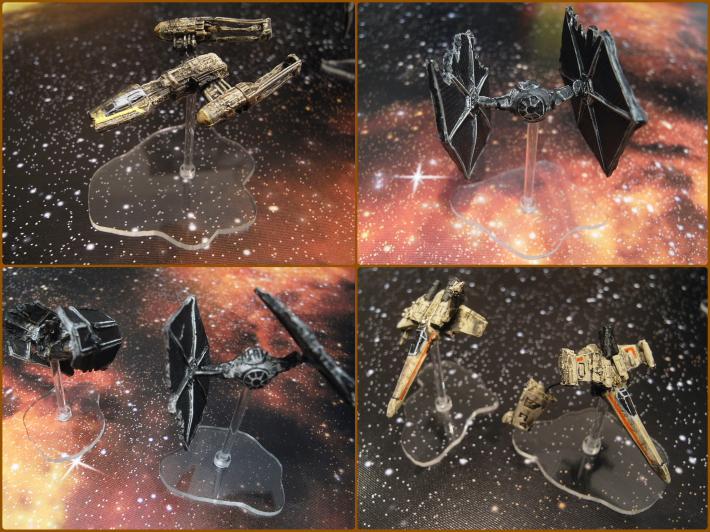
That effed up Y-Wing is by far my favourite. Keep up the good work! :3
Niiiiiiice.