Some heavies I am working on

By Softbatch, in Dust Tactics

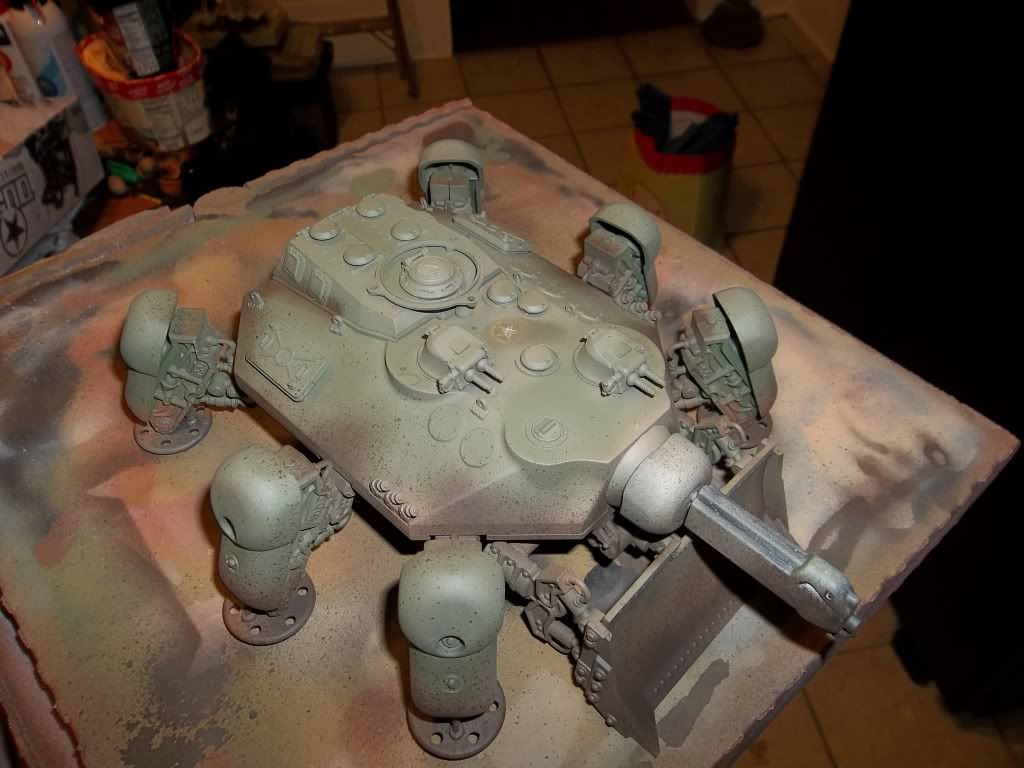
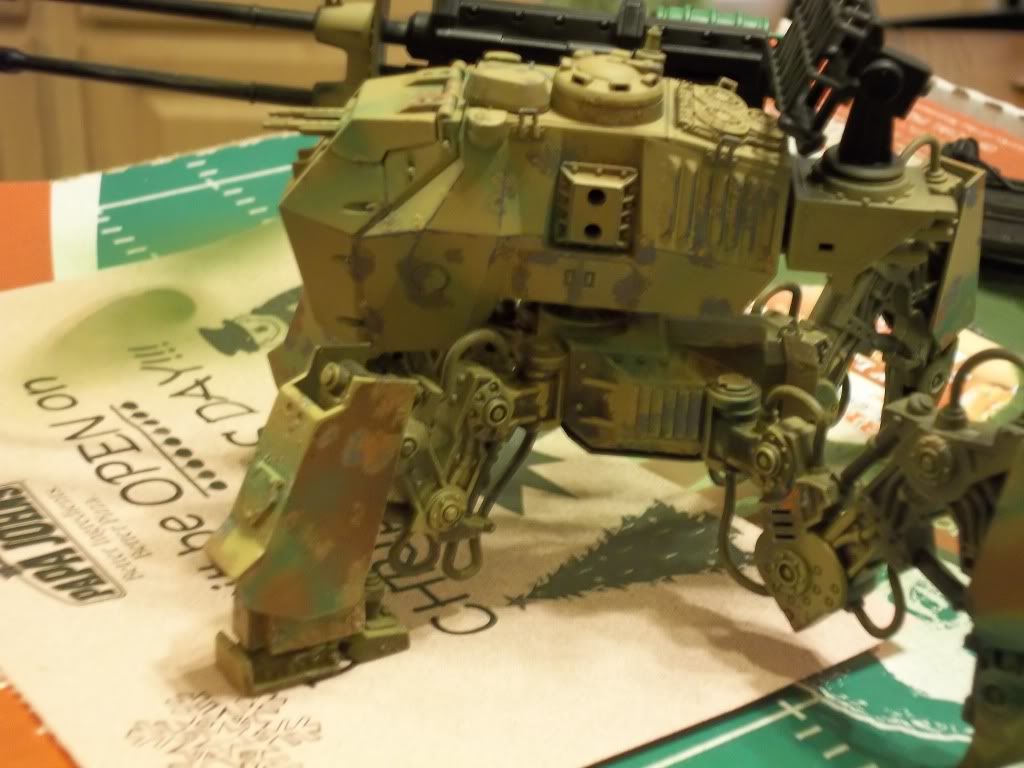
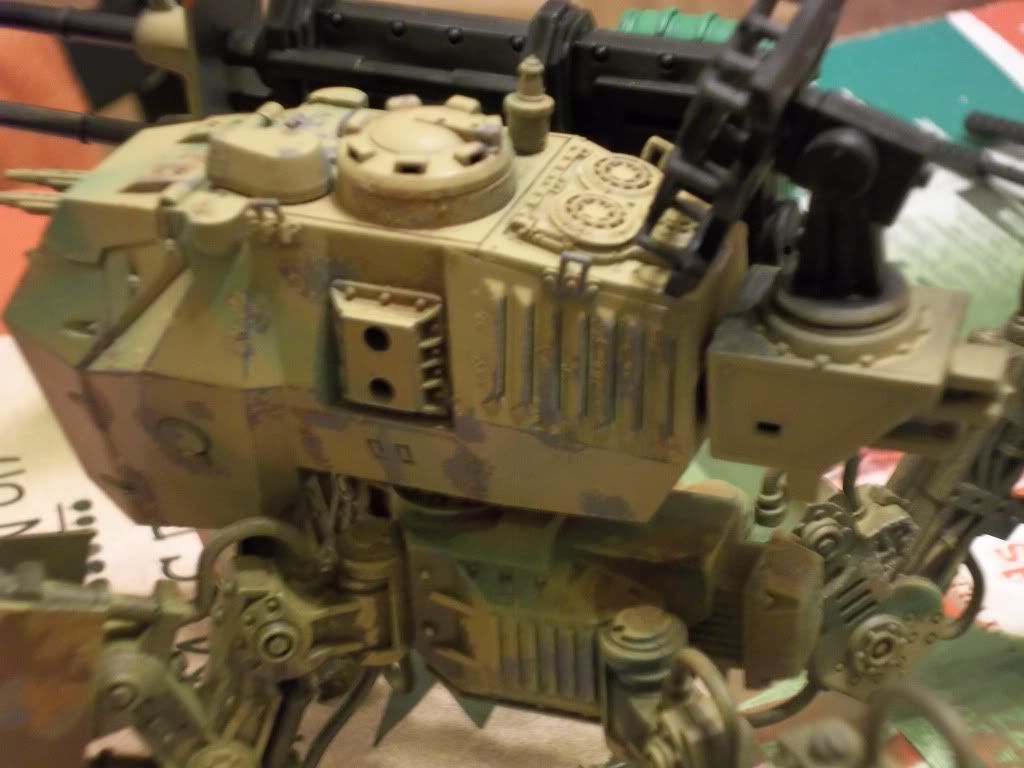
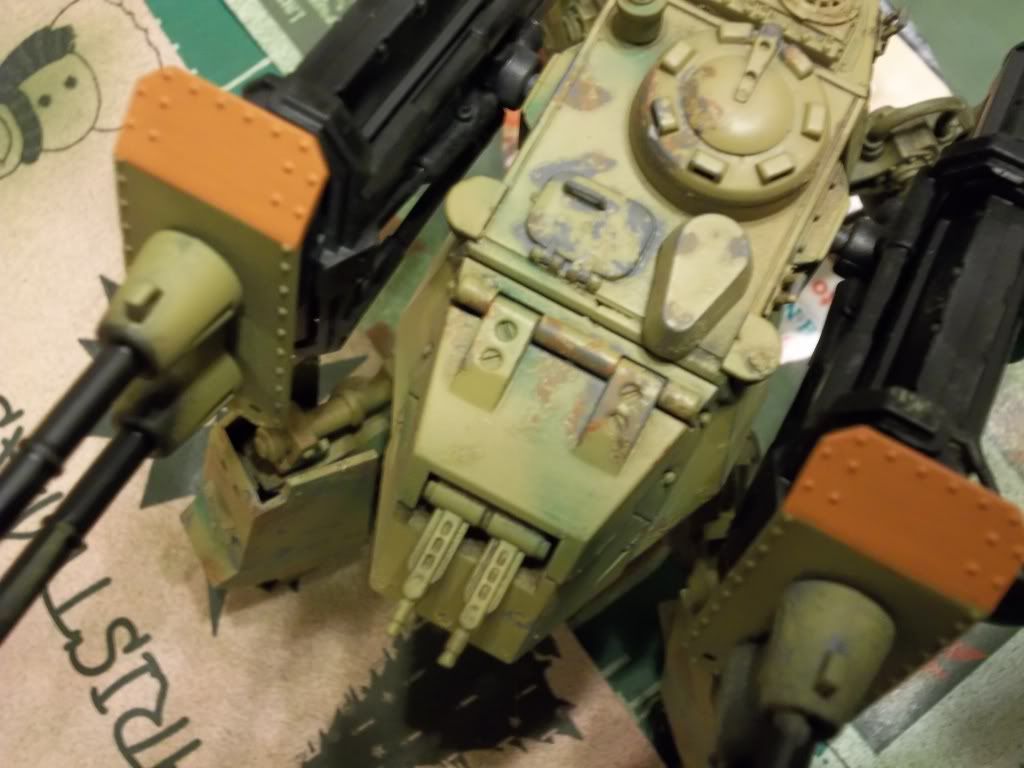
Here are a few pics of the heavies I am working on. 102_0034.jpg

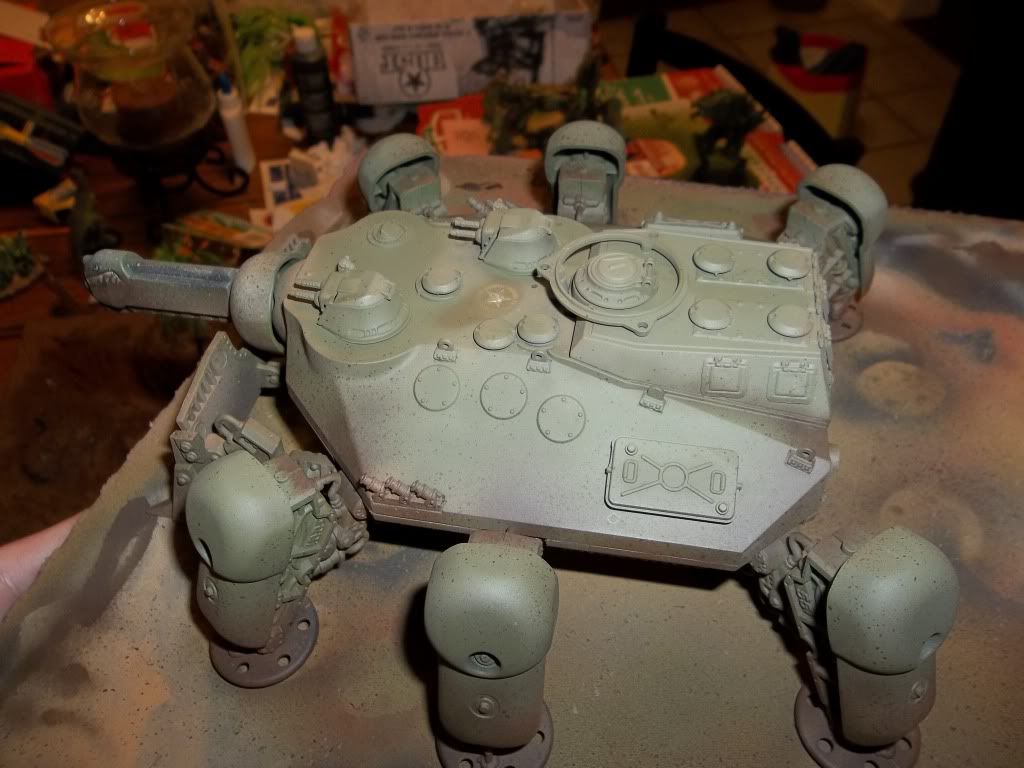
The Allied robot has had the first and second filters applied, and now I am airbrushing some basic weathering. I will follow up with a pin wash and weathering powders before adding detail. I might also do rain streaks if I can find the time.

102_0038.jpg

102_0068.jpg

102_0070.jpg

102_0037.jpg

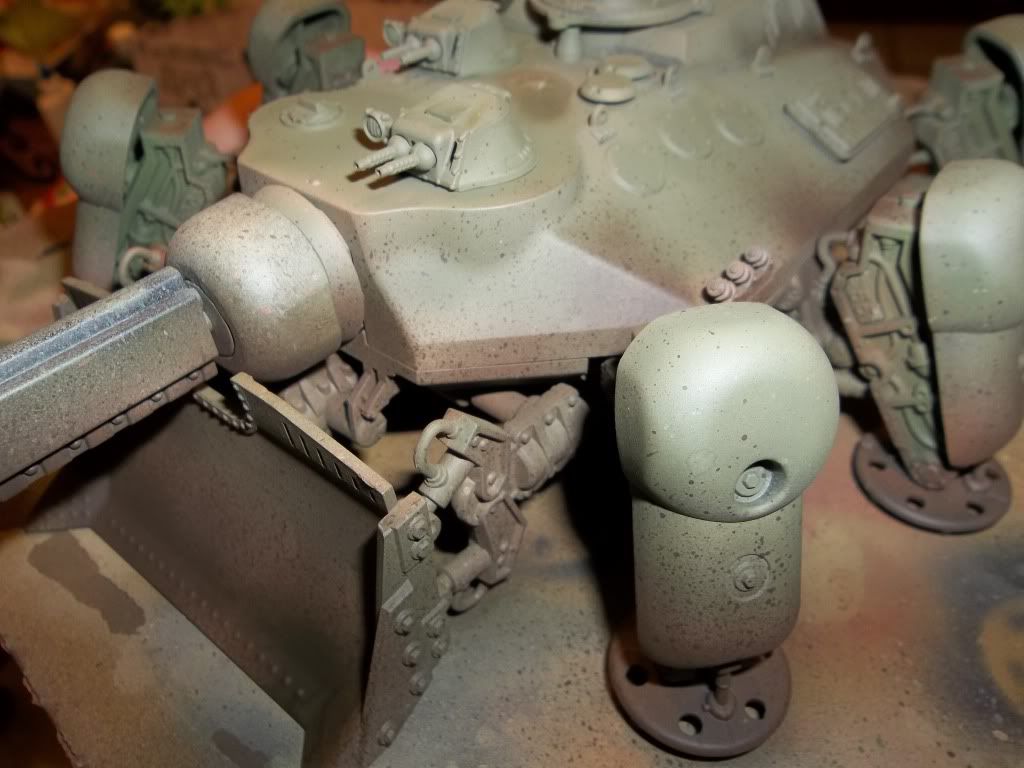
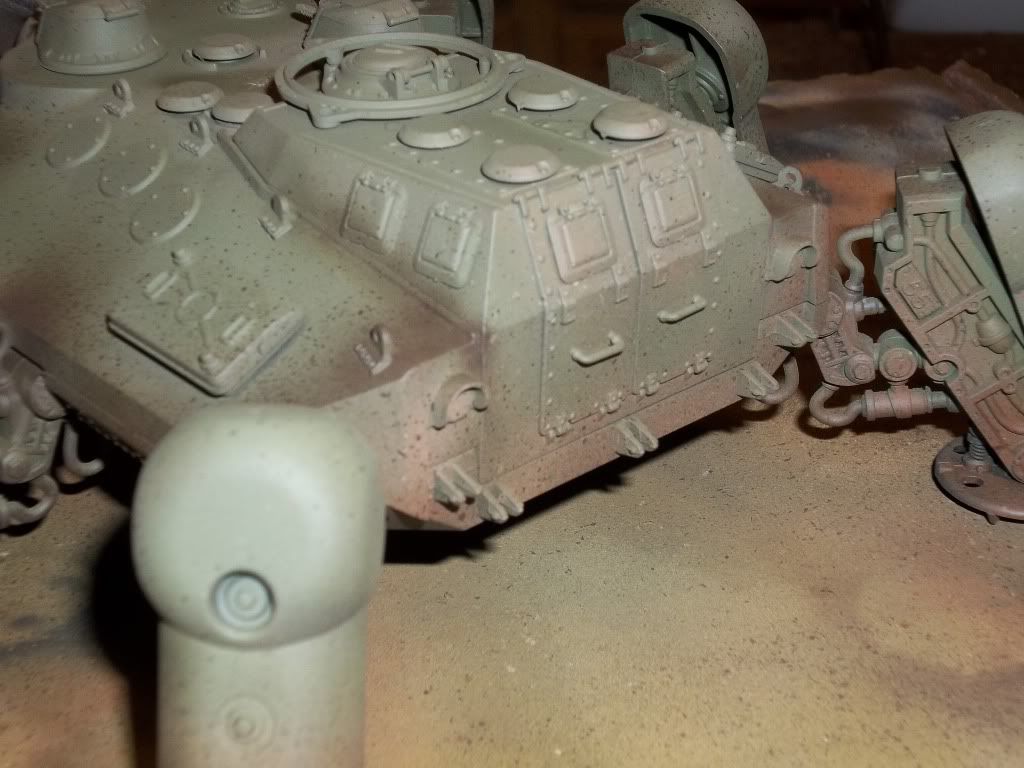
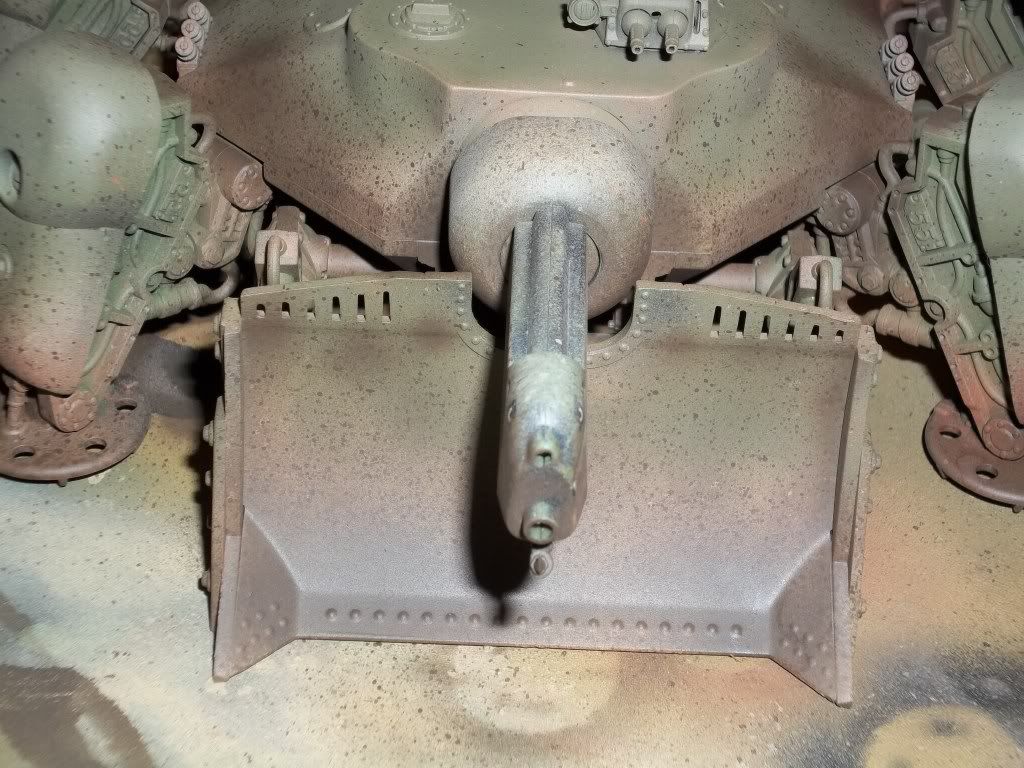
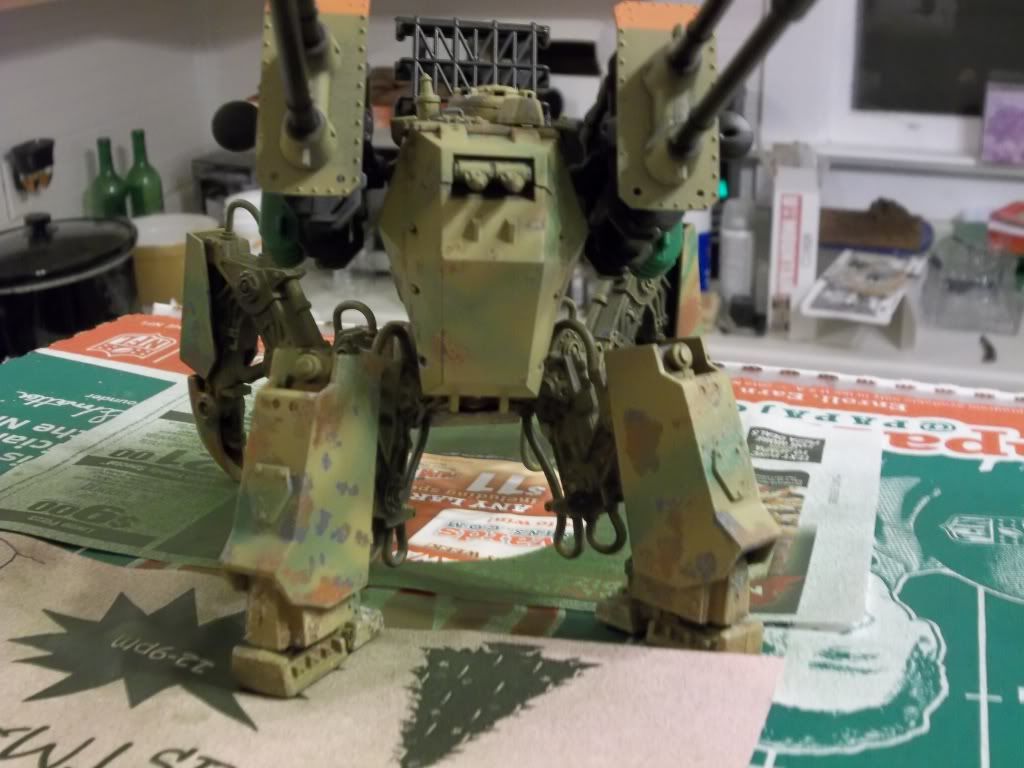
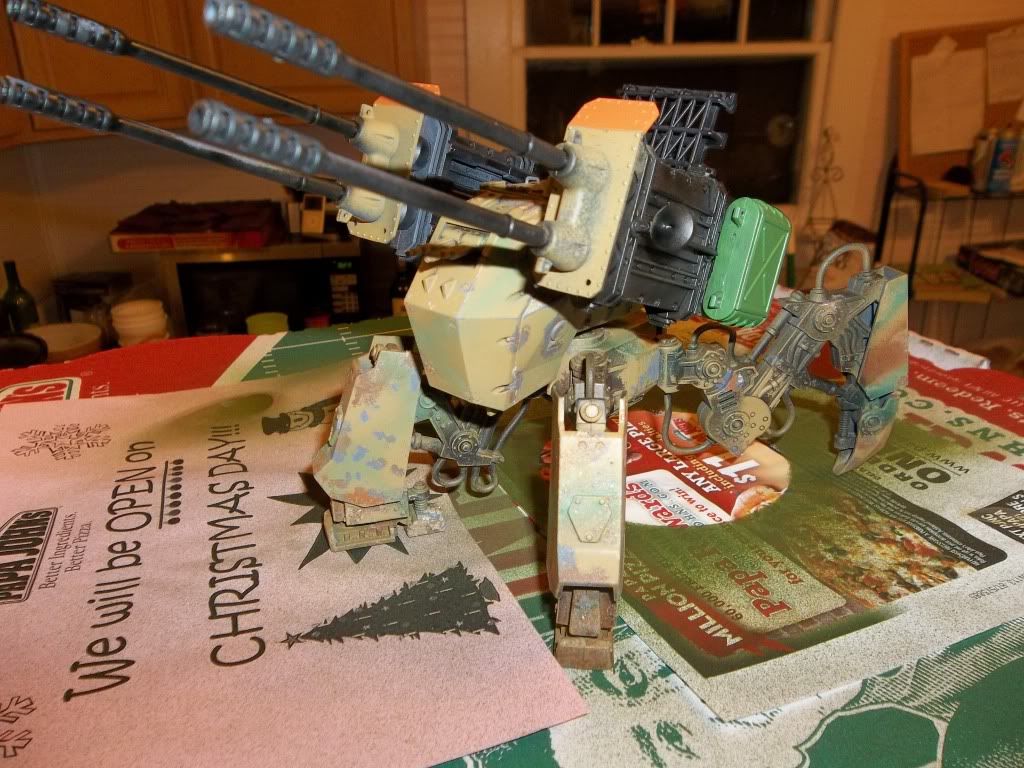
My Axis robot has had salt weathering applied along with some painted on rust effects that I will heighten with weathering powder. I stuck with a fairly simple camo pattern of German Dunkelgelb, Reflective green and Red Oxide. The salt chipping brought out a lot of the underlying grey undercoat. I will complete the gun housings and radar array next, along with a pin wash and finally detail painting.

102_0064.jpg

102_0062.jpg

102_0054.jpg

102_0052.jpg

102_0044.jpg

Comments and suggestions are always welcome!

?action=view&current=102_0034.jpg

Very very nice. I really like how your Axis heavy is looking.

I need to learn how to airbrush.

Really nice! Man, I need an airbrush

Thanks guys! I use a cheap airbrush I picked up at a nail salon that was going out of business- crazy I know. It's a Badger and it a good brush, it doesn't have a high capacity hopper, but it is a two stage gravity feed.

I used a lot different techniques with the Axis walker- mostly by applying a salt weathering to the model before applying the initial base coat. I do a lot of research to see where a lot of the wear and tear would have been on a real ww2 tank and then I just start in with the salt. I either leave the undercoated areas covered by the salt the original gray plastic color or I will paint a rudimentary rust on then apply the salt. Sometimes I will leave the salt on the model and use it as a built up mud.

The Allied robots aren't as colorful, but they give a painter a good chance to do a lot of color modulation and play with gradiation. I went a little overborad with the dirty parts on the Fireball- but I will sharpen that up in the final stages with a quick spit coat of Olive Drab. I think my next walkers will also include some stowage and crew- the Medium walkers don't have enough open surface for a lot of extra stowage. Plus the heavies have a lot of hatches that I can't wait to figure out how to open and model on.

My painting tends to run the difference between pro-modeller and table top gamer. My goal is to have the best painted army I can have on the table. If my army doesn't look good on the table at table distance then I'm not pleased.

Let me know if there is anything you guys want to know about any of the techniques I use. I have been doing this for close to 34 years and I am STILL learning!

What the heck is salt weathering and spit washing?

Major Mishap- Salt weathering or salt chipping is a technique used to simulate paint chipping or rust corrosion. Basically you take regular hairspray and paint the hairspray on with a brush. While the hairspray is still wet you sprinkle table salt over the liquid hairspray. Let the two components dry. Spray your model what ever color you desire and then let the paint dry thoroughly. Once the paint has cured you take a stiff brush and knock off the salt and hairspray. The effect will give you a pretty good chipped or peeling look. You can paint under the areas you use salt on too- that will give you a built in rust effect or show the undercoat of the vehicle.

A spit coat is a very fine spray of paint. Most spit coats are paint mixed with some sort of laquer- it's a final sealant coat that adds color and protection. It can also be used to change the paint's tone that is already on the model.

A pin wash is basically applying a wash to very specific areas of a model. I like to pin wash black around things like rivets or recessed panel lines. Pin washing can be time consuming but the effect is great.

Hope this helps!