The US Combat Walker Masterclass

By BigWill, in Dust Tactics

I my name is Will and I have been Fine Scale modeling WWII stuff for years.

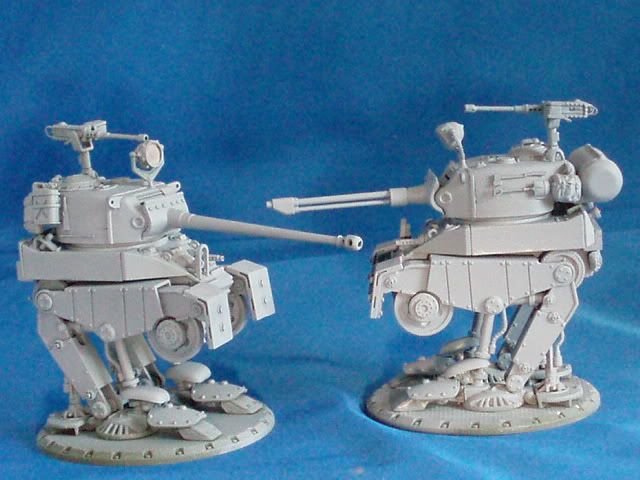
I wanted to show you guys some of the advanced techniques that can be used to really make your walkers shine.

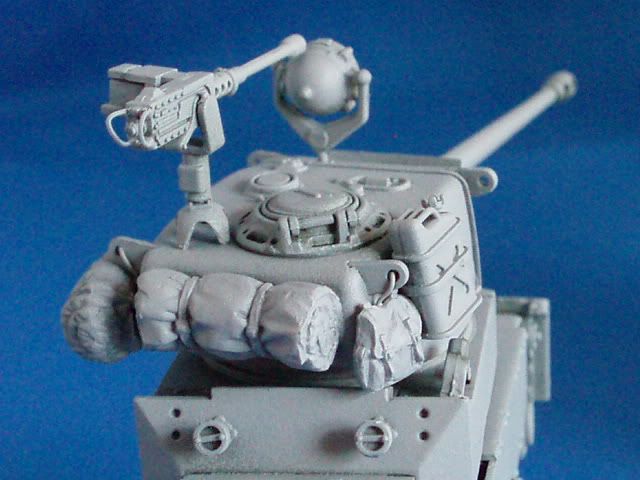
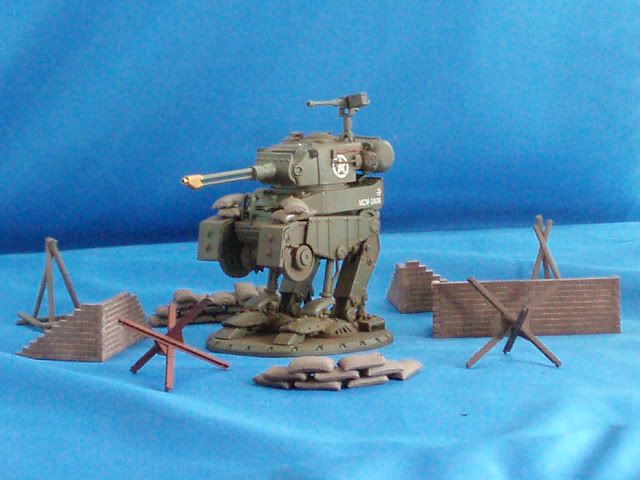
It helps if you are doing this to go and get yourself a Dust Axis/Allies decal set,the vehicles ones are terriffic too but the A/A set is the most versitile.

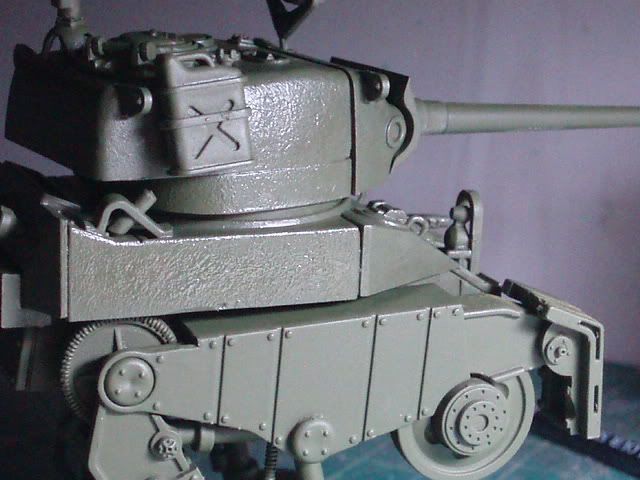
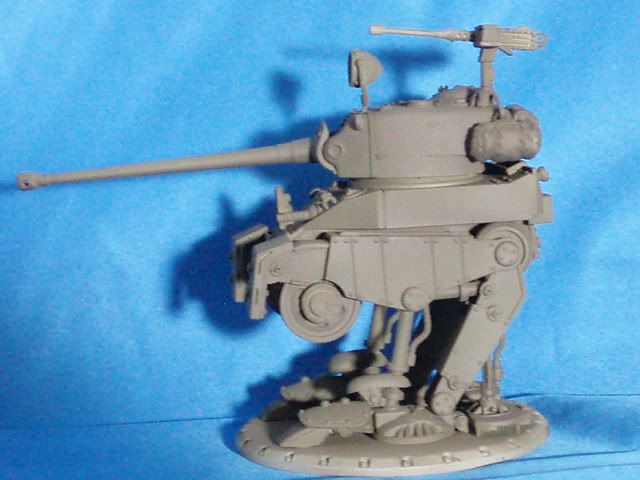
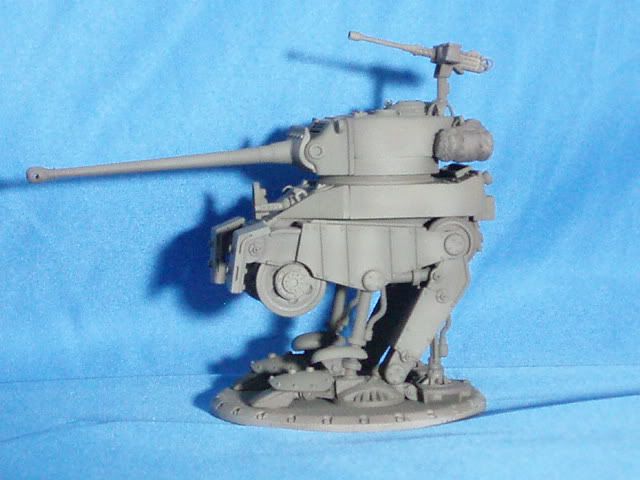
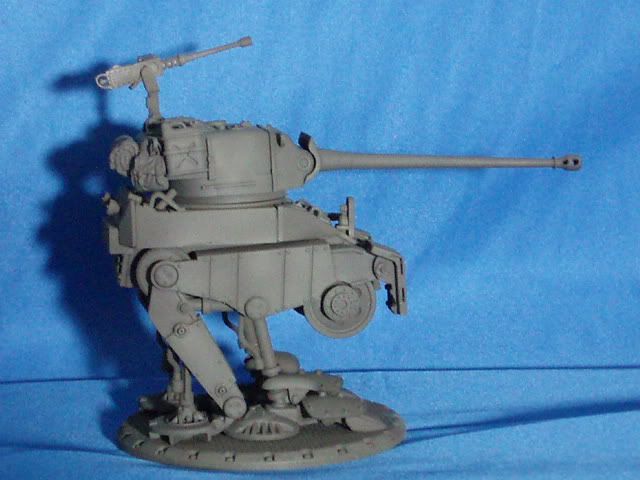
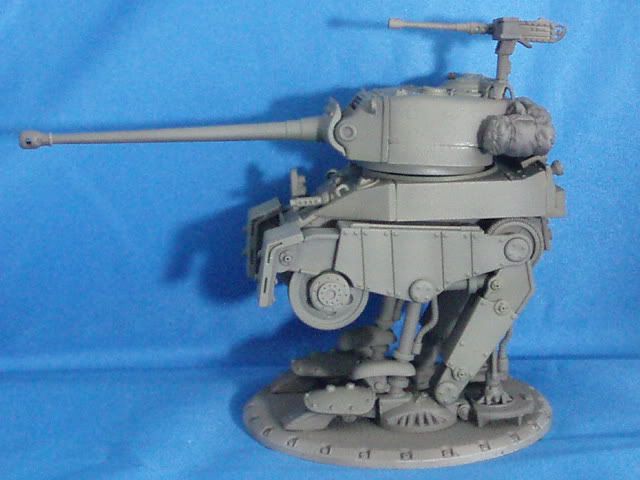
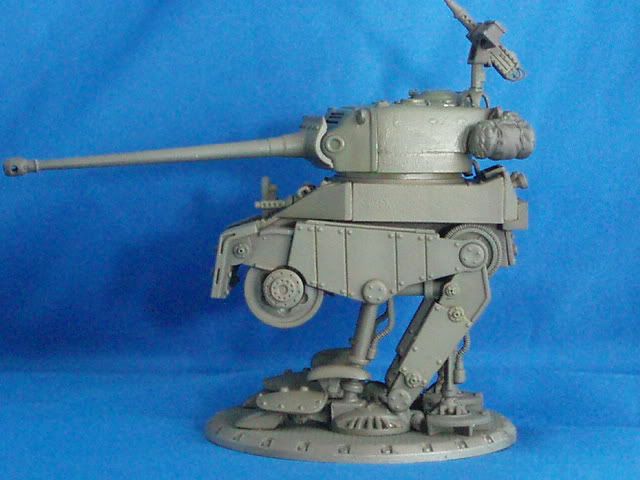
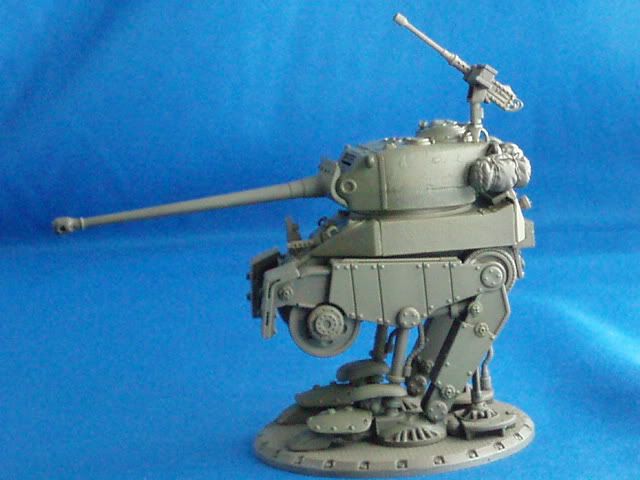
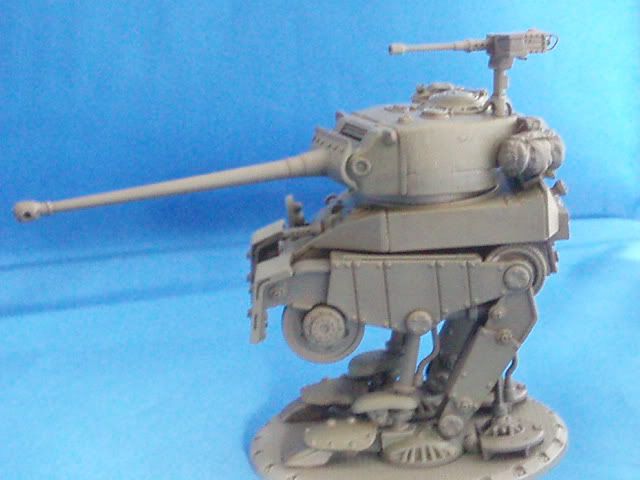
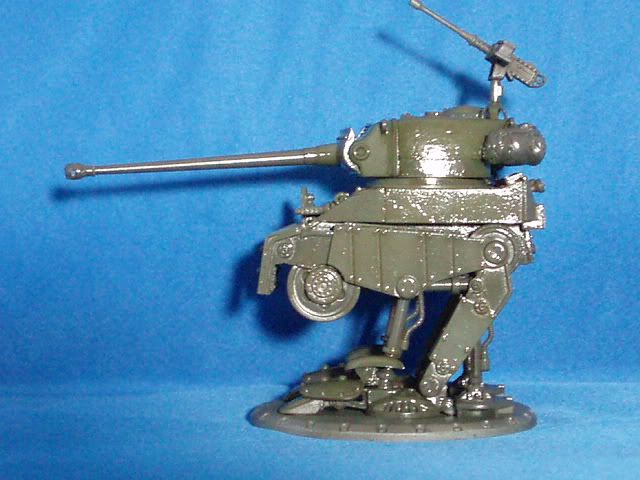
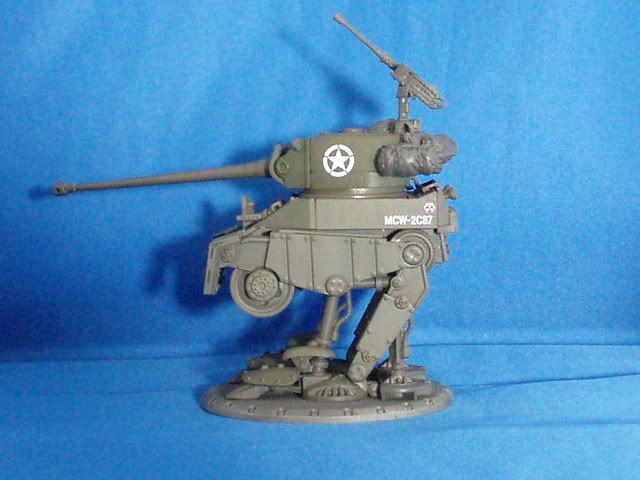
The first thing I do after I clean up the Walker is that I rough cast the turret and chassis.

US armor during WWII had a rough texture on the turret and chassis due to the way they were cast at the foundry.

A good way to replicate this is but using thin plastic glue and a nylon brush,in this case Testors Plastic Cement with the brush on the cap.

001-51.jpg

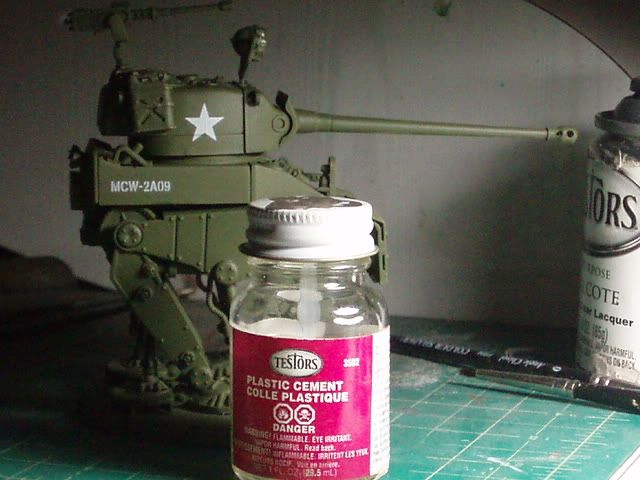
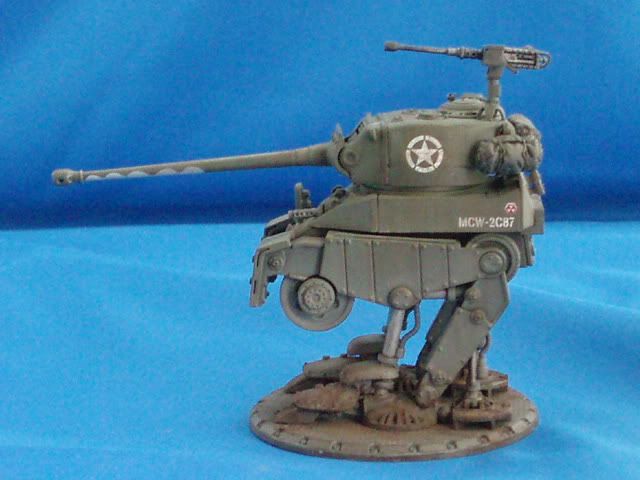
I coat the area in a thin layer of glue and then start stippling with the brush.

004-44.jpg

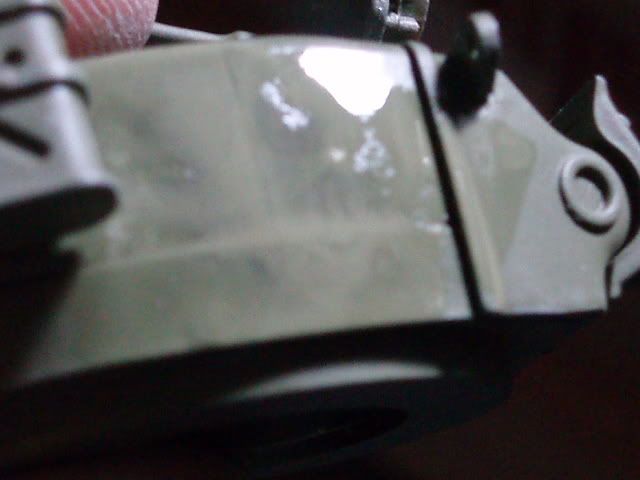
After two or three passes you will start to get a nice roughcast texture.

005-36.jpg

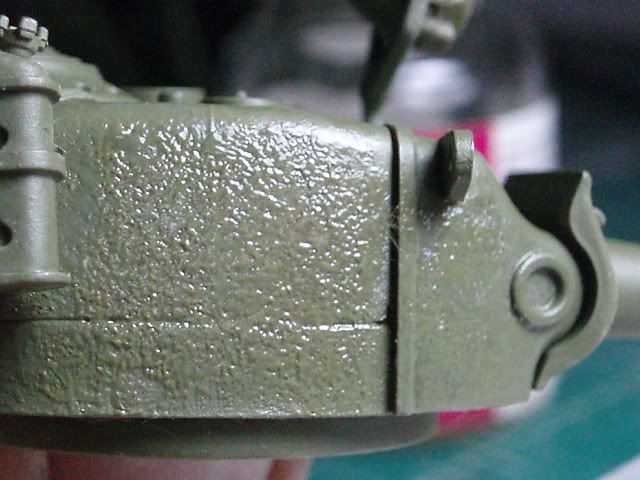
Keep this to just the turret and chassis,leave the side plates alone as they are sheet steel riveted on and would have a much more smooth texture.

008-29.jpg

Next pick I used a Tamiya Pioneer tool sprue and some tank baggage that I got from my bits box to give the walkers some personality.

I then primed them with Tamiya Surface Primer

011-14.jpg

013-10.jpg

012-11.jpg

I then gave them a basecoat of testors Model Master enamel Olive Drab

mel002.jpg

After which I used Model Master Faded Olive Drab to highlight the center panels and just all around lighten the tank up.

Then I sprayed the tank in Testors Dullcote to protect the finish from the next stage.

mel003.jpg

mel004.jpg

This part is where I use super thinned oil paint to tint the existing basecoat.

Being I used enamel as the basecoat and the oil wash uses thinner it is important to lat a protective coat of dullcote to act qas an acrylic barrier to the thinner.

If you are using Acrylic as the basecoat then you can use the oil paint without the clear coat.

This is link to a great site with great articles from modeling great Mig Jemeneze before he started MIG powders

missing-lynx.com/rareworld.htm

What I have done here after my basecoat and panel highlights I sprayed the model down with Testors Dullcote.

I then used Mona Lisa Odorless thinner and oil paint to make my filters.

I started off with a nice warm yellow filter for all the upper surfaces that the sun would hit.

Yellow Oil Filter

001-52.jpg

Transperant Red Oxide Filter

002-52.jpg

Chromium Oxide Green Filter

004-45.jpg

Burnt Umber Filter

005-37.jpg

Now that I have used oil paint put the model in a dust free space to dry for a couple of days minimum.

Oil paint takes a long time to dry.

Be sure not to let any of the filter pool it will make watermarks that ruin the look,you want the surface damp but not soaked,the goal is to just slightly tint the color so that it gives the plain solid green color life and tons of different shades in there.

the texturing tip is tops! Im going to be doing some UK walkers and will definatly use this technique.

Ok after this point it is time to protect everything under a layer of Future Floor Polish,the brand I used was Pledge with Future shine.

This is known to quite a few but this stuff is Acrylic Gloss Varnish thinned perfectly for use with an airbrush.

If you do not have this,use whatever gloss varnish you are comfortable with.

This protects the work so far and provide the base for the decals.

001-53.jpg

Let this dry thoughly,I waited 8 hours then apply your DUST waterslide decals.

I use Micro-Set on the surface first,the apply decal and cover with more Micro-Set.

After the decals are applied spray another layer of gloss varnish to seal in the decals.

The use matte varnish to bring the surface back to a matte finish.(I used Testors Dullcote)

003-50.jpg

Let this dry thoughly,remember just because the surface is dry does not mean the paint has fully cured.

You can end here and have a walker very much like the one that came with the game though with a better shade of Olive Drab.

Or you can take it to the next level using MIG Powders and Rainmarks.

I painted the Rainmarks in super thin streaks going over the same streaks six or seven times.

I then used Dry Mud and Europe Dust to give them the weather beaten look.

I just dusted the feet with it,lightly dusted the chassis tii ,then fixed it with odorless thinner

I also used Fortress Grey to paint the barrel camoflague.

005-38.jpg

And here is a finished HotDog with 1/48 Tamiya Sandbag and Barricade set

006-35.jpg

Cool stuff im a ways away from painting my collection.