I made a bunch of material that I thought others might find somewhat useful for running Final Sanction. I put it all in a .zip at MediaFire currently at www.mediafire.com/file/wywowmmcmnz/FinalSanctionKit.zip (27.59 Mb).
Equipment Cards - There are equipment cards designed to be printed on 8.5" x 11" paper/cardstock, cut-out, and folded in half. The front of the cards contain the name of the item, damage, penetration, range, ammo capacity, rate of fire, etc. If there was extra room, there is flavor text at the bottom -- either something I found online or just made up that is semi-applicable to the item. The back of the card is the Deathwatch chapter logo (somewhat low resolution -- couldn't a better quality one online). There's also a blank copy in case you want to make your own.
There are 11 sheets containing 44 cards. Printing out every card will get you:
- 6x Mark VII Power Armor
- 6x Combat Knife
- 6x Frag Grenade
- 6x Krak Grenade
- 6x Bolt Pistols
- 4x Bolters
- 4x Kraken Rounds
- 1x Power Fist
- 1x Jump Pack
- 1x Chainsword
- 1x Narthecium (Created by me, not official, just had an extra slot)
- 1x Sacris Claymore
- 1x Heavy Bolter
This should be enough to equip all 6 Marines in Final Sanction (the 4 in the adventure + 2 downloadables). There may be a few extra cards (I think 1 combat knife, 1 bolter, 1 kraken round), but this should help minimize the amount of printing you need to do.
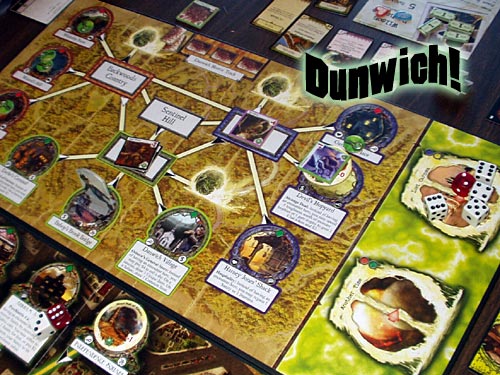
Location Cards - I ended up running my game on mostly a strategic map until the final encounters, so I just dropped the location "hotspots" on a piece of posterboard with two of the edges cut-out in a coastal shape. The cards are designed to basically replicate an Arkham Horror-style map. There's a hotspot for each location singled out in the adventure that I saw. Again, I printed them on 8.5" x 11" cardstock and cut them out.
Player Reference Sheet - Neither I nor my players had played Dark Heresy or Rogue Trader, so a reference sheet was really needed. I just put most of the important things I could think of on this two-sided sheet.
Enemy Reference Sheet - I also hate writing down/erasing/etc when GMing games, so I made this print-out to put into a page protector and just use dry-erase markers on. The Genestealers and Rebel Hordes have a significant number of blocks to track simultaneously, the Rebel Leaders have fewer, and the Generals / Broodlord only have 1. It also contains most of the rules for managing hordes at the bottom of the Rebel NPCs side.
Kalistradi Note - This is just a note I wrote up to hand to the players to kick-off the adventure as the Watch Commander was briefing them, before the adventure officially kicked off. I also made a stamp in the shape of the Inquisition "I" logo to seal it with wax, but that is a little harder to upload. 
Not Provided:
- Copies of the character sheets. I had mine in page protectors, and players used dry-erase markers on them to track wounds, fate points, etc.
- Posterboard "map" of Lordsholm - I cut two edges of the border in the shape of a coastal region, and then used Woodland Scencics Water Effects to make canals to divide the districts. I placed the district "street" markers down, and then the Chapel, PDF Base, Thorsholt Manner, and House of Echoes down as starting locations I assumed the Kill-Team knew about from their "briefing" of the planet. As they learned the locations of others, I just dropped the items down on the map to show their location (i.e., when Syndalla informs them about the Imperial Stores, place the Imperial Stores marker).
Hopefully these are useful to someone other people interested in running the game. We had quite a bit of fun playing through it last night. It is a bit long (we took 4 hours, and my players skipped the Calistradi District entirely and many of the locations that had tertiary objectives), but still a lot of fun. As a note, I liked focusing on the non-combat encounters with Syndalla, the Lord-Governor, and Elsharna, so the strategic-level map worked well for us. A group that thrives more on tactical positioning in combat might not find these materials as useful or may want to swap to a tactical grid for combat. We did end up breaking out some Space Hulk tiles for the final exploration of the Broodlord's lair, though, and it worked out well.

