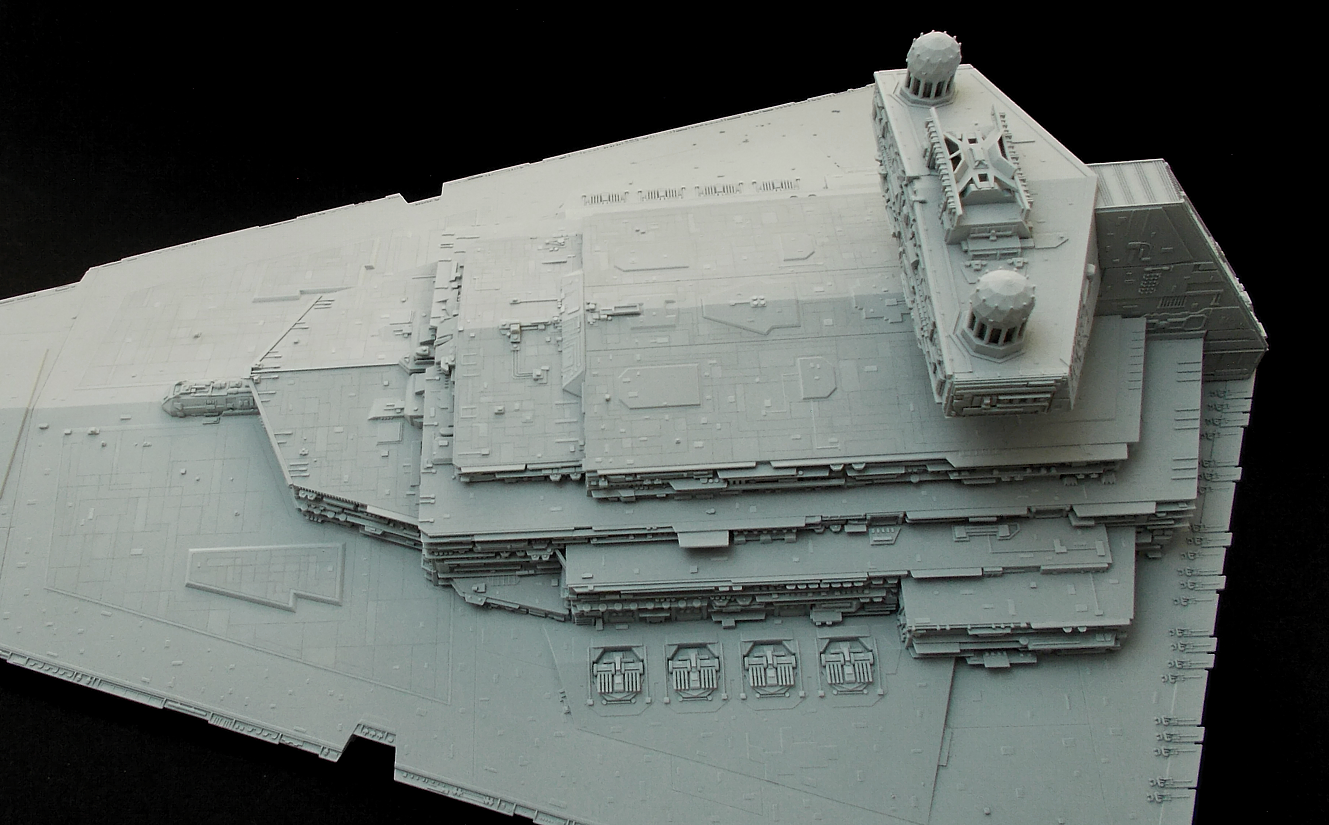
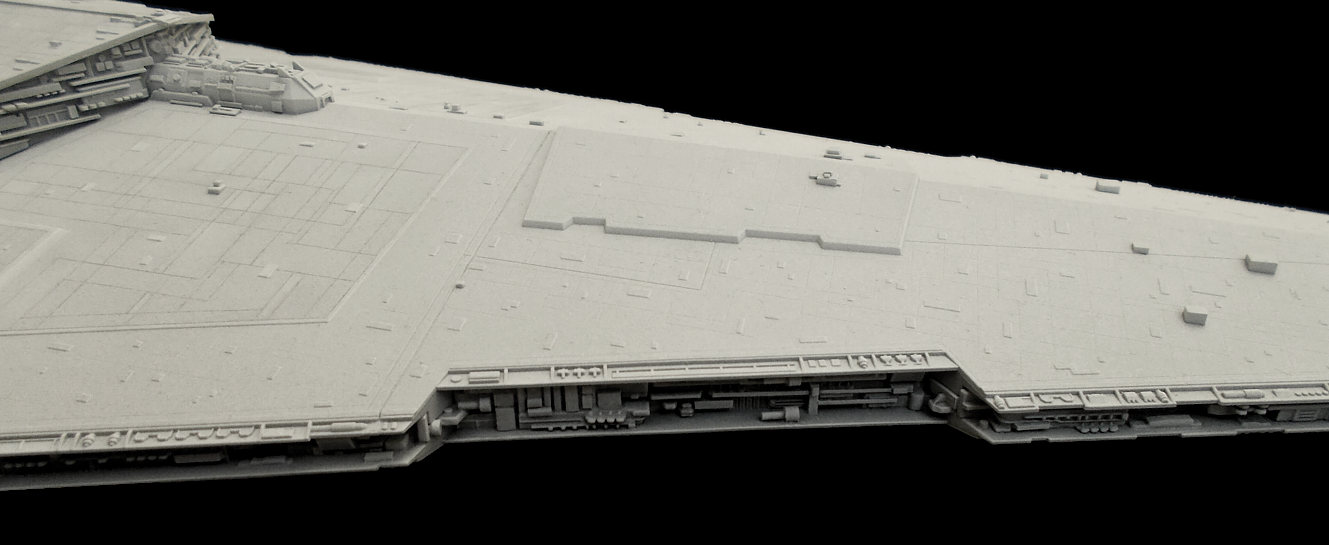
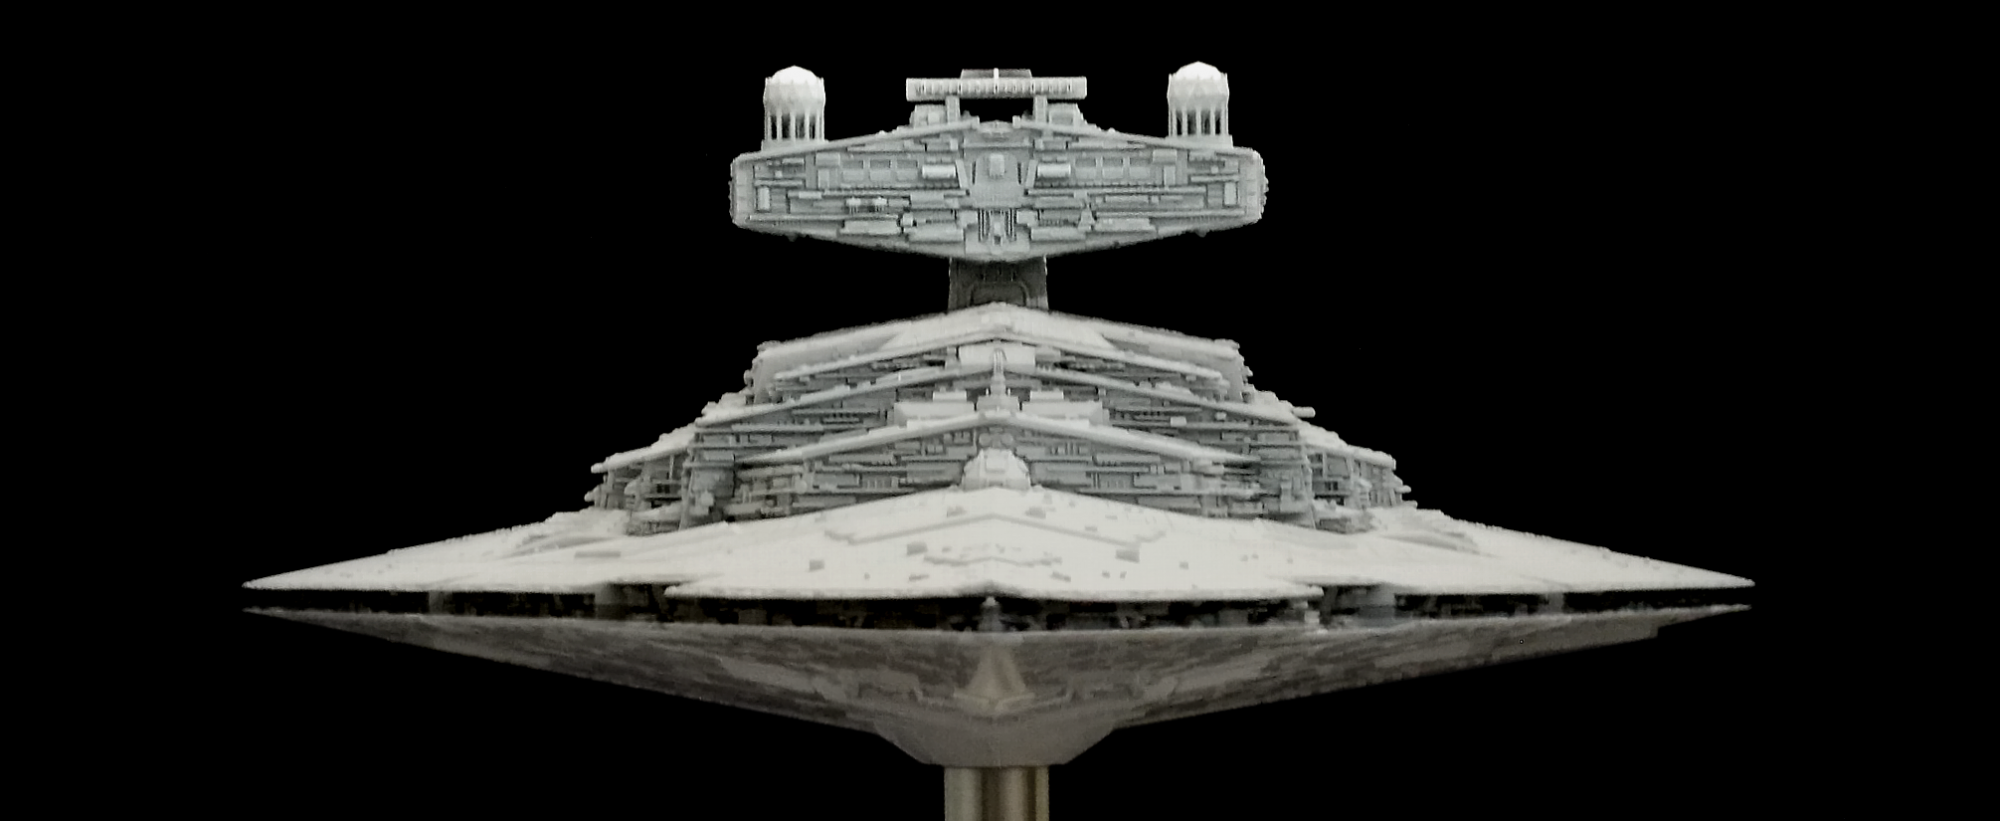
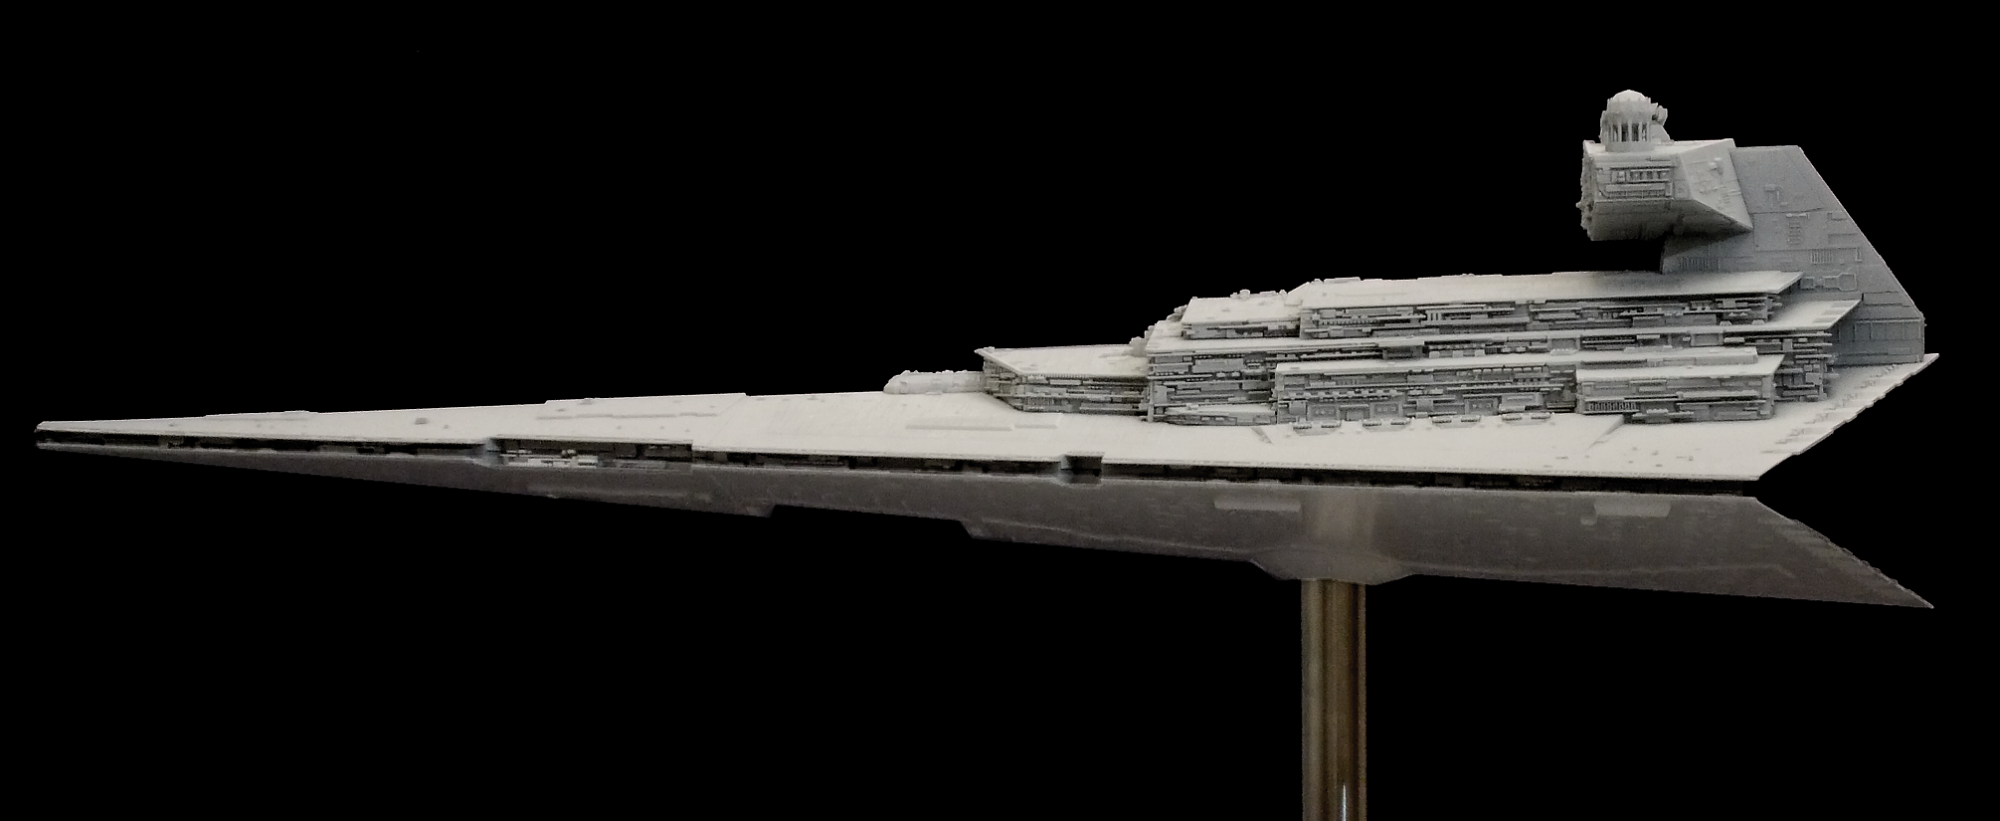
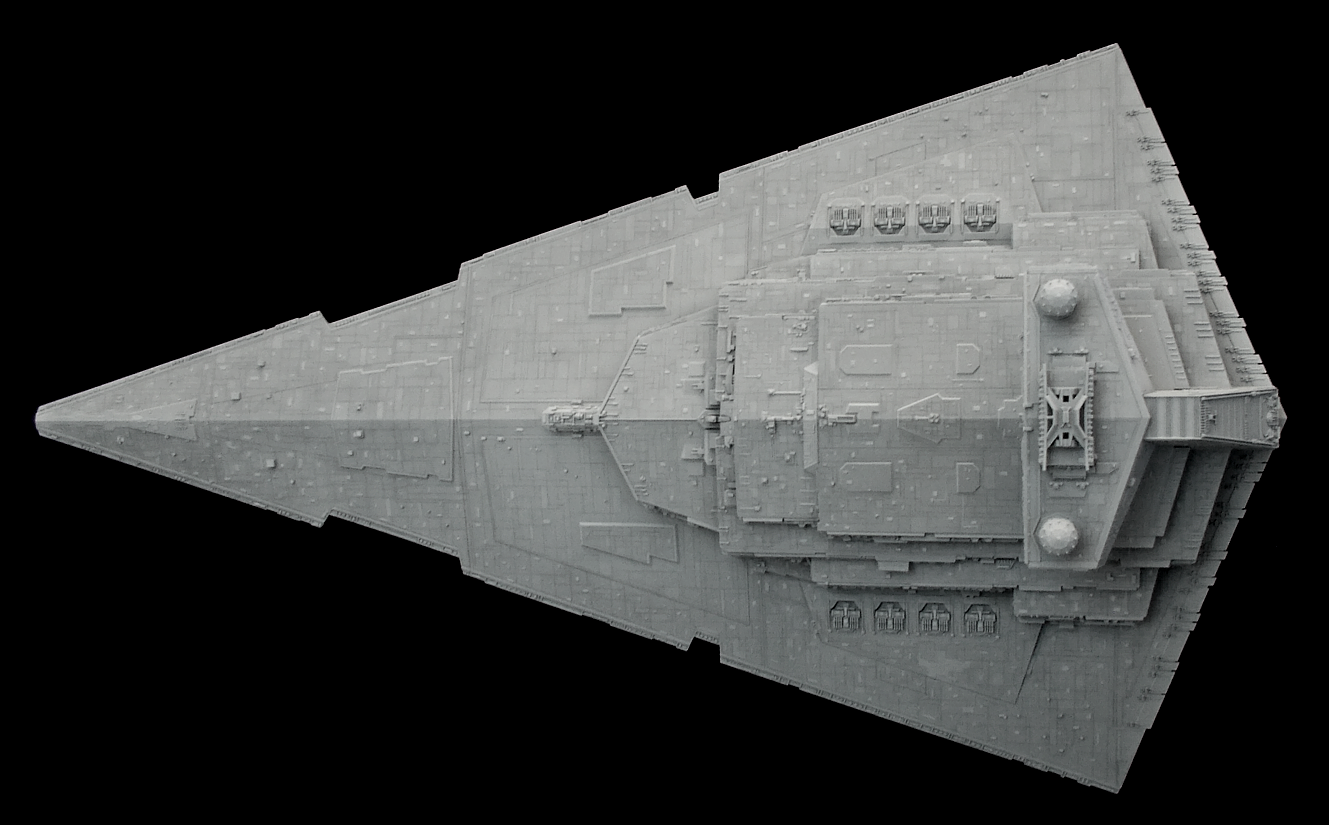
60 cm Imperator II-class Star Destroyer

By Fourtytwo, in X-Wing Painting and Modification

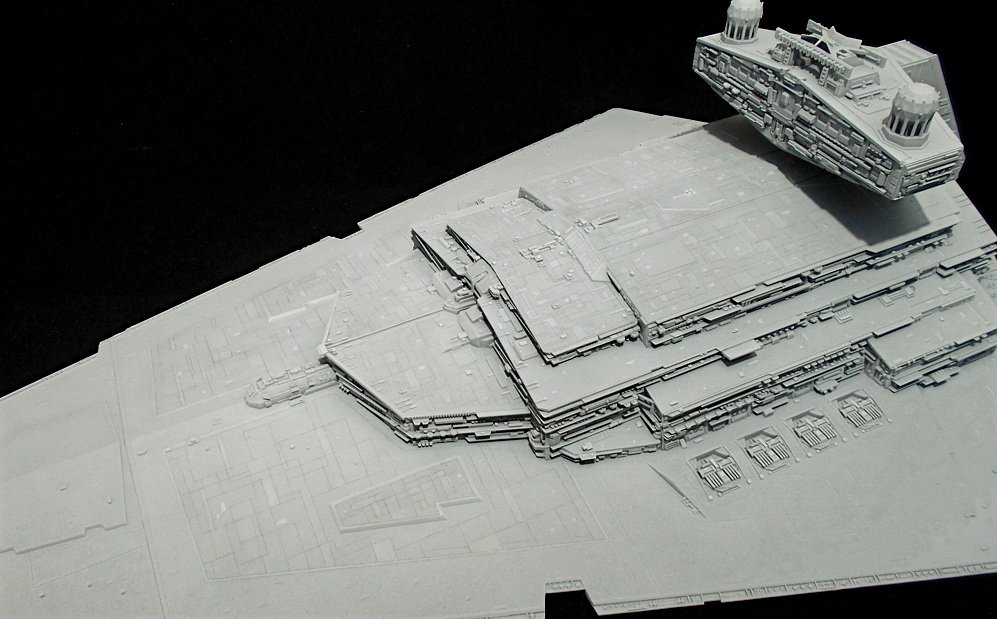
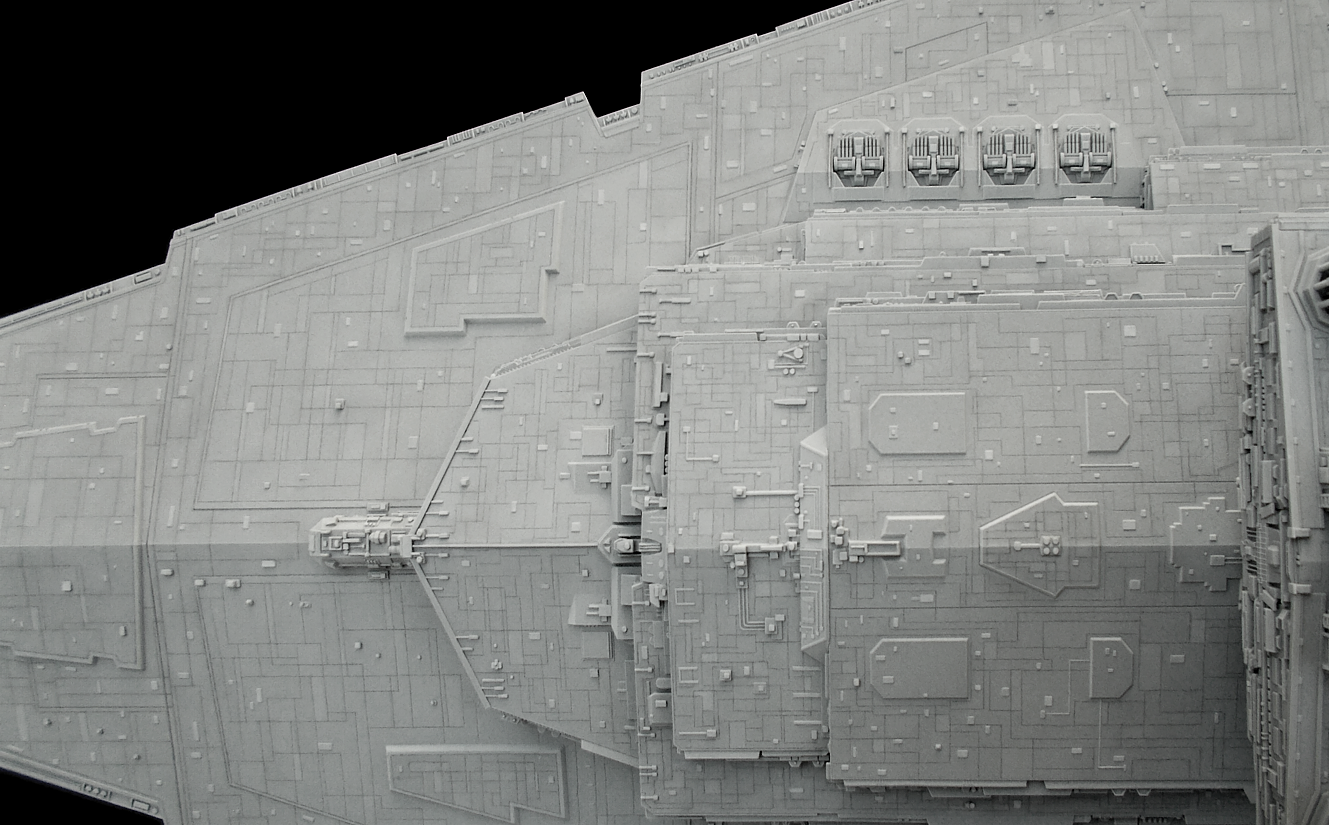
I got myself a 1/2700-scale Star Destroyer kit this april, originally by Zvesda and now distributed by Revell. The kit is 60 cm long and big enough for lighting via fiberoptics. The hull has the correct angles and the footprint of the superstructure is correctly proportioned. The kit, however, has some inaccuracies and loads of missing details, so it provided a nice challenge for some extensive scratch-building to ammend those issues and make it as accurate to the 8 foot studio model as possible - both in proportions and detail.

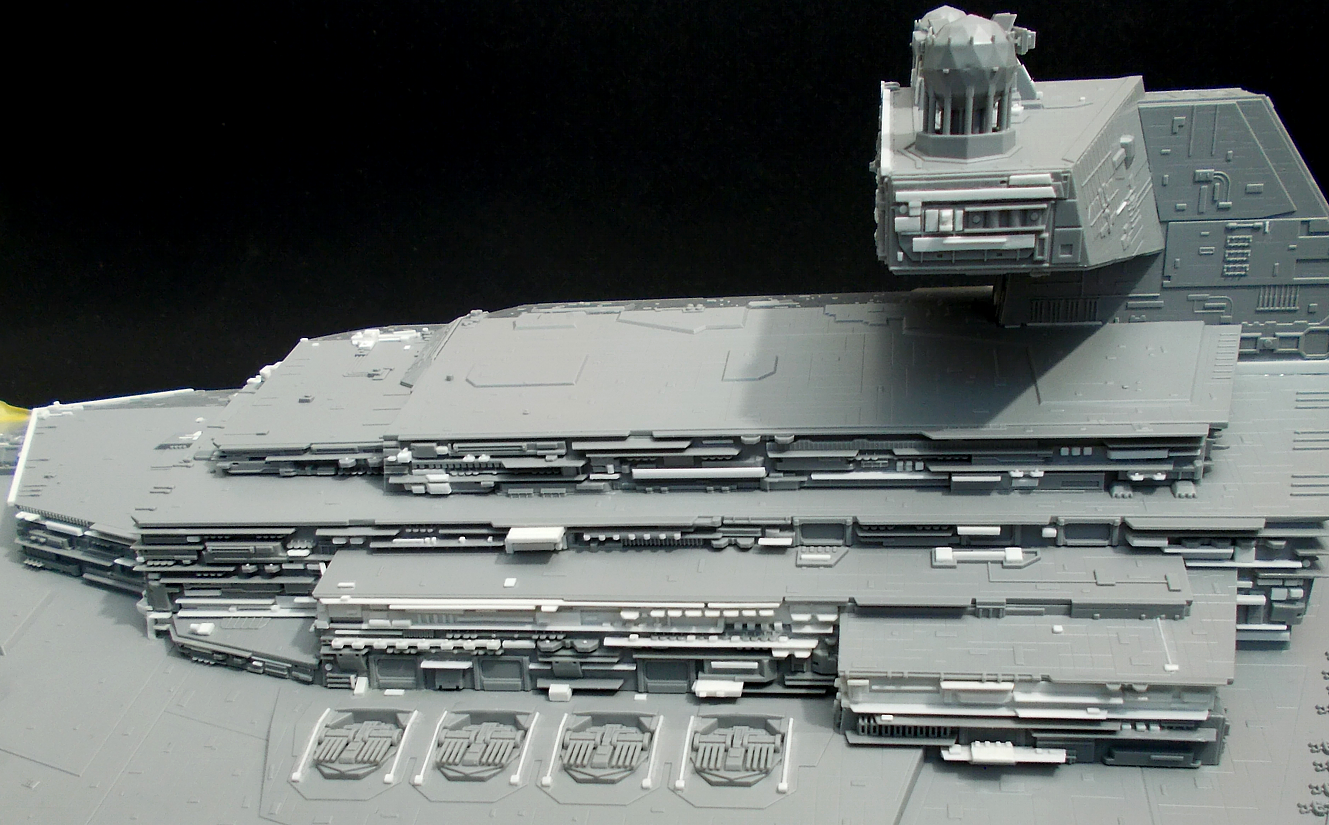
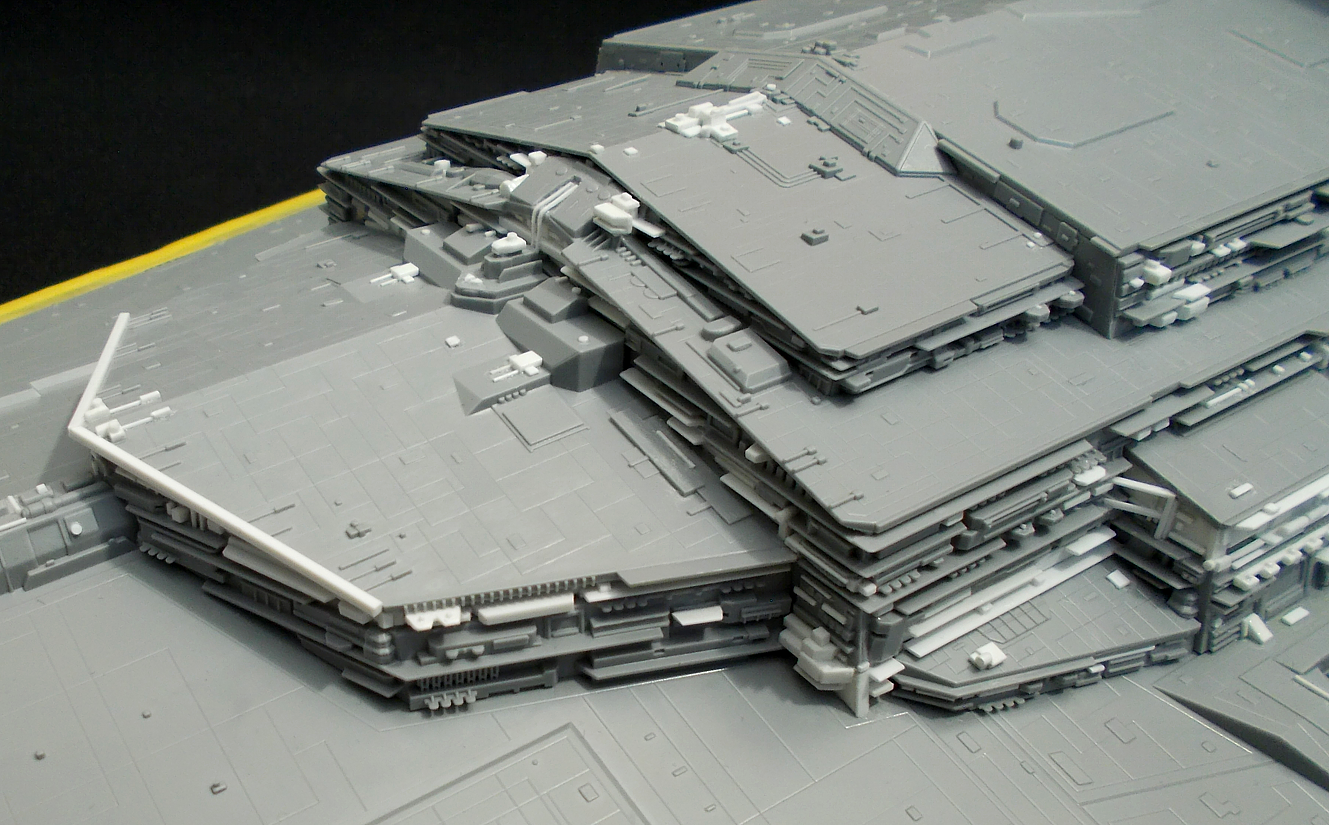
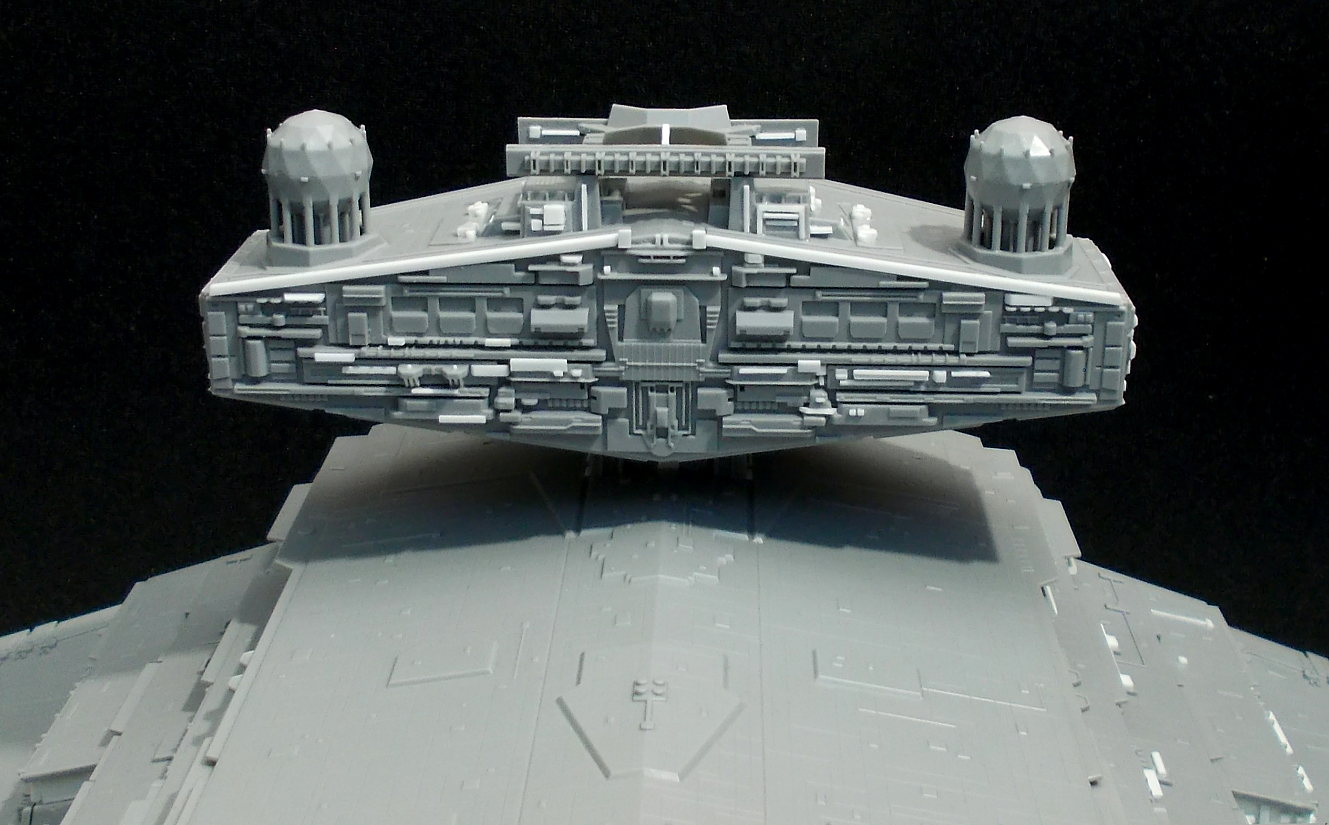
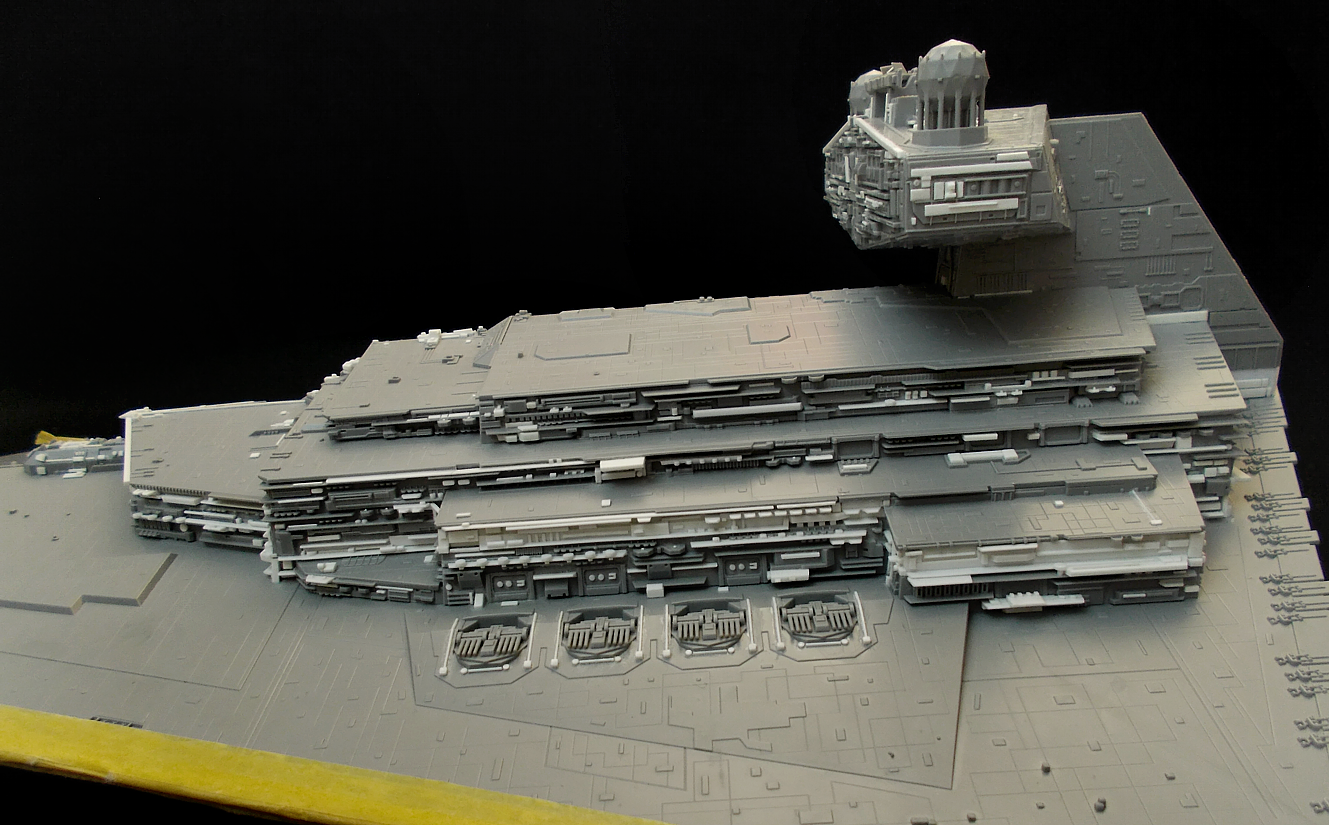
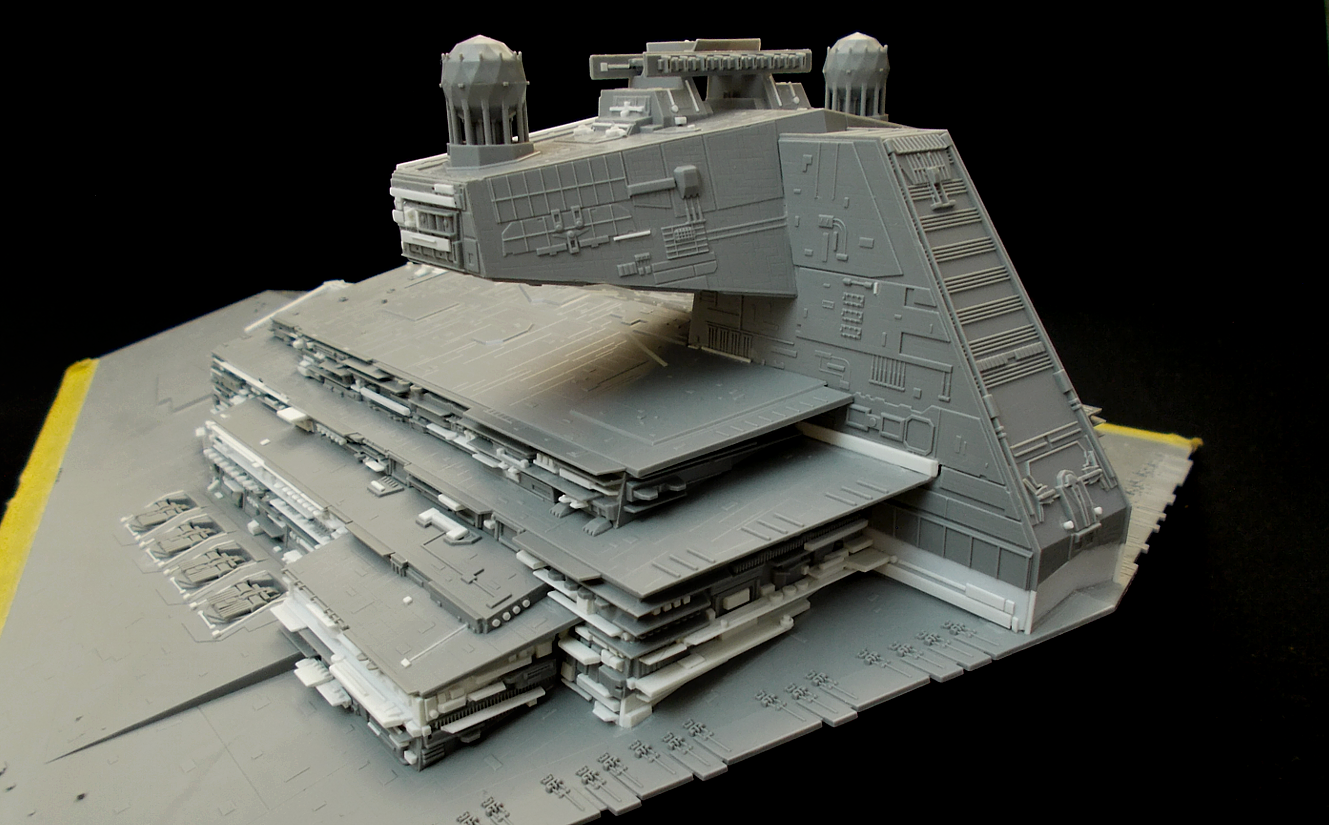
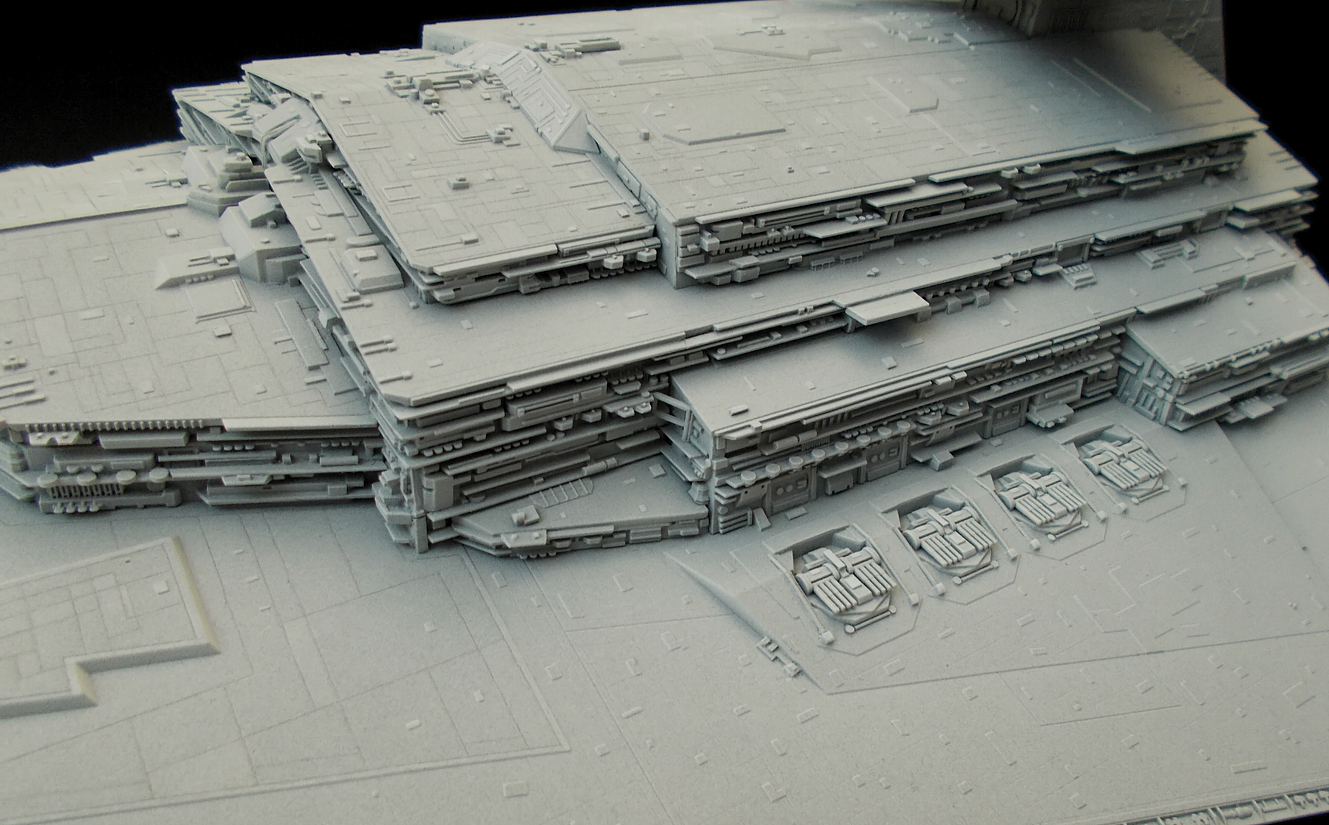
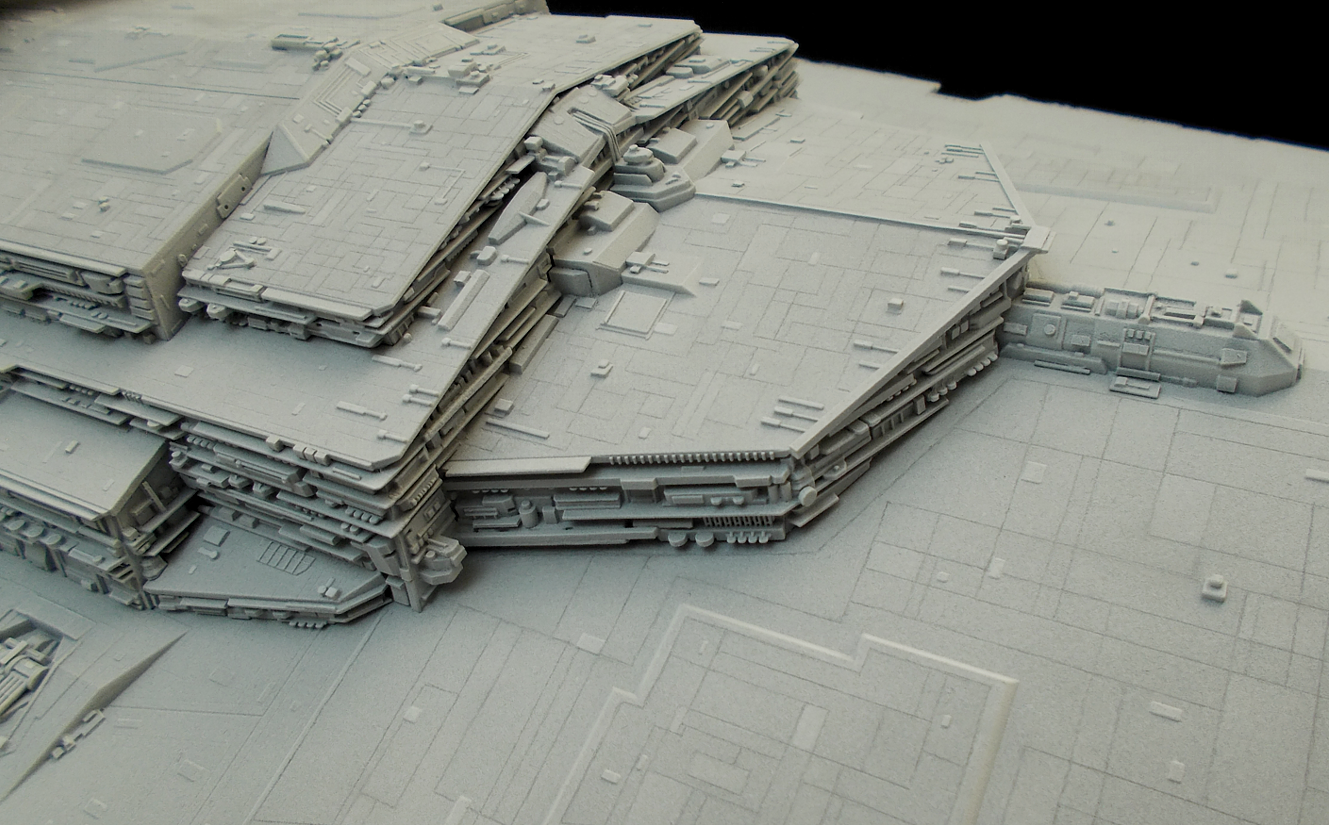
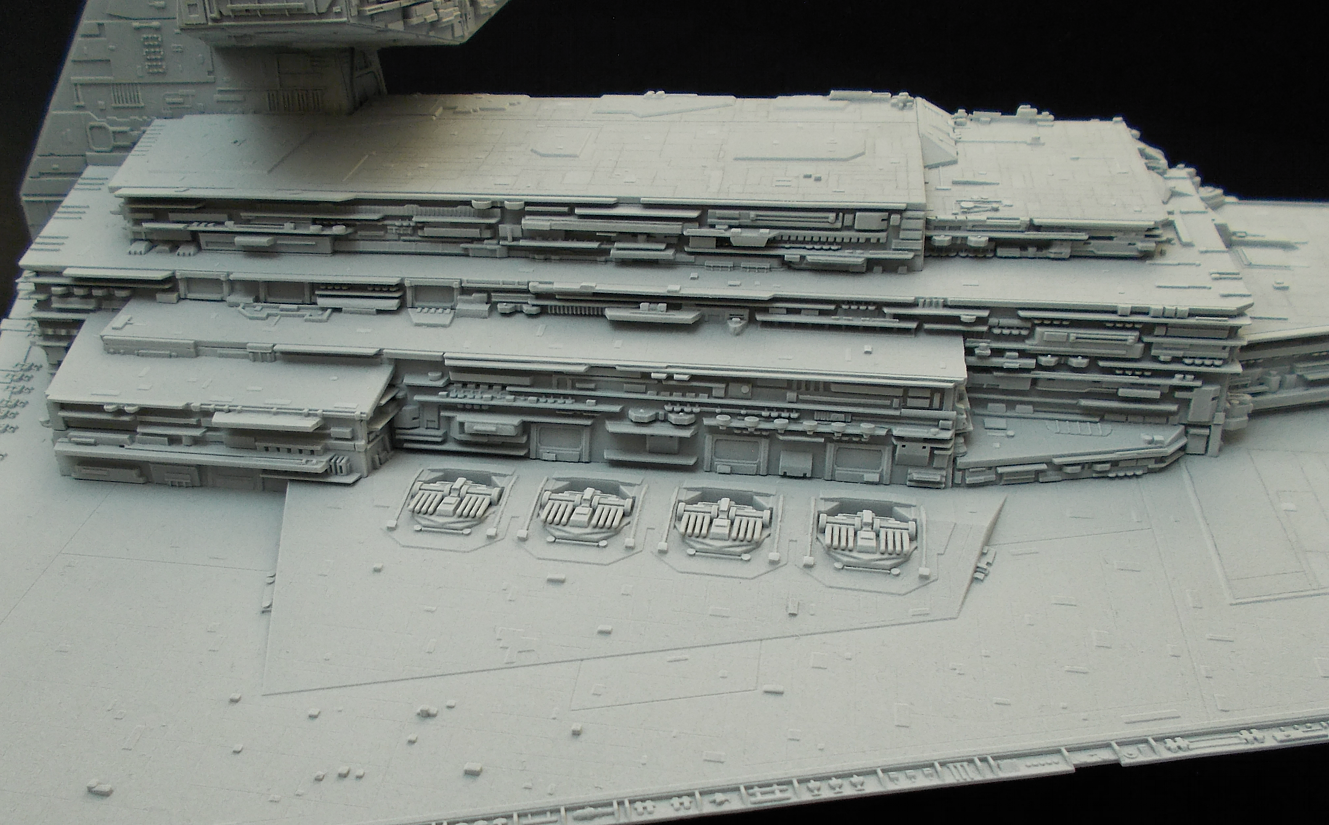
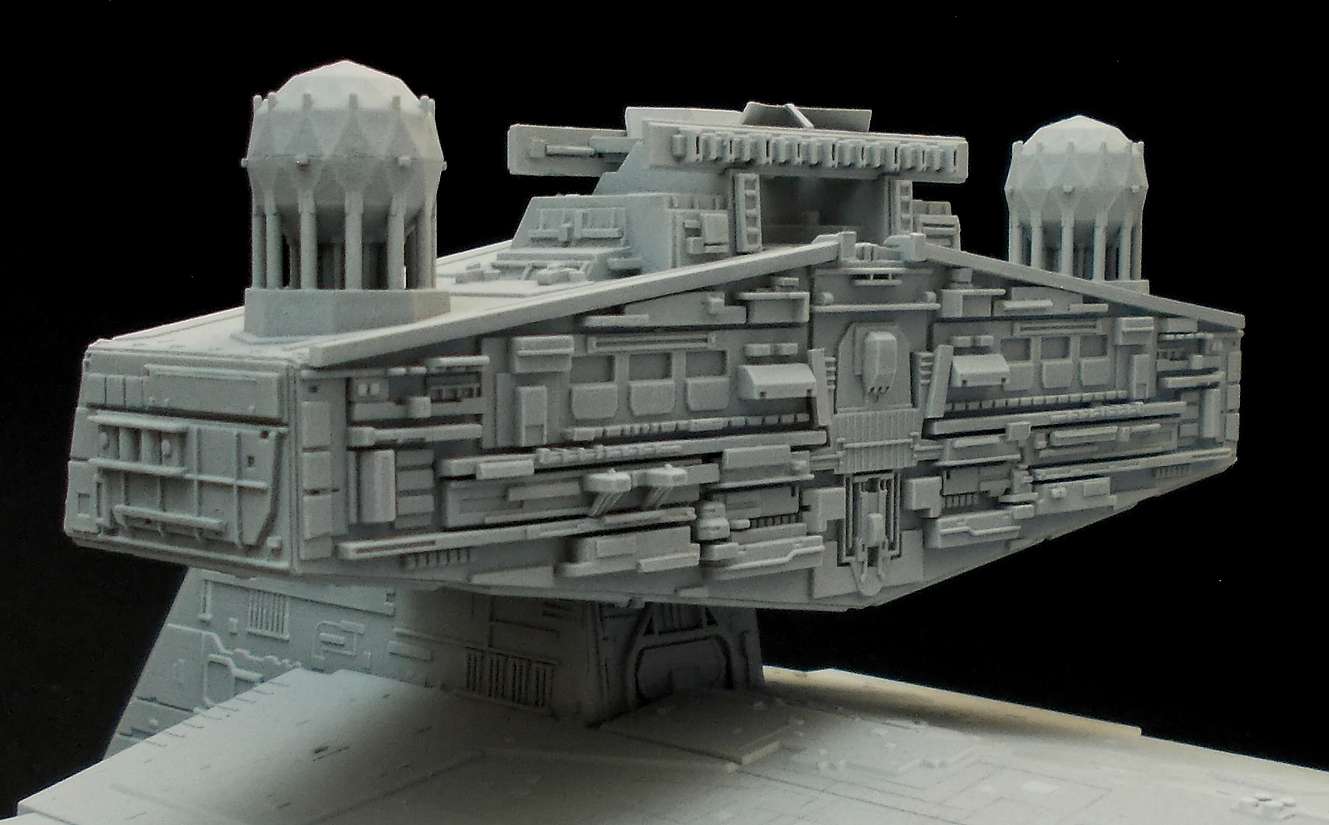
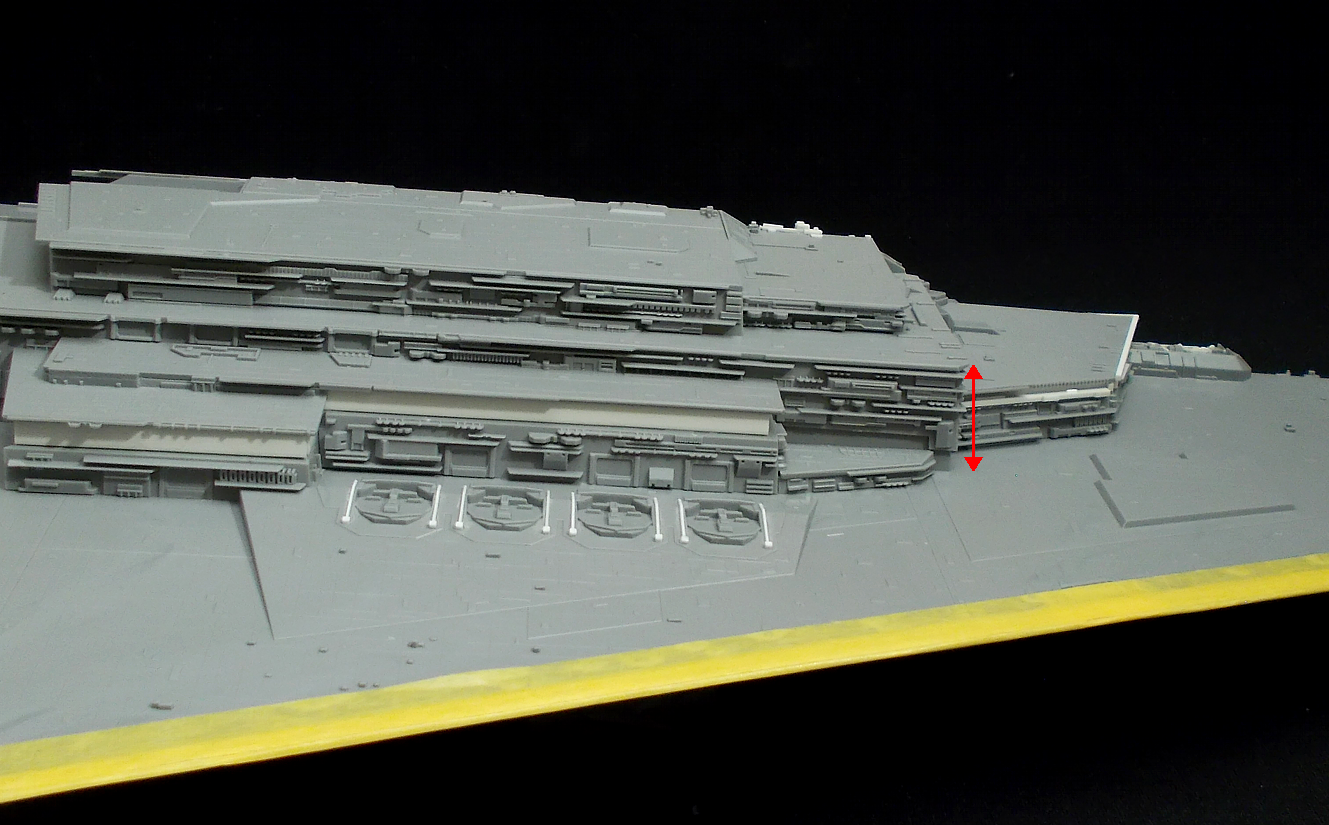
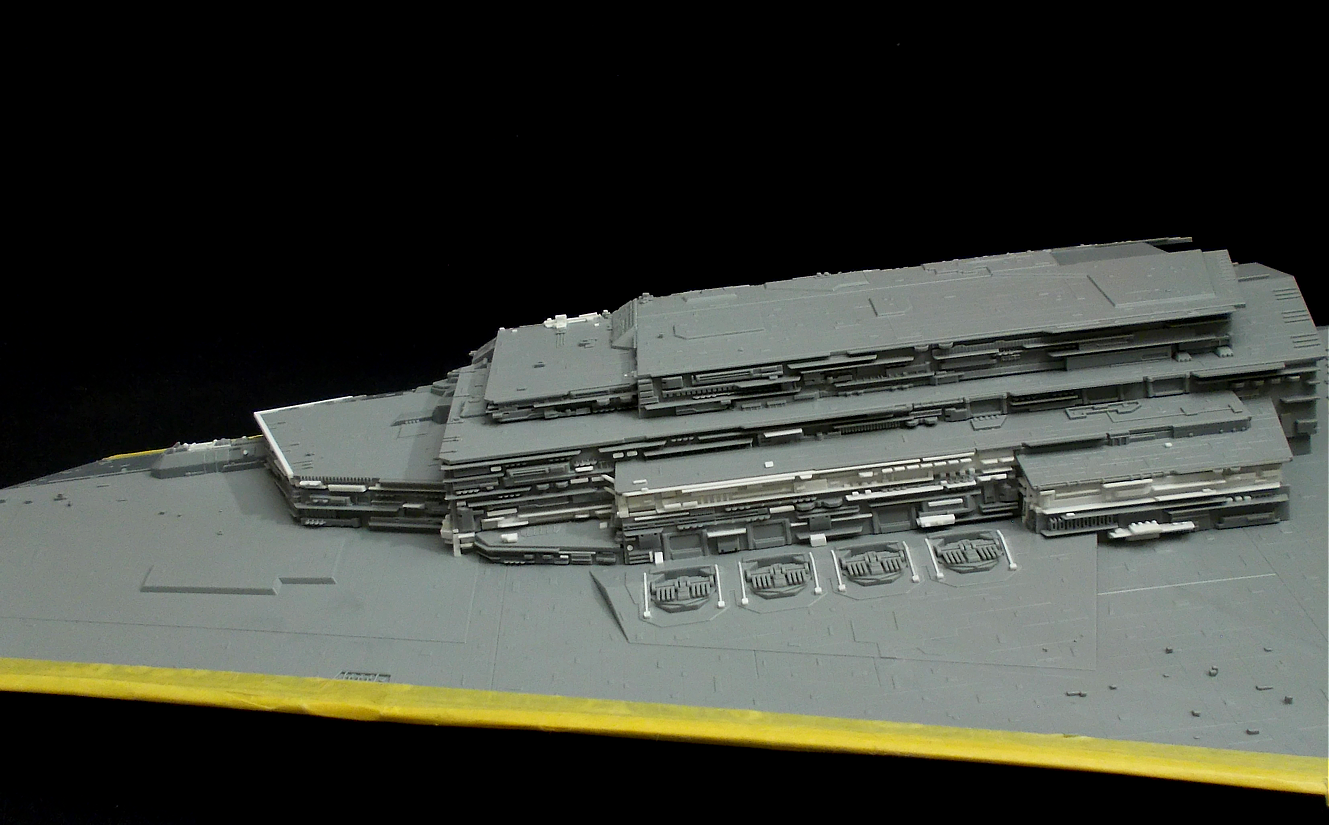
First of all, I heightened the lower parts of the superstructure to give it accurate proportions. I use plastic card for all my modifications, which will become insanely extensive soon... :D At that step, I also corrected the angle of the neck and bridge-section. These corrections created new surfaces on the sides which needed to be filled with detail, and I tackled this aspect when I went in and added loads of details I meticulously scratch-built to recreate the detail on the filming model. Here are some images of these steps:
2080849404_STDWIP001.png.82c818e049f8cff

2126789119_STDWIP002.png.26c3f118b5facdc

STD_WIP004.png.ecd0905c7d087faf74bf7b0cb

STD_WIP005.png.4a6e8116cd9c73ff47d610eb7

982647207_STDWIP006.png.dc968adb2cac3d04

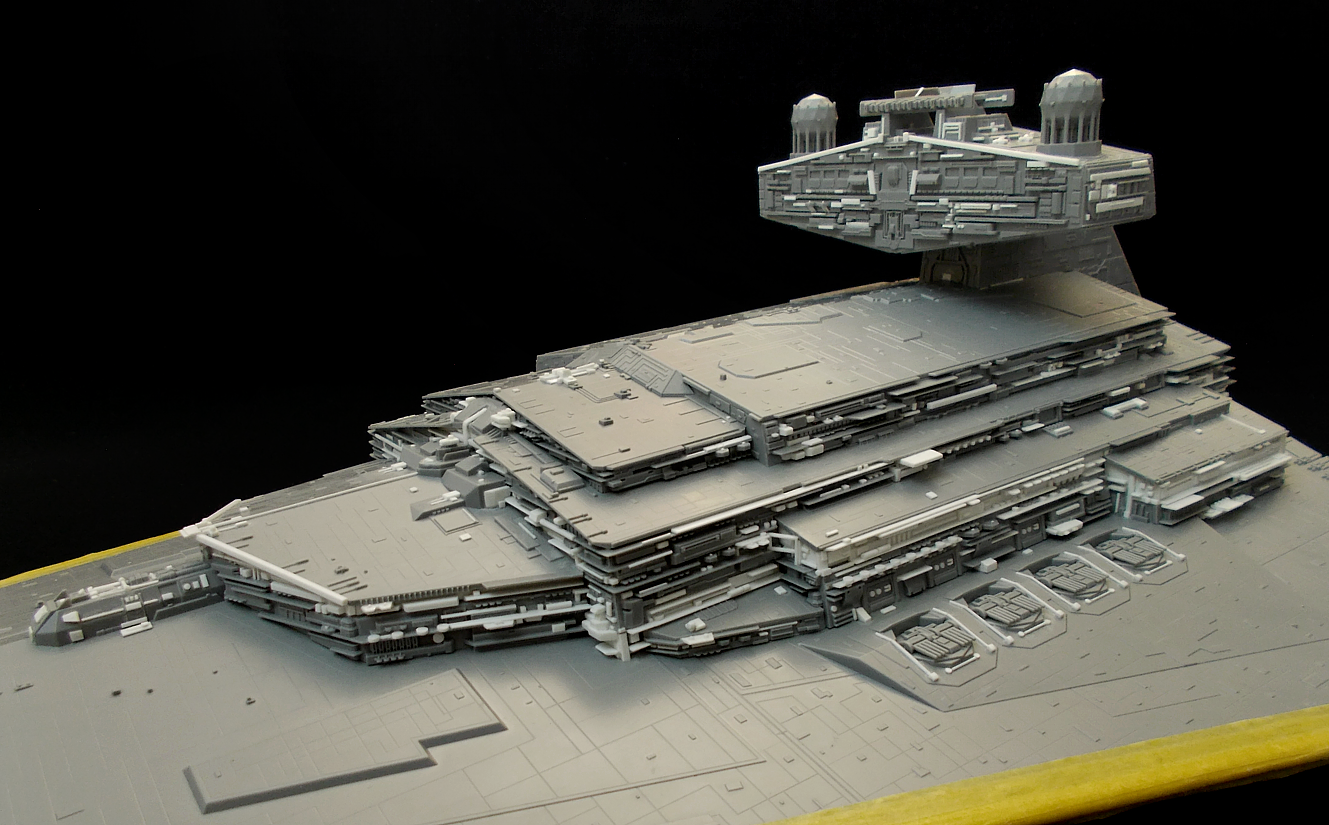
Here's the detailing of the superstructure almost finished:
1248176197_STDWIP004.png.92a395f9658cfbd

773330932_STDWIP005.png.a1d53a119499e0f9

STD_WIP006.png.05e141ec8bbc5c1147852f49a

1307709796_STDWIP007.png.f02118cfc81a949

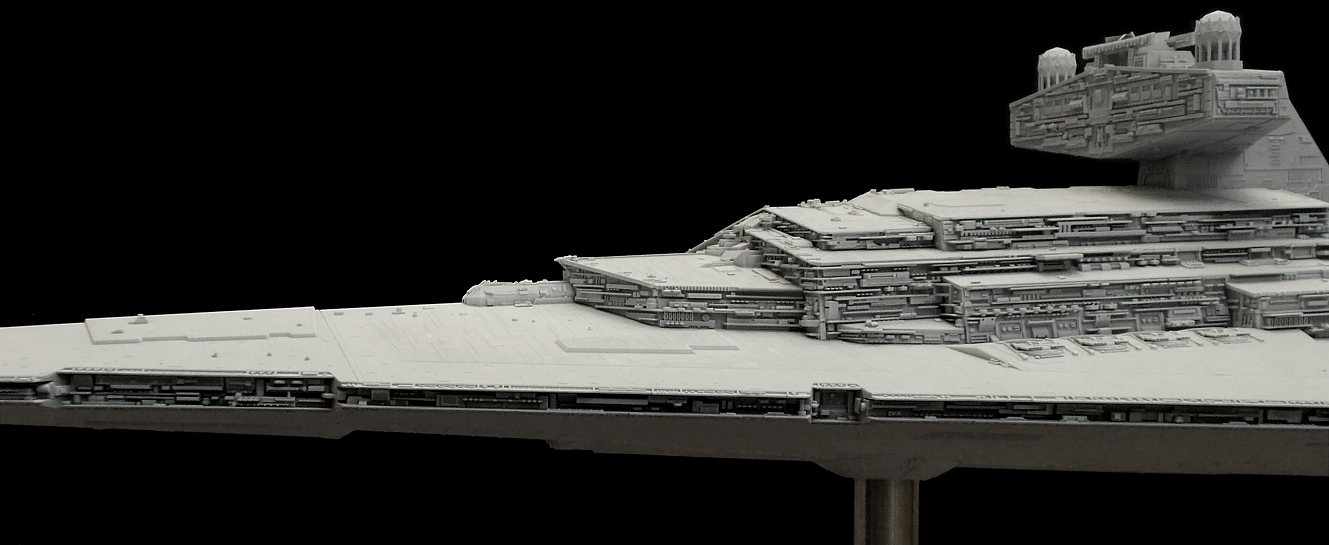
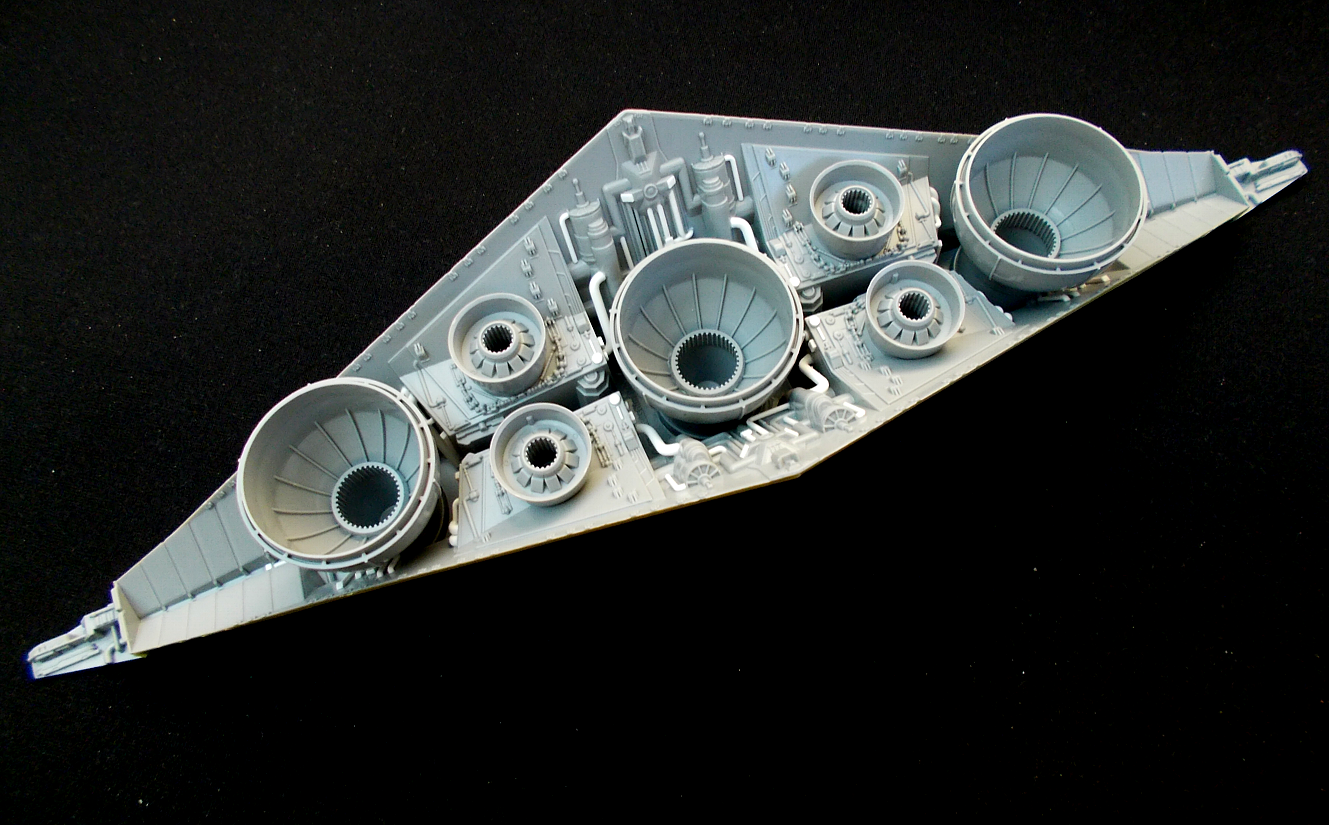
Extra detailing on the engine section as per the filming model:
1607638249_STDWIP034.png.7cf3523277825ee

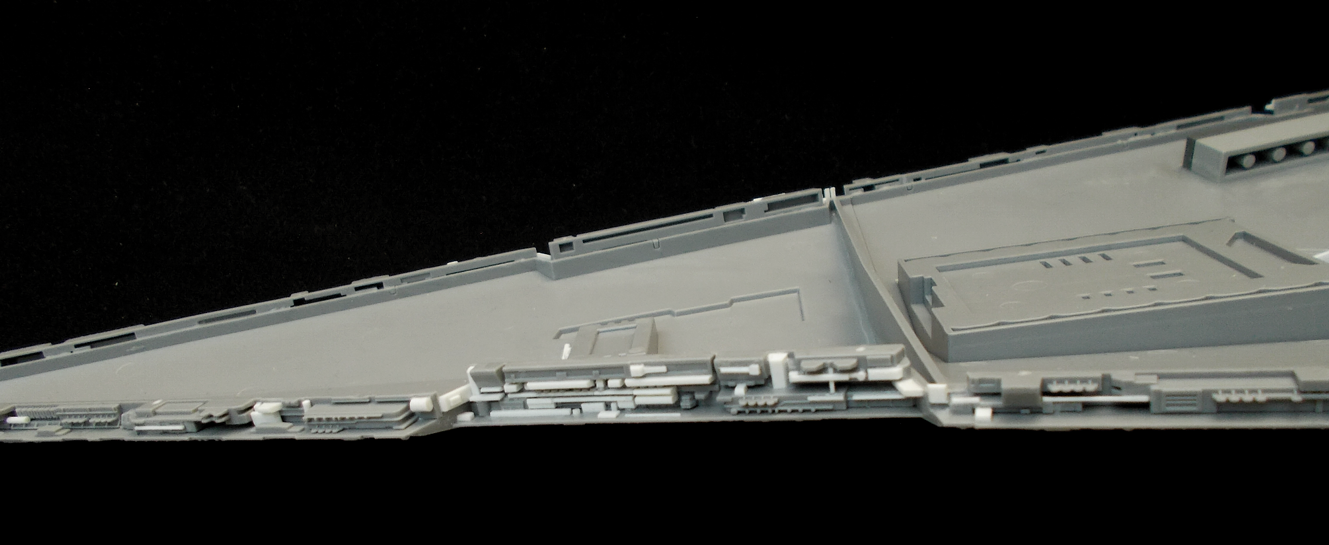
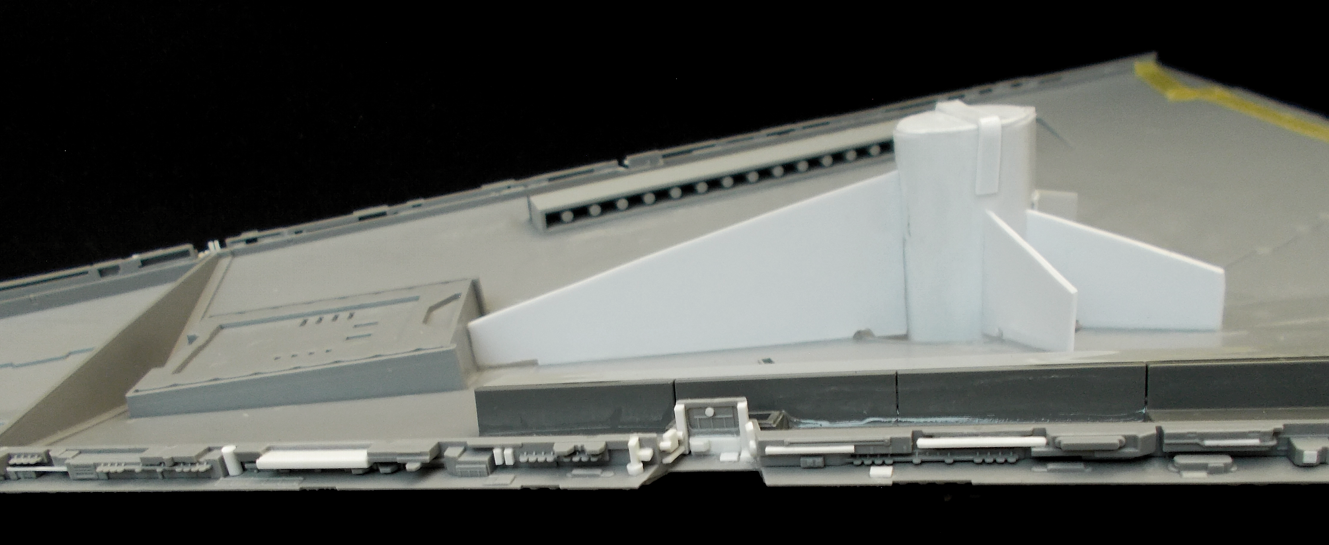
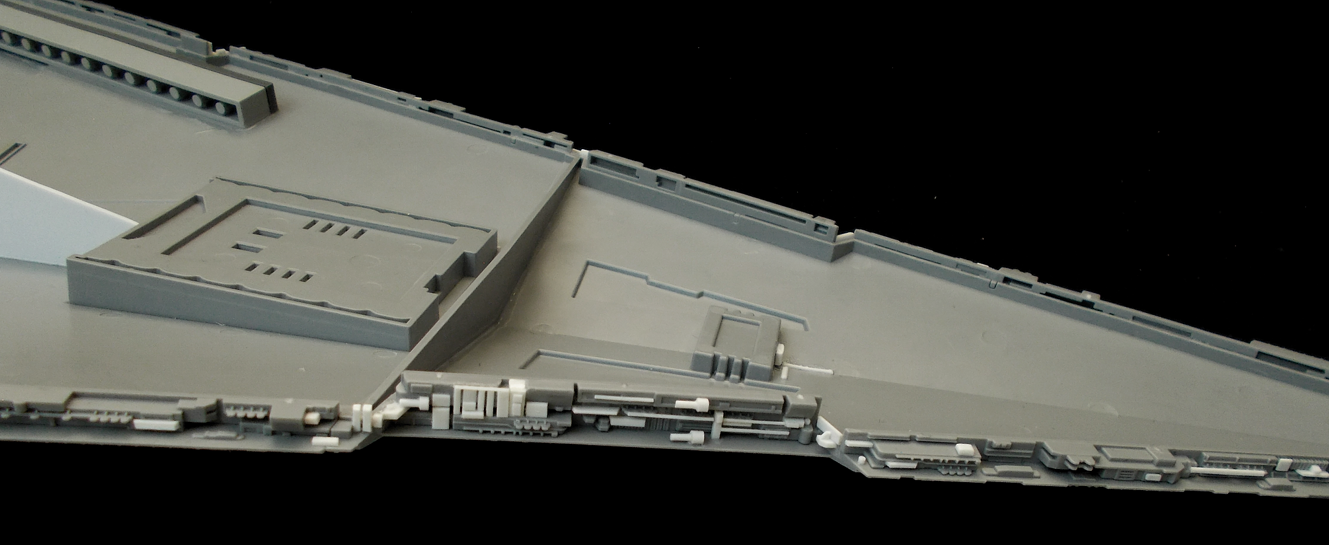
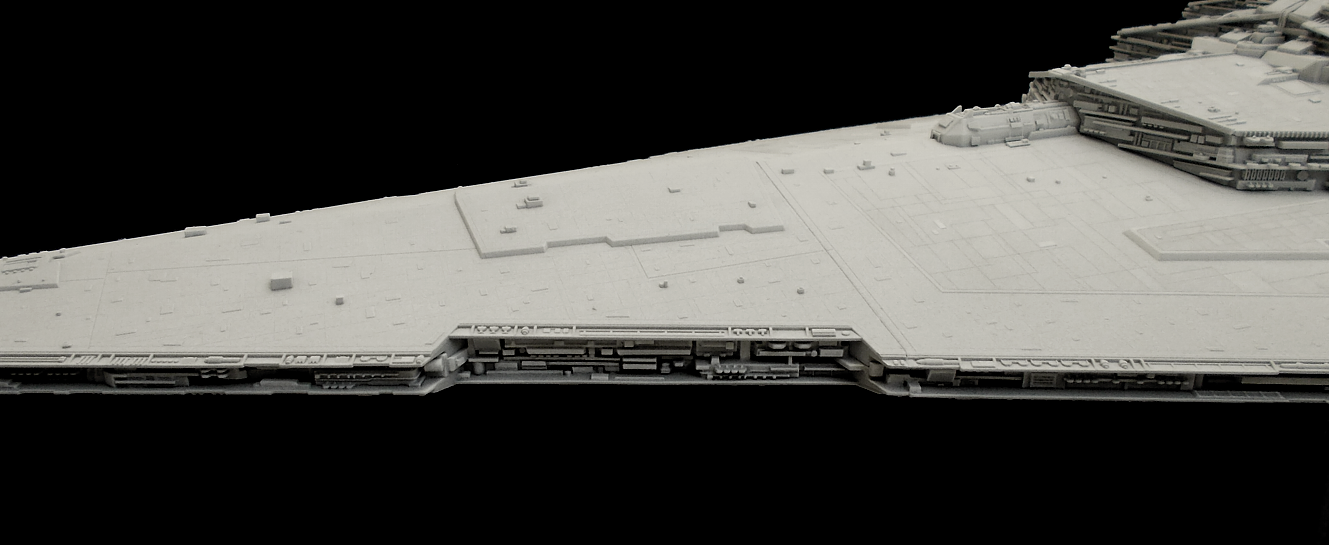
And detailing on the side trenches:
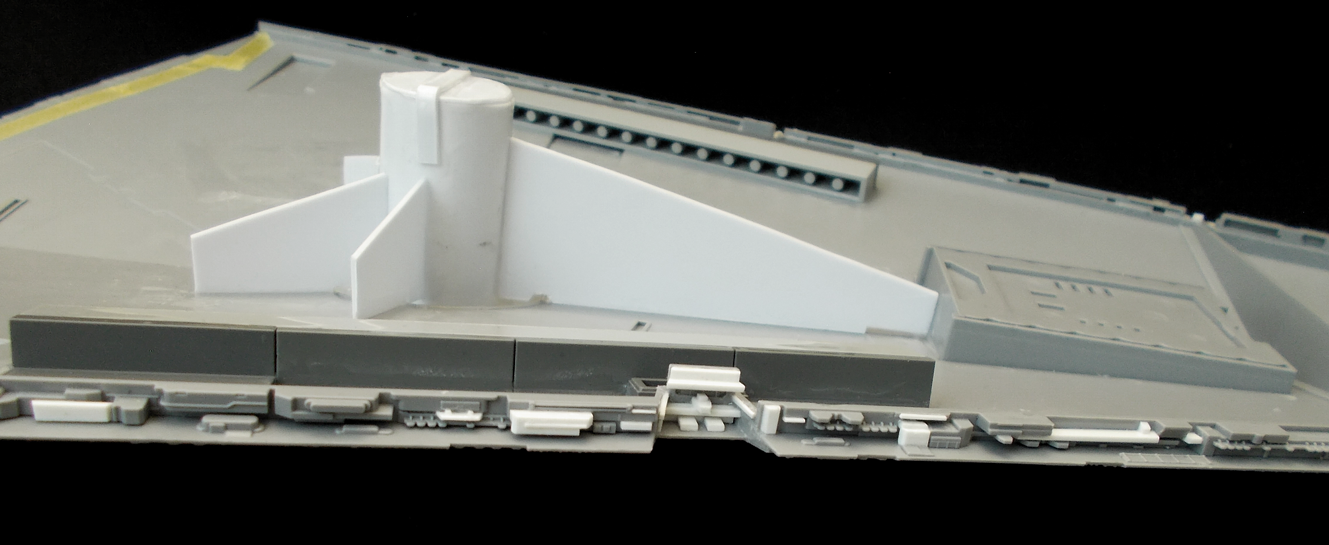
1872211523_STDWIP046.png.d320cd651a984a4

2066624733_STDWIP047.png.804bf0eacbfdd4f

1514367653_STDWIP048.png.d5c062e8f3a43b3

1651138325_STDWIP049.png.22a171df3bd9e9b

I also scratch-built a few TIE Fighters and a Lambda shuttle in scale - everyone can 3D-print or order online nowadays:

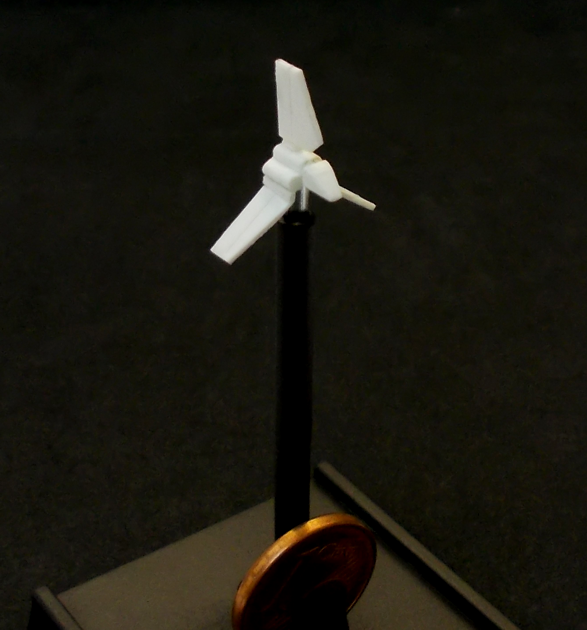
1679053046_STDWIP033.png.dea70f616571d94

1867494852_STDWIP022.png.9a6bdc1dd879a22

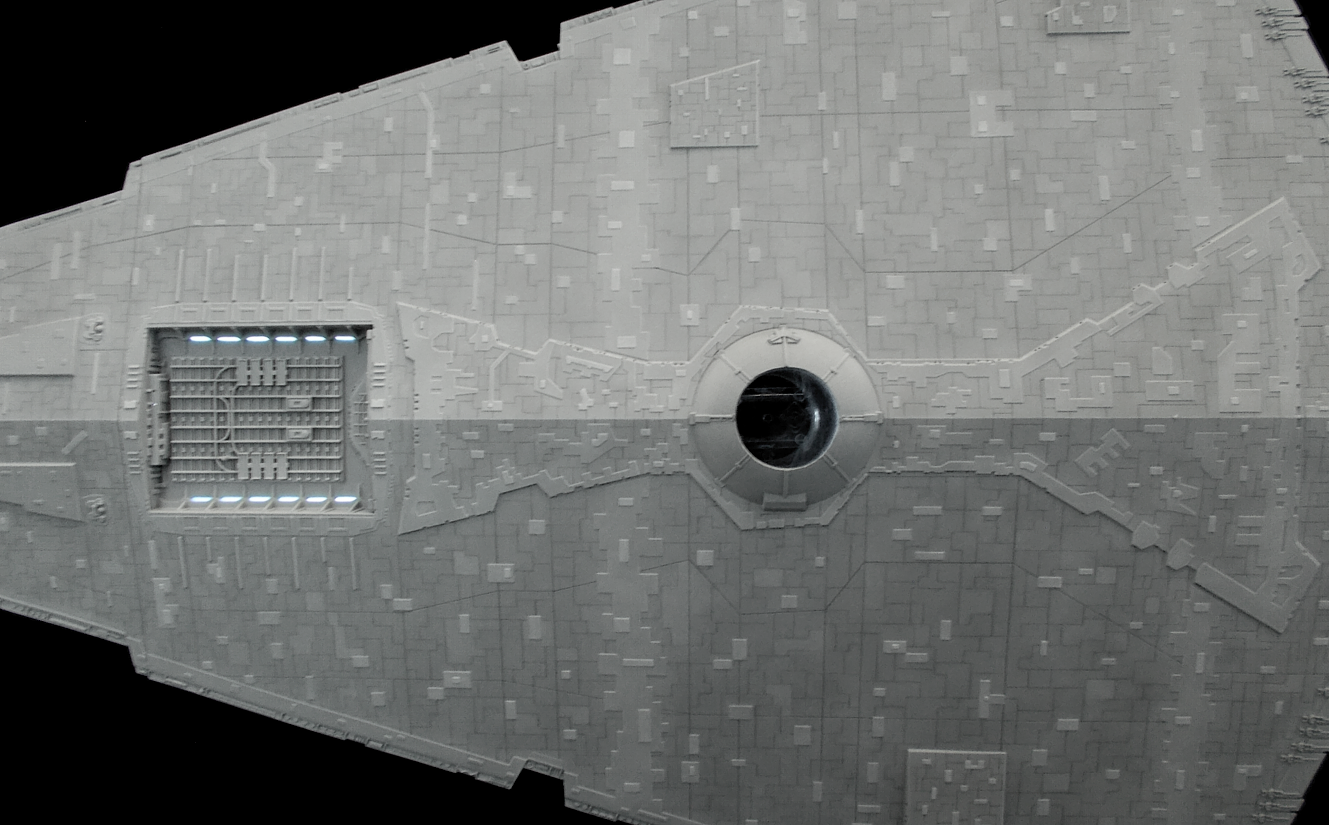
Next it was on to painting. I gave all sub-builds of the Star Destroyer a basecoat of USAF grey and then sprayed several thin layers of an off-white on top to create a soft gradient of shadowed recesses and very light surfaces and highlights. I then lightly drybrushed all raised details with a very bright clean white, and then brushpainted a thin layer of off-white on all edges and upturned detail-surfaces to make them pop subtly.

The panel lines were drawn with a very sharp hard pencil. I also brushpainted subtle variations in brightness across panels with a thin layer of white. Here are several images of the painting process:
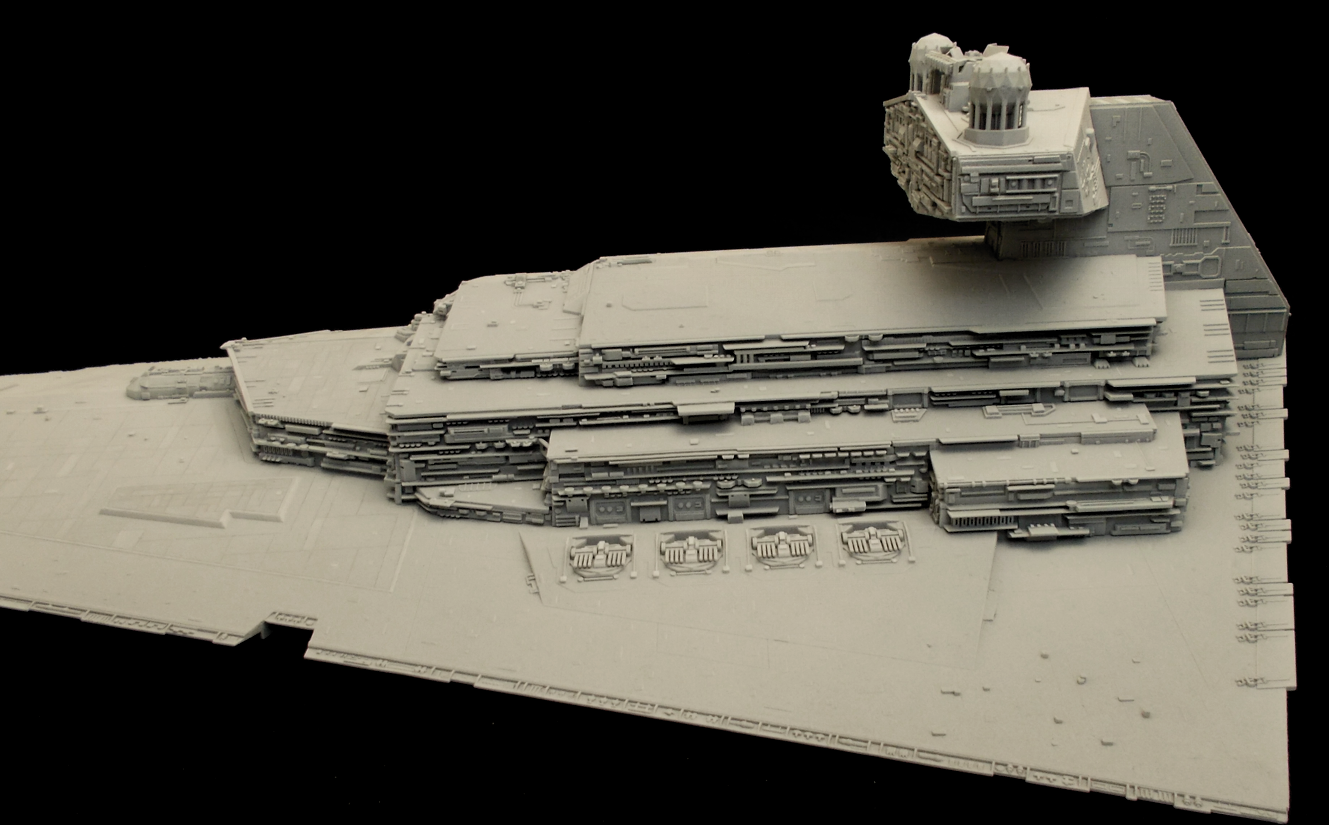
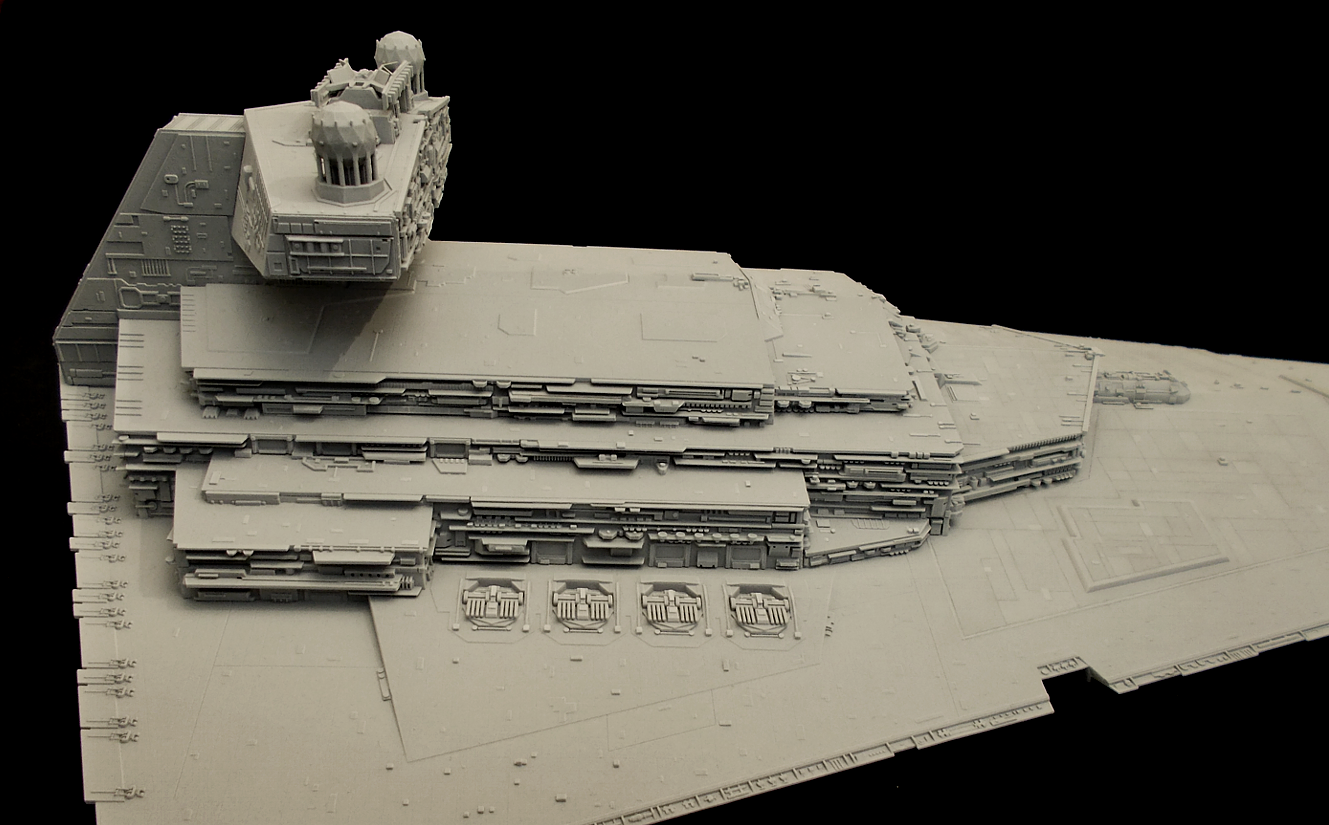
21258575_STDWIP009.png.a007dec64b7d947b2

363309552_STDWIP011.png.cb776bead060ab81

993654764_STDWIP012.png.117f8455ab285168

STD_WIP015.png.65750bfd1a6cc104f6d451699

STD_WIP016.png.c144a9b5c43aa5acfc4c832c8

STD_WIP017.png.f27b86c60ada3440dac98d035

1840794626_STDWIP019.png.ab708c015608add

607464510_STDWIP020.png.b4ec0e3be3e86bb0767eff43cf731f9e.png (1329×825)

530790227_STDWIP050.png.3bdbcc15fe37e7d2

923361277_STDWIP051.png.bddea75d64b71044

778193011_STDWIP052.png.57b6912d9564c545

1543242495_STDWIP045.png.fb5e6f5fb517a0f

101378748_STDWIP044.png.70be5a6734d3c95c

1615799269_STDWIP055.png.04c47e442345fc0

671131348_STDWIP056.png.dc6c09432055c829

When everything was painted, sealed with matt varnish and checked to fit properly, it was time to drill hundreds of teeny-tiny holes and install fiberoptics and LEDs for the lighting, which I'm currently still in the process of doing after a break from the kit for several weeks:
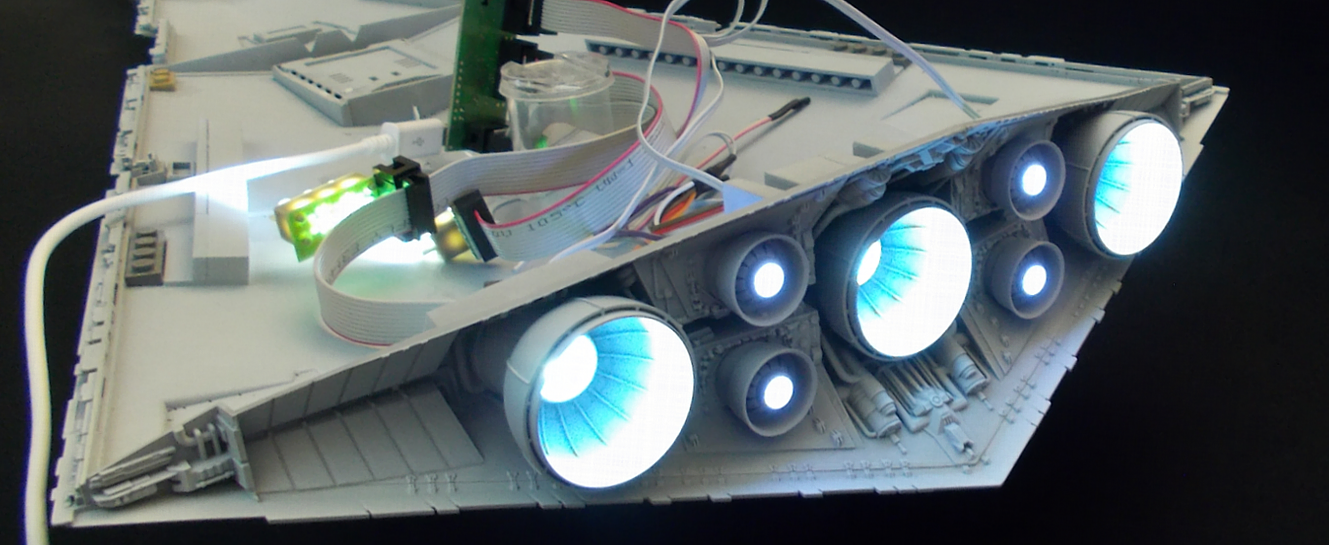
1175147352_STDWIP060.png.7dfd9e4ef376717

364407370_STDWIP061.png.35e5e434e4928947

954417202_STDWIP065.png.0c4154eba506a473

So... work is progressing well, and I plan on finishing this model in the next few weeks. So far, it was the most complex and involving build I've done so far, and I'm pretty happy with it. :D

Very cool indeed.

I'm building one as well, but keeping the level of detail more on the hangar bays. But I'm also adding fiber optic lighting.

12 hours ago, Noosart said:

I'm building one as well, but keeping the level of detail more on the hangar bays. But I'm also adding fiber optic lighting.

Oh yeah - I took a look at it, good work!

I'll continue with the lighting today - holes are all drilled, I have to continue putting in the fiberoptics, which is tedious, but the result is definitely worth the effort.

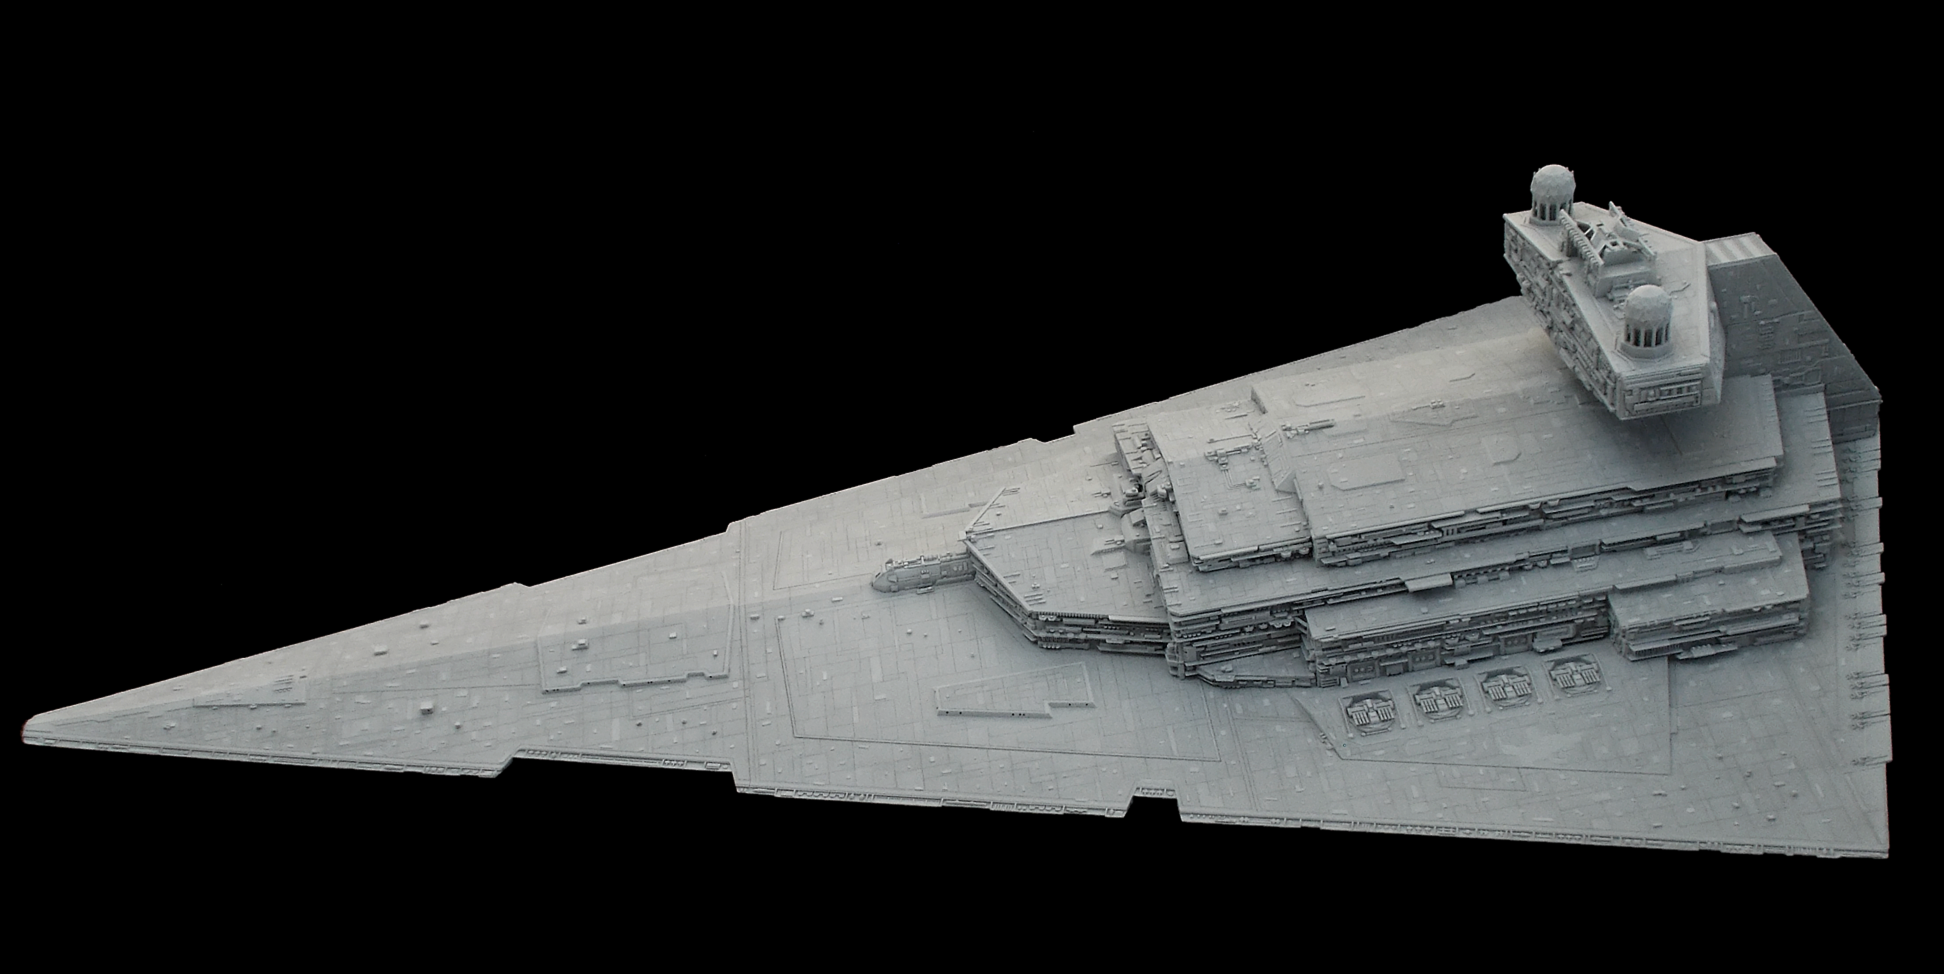
Here's an image of the full completed upper half of the model:

1842517004_STDRevival001.png.a01be14d427

Edited by Fourtytwo

The fiberoptics for the superstructure including the bridge section are finished. In total we are talking about over 300 fiberoptics for these sections alone.

977489978_STDRevival002.png.5c8b4219231a

I'm on vacation, which is cool, but now my fingers are itching to continue on mine. Great job so far

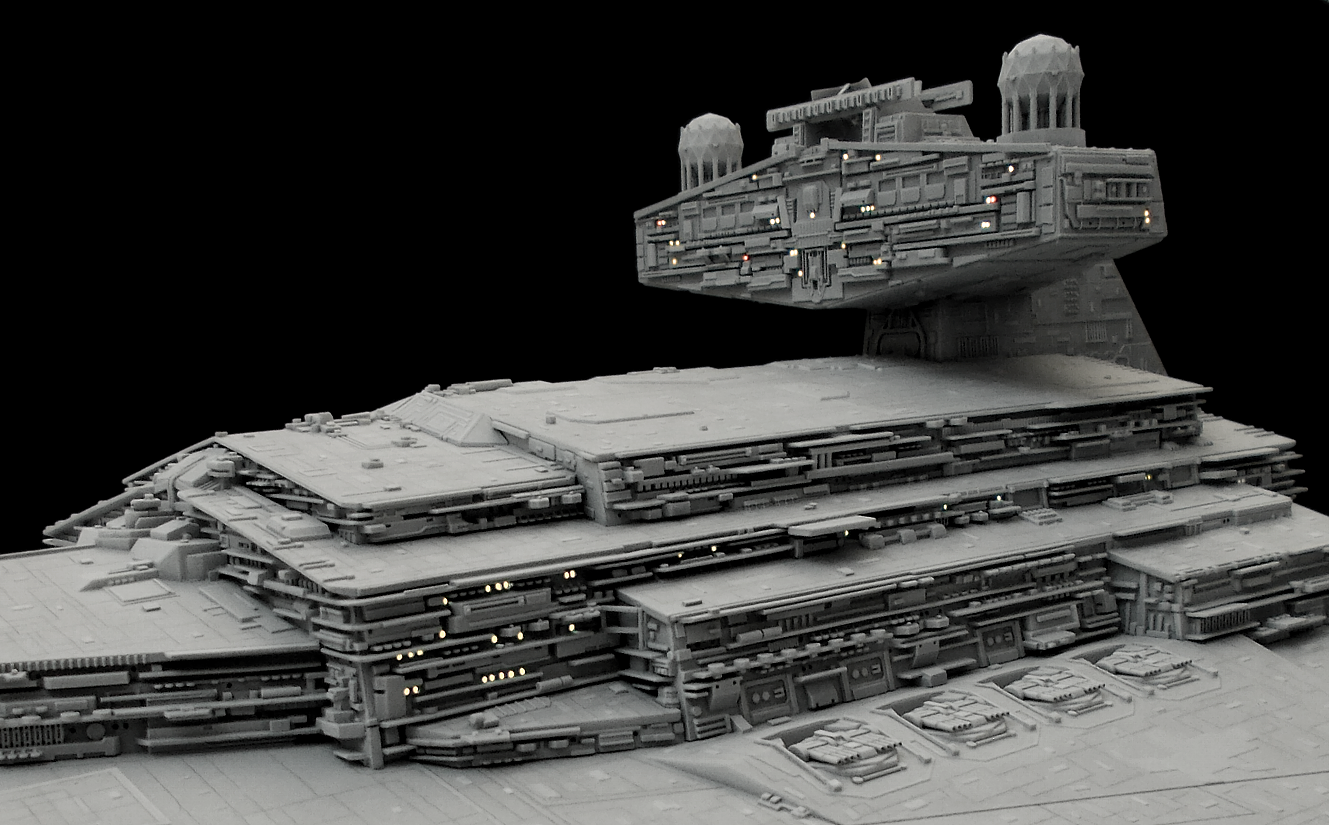
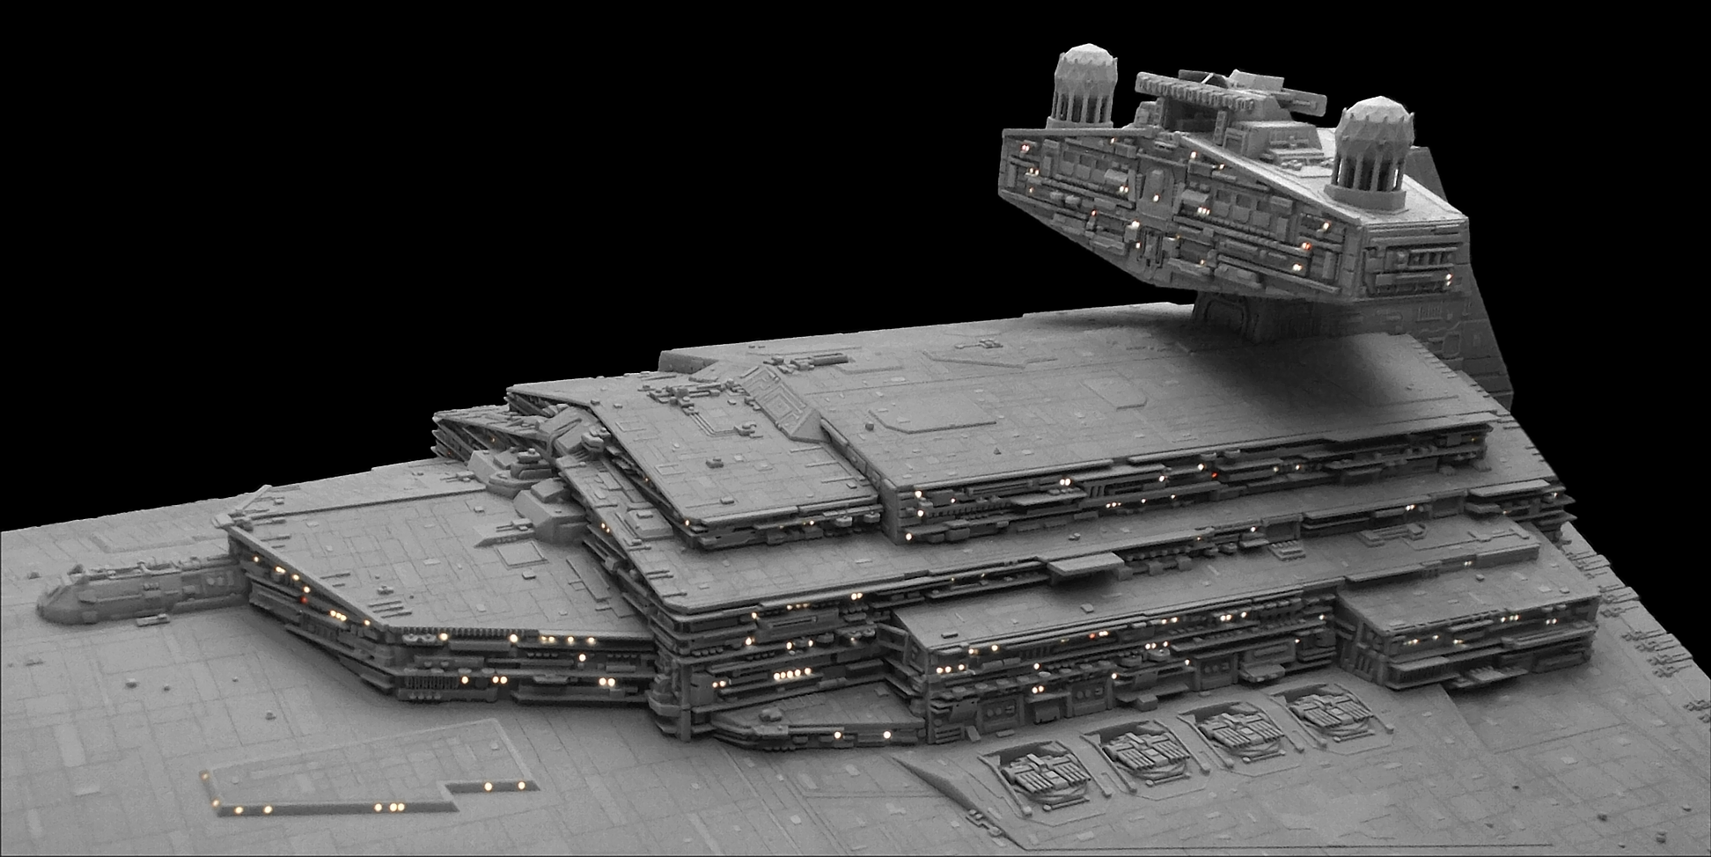
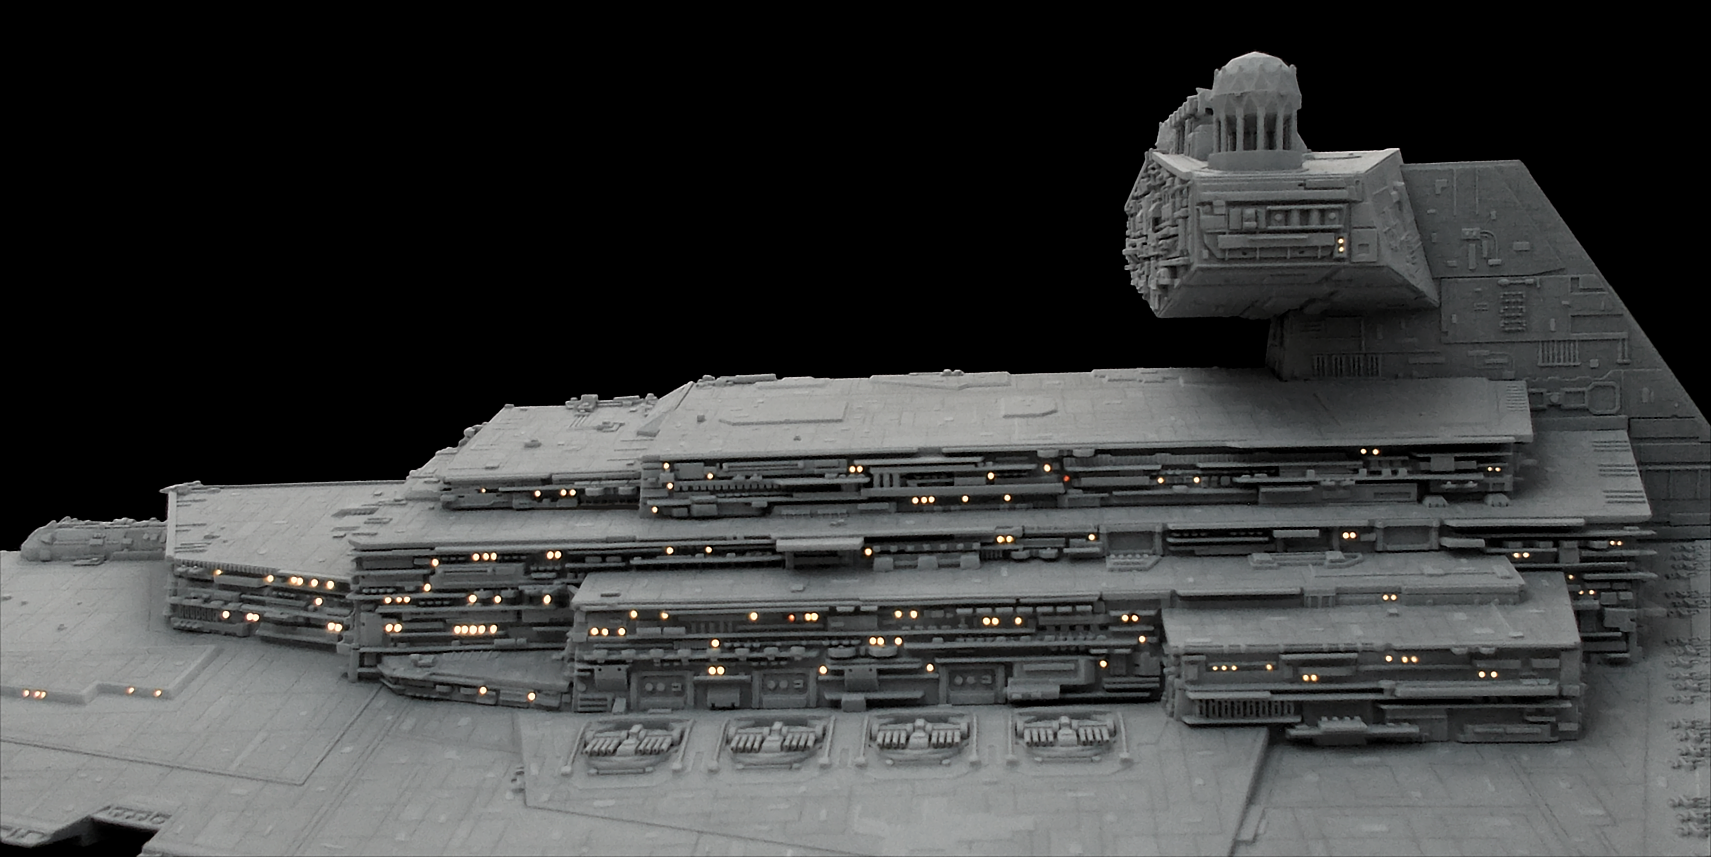
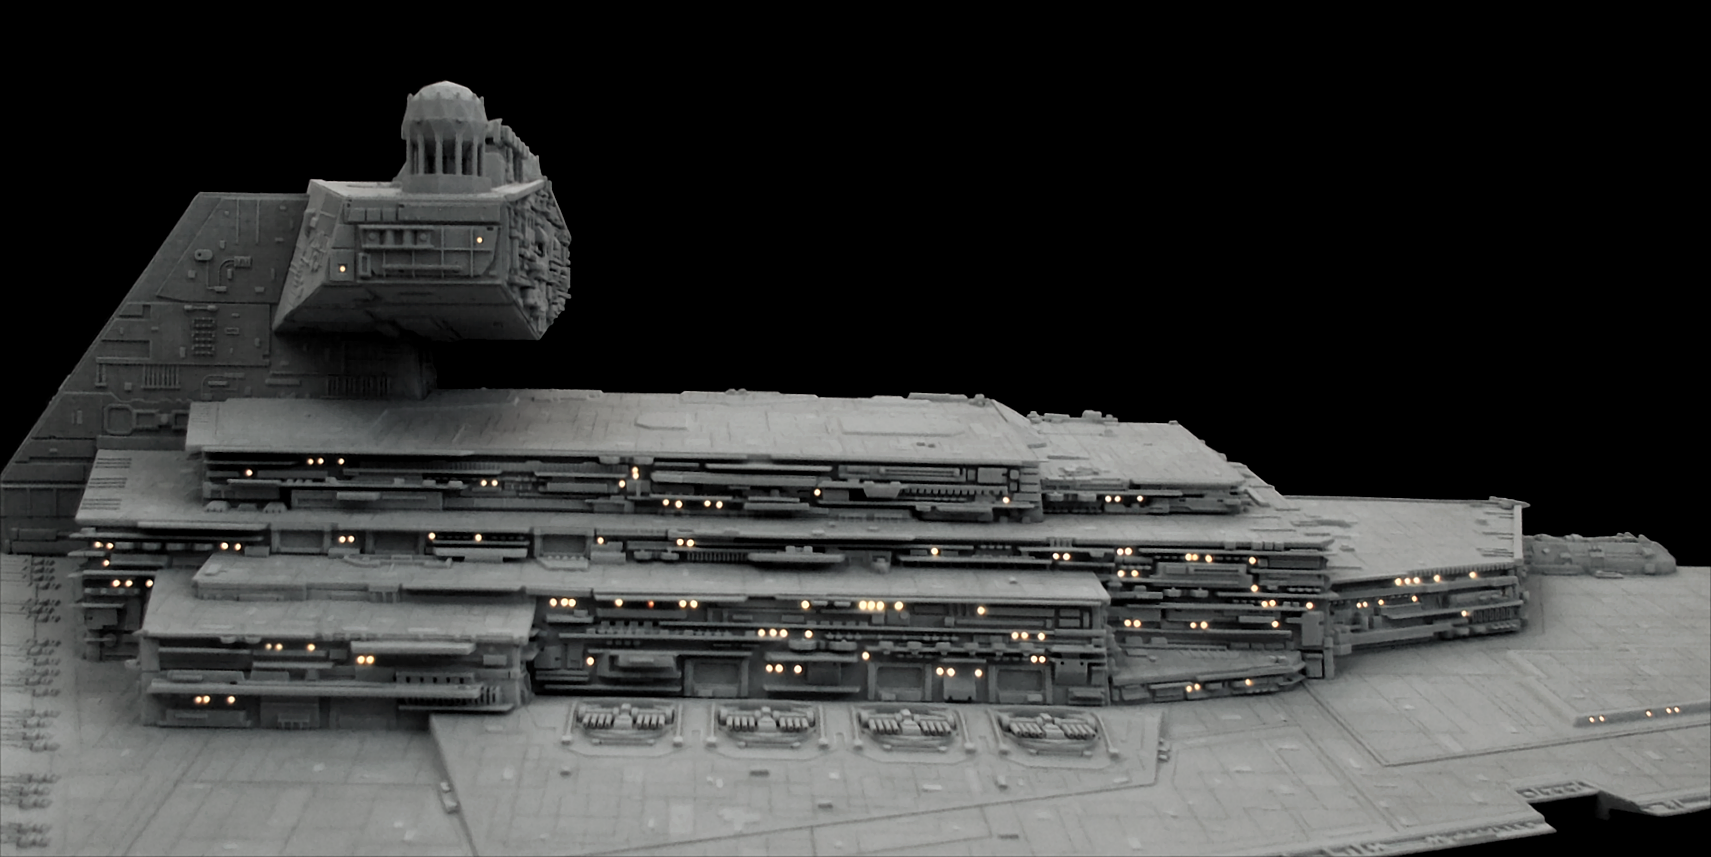
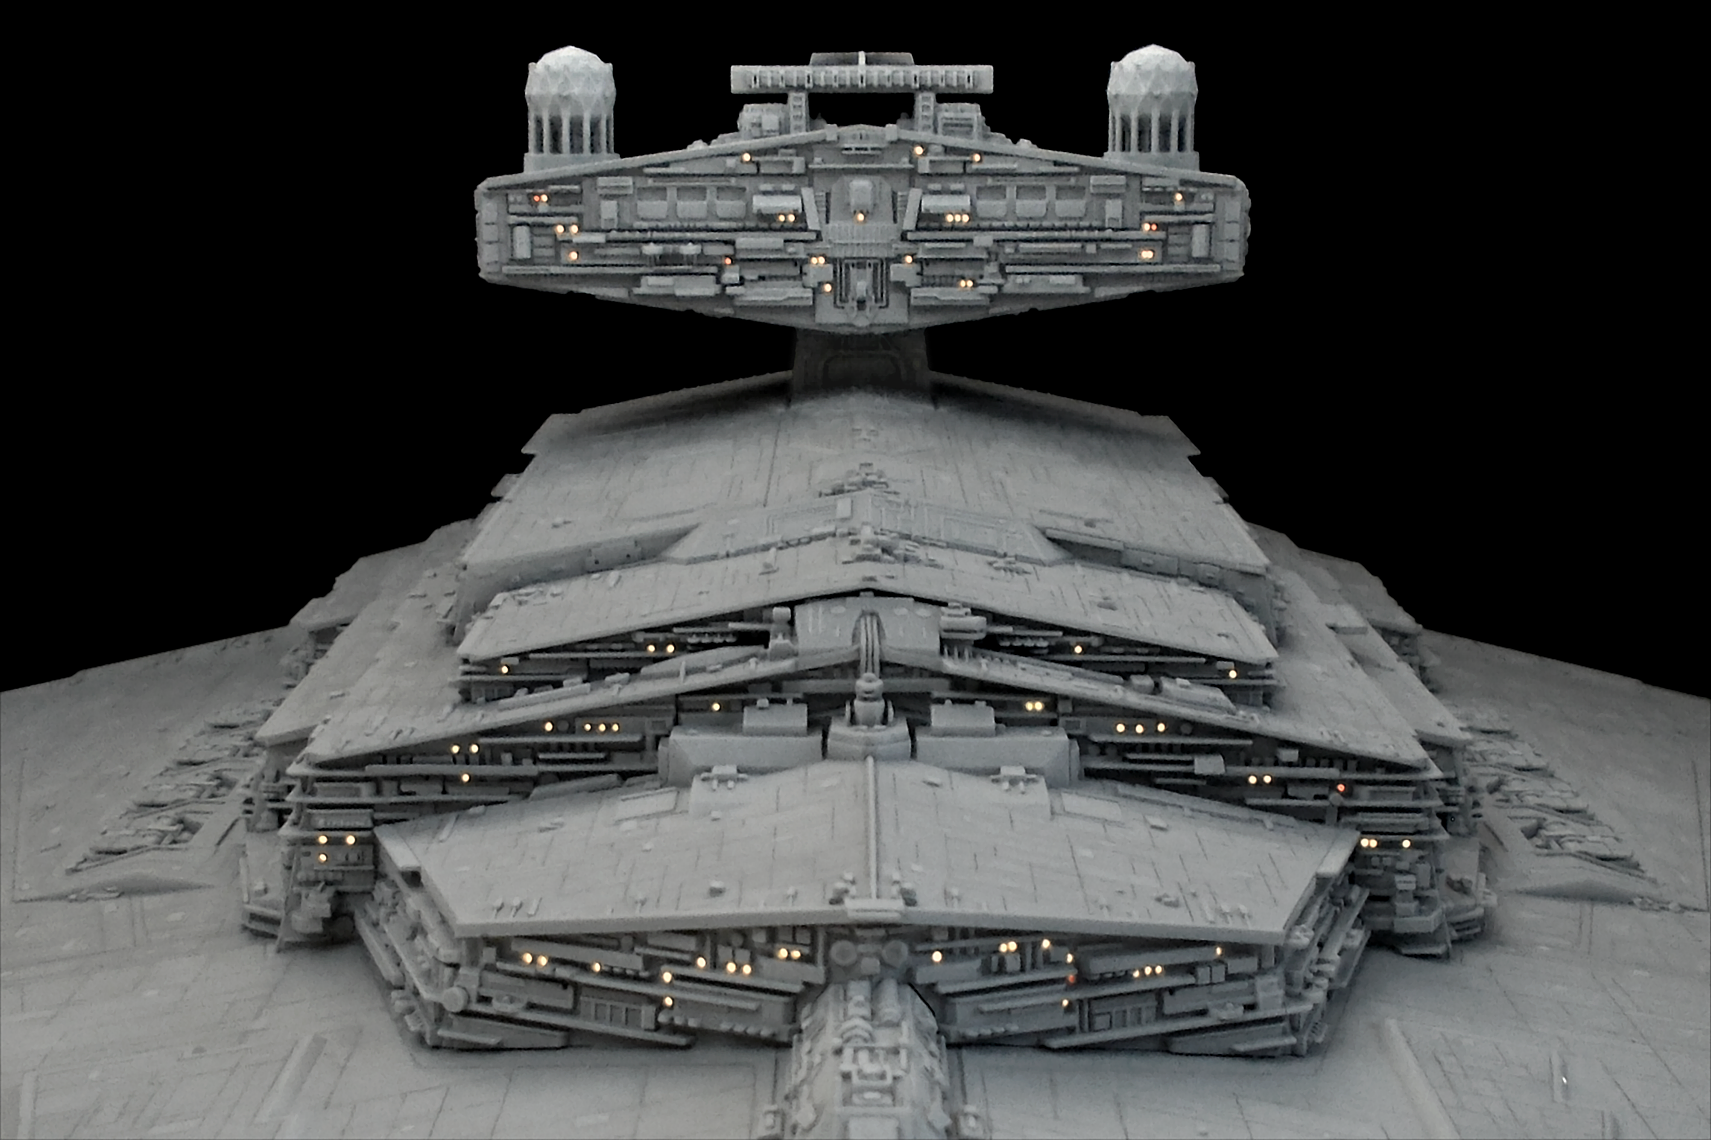
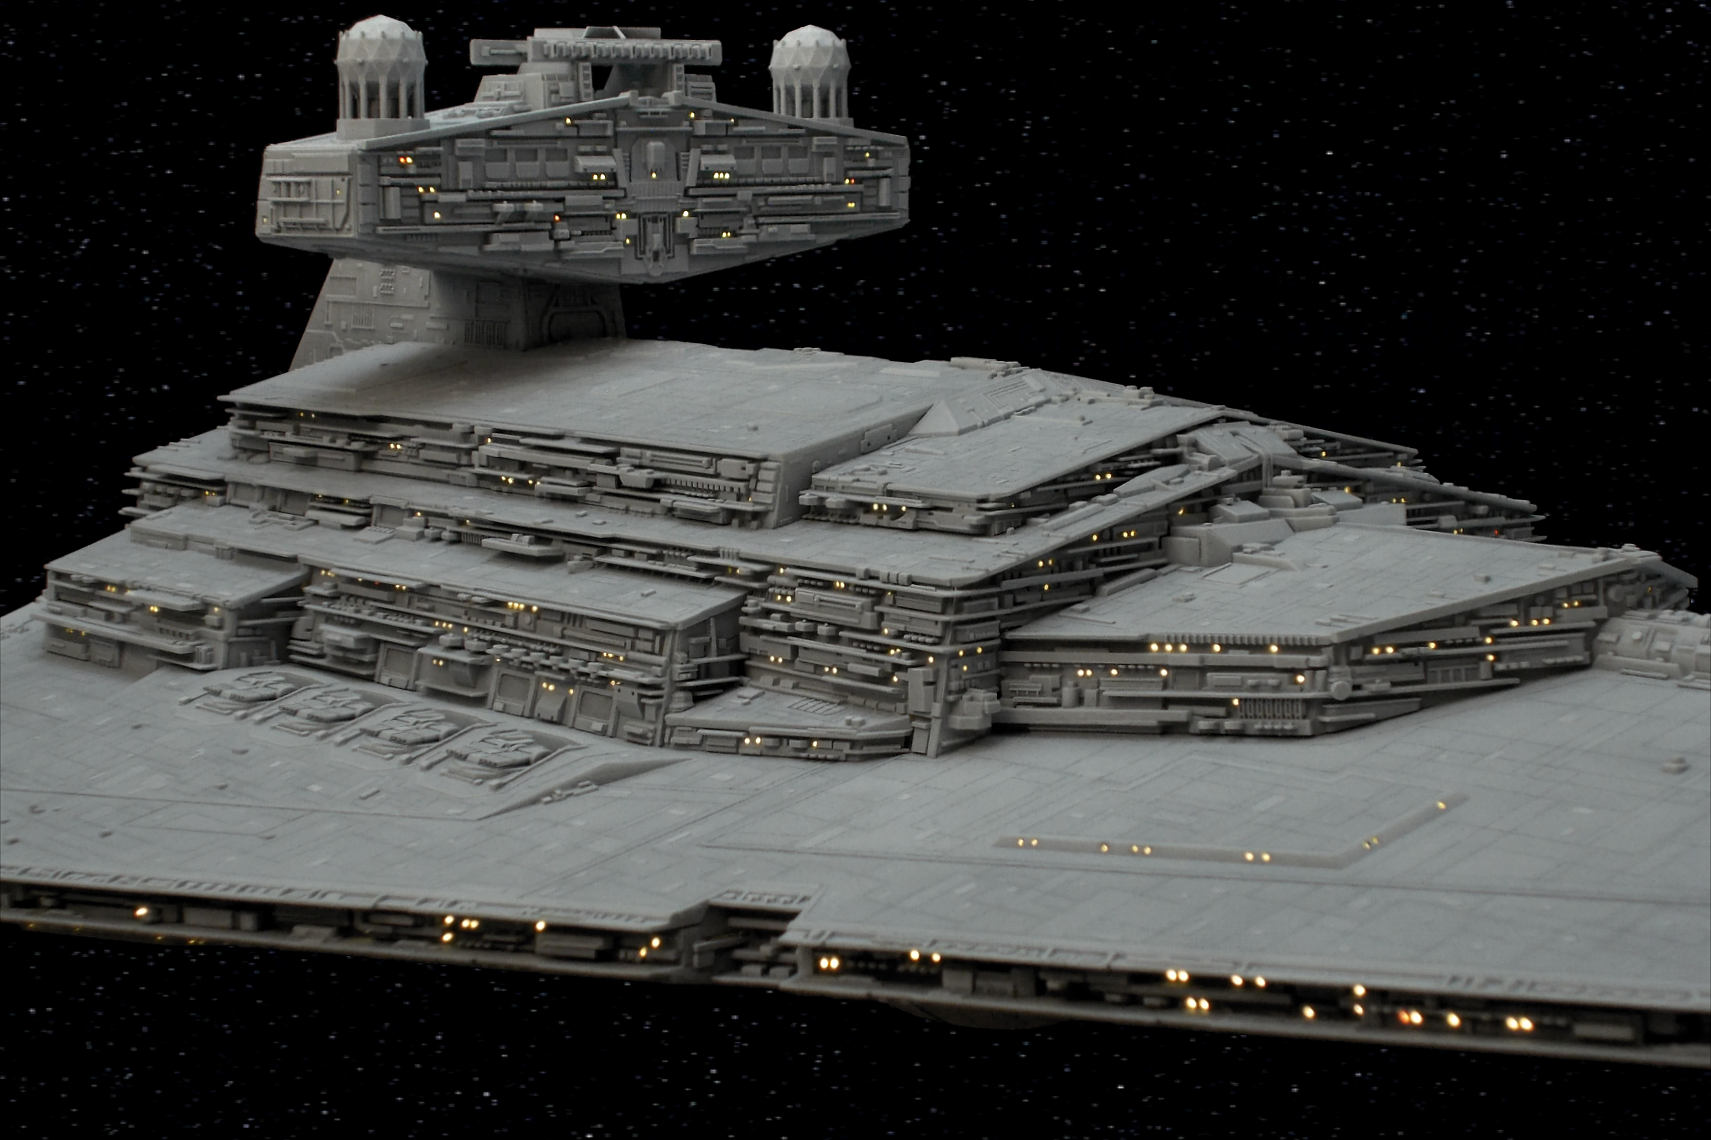
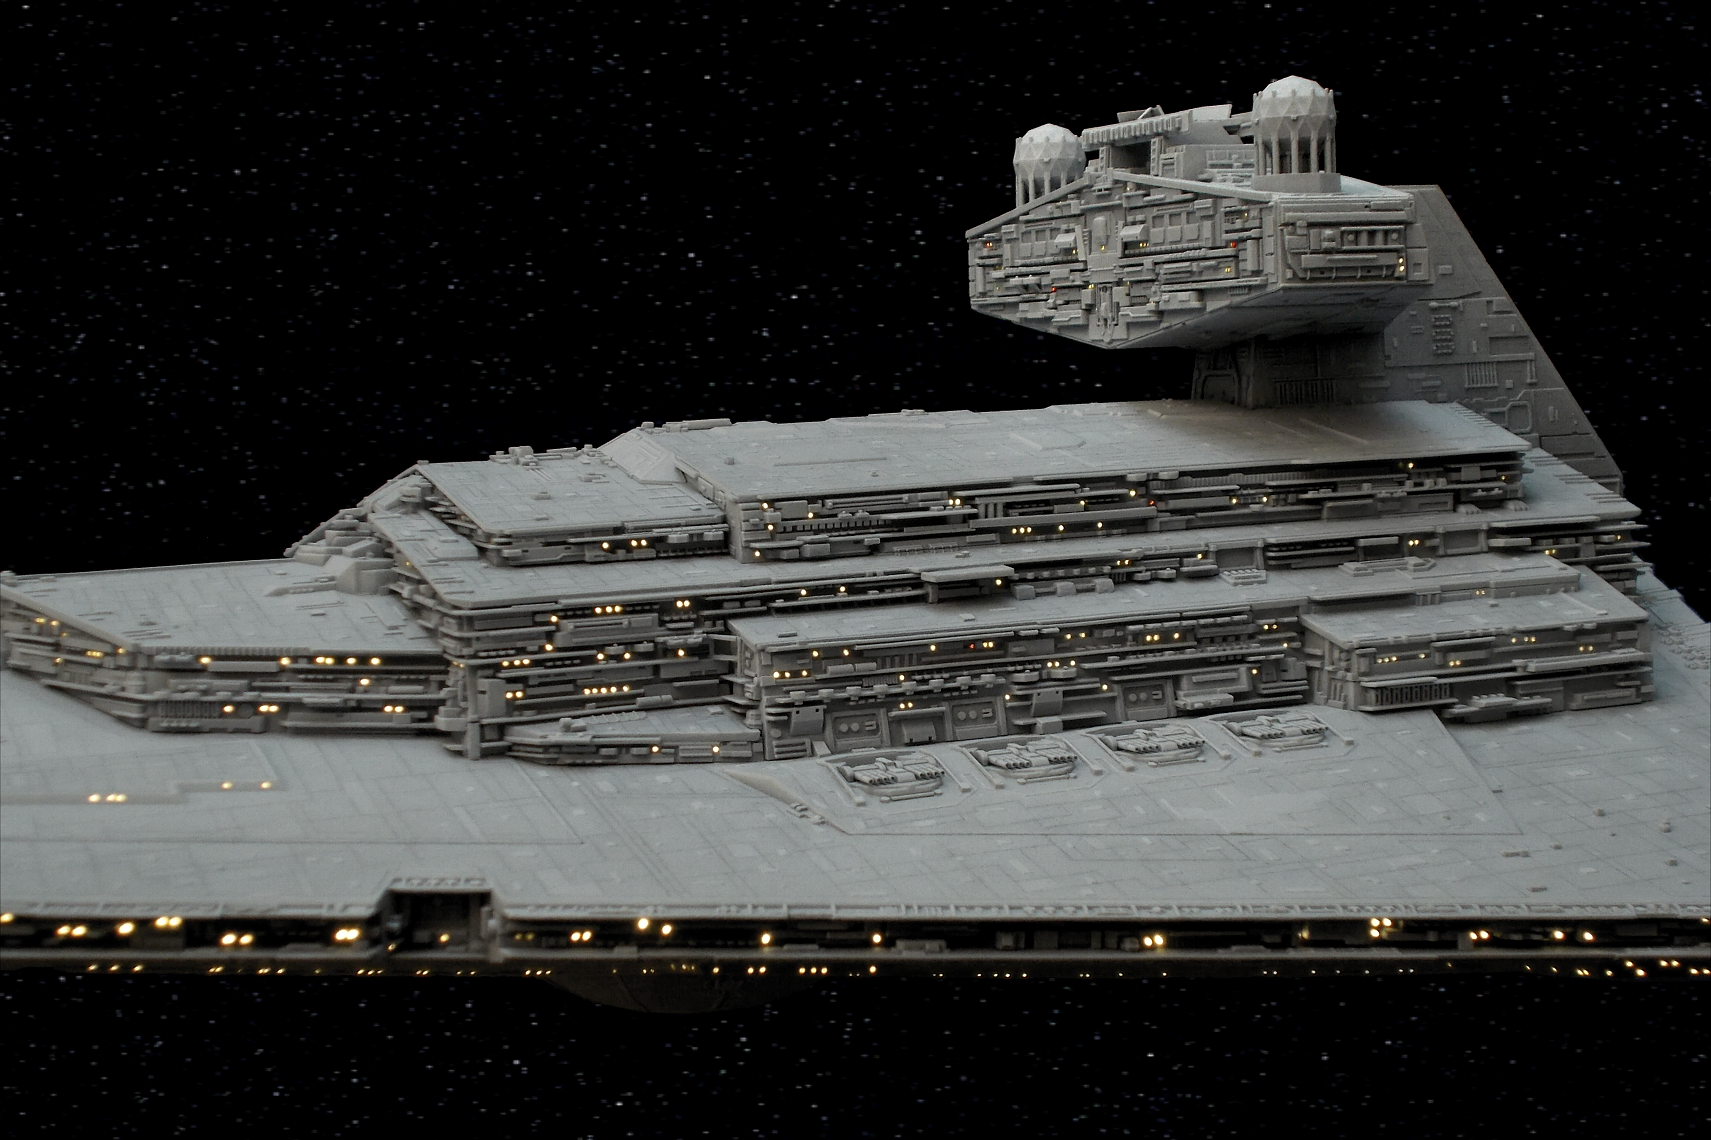
Here are some detail shots of the finished and lit-up superstructure:

1757704349_STDRevival003.png.690d9fe8d33

347129549_STDRevival004.png.97cf8c85ff72

STD_Revival_005.png.46e90170222e56cb16c9

Yeah it looks really great. From the pictures it looks like you also used the lighting kit from Green Strawberry. But on the other hand, the fiber optics look ticker than mine. (0.25mm) What did you use?

And I'm very interested in where you have got all the reference materials. I mostly used scenes from my SW DVD and BlueRay collection, but it's hard to make out all the details.

3 hours ago, Noosart said:

Yeah it looks really great. From the pictures it looks like you also used the lighting kit from Green Strawberry. But on the other hand, the fiber optics look ticker than mine. (0.25mm) What did you use?

And I'm very interested in where you have got all the reference materials. I mostly used scenes from my SW DVD and BlueRay collection, but it's hard to make out all the details.

I'm using 0.5mm fiberoptics - I just found them to look better than the 0.25mm and also easier to drill holes in a neat line with a 0.5mm drill than with a 0.25mm drill. The smaller the holes, the more crooked lines will look if you do not perfectly align them.

Initially I planned on using the Greenstrawberry Kit, but without adding to it you will have a hard time lighting up the inside of the main hangar, for example. It basically provides you with lighting for the engines and the pin lights across the hull. I'm using warm-white back lighting combined with fiberoptics for all pin lights in combination, which gives a whole lot more options. More on that in detail in a few days.

As for reference material, here you go (loads of high resolution, great quality images of the original studio model, shot when it was on exhibition):

https://modelermagic.com/star-wars-identities-display-in-france-star-destroyer-avenger-photographed-by-jean-marc-deschamps-olivier-cabourdin/

Here are a few more images:

https://www.therpf.com/forums/threads/star-destroyer-model-from-star-wars-identities-sydney-2019.300853/

Edited by Fourtytwo

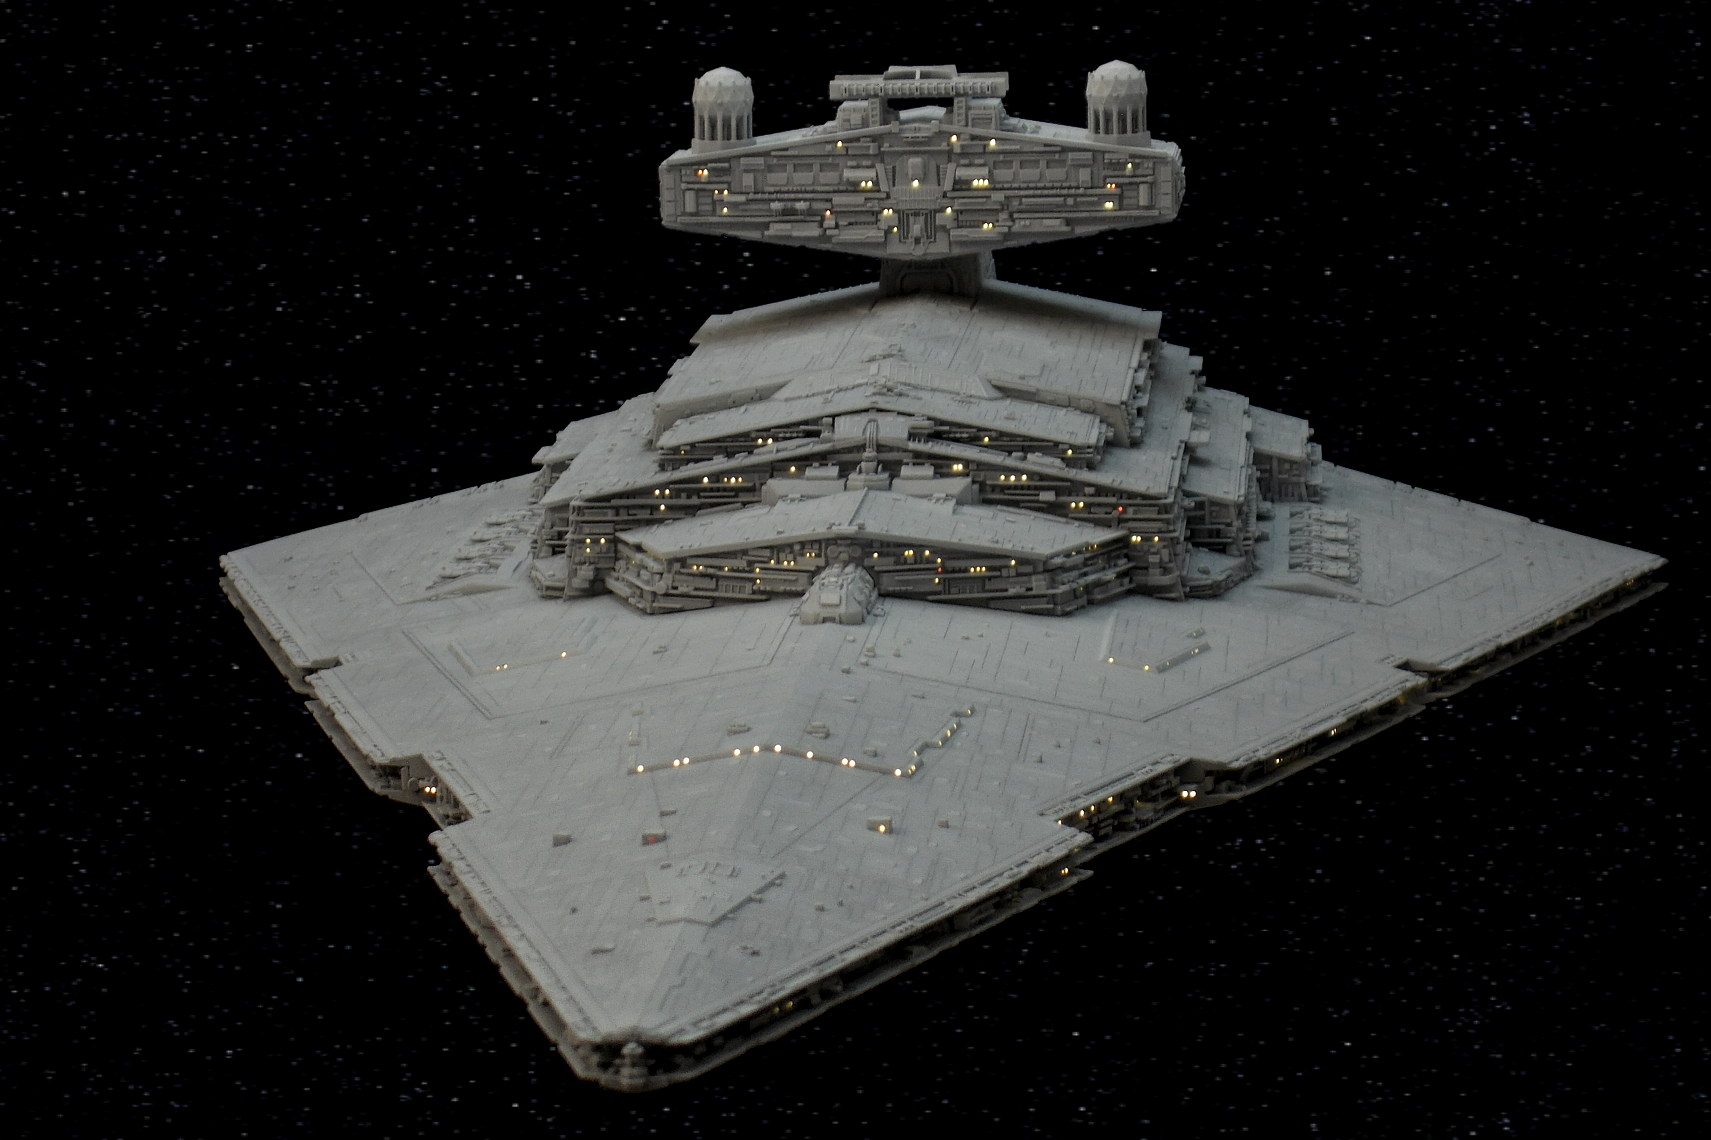
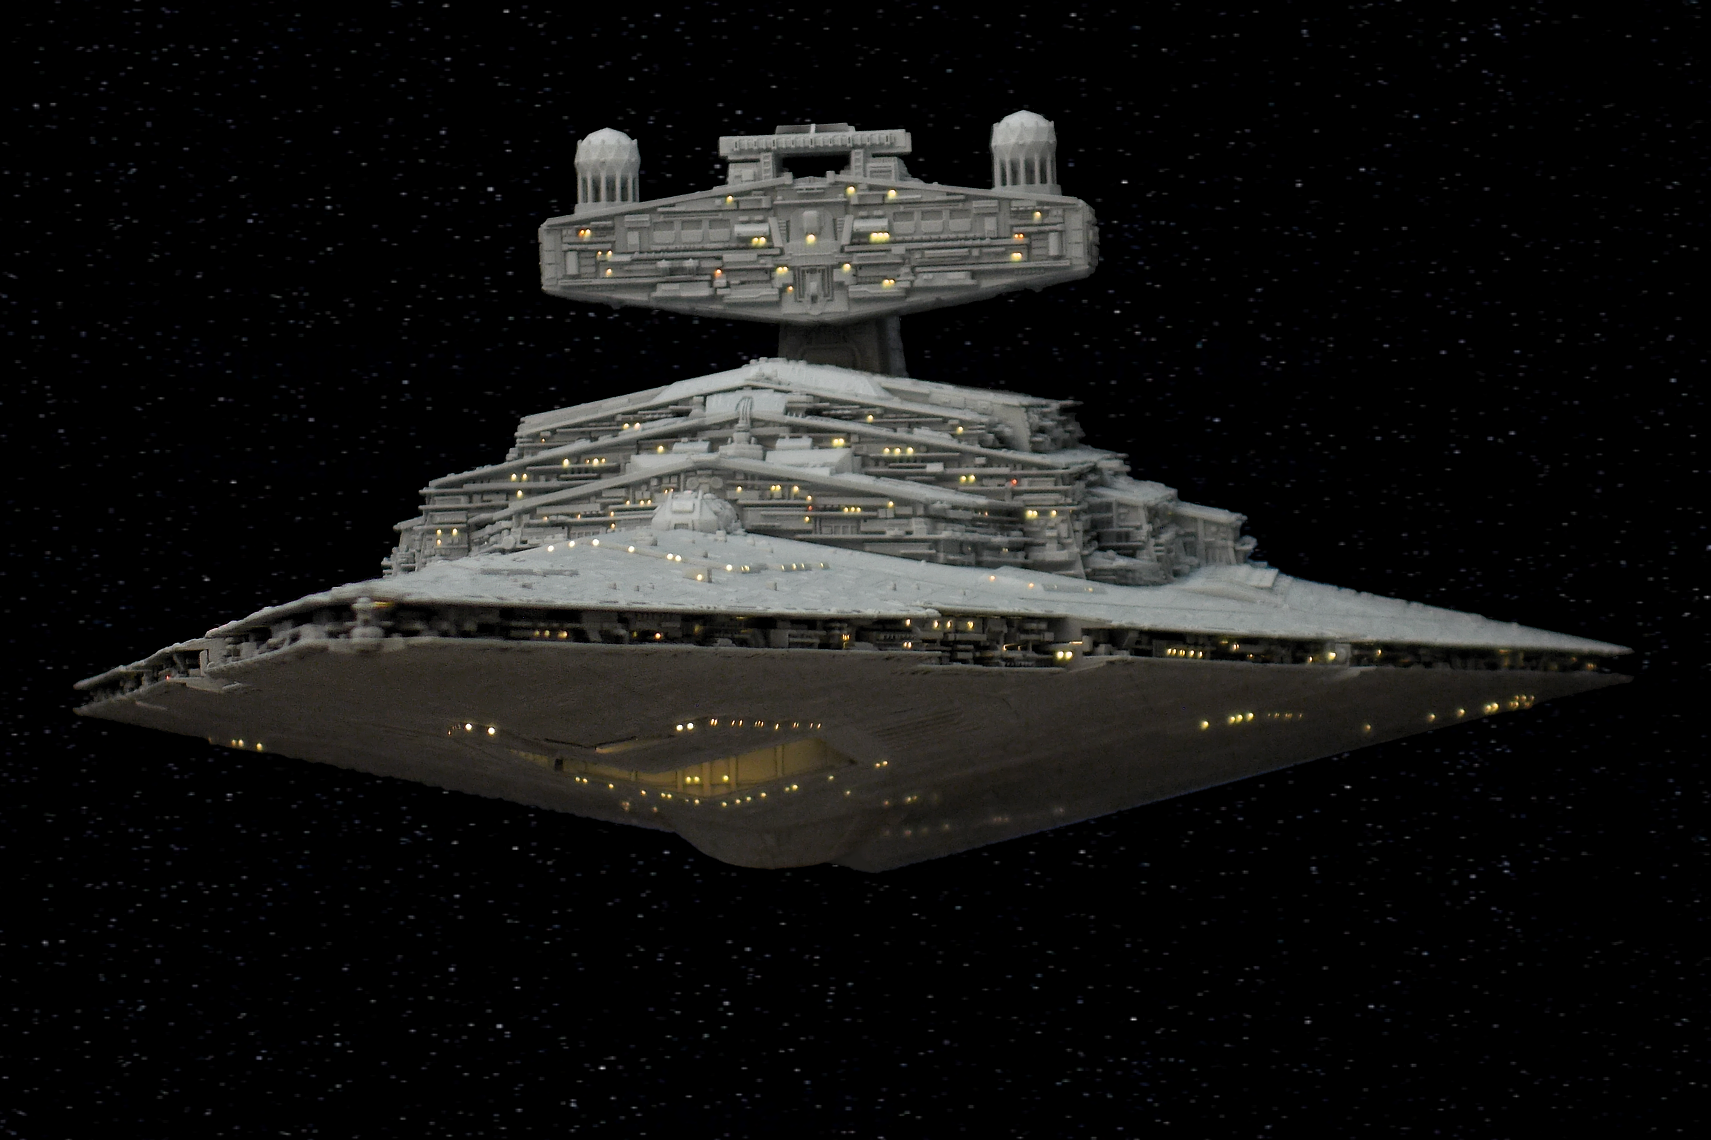
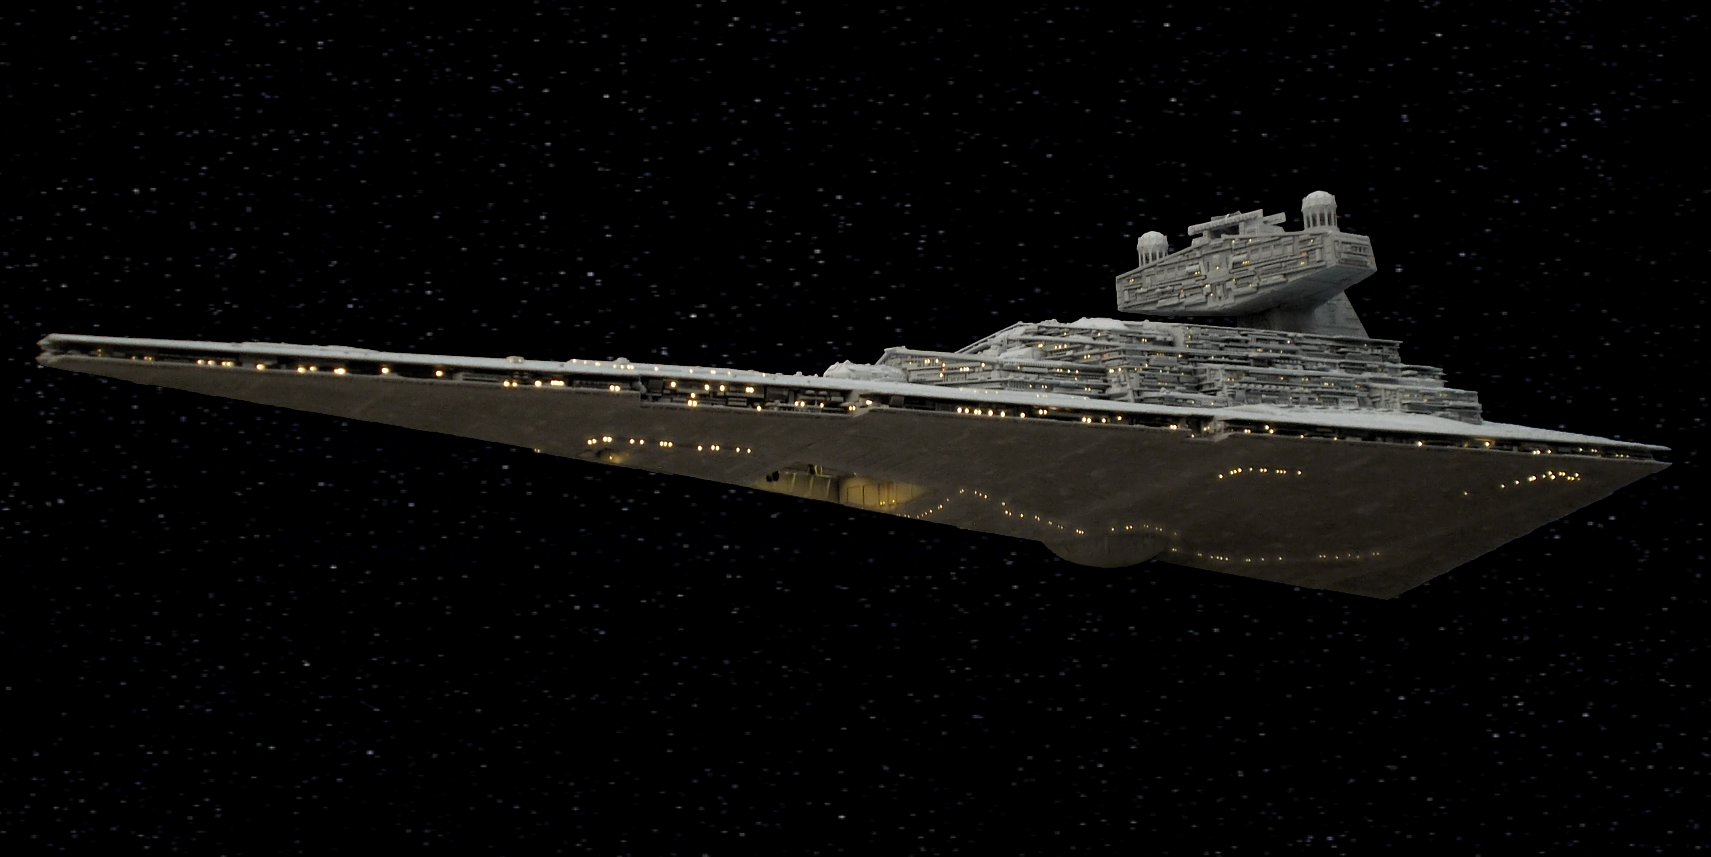
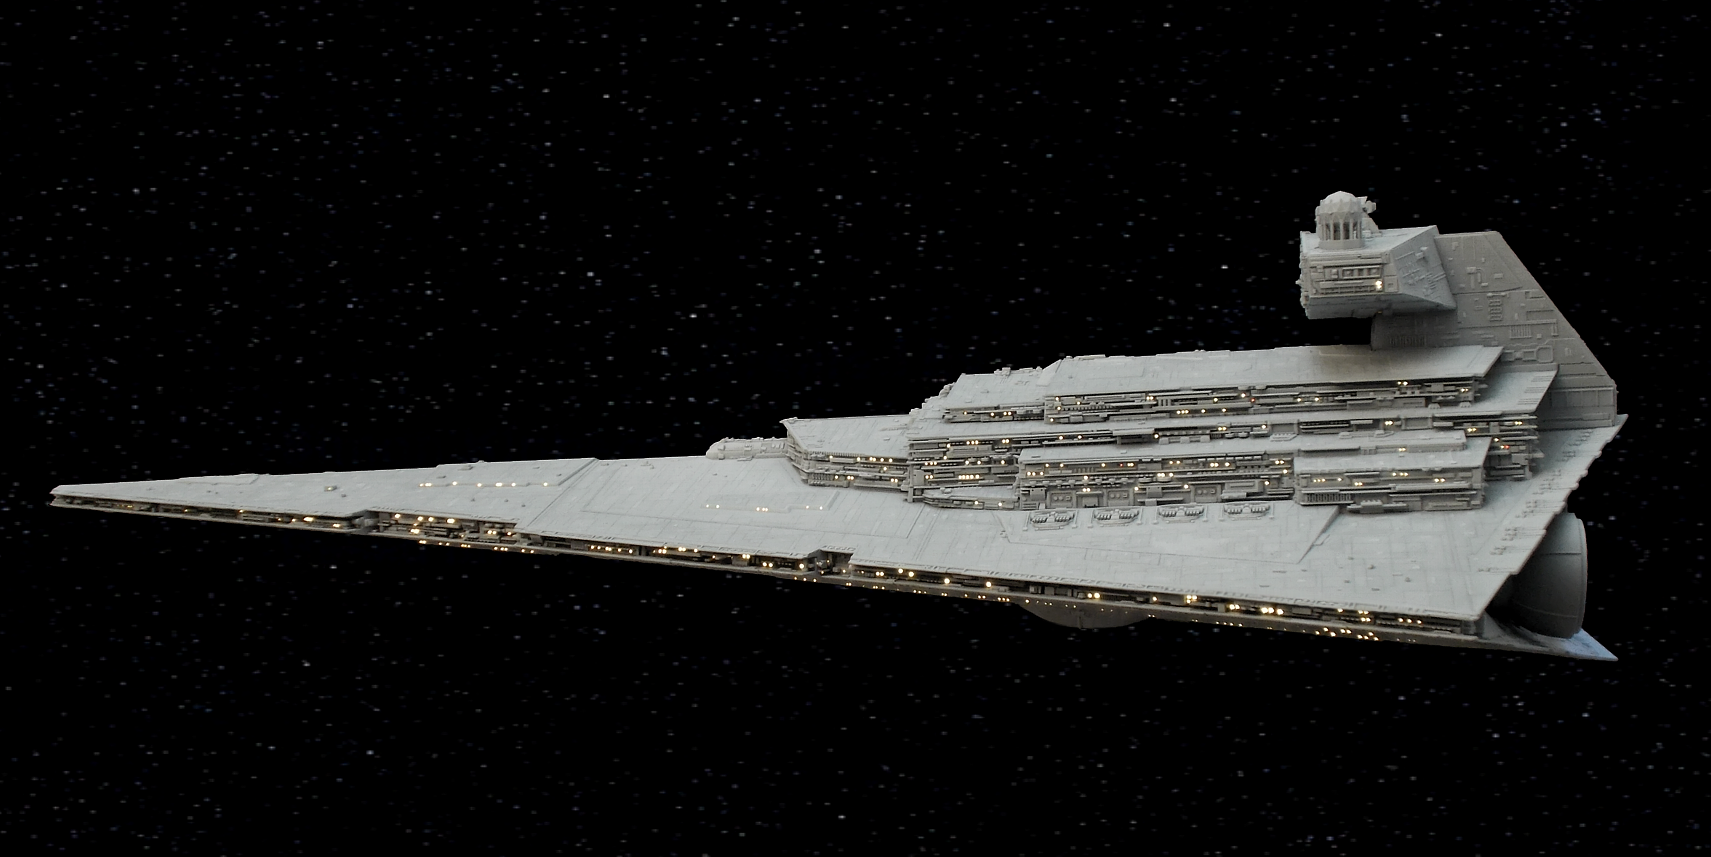
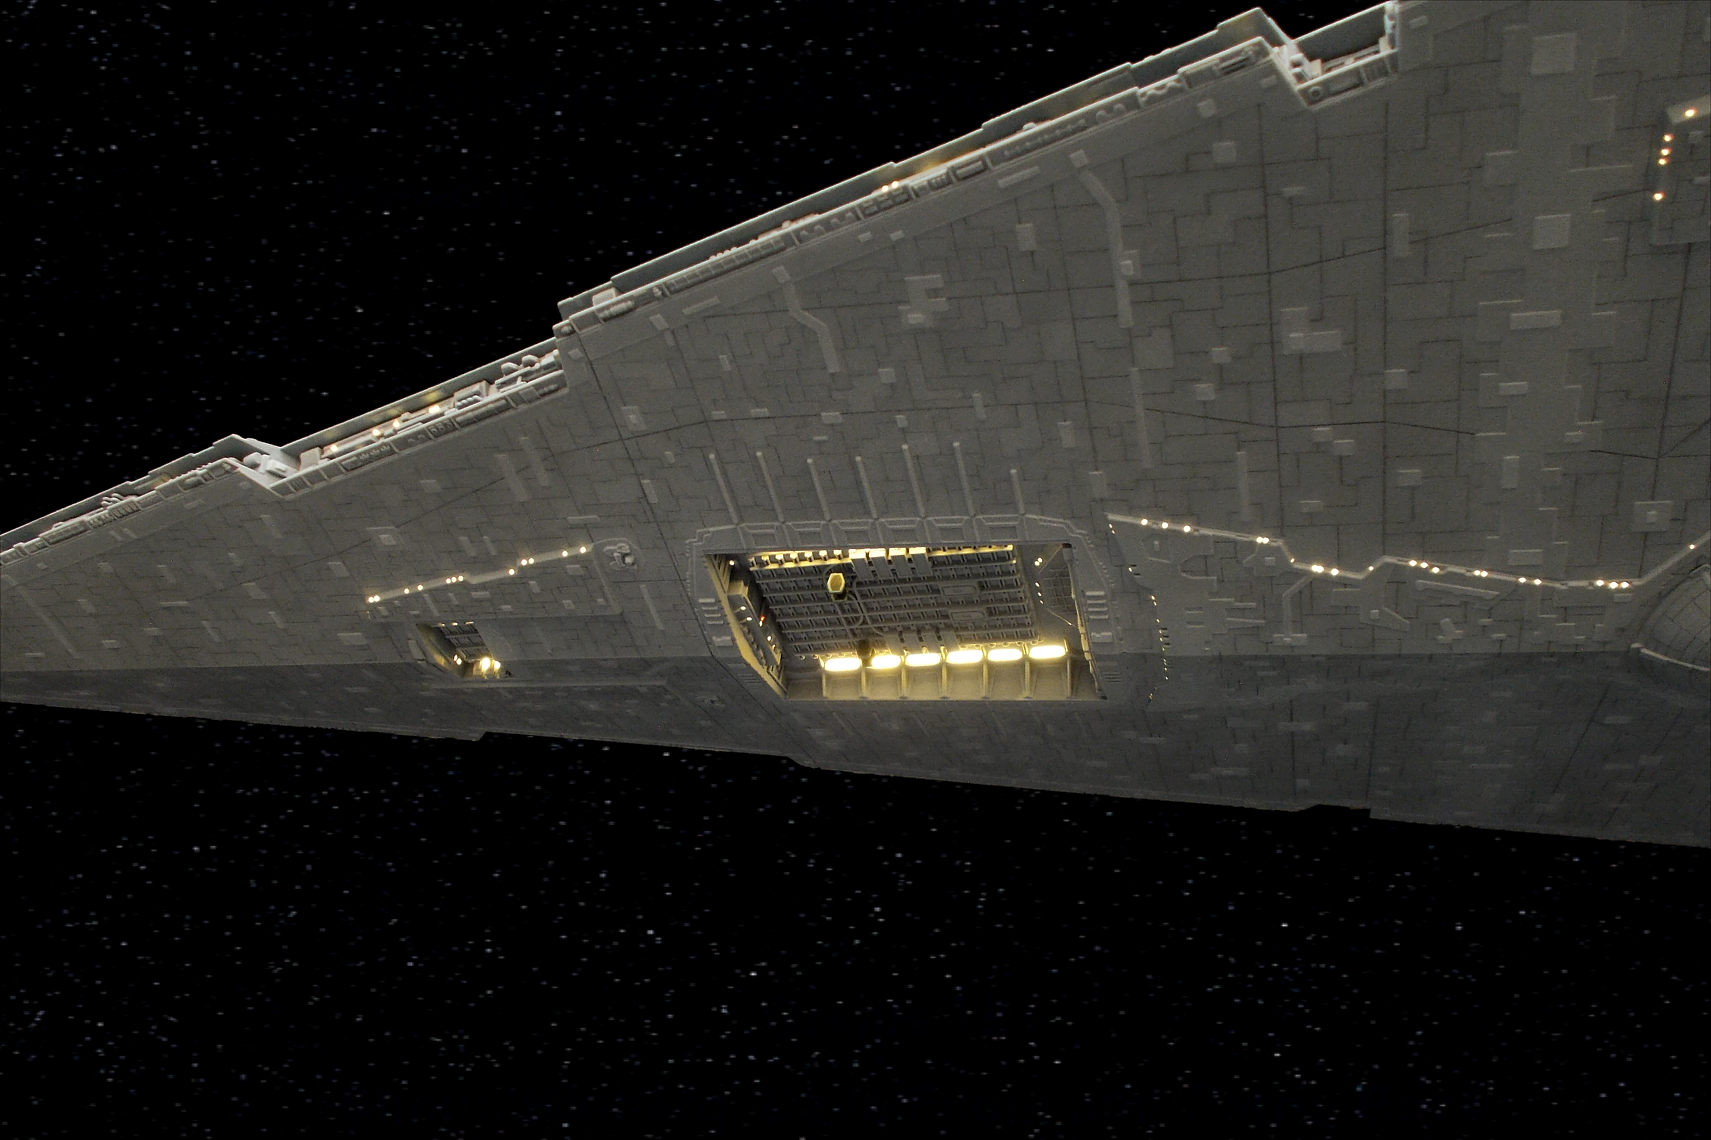
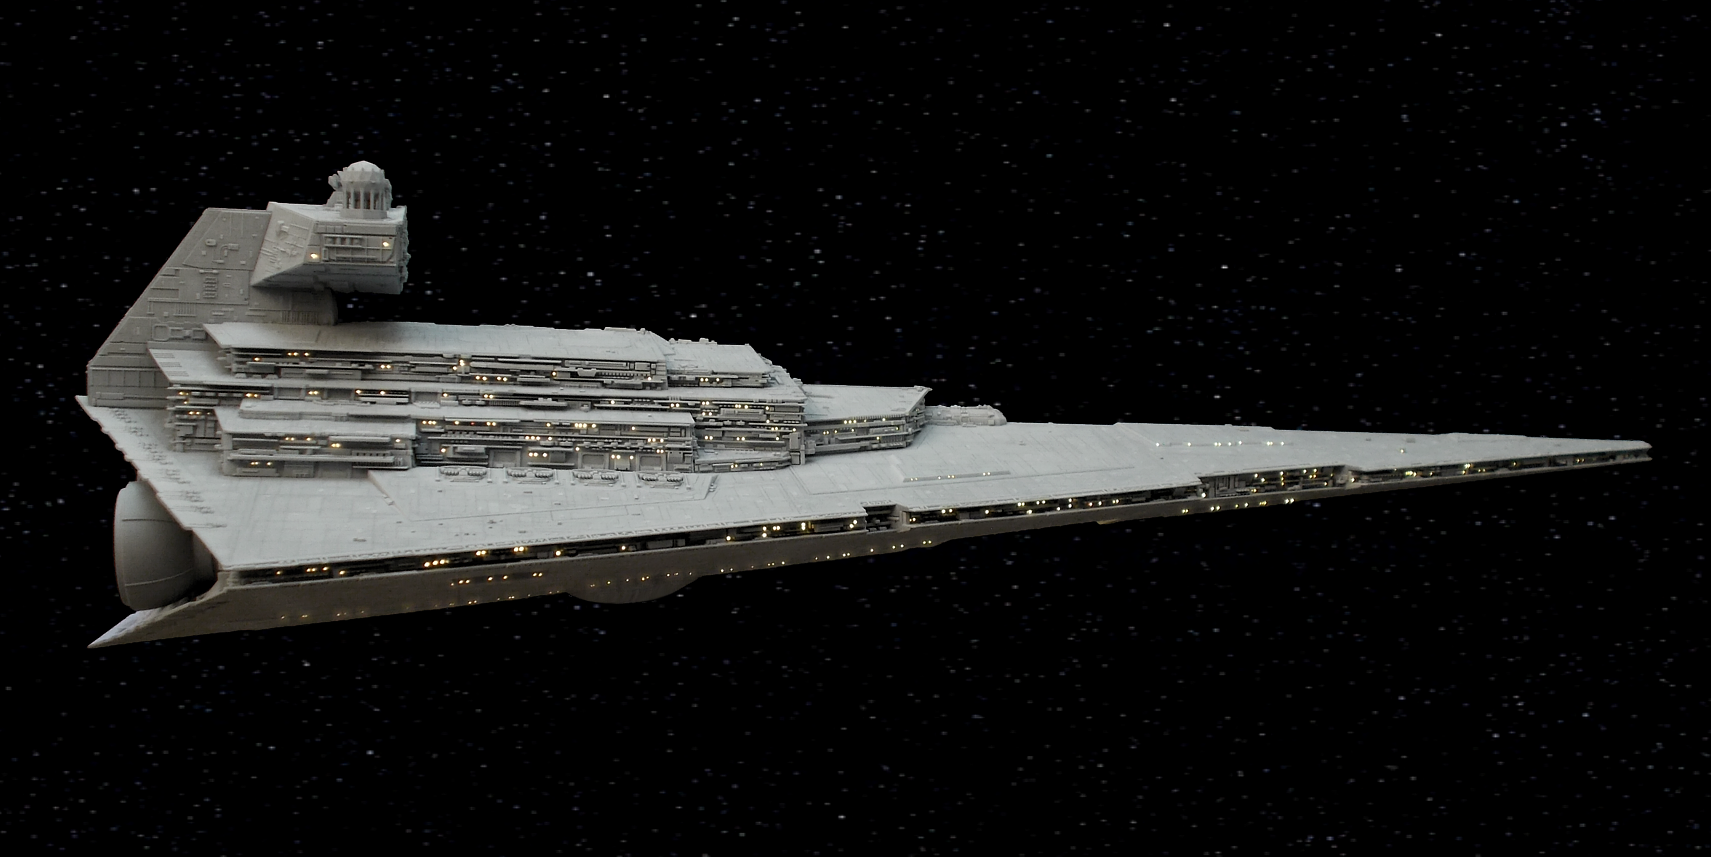
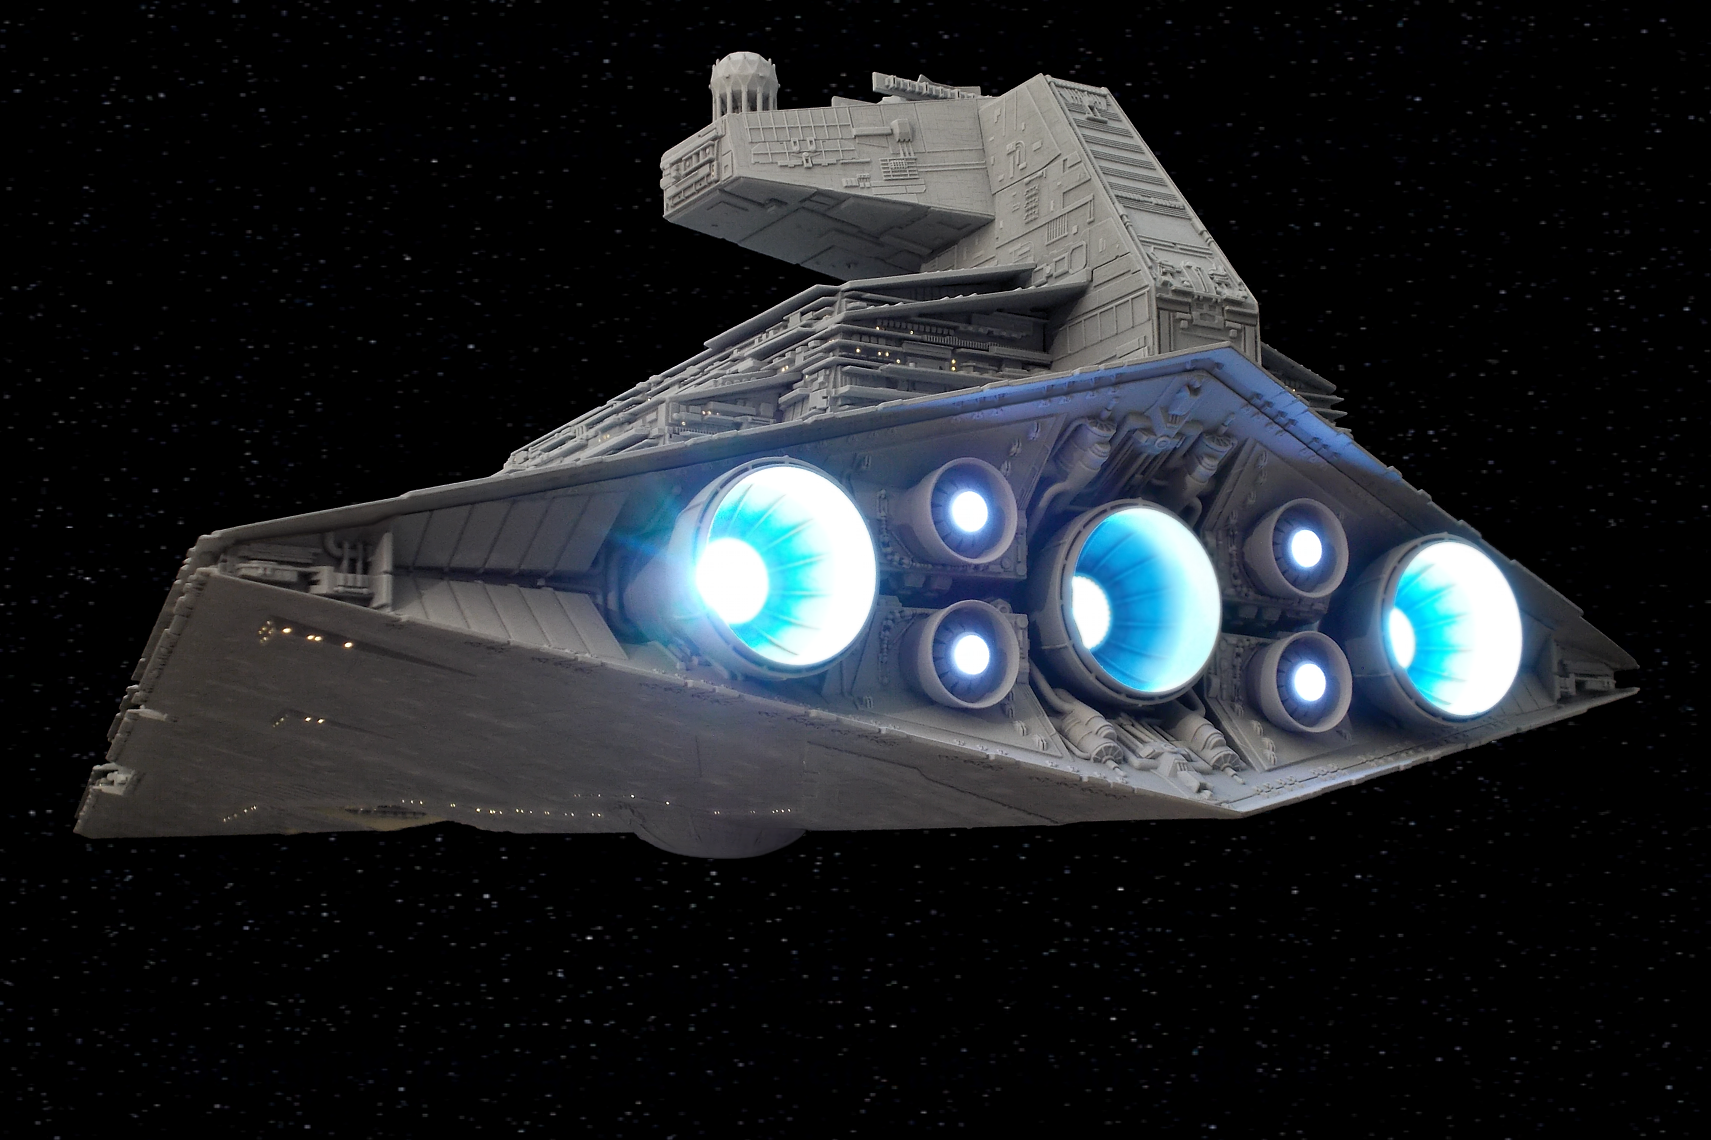
It is finished! The 'DOMINATOR', a new Imperator II-Class Star Destroyer, is now operational. It runs on 5 Volt. :D

Here are the first images of the finished model - with custom-converted superstructure for accurate proportions, loads of custom-built details for accuracy, meticulously painted, and lighting installed:

1940200689_STDDominator001.png.2cfe74dee

581289235_STDDominator001b.png.4e3d73959

1598729551_STDDominator002.png.e303aa703

408666858_STDDominator003.png.bbf5a00521

STD_Dominator004b.png.b218722b1eec61009d

645267011_STDDominator005.png.2f5c4f49f3

STD_Dominator006b.png.02f781c4e3acde568c

STD_Dominator007a.png.47594ece9b7e4c0e36

STD_Dominator007b.png.e52863614fadfcc5c4

Edited by Fourtytwo

An absolute stunning job. I really like the extras that you have put in. And lighting also looks good. I hope I'm not overdoing mine, let's see 🤞

Will you also be 'playing' this model, or is it for display only?

20 minutes ago, Noosart said:

Will you also be 'playing' this model, or is it for display only?

It's mainly for display, but I'm sure it will find it's way onto or next to a gaming table now and then. :D

Awesome.. Sheer awesome...