I finished painting my first batch of rebels for Star Wars Legion. They were a lot more work than the Stormtroopers, but the results came out nice. I painted all the base colors and then gave them a brown wash and that really brought out the details.
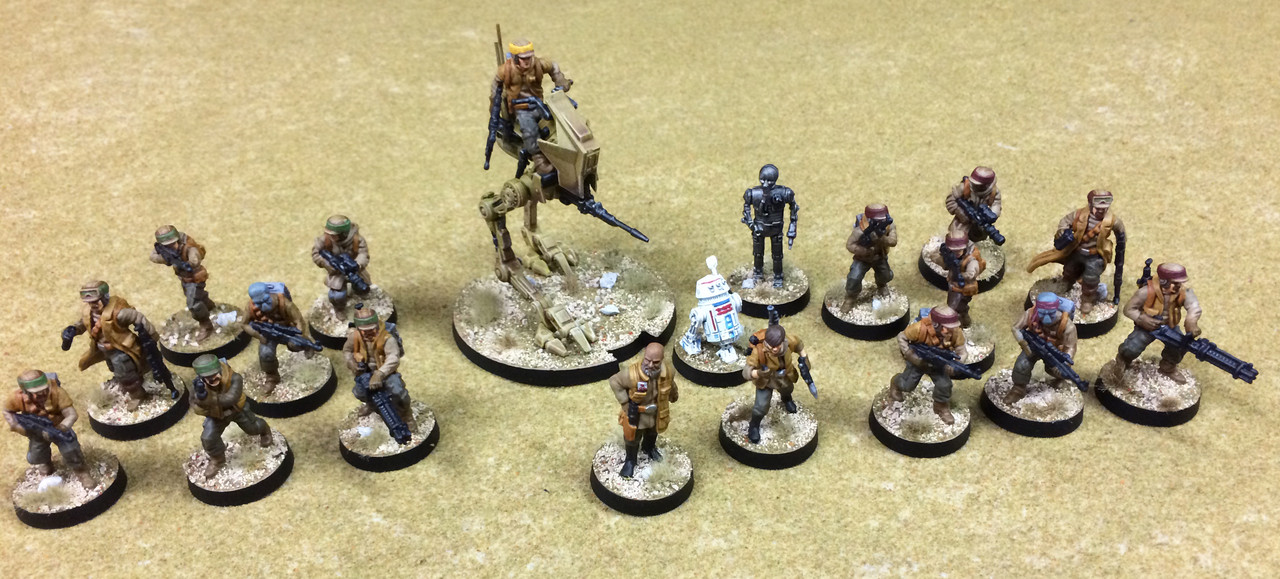
Here is the whole group, two squads, plus a walker-thingy, and some headquarters people and droids.
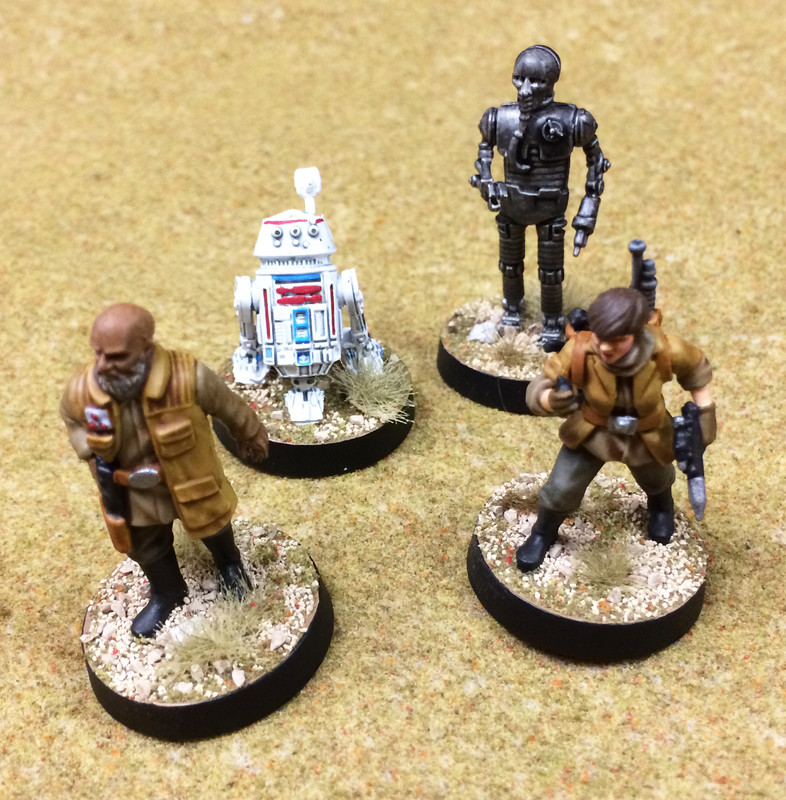
An officer, a com-tech, two droids--and no questions asked!
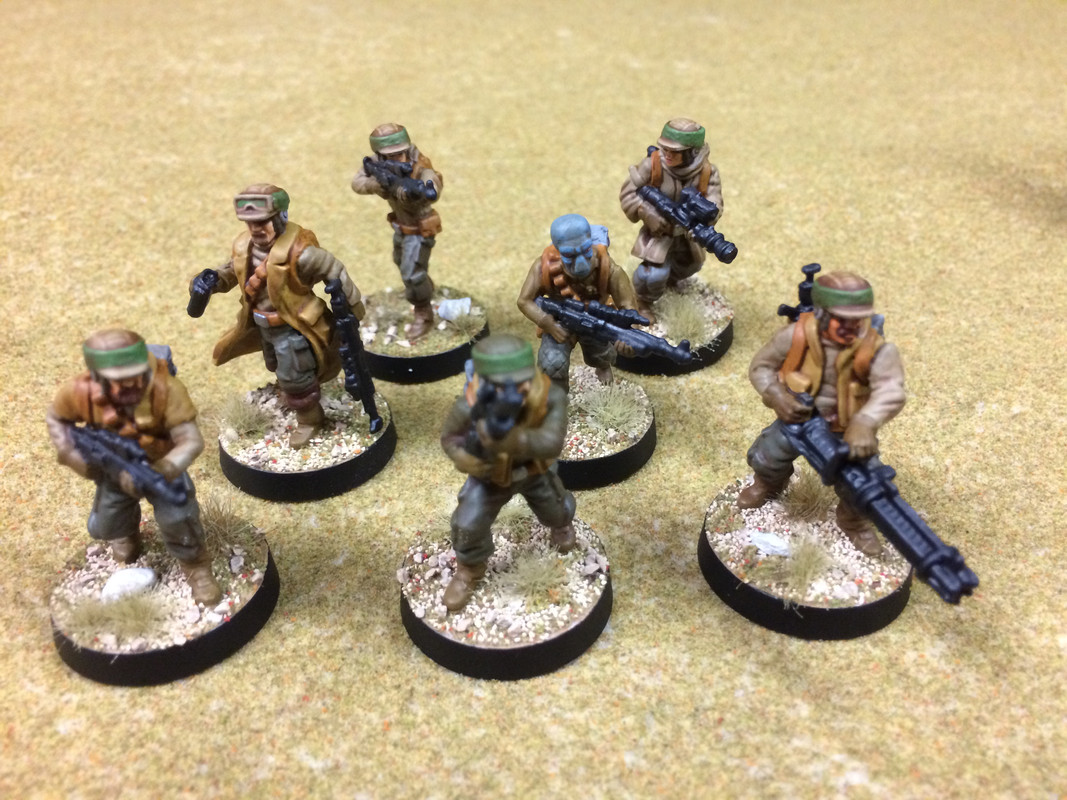
Squad 1
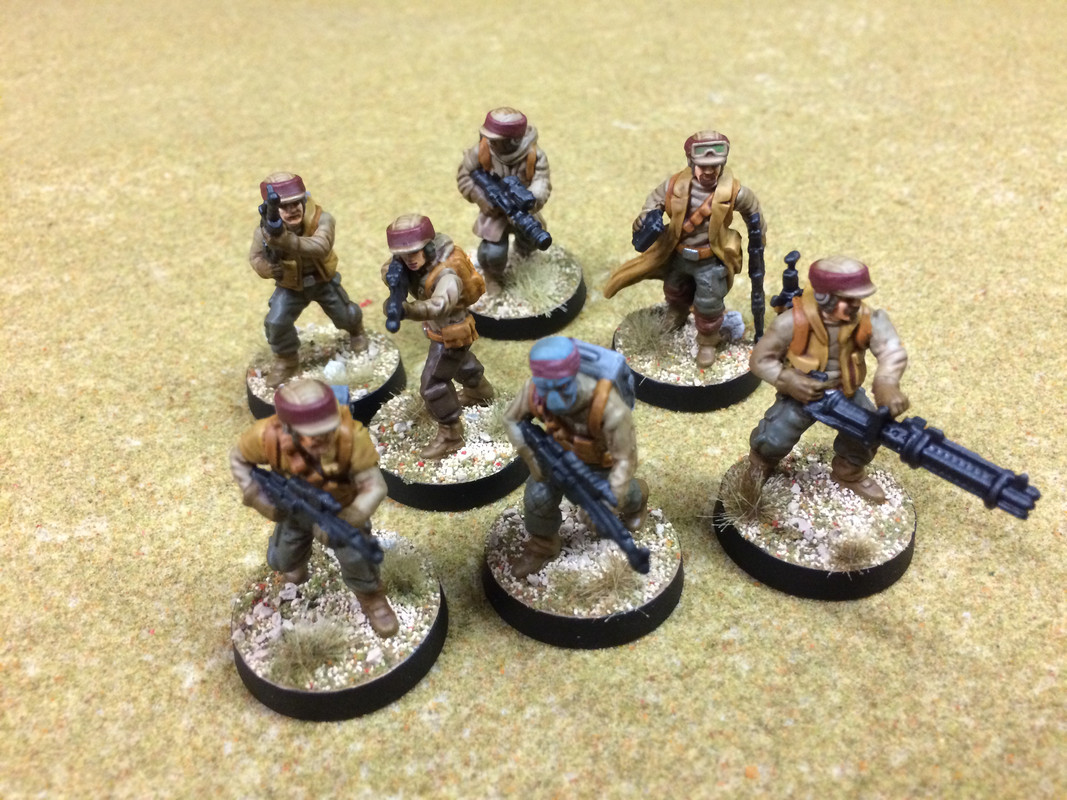
Squad 2
One problem with the figures is that some of the poses are rather memorable and to have the same one in squad after squad would look a little odd. The bald-headed alien is a perfect example. So for one of them I made a stylish bandanna out of tissue soaked in diluted white glue to make him look a bit different. For future squads I’m going to be doing some head swaps and other conversions.

The walker was pretty easy to do. Base color, wash, some dry brushing and a few details.
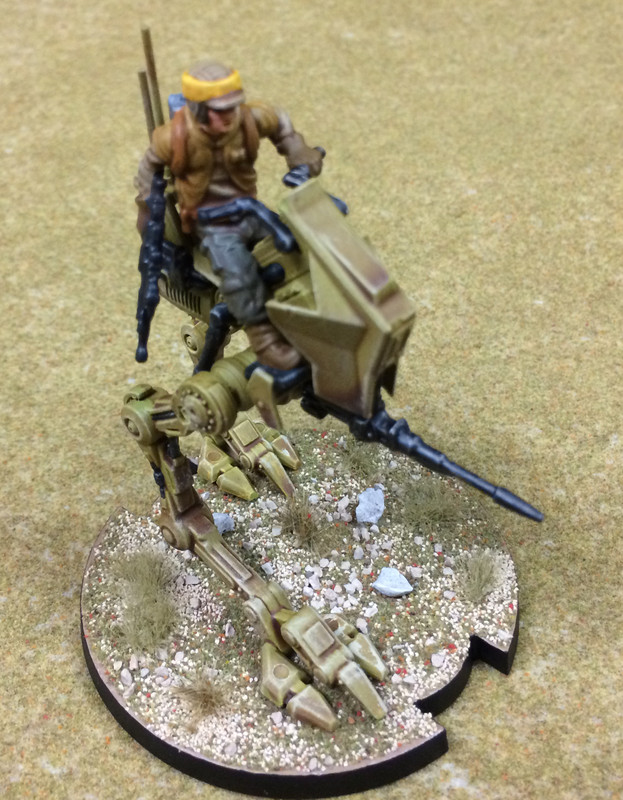
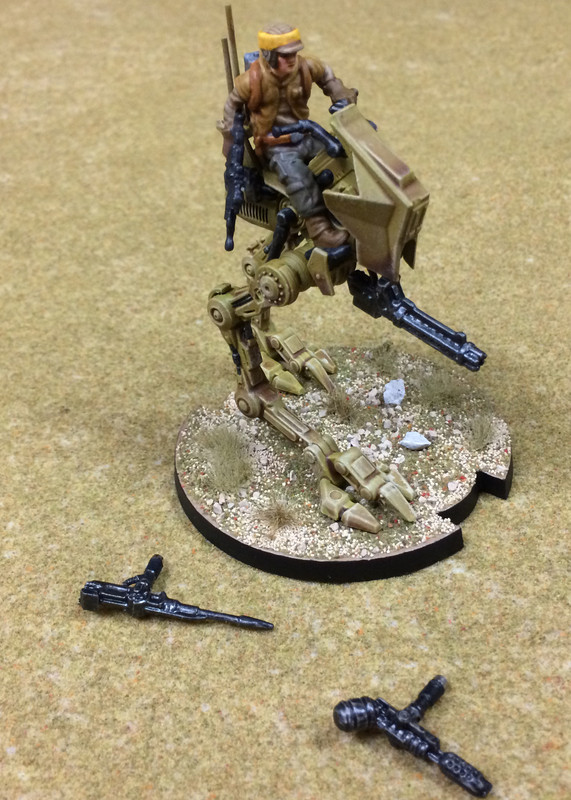
The walker comes with three different weapons options so I magnetized the mounts so I could do easy swaps.
Another batch of Imperials and another of Rebels and I’ll have enough to play a game!