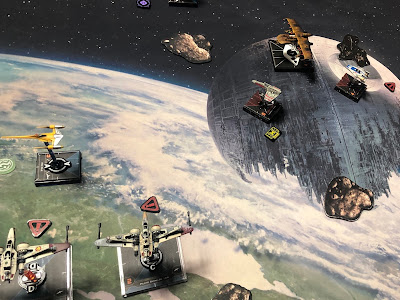
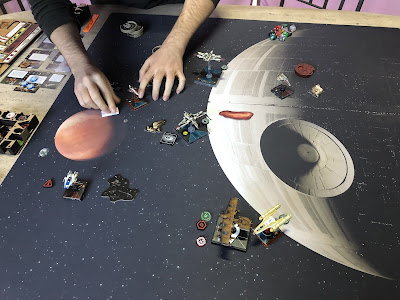
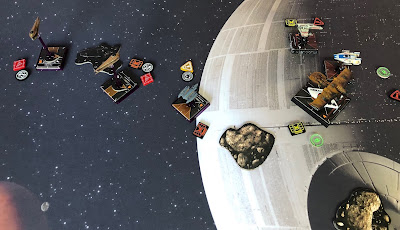
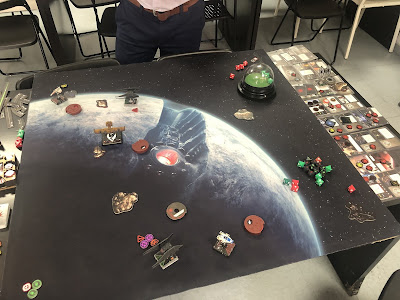
I posted this in another thread on the main page "what should we be trying" and it was requested to create a topic around it.
Miranda Doni (43)
Diamond-Boron Missiles (6)
Han Solo (14)
Sabine Wren (3)
Proton Bombs (5)
Seismic Charges (3)
Shield Upgrade (4)
Esege Tuketu (45)
Barrage Rockets (8)
Perceptive Copilot (8)
Proton Bombs (5)
Wedge Antilles (55)
Crack Shot (1)
Servomotor S-Foils (0)
Total: 200
View in Yet Another Squad Builder 2.0
This is version 3.2 of the list and right now my favorite version.
Version 1: both K's had Barrage Rockets and predator on Wedge. No seismic Charges
Version 2: played with the munitions a lot. Electron Proton Bombs, Plasma Torps... this was the worst version
Version 3: switched Miranda to Diamond missiles and put R2 mech on Wedge for some regen
Version 3.2: added seismic charges, removed regen, added crackshot.
This list has a ton of moving parts, but also a lot of independence which is good for the late game. In the most basic way this list operates of supporting each other heavily in the early game to do massive damage, then running independent in the late game for clean up. This list does require you to know your win condition. If you engage wrong, or engage the wrong target it's game over. I have a very good win record with it so far against a wide field, and it's the wide field that has caused me to make the changes I have.
What is this list trying to do? Simply, it's a control list. This is not a jousting list, it's not an alpha list. What it does very well is control board space and creates space for you to work. Your main goal is to setup double taps with Miranda, keep Wedge alive until the end game, and make sure that all ships make it to the mid game. How you do this is by creating bombing lanes and causing the enemy to either disengage or get bombed. It's a mind game list where you always want your opponent guessing if you are dropping a bomb or not. I often get to the mid game with no shields on Miranda and a shield off on Wedge.... but all self inflicted.
Obstacle choice: I've opted for 3 big standard rocks. Or 2 big rocks and the big debris cloud. The reason I have made this choice is because of Sabine. I want to have the option to tractor an opponent onto a rock so they cannot shoot and potentially take a damage. Or I want to stress them by putting them on a debris cloud.
Munitions choices: I choose the payload and missiles I have to be good against the field. Barrage rockets on Esege because he is always focusing, he is the focus battery. His job is to provide mods for his friends and hopefully still have his to launch a barrage rocket. Since he is only rolling 1 die on defense it is usually better to take the extra damage so you can get the barrage off. The Diamond missiles are based on the increase of swarms. They have splash damage which can be very effective against droids, and against beefier ships that extra damage is always nice to get. I only get 2 off a game on average of either missile. The Protons are there for crits against the growing number of larger ships that are going to be down shields by the time you can use the bombs. and the charges are there for area denial and larger damage zones.
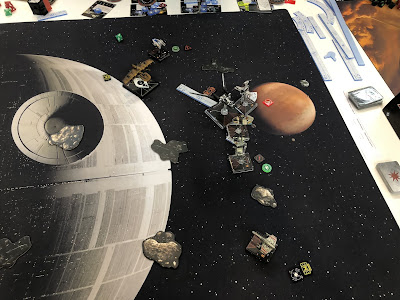
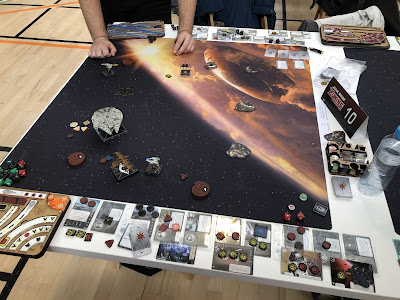
Turn 0: chances are you will be first player, which isn't a bad thing. I'm used to flying as first player as I rarely have a bid, so this is quite normal for me. I like to place the first rock just left and up of center, just force of habit, and if there are gas clouds available thats where it goes. I then try to keep a range one and a half distance between the rocks and keep as tight a formation of rocks as my opponent will allow me while also creating a rock wall. Hopefully you will have a diagonal line of 3 or 4 obstacles in a cluster on one side and a quadrant with nothing on the other. This does need to be adjusted to taste depending on the opponent, but it is the rock strategy that has worked for me.
I will always deploy in a corner, and if there is a 2/2 rock on my side of the board I will setup next to it. Esege will get placed R2 off the corner so he can clear the rock and about half way up the deployment zone. Miranda goes right against the board edge and all the way up. Wedge is as far back as possible and facing the rock. I also like to run up the side that has the most obstacles as that is where I want to play.
Check your lanes and really figure out where you want to engage, you need to control the engage. Don't let your opponent engage you where they want too, be in control.
Turn 1: This is not an archetype that your opponent will be used to. There is a very good chance, the exception being Jedi, that will setup in the opposite corner and start with a 1 straight to see what you will do. I always 3 forward 3 forward slam in this situation. If they setup for the joust, I 2 forward 2 hard away with both K wings. Wedge, 1 forward and roll in the direction of the K-wings. You want to keep Wedge alive as long as possible, he is your cleanup crew.
Turn 2: Chances are you are now a turn away from engagement. You should be at your pivot point or pretty close too it. I will either 2 bank or 2 hard and conga line the K-wings with Esege in front and Miranda in back. Wedge will 4 forward to get close, potentially boost to line up for one of the lanes through the rocks.
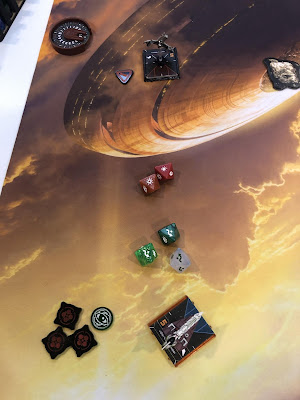
Turn 3: Engagement. Wedge should be R3 of the closest enemy ship and lock them. Wedge should be approaching from a slight flank or side by side with Miranda, Esege R2, and Miranda R3. Miranda will not be able to get a lock this turn so just focus, and I usually have her banked more than Esege on this turn to help cover more space with her side arc. Fire with Miranda at i7 using Han and drop a shield for the extra die. Spending the focus is okay here since you won't get the Diamond missiles off. Wedge fires with lock and uses Esege for full mods. You should do around 4 damage or so before your opponent even gets to shoot, or at least have them waste tokens/force. Let Esege take the 2-3 damage and save the focus, then launch Barrage missiles.
Turn 4: Time to control the situation. Start angling the K-wings to setup a screen for Wedge. Drop bombs if you think it will coral your targets. You want to draw fire to Esege to keep them from shooting the other two. Get your lock with Miranda on this turn. I usually will angle away slow with Miranda and fast with Esege. Wedge hides behind a rock or beside Miranda. All within R2 of each other. Miranda should get her double tap off here, 3 die attack with primary burning a shield and a fully modded diamond missile. Hopefully Esege setup a good bump on the target getting focused and Wedge will take another shot. Most ships will be dead or pretty badly damaged at this point. Esege gets the R1 or is setup for another Barrage.
Turn 5: Bombing runs commence! I like to setup the 4K with Wedge here if possible. Miranda and Esege will drop bombs off to control the rock lanes. Either 2 things will happen, your opponent will fly into your bomb trap, or they will disengage and wedge will 4K behind them. Esege gives Wedge the focuses he needs and Miranda can get another 3 die attack off at i7. chances are you will loose Esege this turn or he will be on fire pretty badly. If your bombing run worked that 2-3 damage to the enemy which puts you up on the damage race, or they will have split up and disengaged which will allow you to focus on one target at a time. Wedge and Esege should work on taking down another while Miranda moves into position to rejoin her friends. Regen a Diamond charge if you can. You are now in the late mid game. Usually by now Esege is dead or halfed, Miranda is out of shields, and Wedge is missing a shield or is full.
late game: Use the bombs you have left to setup bad decisions. Either force them to disengage or get hit by bombs. At this stage in the game they won't risk getting hit by bombs and will disengage. This allows Miranda to do her thing, R3 i7 pot shot to regen a shield, then pincer the target between her and Wedge for the R1 boosted shot.
General strategy tips:
Your primary target should be the highest imitative enemy on the board. Obiwan, Anakin, Darth Vader, Sunfac, Maul, RAC, and Soontir. You NEED to exchange no more than shields on both K-wings for their key ace. If they are cagey with said ace, then just burn whatever they approach with. Chances are you can kill with initative.
You want your first loss to be Esege. He is great in the early/mid game for setting up double modded shots. but in the late game he is near useless. Barrage arc will be easy to dodge, and the 2 die gun just won't be enough at I3.
Wedge needs to make it to the end game. Every game I've lost in all variants of this list I lost Wedge.
Miranda and Wedge are a nasty team in the end game vs 1 or 2 ships. Miranda shooting at i7 is amazing as she can get the boosted 3-4 die shot to either strip tokens or deal damage while Wedge cleans up hitting hard like he always does at i6. If you got rid of the opponents i6 before the end game you stand a good chance of not getting shot back.
Use a hit and fade technique with Miranda. Usually for me it's a R1 boosted shot, 3 bank 3 slam straight or bank away, turn. Take R3 pot shot and regen, then turn in to setup the R1 boosted shot again.
Don't be afraid to let the bombs hit your own ships, unless your shields are down of course. Sometimes loosing a shield is worth the Sabine effect on your opponent.
Tips against swarms: Easy matchup. Bombing runs and diamond missiles will do massive damage to swarms, the bombs will force them to dispurse, and aside from RZ2 A-wing spam the swarm won't have shields so it's more than worth taking a shield from your own proton bomb if it means getting crits on 2-3 enemy ships.
Tips against Jedi/imp aces: Engage in the rocks, draw Anakin or Obi into the rocks and use your medium bases to setup blocks so Wedge can punish them. Then drop some bombs to make them disengage hard or blow up. Harder matchup, requires strong planning and foresight into where your opponent is going to go. Use the side arcs to your advantage and keep wedge outside the rocks looking in so he can get some safe picks on the enemy.
Tips against 2 ship lists: Burn down the large base ship first. You have the ordnance and firepower to make those big ships burn. I have taken down RAC, Dash, Kanan, Han in 3 rounds of combat, all by getting them to engage in the rocks, limit their escape routes, and use my ordnance to deal heavy damage. Miranda will also almost always get the double tap off against large base ships... they really don't like that.
Tips against resistance salad: They usually want to fly in formation, so let them chase you in formation around the rock and remind them why they shouldn't get too close.
These K-wings control a lot of space and there are many places your opponent does not want to be.
This list does have a moderate to high skill floor. It will take 2-3 tries to get a feel for what it does and how it does it. I originally built this as a meme list because I was determined to make Miranda work. I am happy to report that it's more than a meme list. The last tournament I brought it too I got some looks and was asked to fly something else as 3 of the participants (2 I played) are prepping for worlds. I came in second place, with my only loss coming down to a 1 hull Whisper vs a 3 hull 1 shield Miranda. I made 3 dumb mistakes, and the last two cost me the game huge. (I bumped Wedge into Miranda giving Whisper the kill. Then I rotated arc the wrong way with Miranda and didn't get my R1 shot with no return fire. Then I regen'd a shield instead of taking the R1 focus shot against a tokenless, stressed, Whisper).
Try it. you will be surprised.

