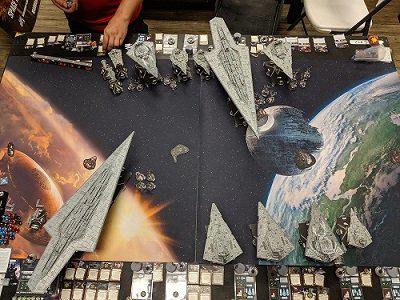
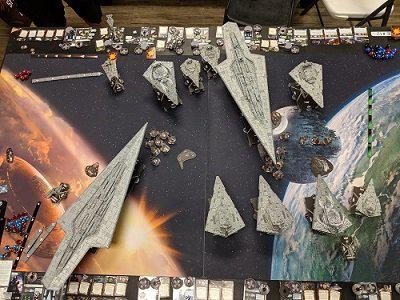
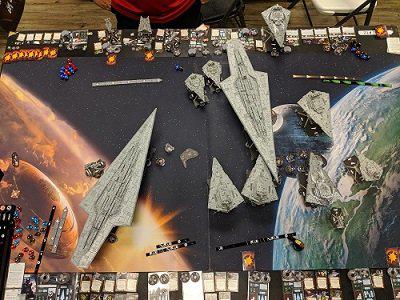
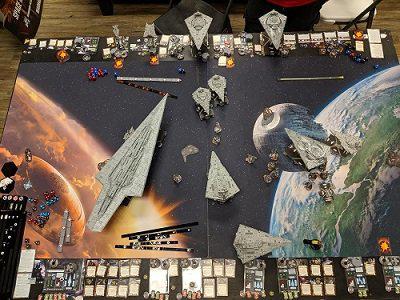
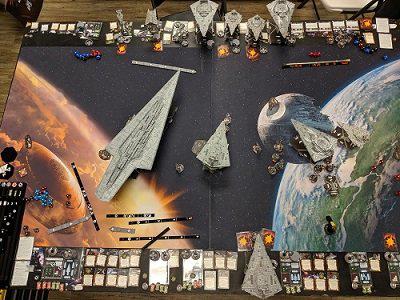
My opponent agreed beforehand to let me proxy the Harrow title from the upcoming Rebellion in the Rim expansion. We also agreed to forgo objectives. My opponent had initiative and chose to go second.
Turn one:
I stalled with the SSD pass token and Gozanti activations. I activated my SSD as my last ship and was able to destroy his Gladiator and Raider, as well as strip some shields from his Chimera.
Turn two:
I activated my ISDs one after the other and hammered damage cards into my opponent's SSD. When his Chimera maneuvered into my SSD's medium range, I blew it away with the combined efforts of Concentrate Fire, Intensify Firepower!, Darth Vader, Ravager title and a natural 10-die-roll. Unfortunately for my opponent, two of my Cymoon's were only in his SSD's front arc, and he hadn't equipped Gunnery Team. I maneuvered one of my Cymoons to prevent his SSD from moving. With his SSD primary attack, he erased the shields on my middle Cymoon. His SSD right arc ended up being long range, and he rolled no .accuracy's My VSD weakened his Cymoon minimally. There was some squadron play, with my Dengar counter-ball taking out 4 TIE squadrons, while losing Ciena Ree.
Turn three:
I activated my damaged Cymoon first, pumping more damaged cards into my opponent's SSD, assuming my ship wouldn't survive the next attacks. I also had his remaining ISD in arc, and was able to destroy it. His SSD attacked my damaged Cymoon, and I managed to keep it alive at 10 damage. My healthy Cymoons finished off the SSD, and took some shields off the closer VSD. During the squadron phase, my damaged Cymoon was able to shrug off some squadron attacks, but fell to the last Interceptor roll.
Turn four:
I stalled with SSD pass token and Gozantis to make sure his remaining ships moved into optimal range. His closer VSD was able to attack at long range for some minimal shield damage to my SSD, but it then maneuvered into my medium range and was promptly annihilated. I weakened the last VSD with a long-range shot from the SSD, and finished it off with a shot from my left-side Cymoon. We skipped the final Squadron phase, rationalizing that both my Cymoons were nearly at full health, and he was unlikely to do any significant damage.
Lessons learned:
My anti-squadron preparations didn't amount to much, as my opponent decided to deploy his squadrons on the other side of the map. However, I have no regrets equipping them. Additionally, the Phylon Q7 Tractor Beams and Heavy Ion Emplacements didn't see any use. I had no opportunity to slow my opponents ships down, and any time I could have used Heavy Ion Emplacements, the ships were dead meat anyway. My Hardened Bulkheads across the Cymoons ended up not doing anything, either. Could have spent the points in better areas.
Parking my ISDs in front of the SSD's nose ended up working well, not that it could have run far anyway. It was very fortuitous for me that my opponent decided to forgo Gunnery Team, otherwise my ISDs would have taken a much larger beating. I had several instances of lucky placement; being just in or just out of range. I like to think this is clever flying on my part, but I am not proud. My VSD saw very little action, and I sunk quite a few points into it. I could have easily fit a 4th ISD in the list, with some frugal point-usage(and and extra $50 for the model...)
My Gozanti's were, conceptually anyway, very good choices. I had assumed that I would be taking many damage cards, so I parked the Repair Crew flotilla on the side of my SSD away from the battle, and it ended up doing absolutely nothing. I will most likely continue to use the idea in future games, because who doesn't want to try to blow up a Super Star Destroyer. My Comms Net flotilla did it's job perfectly. Allowed my to keep my Intensify Firepower! activated constantly(I also remembered to activate the engine every turn, which is a first).
Darth Vader is my favorite Commander. Any time I go with someone else, I end up regretting this decision. I think I share this sentiment with Crabbok. the Dark Lord Vader was detrimental in the death of at least 3 enemy ships, and his importance cannot be over-stated. I don't care if he didn't show up at GENCON...
Overall, the game took 3 hours, and it was a blast. It's not the first time I've had to keep track of so many ships, but it took significant RAM to keep track of all my activations and triggers. Proudly, I only missed one activation, and it had no bearing on the game overall. I've been playing about a year now, and this was, by far, the biggest scope game I've ever done. The SSD is a joy to fly, and I will continue to fly it at every opportunity. Play of the game belongs to my SSD that popped an ISD with remaining shields in one roll of the dice, what other ships could accomplish that without absurd amounts of luck?
