Thanks again for all the good comments on my post:
So many have asked me how I make this. And I found some Pictures that may show this.
First of all the reason for making an amateur game board may be mostly for two reasons.
First reason is that you want to make something that is not available to buy.
The second reason that applied for me was that the cost to keep myself into the game and all the expensive releases (I live in Norway and the price here for one storm trooper unit is 30 $.)
There are so many beautiful buildings to buy online or in web pages that if I would to buy this and import it to Norway it would really cost me too much. So I had to look for other options and make my own game board. That was for me a horrifying thought since I had no experience in this or any Idea how I could possible do this. And then would the cost be more than it cost to buy the real nice buildings on internet.
I had to find a cheap way to make my own terrain and buildings.
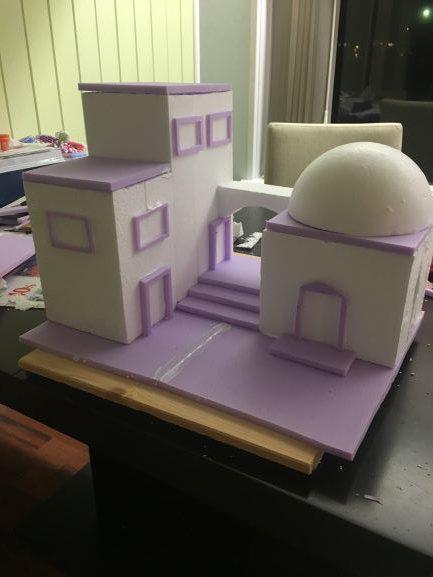
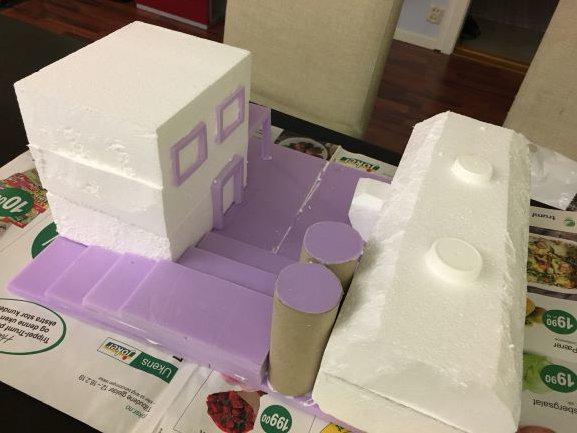
So I collected some things I could take for free at my work as packaging material that came with the wares to our warehouse. I used what is called Isolitt in Norway or maybe Styrofoam on English. I cut the pieces I found with a knife and glued them together. I found out later that you could buy whole plates of this in different thickness very cheap.
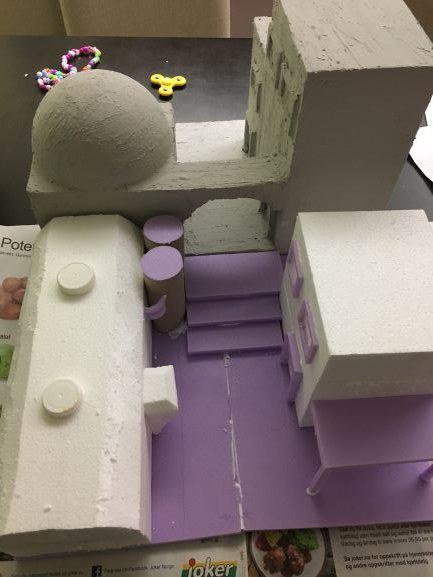
I used what I could find and used even toilet paper rolls. Then I sat down on internet and looked upon pictures of Star wars houses from movies and paintings. This got me some Ideas about layout and style. The Dome of the housing was a Styrofoam ball cut in half that I found in a hobby store for a very cheap prize. Putting this on some of the houses made the buildings look very nice and fitted into the Star Wars theme on some dessert buildings.
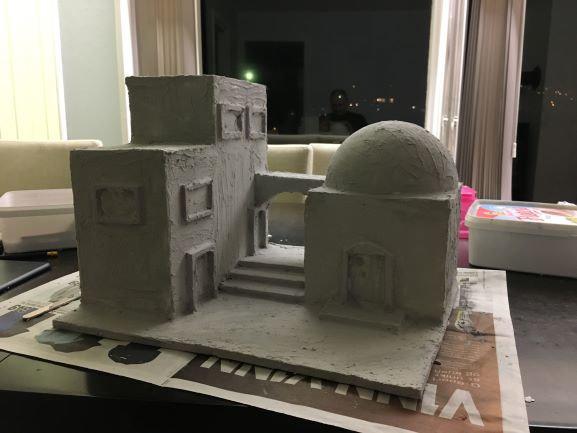
I then made my own models as you see from the pictures. Of course something was missing. They didn’t look so good only like this. I needed to make them look like brick houses from the movies or real rock formation. I looked a video on youtube about a man who used filler ( named sparkle in Norway ) to coat his buildings. I decided to give it a try.
Filler was very cheap to buy and cost almost nothing as the Styrofoam if you don’t collect it yourself for packing materials as I did with most of my city.
I used my fingers and coated the models with the filler as it was. I did not use any water to thin it out. After about 24 hours of drying the result was amazing as you can see on the pictures. Now you only need to use sandpaper if you want them more smooth and paint them for that extra nice effect.
Hope this was explainable for you all. Enjoy and have fun with your own buildings and terrain.
Edited by Wetaas