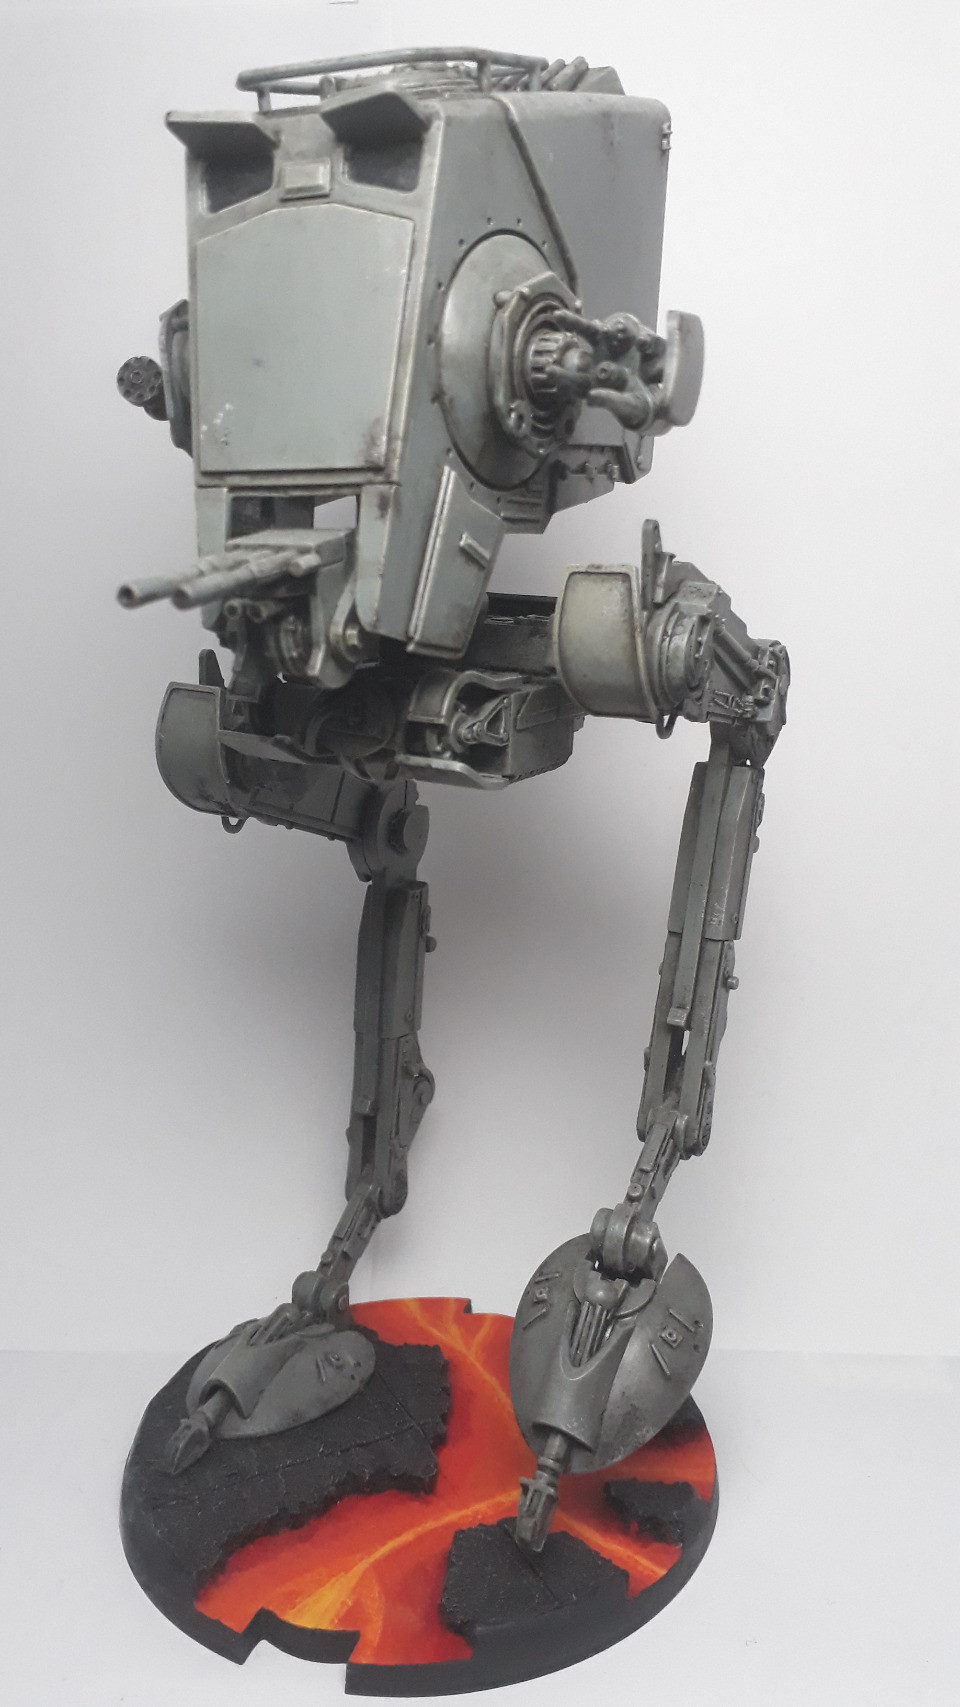
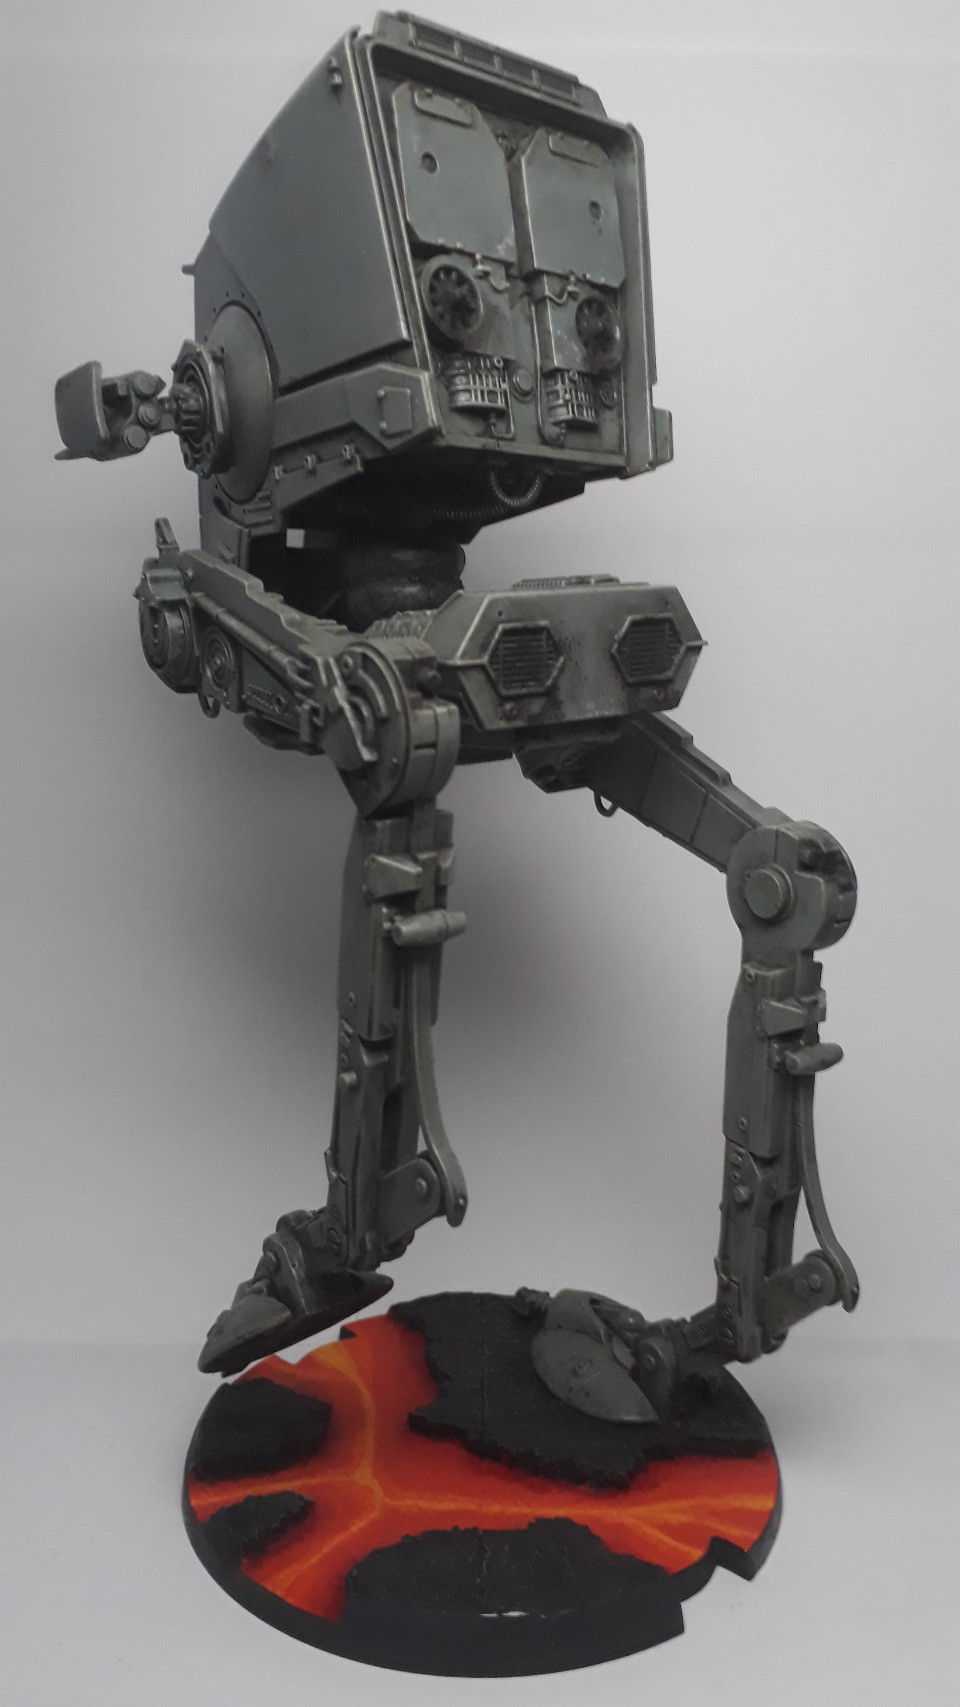
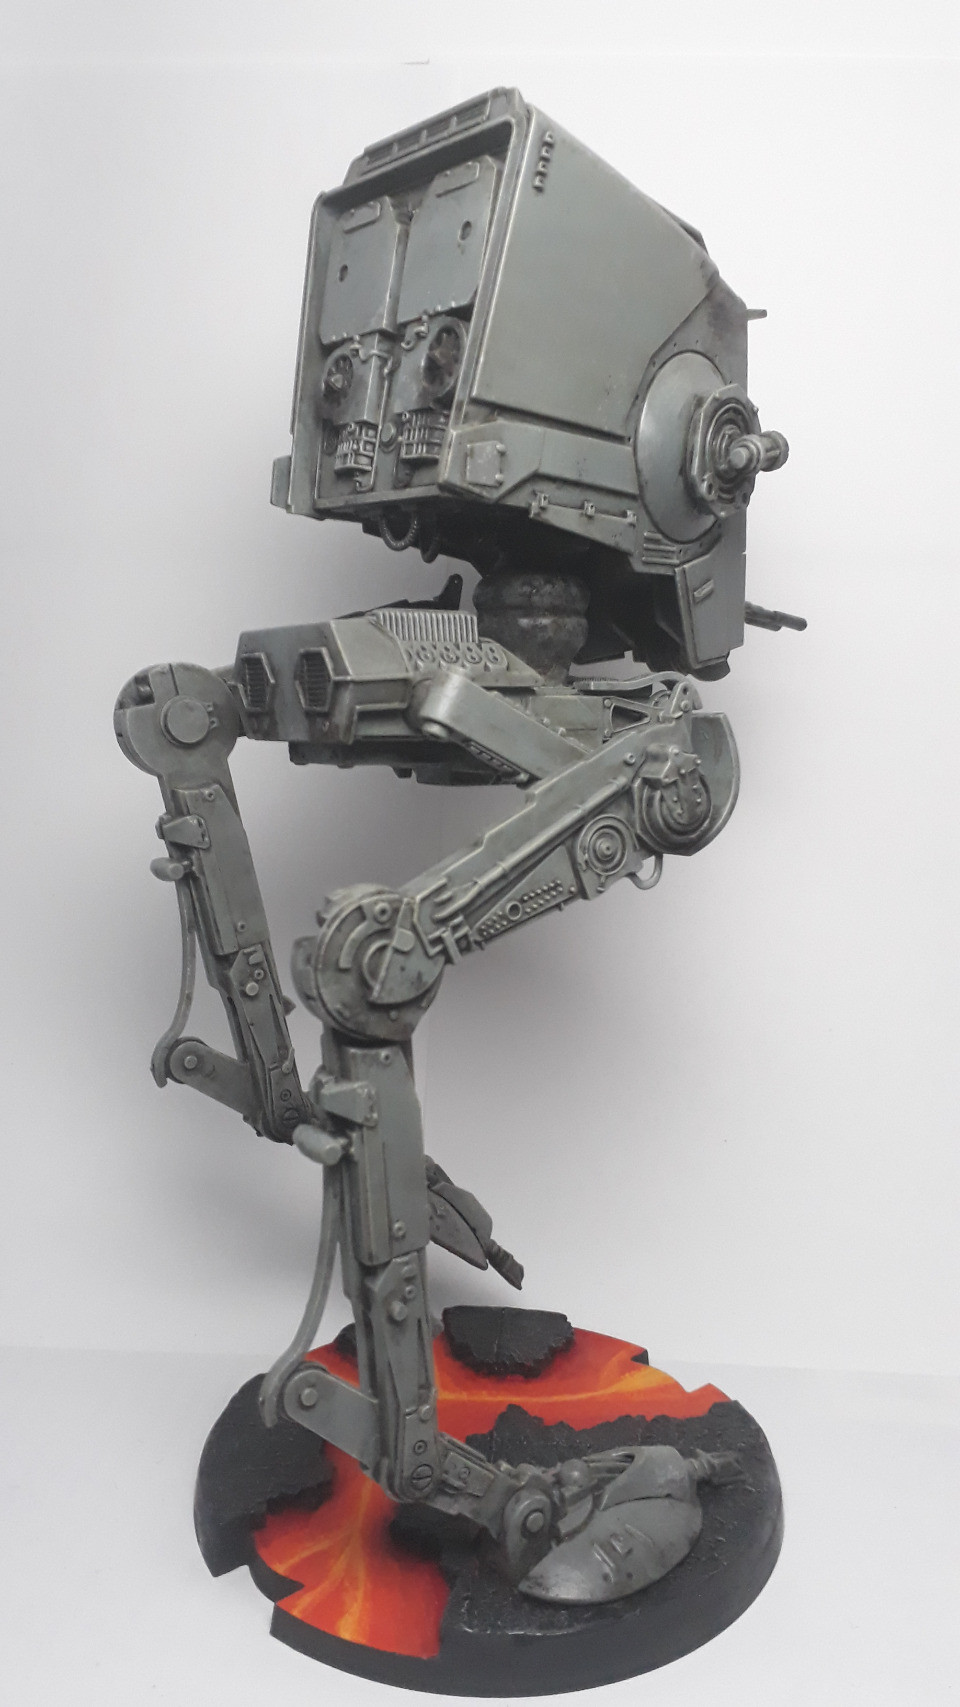
The struggle for Sullust, my Imperial and Rebel forces! [Now featuring AT-ST!]

By Admiral Deathrain, in Painting

Welcome to the thread where I share all of my Legion minis! I've chosen to theme them as parties in a conflict taking place on Sullust. Sullust rose against imperial occupation at some point prior to the battle of Endor, for which it served as the fleets staging point as we are all well aware. My forces are the imperial garrison trying to keep the planet in line and the members of the rebel alliance that support the uprising, destined to become a dug in imperial remnant holding on to what little territory they can and fighting against the blatant lies that the emperor would have fallen, and the pieces of rebel military trying to defend the population from brutal retalation strikes.

I like how this setting offers me flexibility on the timeline, which allows me to include characters like Vader and Luke with fewer headaches, as well as flexibility in narrative with both sides having the upper hand at some point. I especially like the angle of imperial underdogs! I look forward to Veers being able to represent a more generic commanding presence to allow me to explore this further.

Anyhow, here are some minis (to be expanded):

wNJut9V.jpg

e999ypG.jpg

RRLz2oY.jpg

hr6c4P6.jpg

1v8QFZt.jpg

ZBp7Zd4.jpg

7zMiMp3.jpg

HL9MhYG.jpg

r1h4Xqf.jpg

0FDeqsg.jpg

yH27DkO.jpg

0ed9dabdbac0e994.jpeg 570656ee29b9915a.jpeg 137226072ec61e44.jpeg

Edited by Admiral Deathrain
AT-ST

Lava bases will look sweet. Are you going to attempt any glow on the legs? Out of curiosity (not criticism) why cork and not slate? I see a lot people use cork on their bases but I have always thought slate looked a lot more convincing for rock (it is rock after all). I can't see it being cost, bust up a couple slate tiles and you have enough to base an army.

Edited by Gorthaur25
15 hours ago, Gorthaur25 said:

Lava bases will look sweet. Are you going to attempt any glow on the legs? Out of curiosity (not criticism) why cork and not slate? I see a lot people use cork on their bases but I have always thought slate looked a lot more convincing for rock (it is rock after all). I can't see it being cost, bust up a couple slate tiles and you have enough to base an army.

You can be more precise ripping cork, which is pretty important for getting the space for lave streams on bases this small. It also offers a flat surface to mount the minis on, which allows me to not really look at them while mass-producing the bases. Right now I'm looking to work in squads, building the bases first and then painting the minis to go on them, but I might take a more efficient aproach later.

As for OSL, I won't do it initially, but I might add some once the projects baseline is complete.

And my test bases are done, I'm pretty sure I can do these very quickly en masse. I'm adding a picture to the OP so everything is in one place. I base-coated the base in plain black (citadel chaos back spray), dry-brushed dark grey (AP: Uniform Grey), followed by a light grey (AP: Ash Grey). I then base-coated the streams with a dark red (AP: Dragon Red) and wet-blended red, orange, and yellow on top (AP: Pure Red, Lava Orange, Daemonic Yellow). I then dry-brushed the glow using my orange first and then the lighter red. To tie everything together, I then dry-brushed the entire rock with a bone-white (AP: Skeleton Bone).

I'll do the base edge in very dark grey (VMA: German Grey) later.

Edit: Since I removed the bases WIPs from the OP, I'll add them here. They were build using cork and superglue to stick it down and make more durable:

kjLnQZN.jpg

L56PyZK.jpg

Edited by Admiral Deathrain

Looks really cool!

Cork is just super easy to work with, thats why its generally used more. My only complaint with using cork for rocks is its really bad at making big rocks lol.

Lava bases look awesome.

those bases are awesome

New images in the op!

My first stormtroopers are ready and I am pretty pleased with them, although the finish on their white is a bit iffy since my white spraycan left me and I had to paint over mechanicus standard grey (which is pretty dark, so eh). The blend on the leaders pauldron highlight turned out pretty nicely (first time that a glaze actually did what I envisioned it would)! They will receive some weathering and OSL on their legs when the set is done. I enjoy these models a lot. The lenses are (very) dark green and the bars are dark blue, according to the 501st costume reference library. That also is where I got the leaders pauldron colour, from the 2015 battlefront magma trooper.

Troopers are top notch!

Agreed, troopers look absolutely top notch. Shading is well done and the bases really pop.

Edited by Dosiere
14 hours ago, Admiral Deathrain said:

... although the finish on their white is a bit iffy since my white spraycan left me and I had to paint over mechanicus standard grey (which is pretty dark, so eh).

This is seriously making me consider grey under-coat now...

... your troopers have a less "stark white" appearance which gives the finished model a more realistic look.

13 minutes ago, ABXY said:

This is seriously making me consider grey under-coat now...

... your troopers have a less "stark white" appearance which gives the finished model a more realistic look.

I gave them a solid basecoat of very light grey (2:1 AP: Matt White and Ash Grey, still darker than the Corax White grey used by most people), which took a while to cover properly, not sure if the dark grey primer contributes much to the overall look. It did make me use a few more layers than I'd like to, making the finish less smooth than usual for me.

Some sneaky WIPs from my absolute mess of a desk:

uwktckB.jpg

On these I added a layer of milliput on top of the cork into which I indented the arcs. I have a feeling the bikes will be some of my favourites due to the familiarity to X-Wing.

IzC0fwK.jpg

Took Sorastros imperial grey recipe (from the AT-ST) and adapted it to the Army Painter range, using 4:1 mixes of Uniform Grey and Desert Yellow (subbing Uniform Grey with Ash Grey for the highlights). I adore these models! Definitly want some more of them.

Alright, I finally got around to doing proper pictures of my biker scouts! Guy shooting back is sadly taking a bit of a nosedive because the cocktail stick I used to prop the bike up broke and I had to drill it out. Turns out I didn't drill entirely straight! By himself I think it looks fine, kinda makes his aim better, but I'd prefer them to fly in cohesion. Oh well, these are still some of my favourite things to have painted ever!

They look great. The bases that look good for the stormtroopers look fantastic on the speeder bikes. Really makes an impression.

Where do you get your cork from?

2 minutes ago, BigBadAndy said:

They look great. The bases that look good for the stormtroopers look fantastic on the speeder bikes. Really makes an impression.

Where do you get your cork from?

I got some cork coasters that I ripped. Probably cheaper to get a whole sheet of the stuff, but the coasters are easier to store.

Those look fantastic!

1 hour ago, Admiral Deathrain said:

I got some cork coasters that I ripped. Probably cheaper to get a whole sheet of the stuff, but the coasters are easier to store.

If you buy one of the sheets of cork, you can cut it up for easier storage. It also tends to work far better for basing as it doesn't have the chemical treatment that the coaster cork tends to have to deal with water.

8 hours ago, Admiral Deathrain said:

Guy shooting back is sadly taking a bit of a nosedive...

No need to be sad - I think it looks good - gives a more dynamic look to the movement (they wouldn't all be flying straight and level).

I'm a lazy, lazy person. Also kind of buisy, but hey, at least I got my first game in which motivated me to paint my Vader! I also have build and based my rebels and am almost done with a (reduced quality because I'm lazy) second squad of Stormtroopers. (Image in the OP)

Edited by Admiral Deathrain

So for my yearly update here something huge incoming:

4dd95d6e392b4b16.png?1557088083

I used black oil paint for the wash and will do some pigment weathering, too. Kinda hate myself for not having used this on my stormtroopers, oil works so well...

On a side note all minis from the core set are build, so at the rate I'm going I'll be done somewhere around 2025.

Great looking troopers and bases.

The wash on that AT-ST looks great! I've been trying to figure out how people weather vehicles, where the black ends up in the edges and seems but doesn't discolor the flat surfaces, but I haven't found a good tutorial. Could you give some pointers on the process with oil?

On 7/27/2019 at 9:08 AM, Tealadin said:

The wash on that AT-ST looks great! I've been trying to figure out how people weather vehicles, where the black ends up in the edges and seems but doesn't discolor the flat surfaces, but I haven't found a good tutorial. Could you give some pointers on the process with oil?

I'm sorry, I didn't see your reply! In case you are still wondering or anyone else wants to know, here is a quick overview:

You need oil paint, a disposable-ish brush, and thinner. I used odourless mineral spirits and got everything at a local craft store. Depending on what you want to shade or accomplish, a pure black (like on my AT-ST) or burnt umber colour will do the job. Since shadows are never pitch black in reality, black will always look somewhat oily, which works well for vehicles.

You paint your vehicle or mini as you normally would, including all highlights you want to create. The oil wash is your final step. Before you start, you need to put a gloss varnish on (I used Citadel 'ardcoat, but any suitable for miniatures will be fine). Then you thin down a small amount of oil paint with your thinner, until it is very runny. This you put onto the mini using a brush you don't care about much. Concentrate on crevices, but don't worry if it gets everywhere. If in doubt, always err on the side of getting paint into all the nooks and crannies. Let your work set for 15 minutes or so. Then take a piece of kitchen paper, soak it with some thinner, and wipe off the excess paint. If you can't get to a surface you want clean with that, use your brush. Take your time with this, oil paint can be reactivated with mineral spirits for a long time. When you are done shaping your shadows how you like, let the model dry for at least 24h, preferably longer, and lock in your work with a matte or satin varnish.

Edited by Admiral Deathrain
liquid can't be used as adjective, right?
11 hours ago, Admiral Deathrain said:

I'm sorry, I didn't see your reply! In case you are still wondering or anyone else wants to know, here is a quick overview:

No worries. I appreciate the info. I've seen many great shadings before, but I hadn't been able to find a good tutorial. I'm going to be painting my friends AT-ST for his birthday so this should help! Thank you again.