Painting Stormtrooper questions...

By ImmortalJedi, in Painting

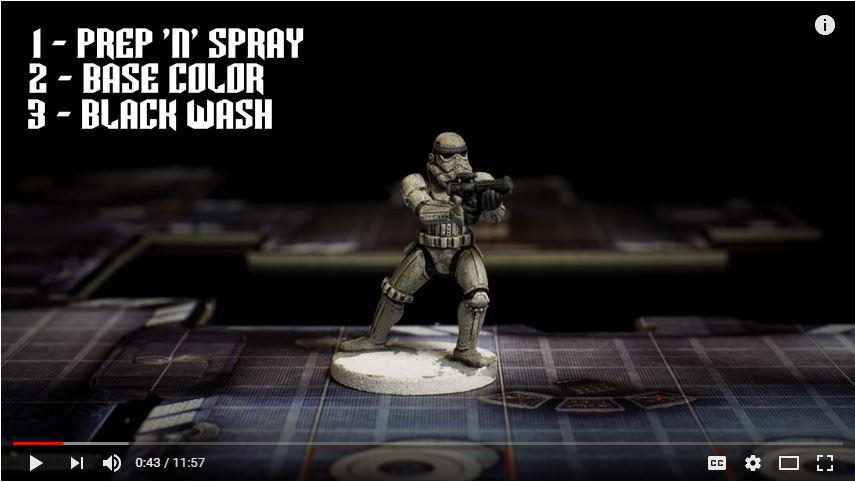
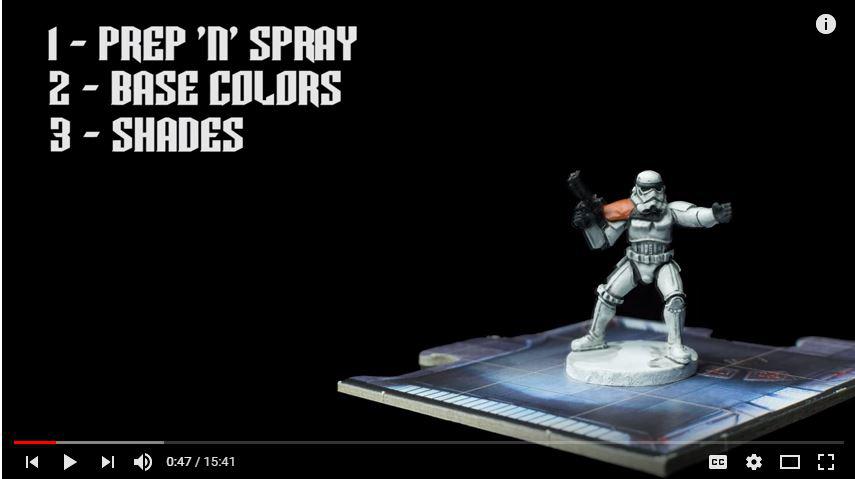
As I've stated before, I'm a total beginner when it comes to painting miniatures, and I've decided to go with one type of unit at a time, starting with stormtroopers. I've watched a bunch of videos and have started my shopping list for paints and brushes, but there's one question that is really bugging me... which color to use for a primer? Some videos say white, other say grey, and a couple have said black. I was going to go with a white primer, then use black paint to accent the minis, but would like all of your professional advice.

One other question is should I glue the trooper's arms on first or at the end? I'm already planning to wait until I'm done painting before I attach it to the base. Is it easier to paint and get all the nooks and crannies by keeping the arms separate?

Thanks in advance!

I prime white, and I attach the arms, but f you're beggining, I do advise to leave the arms off. Nothing wrong with gluing them to the base first, that's what I do, gives you something to hold onto.

I prime with the Citadel spray "white" which is actually a light grey. I did prime the arms on the figures, but only the commanders arms were glued. All glued to the bases. I used a scrap piece of base board and poster tack to keep them on there.

For a first time attempt I would probably go grab a spray can of Tamiya White, spray on and paint the black parts and call it a day, on one set at least. Try more advanced techniques on the next set, and then the next set. Thats what I've done. My "advanced" steps were:

- glue bases on and commanders arms on

- prime in corax white

- brush on Citadel Nuln oil

- semi-dry brush on Citadel Uthlan Grey

- Dry brush on thinned Citadel Ceramite white (crappiest white ever, get the Vallejo)

- touch ups in Citadel White

- do the black parts of the armor

- mix black/dark grey metallic and paint weapons/accessories

- glue arms on

This is my preferred way to do it. Gives the mini's a lot of depth and a slightly weathered look.

I used poster putty to attach my units to bottle caps or a strip of wood. After glueing my core set of troops and priming them that way I had some difficulty getting to the hard to reach spaces. For my 3rd group of troops I have dry fit the arms for priming (I went ahead and glued the seargent’s arm on as it doesn’t cover anything up; I glued the rocket trooper’s leg on as well). I used the white spray prime Sorastro used in his video for the stormtroopers and it turned out great. After that I just painted the black details (you want a few shades lighter than black so you can use a wash to bring out some of the details later).

After everything was dry I used a matte acrylic sealer as I already had it. Then glued everything into their bases. I like the way the bases looks stock so I don’t plan on rebasing them unless we can buy more. In that case I’d like to put pins where they contact the base and glue a disc magnet underneath the base so they can be interchangeable.

I more or less followed Sorastro's guides.

Grey prime, white 2nd coat, paint the black, grey, and blue sections. Tidy up with white/generic highlights. Lowlight with grey lines.

Gluing arms on is really up to you. Ffg actually made it quite convienient to leave them off and glue on after since the arms and weapons are all one piece. Other mini games like 40k it's a bit more complicated due to posing, everything is a separate piece.

Tldr: take advantage of it and glue on last. Just be careful putting the arms on, I already accidently slipped once and one arm scraped a thin line of paint right off my just finished storm trooper's breast plate.. lol.

I glue everything together first. For one, no one will be able to see any nook and cranny small enough you cant see with a brush.

For white, I prime white. Nuln gloss wash. Drybrush white and highlight white. Then go back with the Nuln and black line where needed. Very quick and easy.

GW, with their new Nuln gloss wash, has turned the hardest color to paint into something simple with just one bottle. Very impressed with them for once on their paints.

I have a question. Will doing nuln oil all over the armor make the trooper look bad? It's not going to make the armor black right? Also, should I add stain varnish to the armor parts to make it looks shiny? And one final question, when I am totally done, is it ok to spray Testors Spray Lacquer (Clear Coat) as to sort of seal and protect it?

First time painter, help is greatly appreciated.

Using Nuln Oil will give it a darker look and if you don't like it you'll have a little time to wipe it off. Gloss Varnish will give it a shiny and i always use Testors clear coat to seal the model so it doesn't scratch easily.

I am in no way a pro painter but the best advice i can give is just give it a shot to see what you like. If you don't like it you can always strip the paint off and try again.

Just now, migs6000 said:

I have a question. Will doing nuln oil all over the armor make the trooper look bad? It's not going to make the armor black right? Also, should I add stain varnish to the armor parts to make it looks shiny? And one final question, when I am totally done, is it ok to spray Testors Spray Lacquer (Clear Coat) as to sort of seal and protect it?

First time painter, help is greatly appreciated.

Straight Nuln oil over white primer will take the armor to gray which you will then have to highlight back up to white. From Sorarto original storm trooper video after he adds nuln oil

Capture.JPG.180a273c9279291f33d92c5e6e716de8.JPG

However if you follow the later IA trooper video he does a mix of 1 part nuln oil to 1 part medium which means he doesn't have to highlight up as much.

Capture.JPG2.JPG.a260429c7b5df27e56285f5c26fce867.JPG

Yes 1 to 2 coats of Dullcote with be fine for protecting the mini. If you want to add shine to the armor with a gloss or semi-gloss finish medium then do it after you spray with Testors dullcoat, you can add some water or medium to lower the gloss look as well.

Well ****. Nuln oil over the primer will turn it grey? I was trying to not really do any white highlights and stuff. I'm knocking out all Stormies from 2 core boxes in an assembly line.

11 minutes ago, migs6000 said:

Well ****. Nuln oil over the primer will turn it grey? I was trying to not really do any white highlights and stuff. I'm knocking out all Stormies from 2 core boxes in an assembly line.

Yeah Nuln Oil straight from the pot will definitely darken the minis a bunch. If you don't want to highlight back up to white you can dilute the Nuln Oil with something like Lahmian Medium or water and apply it selectively. That'll leave you with a LOT less highlighting back up to do.

Also it's funny how obviously NOT white Corax White is when you're applying it to something like a Stormtrooper that you're expecting to be TRULY white.

As I already did the black parts of the armor and guns, I pretty much screwed myself. First timer mistakes. I'm going to thin the nuln oil and do it over one and see how it looks.

I wanted to make sand troopers with a wash if the citadel earthshade. Should that be ok on primed troopers?

1 hour ago, migs6000 said:

Well ****. Nuln oil over the primer will turn it grey? I was trying to not really do any white highlights and stuff. I'm knocking out all Stormies from 2 core boxes in an assembly line.

I did two core sets in one day, in an assembly line. My method was pretty similar to WiredIn's method:

1. Corax White (which is actually grey) spray

2. Paint the joints at the elbows, knees, and thighs with Eshin Grey

3. Use Nuln Oil to wash

4. Drybrush Ceramite White

5. Use Eshin Grey to touch up joints, paint fingers and guns

6. Use Nuln Oil to wash fingers and guns to bring out details, carefully paint stormtrooper mustaches.

7. Use Drakenhof Nightshade to darken eyes

8. Use Agrax Earthshade to add mud/sand to legs

9. Paint bases

10. Lay down basing material

11. Spray with Purity Seal

12. Brush gloss varnish onto helmets, shoulders, chestplates

it's frustrating, but it's still way less time than all the basing, or painting all the black areas. One of the large Citadel drybrush brushes will really save you time here too.

Also, I will second WiredIn on Ceramite being garbage out of the bottle. The bottle I bought was so dry and putty-like that I could barely get it on my brush, so I ended up adding a ton of distilled water and shaking the bottle until it was uniform. My Ceramite ended up being more like a wash when all that was said and done. Which is actually fine, since I only use it for drybrushes anyway.

Finally, steps 3 and 4 are simple enough that you can trust a relatively unskilled friend or family member to do them for you, if you want to recruit some help for setting up your assembly line.

3 minutes ago, migs6000 said:

As I already did the black parts of the armor and guns, I pretty much screwed myself. First timer mistakes. I'm going to thin the nuln oil and do it over one and see how it looks.

I wanted to make sand troopers with a wash if the citadel earthshade. Should that be ok on primed troopers?

Primers really suck up colors from washes, and it will change the look a lot. If you add Earthshade, the entire armor will gain a sort of mottled brown look. Which is actually fine for sandtroopers!

If you're going for speed, sandtroopers are the way to go.

I was only going to do half as sandtroopers. So, should I do a light nuln oil, and maybe highlight the darker areas with a thinned white?

I'm feeling a lot less confident than I did like an hour ago...

4 minutes ago, migs6000 said:

I was only going to do half as sandtroopers. So, should I do a light nuln oil, and maybe highlight the darker areas with a thinned white?

I'm feeling a lot less confident than I did like an hour ago...

I would suggest more of a drybrush than a highlight. Sorastro's newest AT-ST video shows a lot of drybrush in action, and I think the technique works really nicely for lightening up the stormtroopers in a natural way.

45 minutes ago, migs6000 said:

I'm feeling a lot less confident than I did like an hour ago...

Don't sweat it, really. There's nothing stopping you from priming a Stormie in black and highlighting up to white from there. It would take a long time but you could do it. A batch coming out of a Nuln Oil wash too dark honestly isn't the end of the world at all, you're just a couple more passes away from them being as light as you might like. :)

1 minute ago, KalEl814 said:

Don't sweat it, really. There's nothing stopping you from priming a Stormie in black and highlighting up to white from there. It would take a long time but you could do it. A batch coming out of a Nuln Oil wash too dark honestly isn't the end of the world at all, you're just a couple more passes away from them being as light as you might like. :)

Yeah I did my original IA stormtroopers with the prime white, Straight Nuln oil wash, then highlight white method and it really didn't take that much time to highlight them up.

I would look at doing one mini with the 1:1 nuln oil and Lahmian Medium mix, and just add a few highlights in white and see if you like that.

You can also take a look at the new Sorastro's Painting legion stormtroopers which uses a lining method not a wash on the white of the troopers.

Sandtroopers came out good with agrax. My other troops are now grey with the heavily diluted nuln oil. My minis are pretty much done, drybrushing on white will get undo all the weapons, eyes, everything. WTF do i do!?!

Just now, migs6000 said:

Sandtroopers came out good with agrax. My other troops are now grey with the heavily diluted nuln oil. My minis are pretty much done, drybrushing on white will get undo all the weapons, eyes, everything. WTF do i do!?!

Light, selective dry brushing shouldn’t get into the eyes or hit the weapons. Or if you’re really concerned about it, just follow Sorastro’s Stormtrooper tutorial for Imperial Assault since it sounds like you’ve taken steps similar to that approach.

Ok, dry brushed white, got rid of the visors a bit but the eyes and mask actually look better. They look like white troopers but a bit dirty. Much better. Whew, disaster diverted.

Since it's been extremely wet outside for me, I've been using a brush on primer that I've thinned out with some white craft paint (Brush on is a black and I'd rather see what I'm doing, and I don't have an airbrush to go that route so it was rattlecan or brush on). Then I did a heavy drybrush of the white craft paint that's thinned out because I was planning on starting white.

Then I pretty much covered the entire thing in a thinned down black acrylic ink. Then I go for the black areas for the bodysuit, visor (and the band above it), the blaster, pack, other things with an army painter flat black (Mine came from a Kings of War set, either the old starter paint set or the undead one)

Then it's the white with my better paint (One of the same sets as the undead one). I also tend to hit areas like the shoulder pad on the commander, the shoulder guard for the rocket launcher, and a few details on the heavy blaster.

Then to detail work with some metallics (Mainly Armor from the above sets) over the blasters. I've used the same colors for the pad, guard, and details in order to differentiate squads at a glance.

After that, it's attaching the pieces together and to the base before varnish to protect them.

Still need to take pics of what I finished, but they aren't the best as I did a rush job on them for some of the games I've played (Only have the starter and we were allowed one unpainted unit...for me that was Vader since my plan is to replace his lightsaber with acrylic rod when I can pick some up, but I've started him in pieces and finished his base when I did the rest)...haven't started my rebels yet

I primed white;

did black detailing (rim, eyes, mouth, any gaps between armor plating, shoe soles and sole rims, gloves (not the plating!), weapons and backpacks; For the weapons I follow this up with some diluted black (add water and mix then reapply, dab with a paper towel to absorb any excess once it’s gotten into the crevices.

orange-light brown-leather for the shoulder pauldron of the unit leader and the holsters;

a touch of blue on some of the DLTs backpack canisters (ala sorastro);

finally going back with pure white to touch up all the armor plates (aka cover up any stray finger prints) and correct anywhere I overbrushed the other colors too much.

Once everything dries, I do the super gluing, then go back again in case something scraped and cover it, as well as a further touch up on the joins to mask them.

I made a video on my approach: