This season I was able to make it to two store championship events. The first was at GMI Games, and I brought 5 TIE strikers. I had been meaning to write up a battle report, but I let it sit too long, and I can't remember enough of the details, to do it justice, so here's the summary with a few highlights. First, the squad
5x Scarif Defenders (Adaptive Ailerons, Lightweight Frame)
My first round was against Rear Admiral Chiraneau crewed by Kylo Ren, alongside Countess Ryad with Lone Wolf. While we were able to kill Chiraneau, he dodged arcs/mitigated damage enough that all my ships were limping, and it was easy clean up for Ryad. 0W-1L
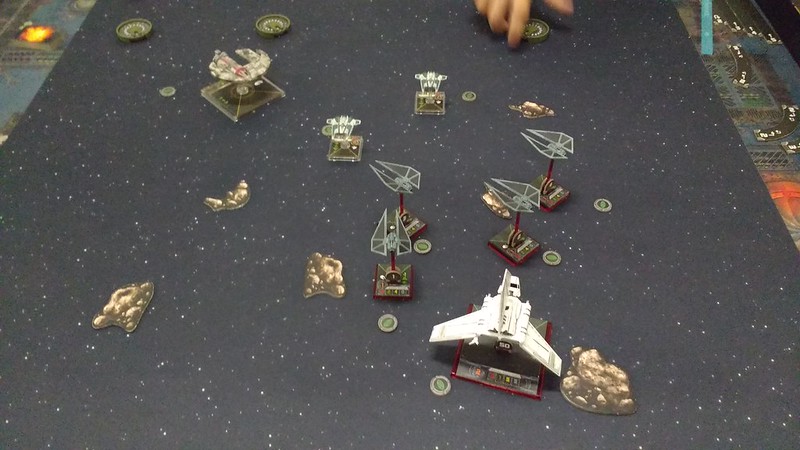
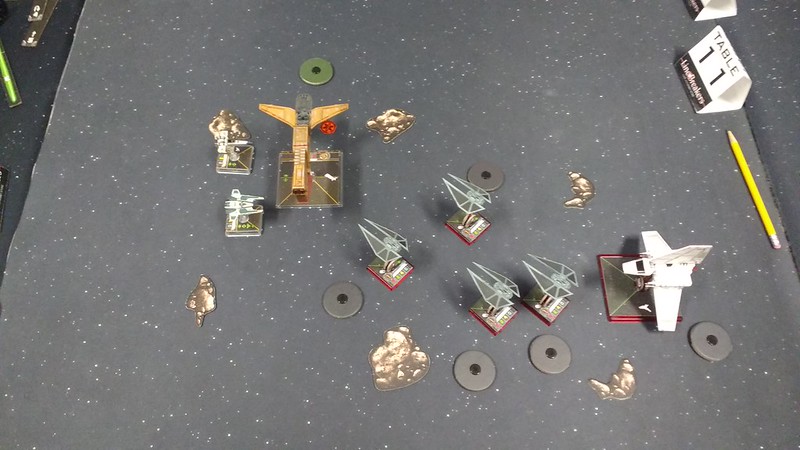
In round 2 I faced Manaroo, Fenn Rau, and Old Teroch, all with Mindlink. The strikers were amazing! We weaved through the asteroids and set up a kill box sort of thing on Fenn, taking him out early. Then we started putting damage on his other two ships, and the race was on. In the end, All my ships died, and Manaroo had just 1 hull left and 3 hull on Old Teroch. Shouldn't have wasted shots on Old Teroch until Manaroo was dead. Oops. 0W-2L
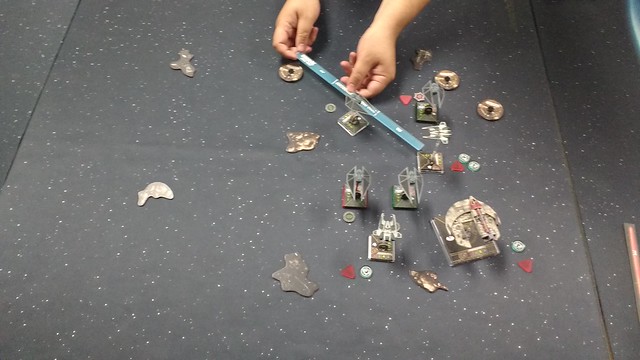
(Preparing for kill box: the TIE strikers facing Fenn Rau do Ailerons followed by K-turn and Segnor's loop accross Fenn Rau, setting up a nasty crossfire)
Round 3, I faced a local friend, running Jan Ors, Dutch Vander and Garven Dreis. It was a landslide victory for TIE strikers, able to quickly close range to deny torpedo shots, and dog their targets with all manner of maneuvers, thanks to Adaptive Ailerons. I felt bad for beating him so badly. 1W-2L
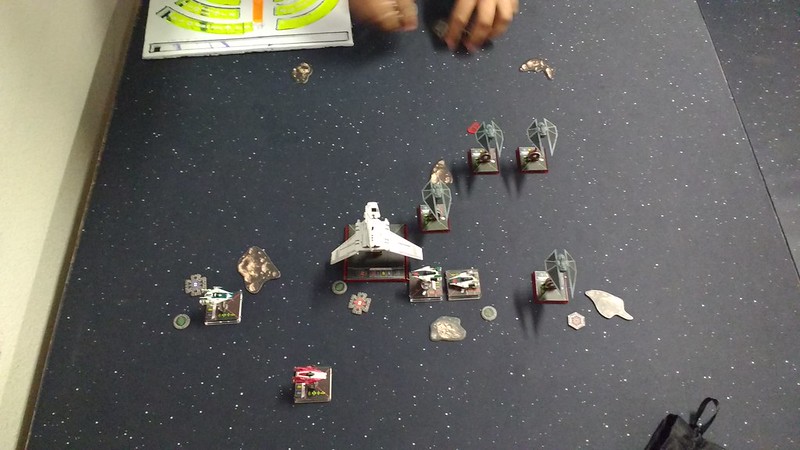
Round 4 I faced a very intimidating squad consisting of Colnel Vessery with Swarm Leader, Omega Leader with Juke & Comm Relay, and another Countess Ryad, this time with something besides Lone Wolf, but it's been so long I can't remember. Here's the opening
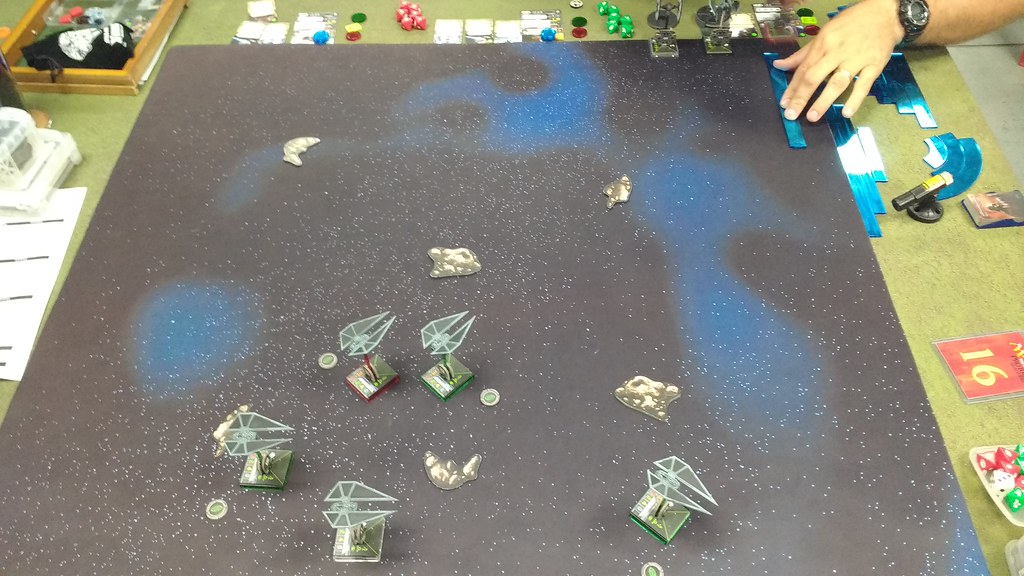
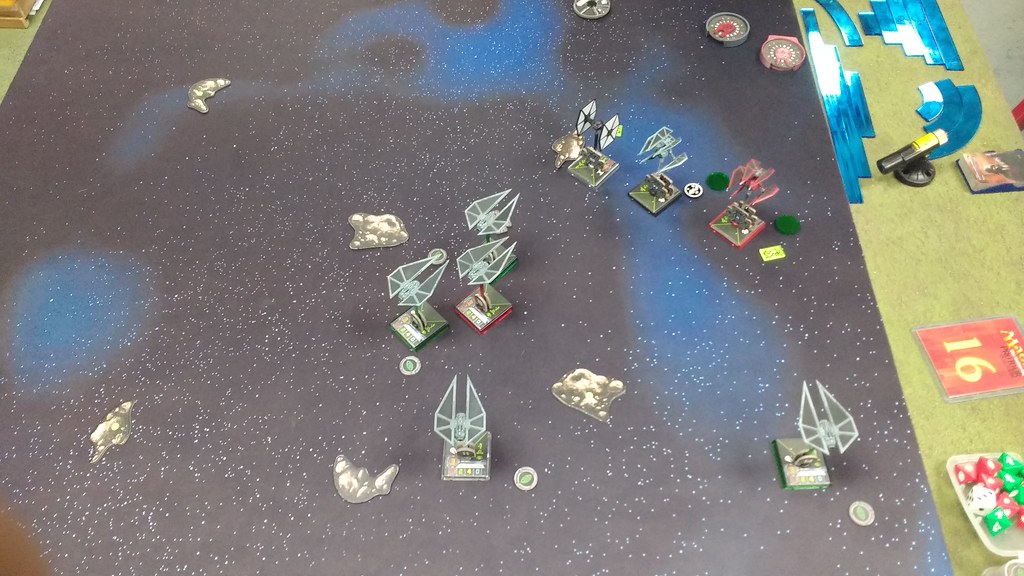
I lose a striker here, which is typical, but we do minor damage to Omega Leader and Ryad. I'm feeling the pressure.
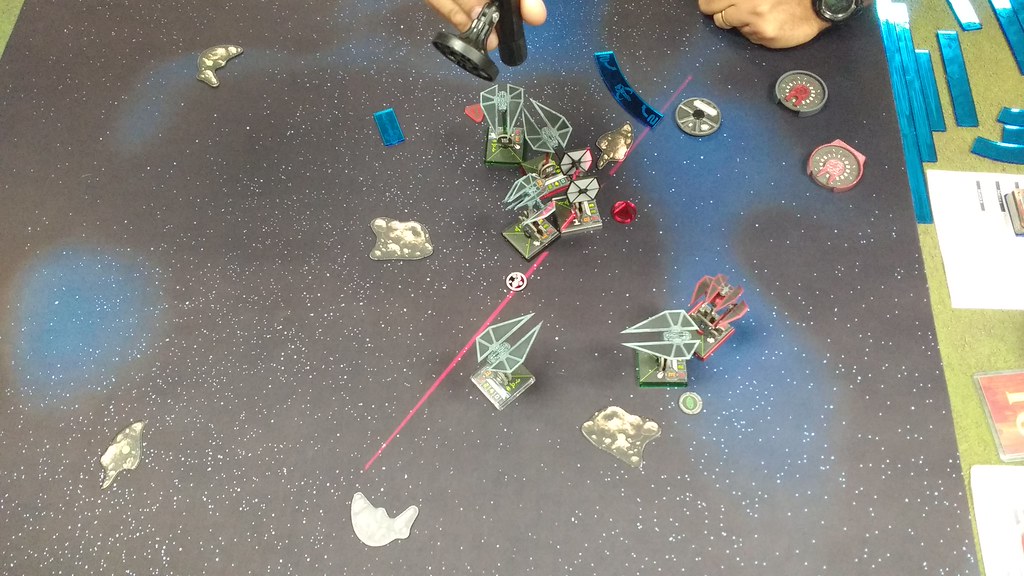
Here's a big cluster where I decided Omega Leader needed to die. And she did. A nice block on Ryad resulted in more damage on her.
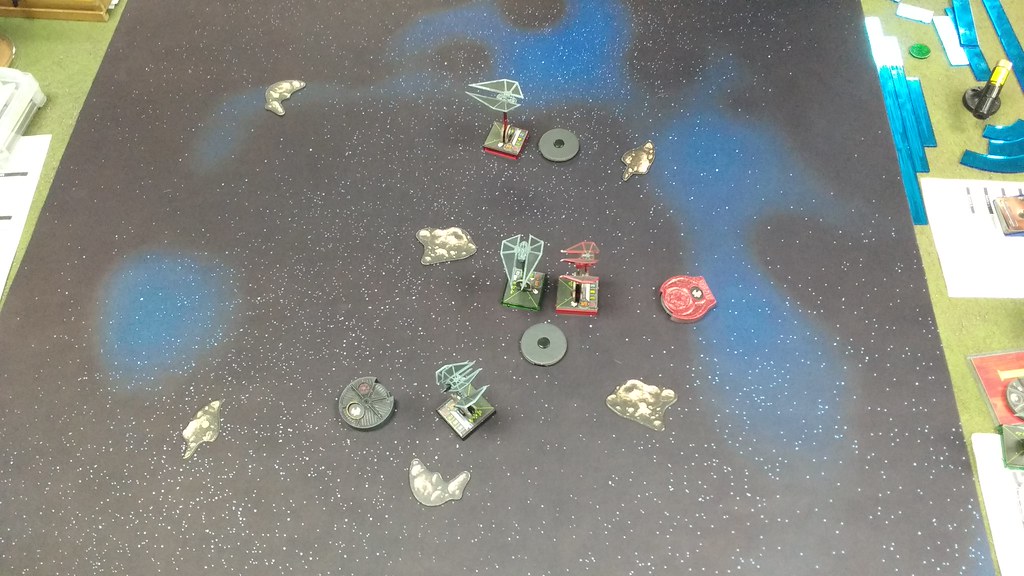
Attrition. We're losing strikers at an alarming rate, but his damaged defenders are just as deadly as when they started. Something happens here that I don't have documented, and we manage to kill Vessery!
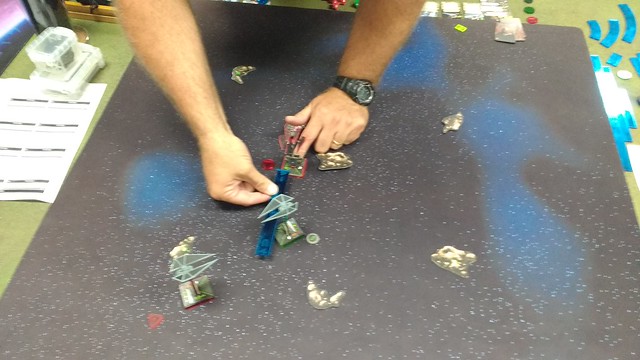
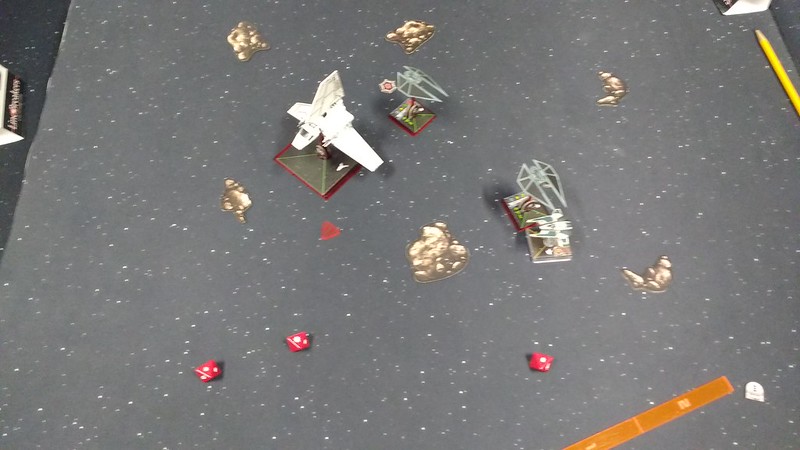
Apologies for the blurry picture. Lots of crazy maneuvering happened here, where Ryad learned that barrel roll is a really good trick against low-PS pilots. She jumps the green TIE striker, killing the red one, and taking more damage.
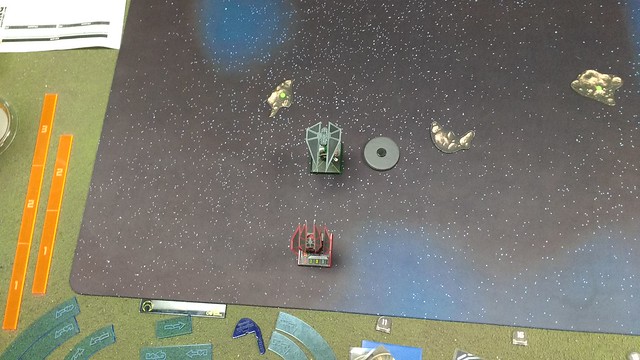
Even more damage is exchanged - we're now 1 hull each!
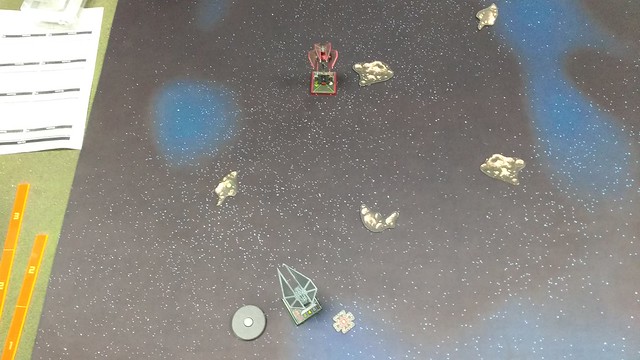
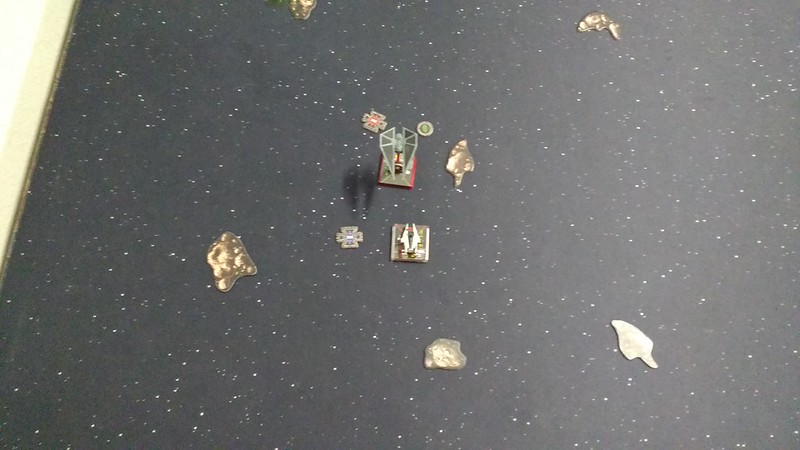
She runs to regroup, then follows up with a K-turn. Here, I expect the 3-straight, with the flexibility of making it a K-turn or just barrel rolling to dodge my arc. So I Adpative Aileron Straight 1, execute a speed-1 turn to the right, then barrel roll back and left, closer to that left-most asteroid...
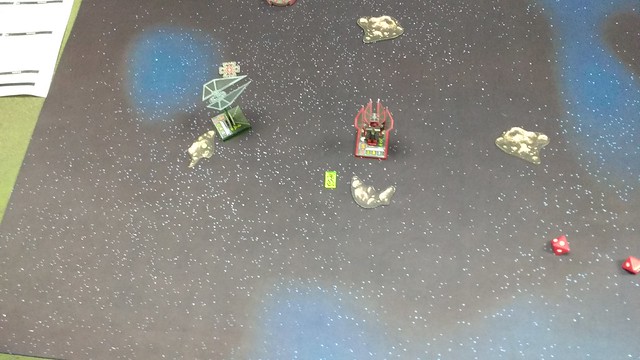
...and it works! After her K-turn, a barrel roll towards the asteroid won't clear my ship, leaving Ryad at range 1. He thinks maybe he can dodge the arc, or at least get out of range 1 by barrel rolling the other way, leaving Ryad with just an evade token. I roll 2 hits, she rolls blanks and eyes, and explodes. I actually beat Ryad this time! I think his successful barrel rolling early on influenced his choice, and he should have taken a focus and eaten the unmodified range 1 shot, but we'll never know.
2W-2L
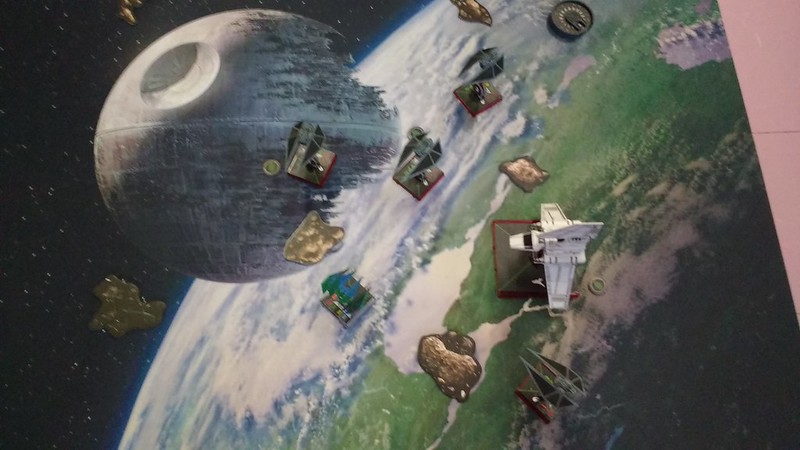
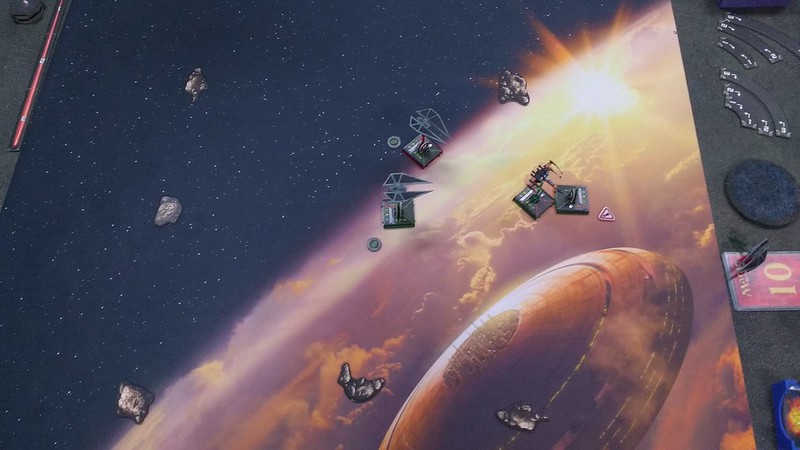
Round 5 was against a relatively new player running Ello Asty, Jess Pava, and Braylen Stramm. Not much to say in this match, so I'll let the pictures do the talking, but I do want to highlight my favorite thing about strikers: their own version of formation flying!
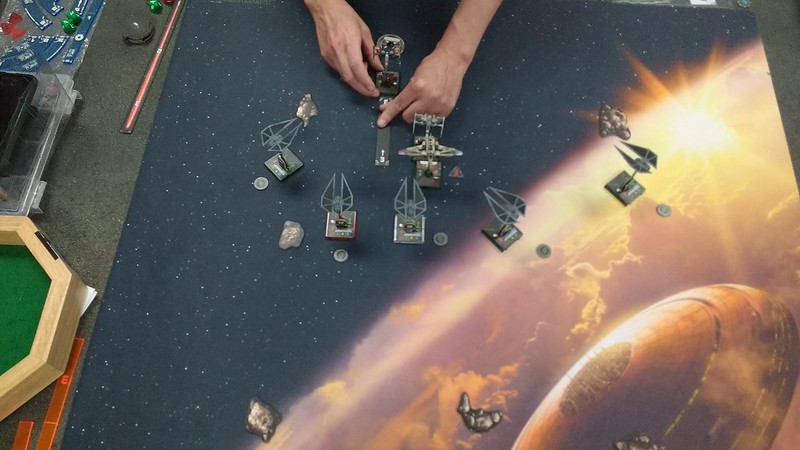
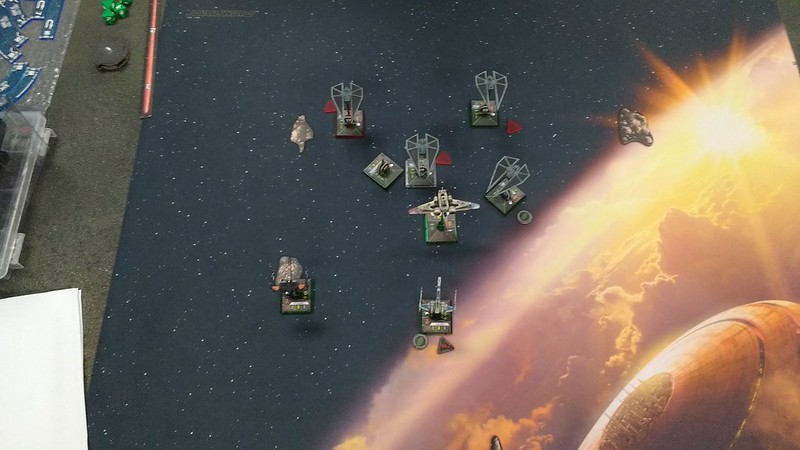
(Cluster Mines happen here, nuking a TIE striker who hits all three tokens)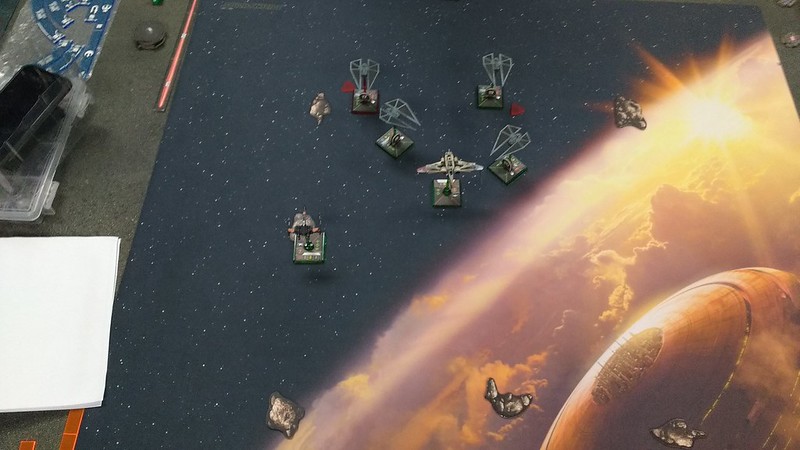
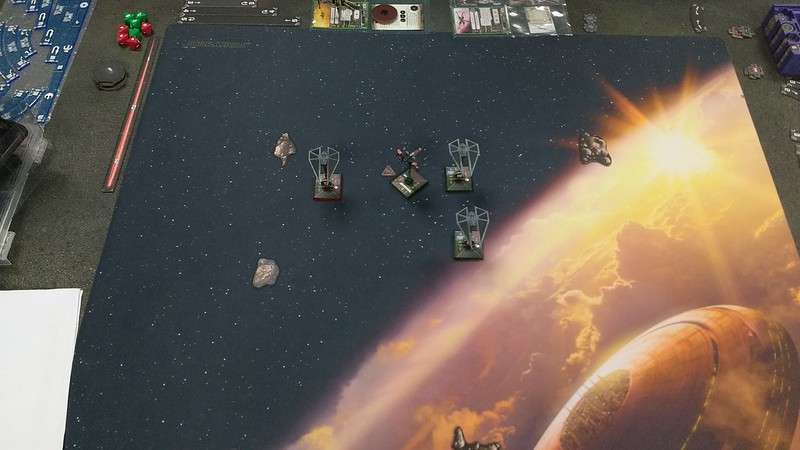
Can you see where the strikers are in relation to Ello in the above photo, compared to the one below? That was accomplished in a single activation. They completely blow my mind sometimes with how maneuverable they are (and how cool they look doing it)!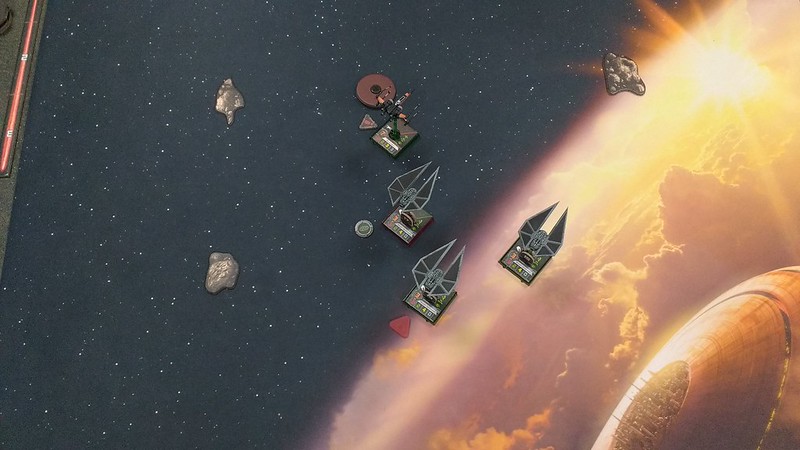
3W-2L
So out of a field of 45 players, I ended up 16th. Not too bad! And it was a lot of fun planning these maneuvers to make a sort of starfighter dance. I learned two things from this tournament. First, wings up! In all the games I won, I positioned their wings up, and I think they roll better that way (totally not serious).
The second thing I learned is related to setup. We are so used to setting up our ships at the front edge of Range 1, but I have to be reactive to where my opponent sets up. If I can turn across my board edge to regroup before an attack, it makes a big difference. The problem is that the requisite Ailerons movement often makes it impossible to fit those kind of maneuvers, but if I place along the back edge, I'll be able to move my fighters behind the asteroids to react to my opponent's placement.
I can't get enough of TIE strikers, which you will see in my next report below.
Edited by Parakitor