I'm not sure if anyone needs it, but it has greatly helped me painting my A-wings. They aren't amazing, but they are look pretty nice for their size, and I'm pretty happy with it. So I thought I would share my basic method.
For the regular A-wing look, really the only problem painting them is getting very sharp lines. Even on tiny models, free hand (and least my free hand) just doesn't cut it. I needed something more exact. The secret weapon: painters tape!
First things first, the usual washing of the model in soapy water, drying and then priming. White prime obviously for the classic A-wing look. Then do a full thin coat of white paint (or whatever base color you want). Let that dry completely. Next comes the tricky step.
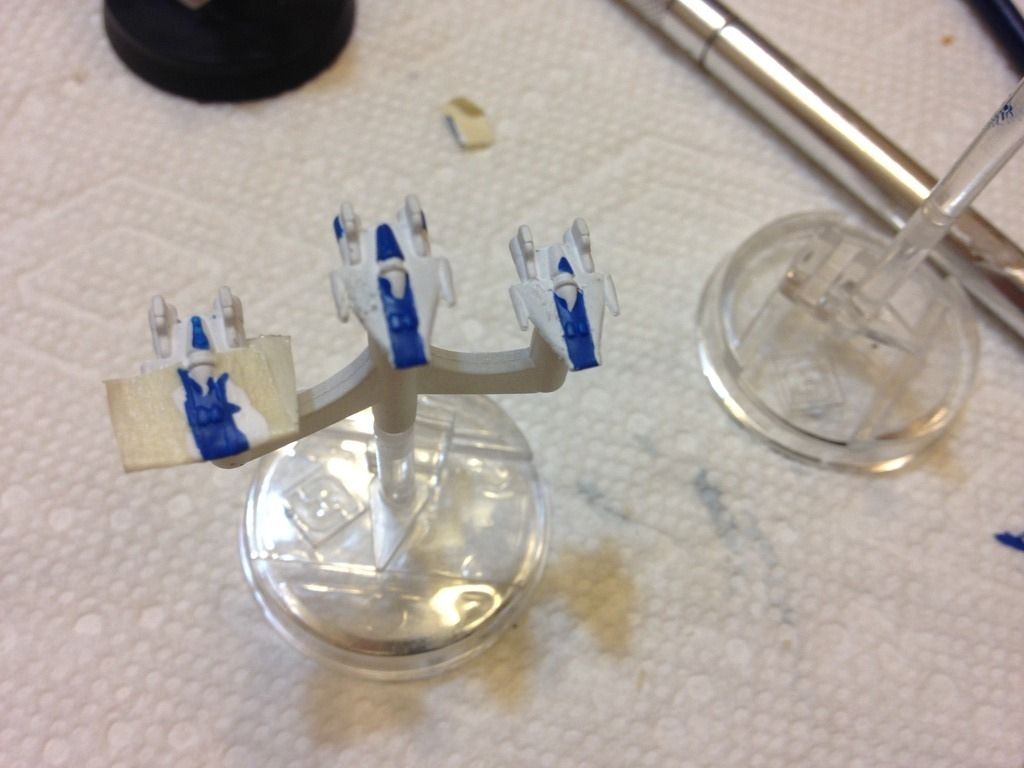
This is really the only hard part, but it can be maddening: placing the tape just perfectly. The margin of error is like .5mm. I usually just use my exacto knife to help nudge it, and usually it take a few times. I recommend having each A-wing on it's own stand, so you don't accidently bump the tape, like I did (many times).
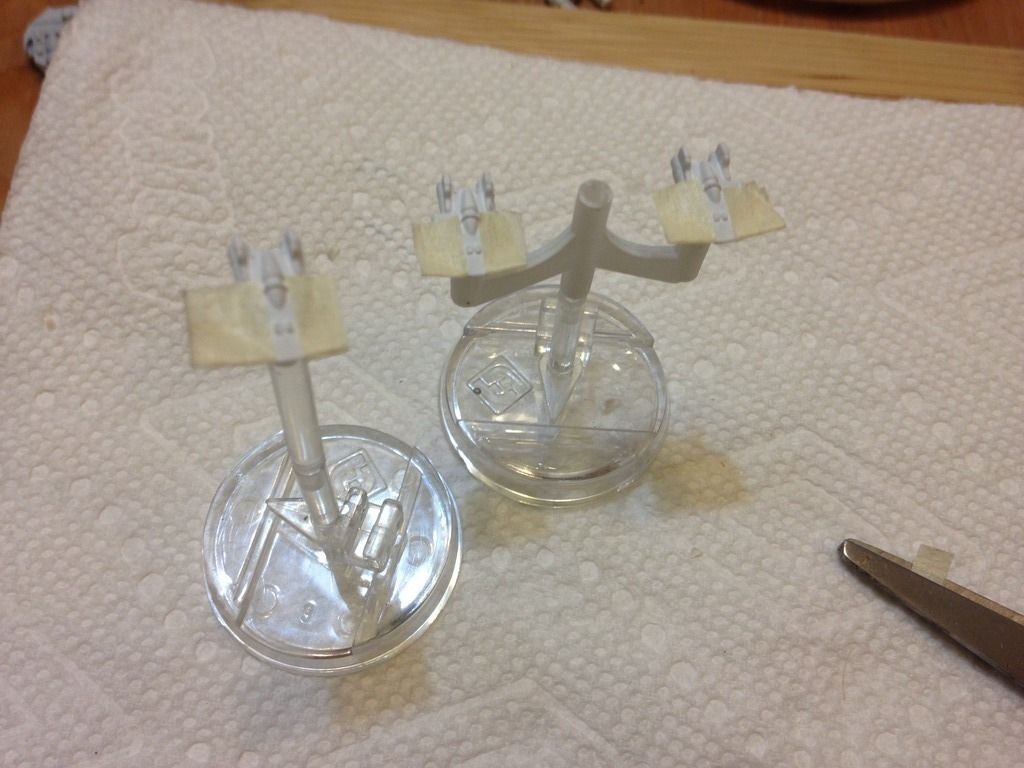
I like to have mine placed so that the very edges of the nose are covered and will stay white, like in the card art.
It's a pain though, and they still look fine if the whole nose is colored.
**I usually don't worry much about the bottom of the ship, It's an even bigger pain to get the tape perfect on the top and bottom. Getting it around the nose in the front is important though**
A word on the tape. Any old masking tape will do, but cheap or old masking tape will leave residue that has to be washed off, which is a big pain. Use nicer stuff if you can.
So once that is done, now comes the key step. Tape is great, but paint will seep through. You don't notice on houses since the scale is so big. You will definitely notice it on your 10mm A-wing. So before you use your chosen color, paint over with the base paint again. Make sure it's still pretty thin paint, but not too thin, it needs to create a layer. This layer of paint will seep through the tape, and then form a barrier for the next one, which will be the actual color you want.
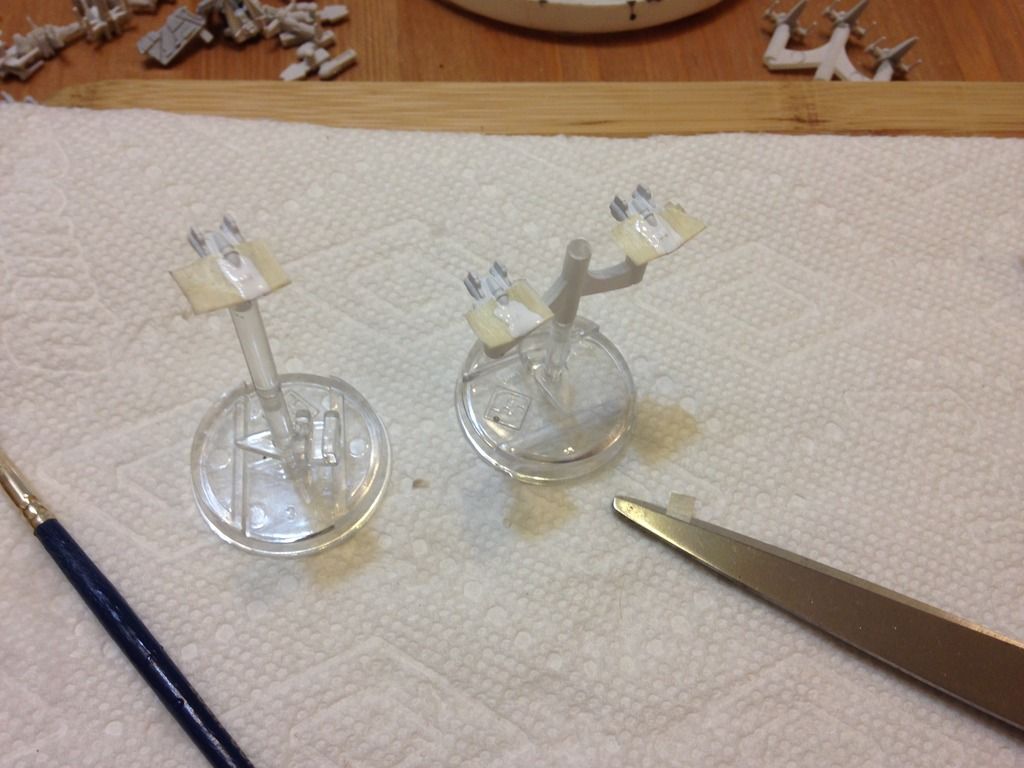
Once that thoroughly dries, things are pretty straight forward. Pick the color of your A-wings, and splash it on. It's great, you don't have to be careful at all, just throw it on!
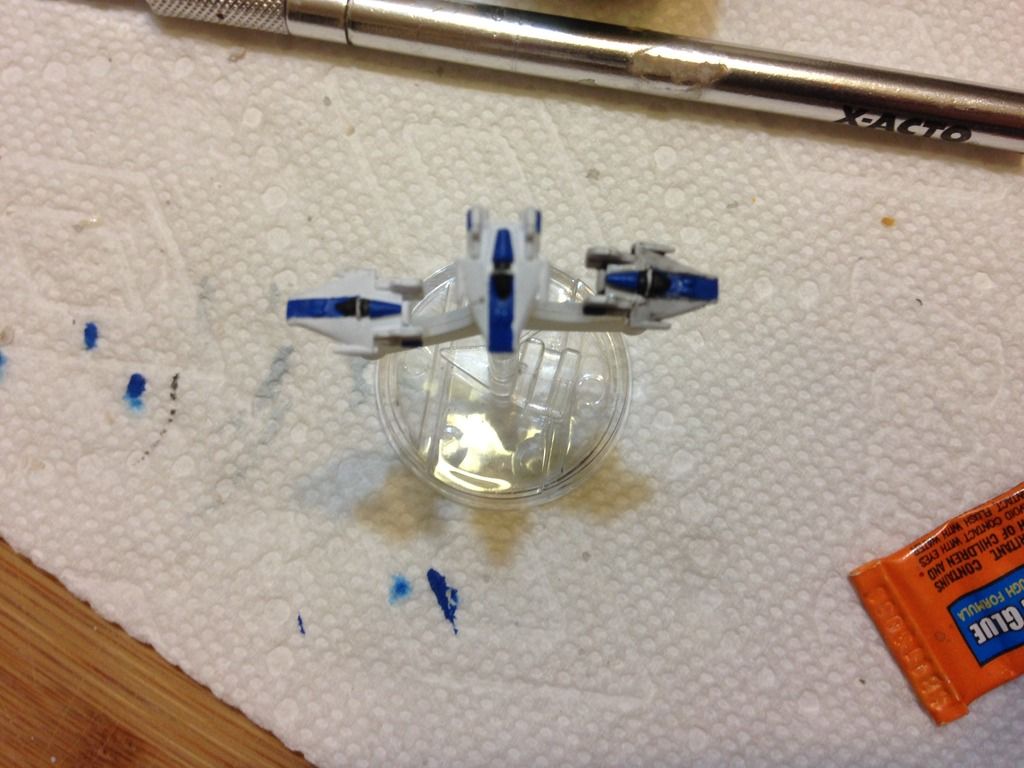
Not let that dry completely again. And then steadily remove the tape.
It won't be totally perfect, as you can see, but it's a heck of a lot better than I can do with my hands. Also I used old masking tape on this, and you can see the tiny bit of residue that was left because of it. It will show up big time when you put a wash on it, so if you were dumb like me, clean is with a warm damp paper towel when the paint is totally dry.
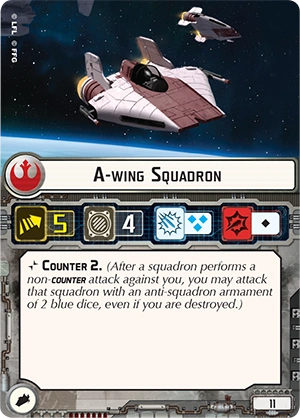
Now just fill in the cockpit black (I don't bother with a reflection on it, but go for it if you want!). Don't forget to paint the back of the cockpit and the side panels of the two engines. Also the guns. I usually do the back half black and the front half white.
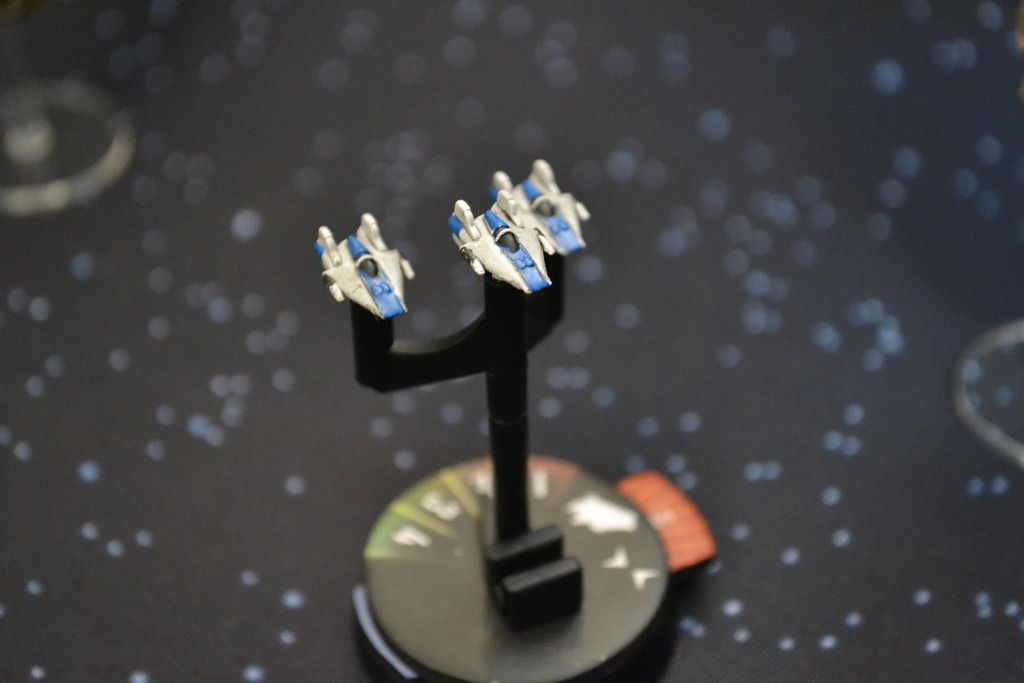
Now comes the part that really makes them come alive:the wash. This is the easy part to ruin everything, so be careful. Make sure your wash is pretty watered down. I used GW's black wash, and then dipped my brush in water. You want your whites to still be pretty white, and a wash can totally ruin that. Really you just want pigment in the cracks and on the edges. The tape edge does create the bonus that you created a tiny edge from the paint, that will catch some of the wash, and make your color stand out even more.
As you can see, the wash is a big deal. The one on the right is starting to look like a serious A-wing now!
As for finishing touches, make sure you hit the cross bar on your cockpits white again, and try to be very precise. It really helps them pop. Also some high lights on the top of the fines look great as well.
Highlighting the main colors is also a great choice right now. You can just use the first color, which will pop a little more over the layer that you washed. But even better is just tiny touches of a barely lighter color.
Here's how they can turn out:
Or like these:
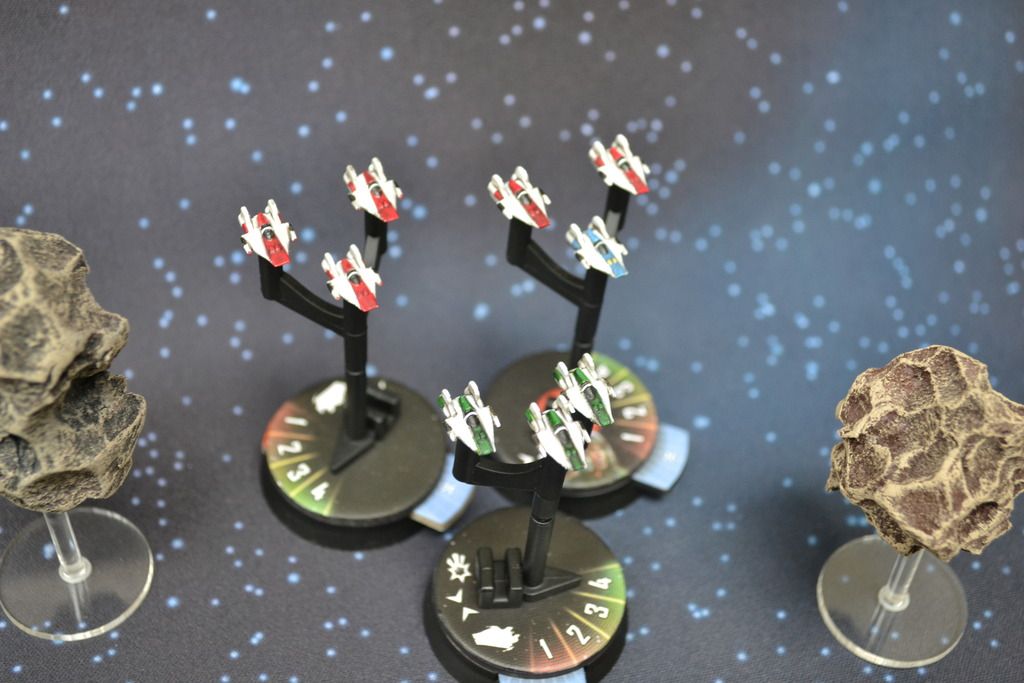
The green has been highlighted, the rest haven't. Also you'll noticed the ones in the back left have no white edges on the nose, but they look fine. These aren't perfectly amazing, and I didn't do all the touch ups I could have, but it certainly works. And as a plus, it's not that hard at all!