Lazy Man's Guide to Sharpie Coloring

By No Pickles, in X-Wing Painting and Modification

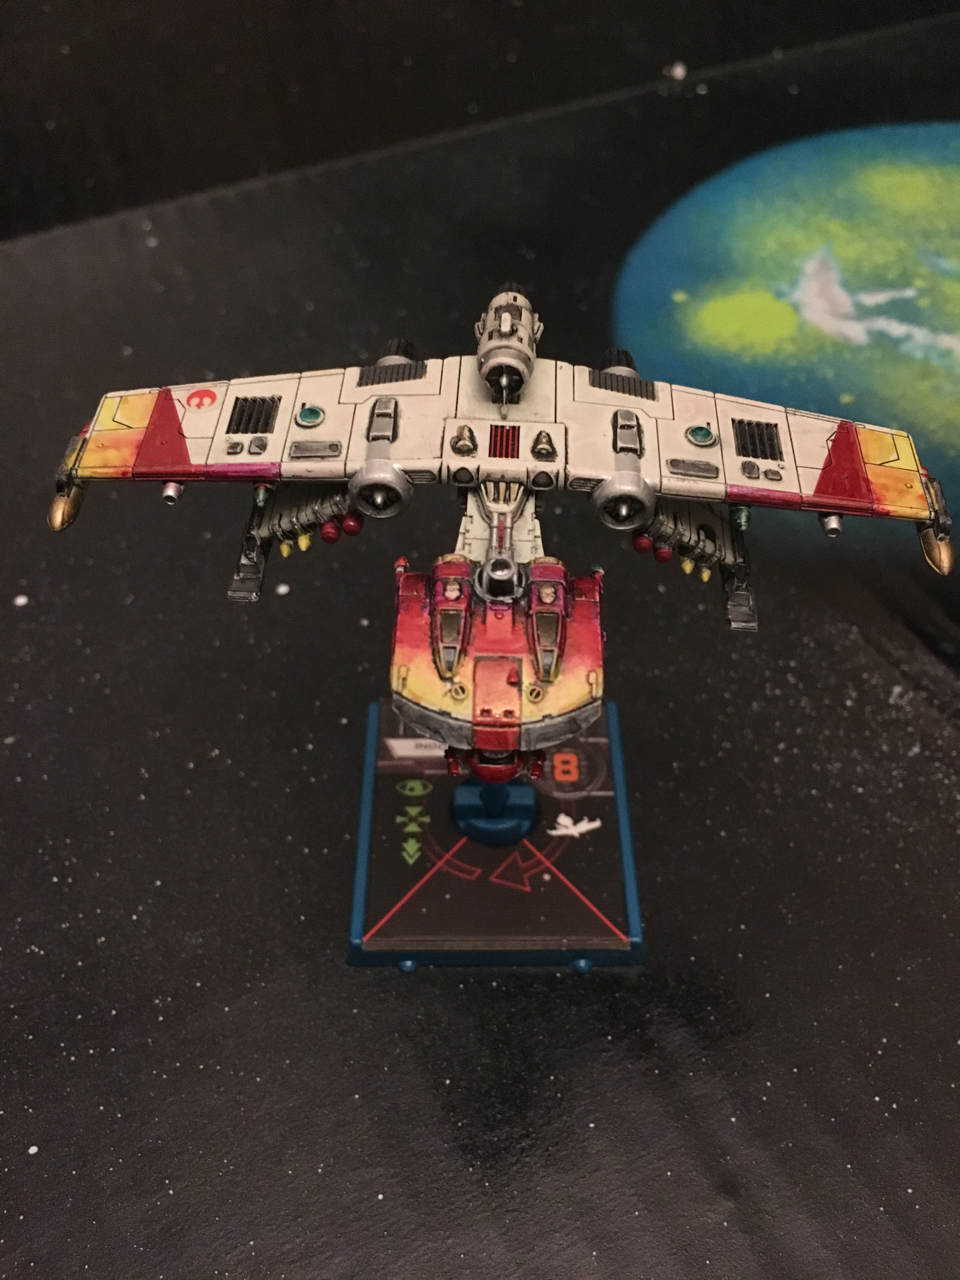
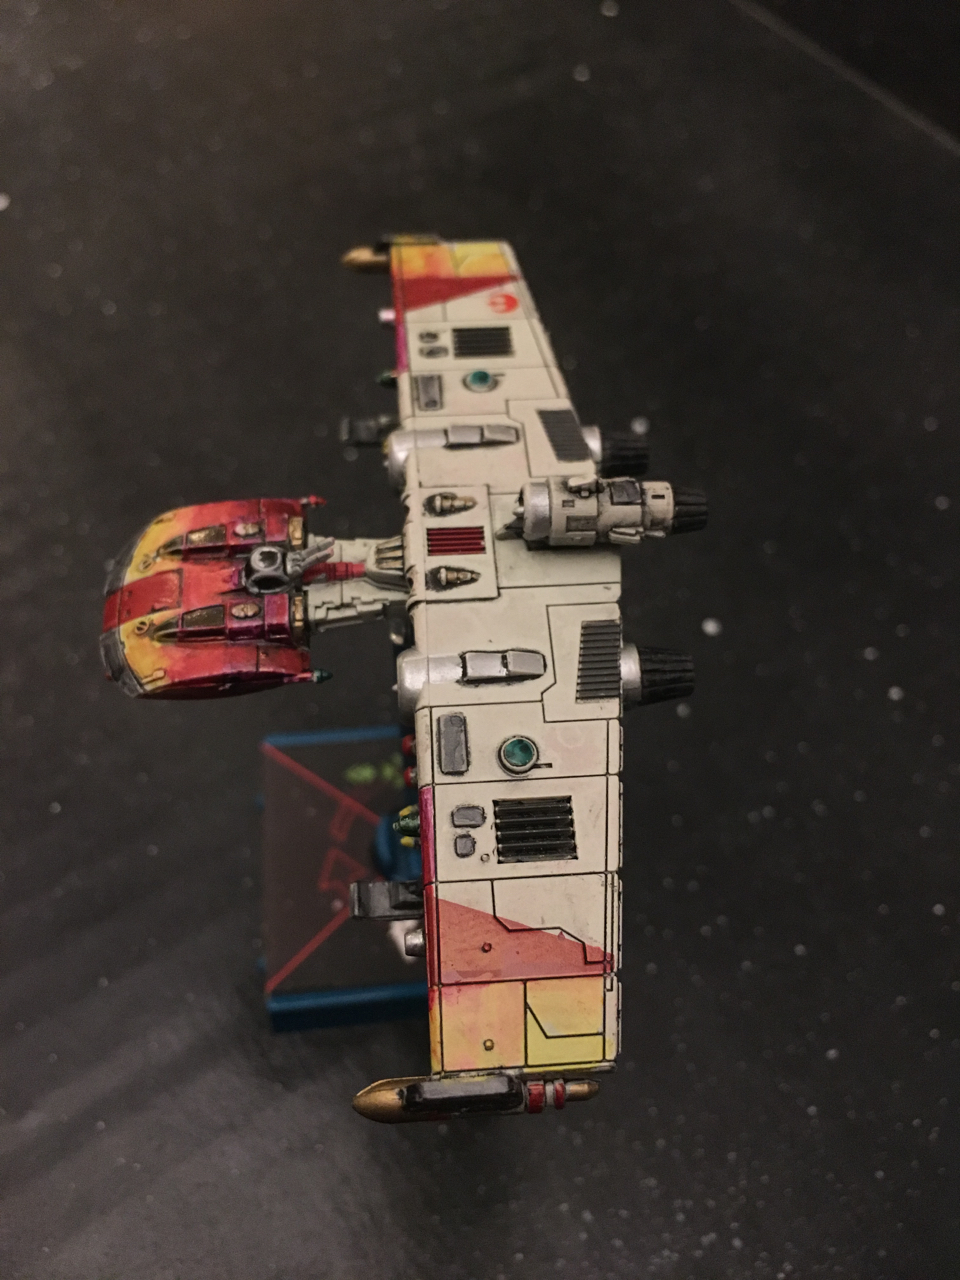
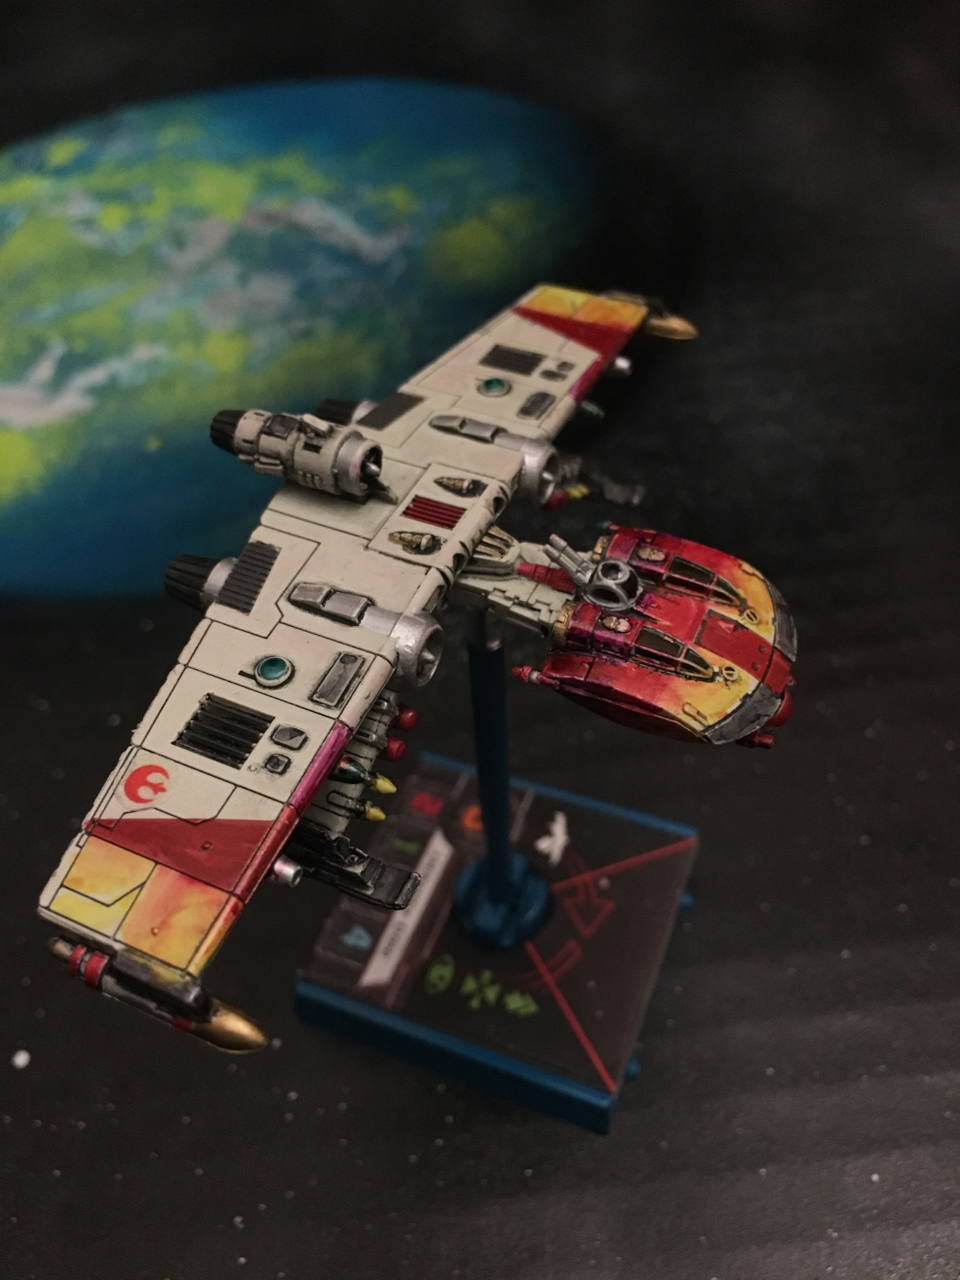
Hi all. I used to play various Wizkids miniatures games that had plastic card pieces that you would punch out and assemble. Raceday, Pirates, and StarWars Pocketmodels. The models were preprinted with cool graphics, but the edges were always standing out (to me) in the white plastic. I bought a set of colored Sharpie markers and loved to match the printed color all around the white edges.

I know the results are not going to be nearly as nice as some of the remarkably awesome custom paint jobs I have seen on these forums. But, in less than 20 minutes, and for less than $20, you can still make something that can look pretty good.

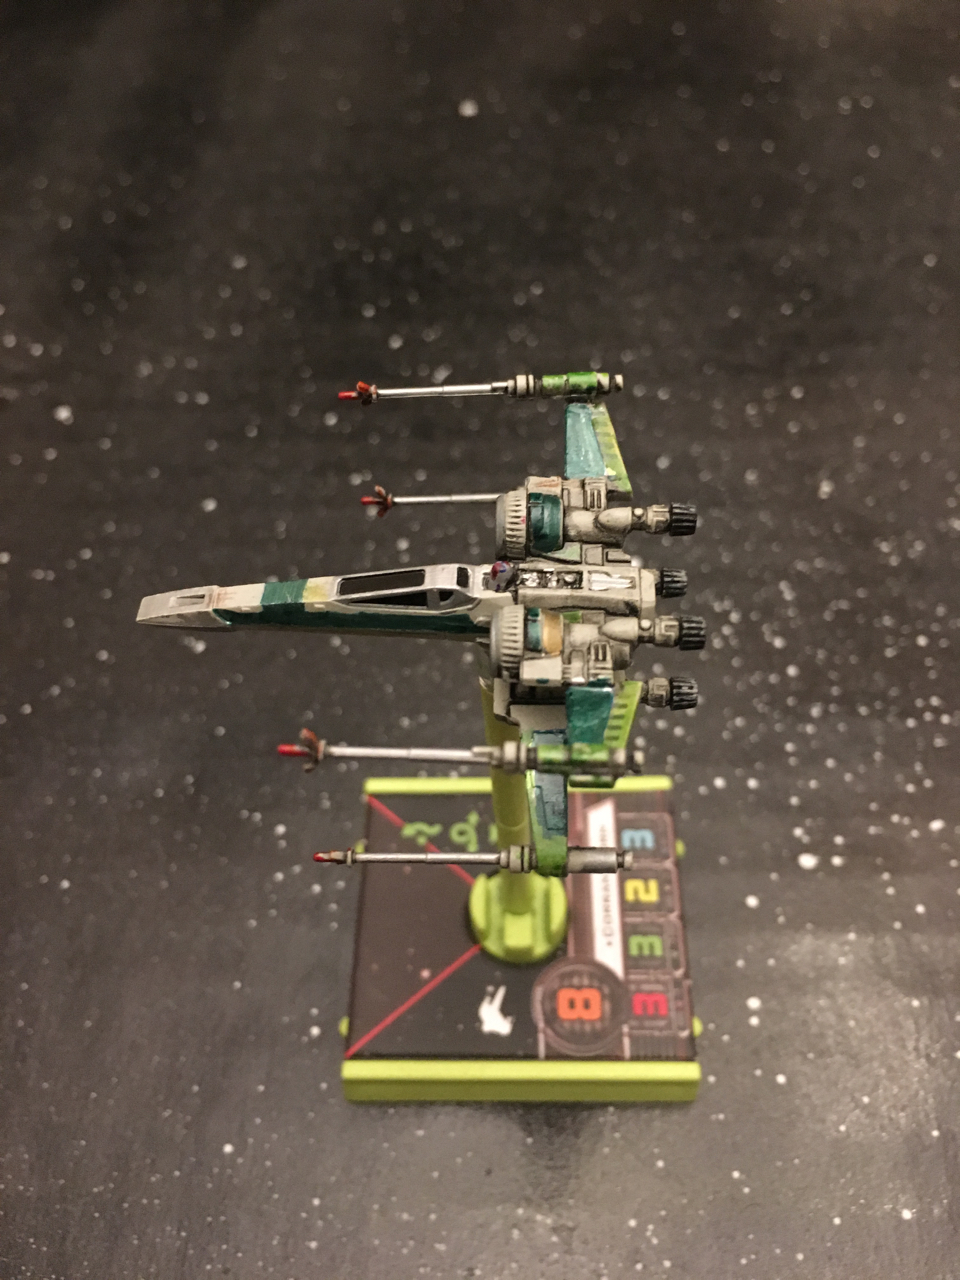
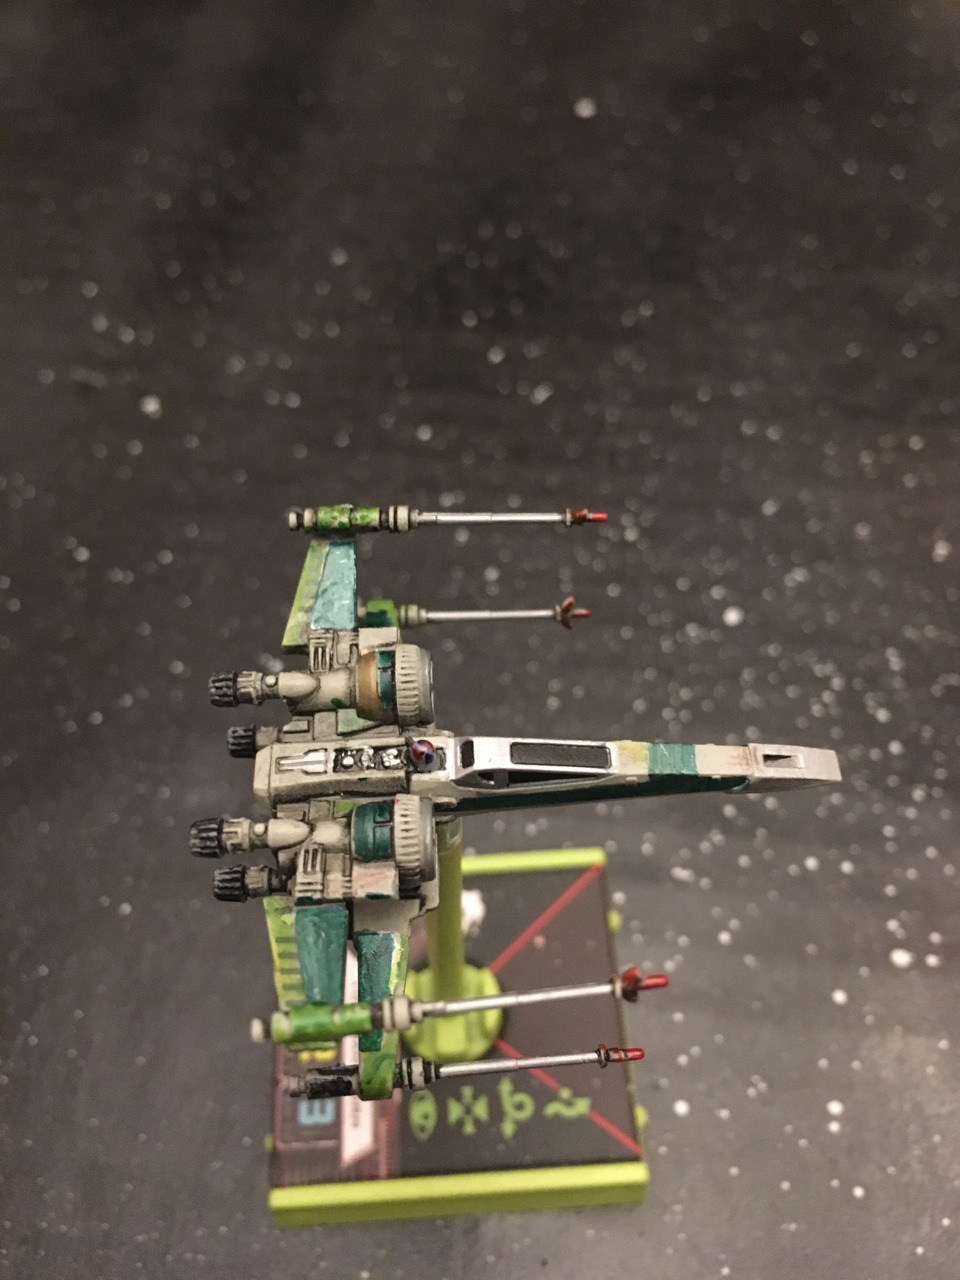
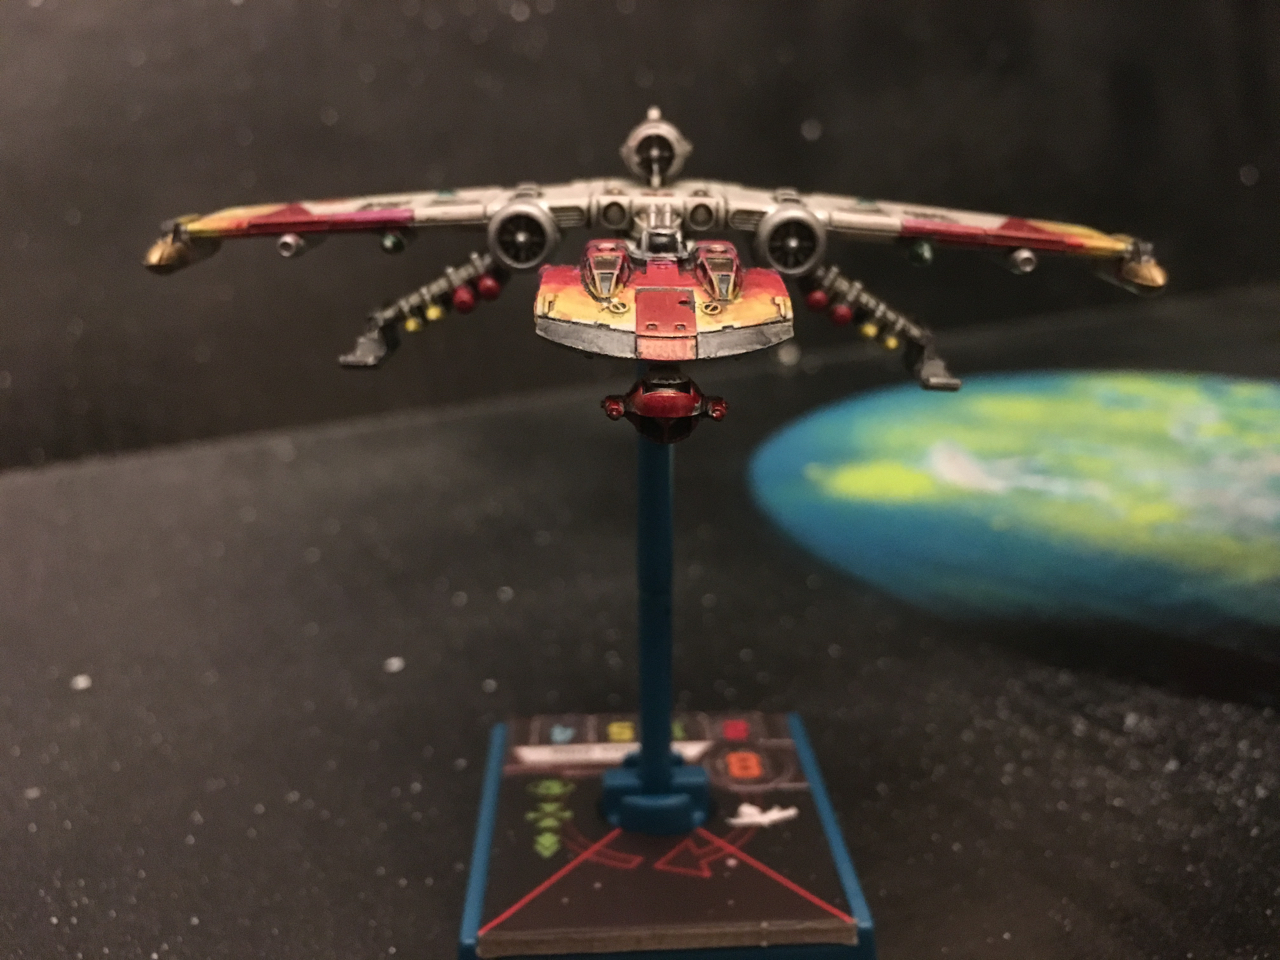
First up is my most amateurish. One of my sons loves anything green, and I love to fly Corran Horn. This is my take on a Cor-Sec T-70. I fly this model instead of his stock E-wing.

IMG_4345.jpg

IMG_4346.jpg

Great believer in anything you can use to colour that's not a paintbrush or airbrush :D

...Barry H's tutorial on working with pencils got me looking at other alternatives such as acrylic markers and metallic pens, which I can still manage to handle despite increasingly unsteady hands :rolleyes:

Looking forward to seeing more of your "SharpieWorks" ;)

Next up is my Decimator. I posted lower res pictures under a previous thread.

For this one I just used a metallic gold & silver Sharpie for the raised bumps & conduits. I highlighted the window frames in silver, too. A red marker worked great for highlighting the guns and a little bit on the black window panes. I used light blue for some of the little bumps and a little bit of symmetry.

I didn't want too much symmetry, so I did some of the panels in black, 1 in silver, and some with some pencil shading for a different shade of grey. Last, I added some scorch marks but overdid it a little bit.

IMG_4347.jpg

IMG_4348.jpg

IMG_4350.jpg

Last, I added some scorch marks but overdid it a little bit.

I think they look great...need to do something similar on one of my Scum Epic ships, but will probably try some home made decals as don't think I would manage any freehand that look as good as yours or others on here ;)

Great to see more Ideas on the Forum with regards to adding that little extra something

to personalise your ships.

Great work.

All the best,

Barry.

This is the one I am most proud of. To blend in the colors in the cockpit I used 2 colors, a reddish purple and yellow.

I used the darker reddish purple color on the back panels of the cockpit first, and the lighter yellow on the front panels second. I then used the lighter yellow marker tip to drag and blend the back panel color towards the front.

I used a similar technique on the wings, where I had light yellow in the back panels, blended into an orange / red.

The rebel logo is a tiny sticker I have left over from my StarWars Pocketmodels game. For one of the expansion sets they included little sticker sheets which work great for X-Wing.

IMG_4340.jpg

IMG_4341.jpg

IMG_4342.jpg

IMG_4343.jpg

Edited by No Pickles

15326387_10211209991027870_8763279032065

I trimmed up this ARC using a combination of furniture markers, permanent markers and washes. They work excellent in combination with other painting methods and types.

With metallic markers, do you still use a sealer like you would paint?

EDIT: You did. I just read your post in your other thread :) Thanks!

Edited by almagester

With metallic markers, do you still use a sealer like you would paint?

EDIT: You did. I just read your post in your other thread :) Thanks!

Edited by No Pickles

They all look really good! I found Sharpies were a really good way to do smooth straight lines, adding things like Roman numerals for squad numbers and colouring cockpits. Was considering doing a full model in them but was scared it would ruin it. Thanks for the share, will have to give it a go.

Very well done!

Very well done!

Thanks. This forum has been a great source of inspiration.

My decloaking Phantom

IMG_4352-e1483670825951.jpg

IMG_4351-e1483670790141.jpg

Edited by No Pickles

I love your use of asymmetry on the T-70 s engine cowling; I just now noticed that. Great detail! I also have a couple more questions. First, what did you use for the white lining on the Phantom? Paint pen? Second, have you found yourself making mistakes with the pens which need 'erasing'? If so, do you need to use any cleaner?

Edited by almagester

I love your use of asymmetry on the T-70 s engine cowling; I just now noticed that. Great detail! I also have a couple more questions. First, what did you use for the white lining on the Phantom? Paint pen? Second, have you found yourself making mistakes with the pens which need 'erasing'? If so, do you need to use any cleaner?

I used a fine tipped silver paint pen. It's hard to see in the photo but i also went over the border of the silver and black with a light blue.

When experimenting with color blends, I'll try out the colors on a paper first. Then I'll work on the underside of the model, so if it looks bad no one would see it.

If I make a mistake, I'll paint over it with a broad tip silver marker, and once that is dry I can apply a different color. I had to apply silver to the T-70 wings first, to mask the dark blue.

My newest creation: The Aluminum Falcon

After modding my extra YT-1300, I spray painted it in metallic aluminum. All the rivets and weathering were done with Sharpie markers.

I lost the top of the cockpit dome so I filled it in with green stuff.

What-the-Hell-is-an-Aluminum-Falcon-Fron

IMG_4362-e1484005794139.jpg

IMG_4361-e1484005774610.jpg

IMG_4360-e1484005757616.jpg

Edited by No Pickles

If only that card were real!

Dat Aluminum Falcon cockpit... :lol:

Haha nicely done!

Dat Aluminum Falcon cockpit... :lol:

I know it's kind of janky... I didn't have the patience to overfill it and sand it down once it dried. I waited about 2 hours and it still sunk in a little when I touched it.

Dat Aluminum Falcon cockpit... :lol:

I know it's kind of janky... I didn't have the patience to overfill it and sand it down once it dried. I waited about 2 hours and it still sunk in a little when I touched it.

Not janky...I just have a filthy mind

The Decimator and the Phantom both look great!

I've done a little bit of miniatures painting before but I haven't tried modding any of my X-Wing stuff yet...

More inspiration! :)

Thanks for posting!