So I am in no ways the inventor of this style of list, that goes to Clontrooper5 of course but I do think I have learned enough about it and made it my own style that I can write a somewhat long winded guide on what the actual style is, how to use it, and why it is so effective. Many people refer to it as DeMSU, Demolisher + Multiple small units. It also has been getting a little of a reputation as being Cheese, overpowered, and the dreaded, netlist that takes no skill. I think these are all way overblown and while a fully decked out Demolisher titled gladiator is a force to be feared I don't think it is the end all be all overpowered wins all tournaments list. It has its weaknesses and if you don't know how to utilize the very fragile Raiders it won't matter.
First I want to go into the concepts of the list and what makes it so powerful, then I will give my defense of the Clonisher(DeMSU) list.
The Fleet:
I have come around to my current list below after lots of testing. It has 2 Gladiators that pack the most punch, Demo kitted out in what has been dubbed the Clonisher build with OE, ET, Expanded Launchers, Intel, and Demo of course. I also run a 2nd Gladiator with APT's, Intel, OE, and ET's. I have 3 Raiders, 2 with OE and APTs. I finish it off with 4 basic TIEs. Objectives are key and I may add later how to approach each but a lot has to do with your opponents fleet. A skilled player will give you nothing but bad options so you have to figure out which one will hurt you the least and could actually let you score some extra points. I will say in general never never never select superior positions. It is terrible for this list in the hands of a skilled player, absolutely terrible.
I almost always lead off with Screed in his generic Raider at the bottom middle of my deployment zone. Typically he is set to speed 1. This lets me see where they will deploy first and to what side of the board. After that its either my 4 ties dropping down or another Raider if I need to wait and see where a heavy bomber force is being deployed. I then have the flexibility to try and get a picture of where my opponent will be going and how to cut them off. I almost always deploy Demo last as it's critical Demo is in a good spot that I will explain below. The best way I can explain it is that Demo is the dagger that strikes out and deals a critical blow. The Raiders are the bed of nails that the wounded enemy falls into after being crippled by Demo. I want to explain each ship and its role.
Demo:
She is the big hitter obviously and gives you the punch in this list. What she is not is some uber imbalanced ship that will let you win most of your games. If you don't position her in the right spot you will waste it. If you move her out too far ahead or move it out too slow you will waste it. Every game I am thinking, do I want Demo to cut off a ship, or do I want to flank one and then come up behind the enemy line/formation. You have to look at your opponents fleet and early deployments to anticipate if they are going to try and fly around you, fly through you, or just sit and turtle. Once you devise your plan you need to anticipate if you will make your first strike at the end of turn 1, turn 2, or even turn 3. This gives you the insight on your opening commands. Navigate commands are your friend and when in doubt just do a navigate command with Demo. I typically deploy at speed 2 and my first 2 commands are navigates. However if I am going up against an ISD or an MC80 I may put a concentrate fire command as my 2nd as you will need the extra dice to have a low chance to take them out in just 3 attacks. At the same time its critical you get your opening speed right so you arrive where you want to be and don't fly off the board or into a powerful side arc the next turn. The big thing is, pick your target, plan where you will intercept the target, and also plan your escape path.
2nd Gladiator and the 2 Killer Raiders:
If Demo is the dagger slashing out, the other 3 ships are the nails. The key with these ships is to cut off any escape and finish off any other ships. The key with these ships is they will often be facing some very bad arcs. How do you get a 4 hit point Raider with only 2 shields to survive an ISD or MC80's worst arcs? Well don't ever let them shoot at you other than at long range, and only because after that shot they will be moving into your close range. What I think is the most critical part about this list is making your opponent move into you. I pretty much spam navigates on my Raiders and take a token the opening round after deploying at speed 2. This lets me slow down or speed up and make sure I don't ever move a Raider into medium or close range of a big arc before it can shoot. I repeat never move into medium or closer range with a Raider unless it will shoot before the enemy ship. You must get used to measuring your opponents ranges and then move your Raider into a position where the enemy ship will be forced to move into your optimal firing range after they shoot at your Raider. If you do this wrong you will have a dead Raider and your big activation advantage will crumble and the list can start to fall apart. Lastly I can't stress enough how important it is to double arc. Basic I know but getting off that extra APT hit is crucial and those Raiders hit like a truck with a concentrate fire command double arced. Dishing out 6 damage from the front and 3 from the side with 2 additional face up hits to the hull is killer.
Screed's Raider
I use Screed in just a generic Raider to try and save points. Basically he is there to activate first often and stay behind the lines in a spot where the enemy is likely to try and break through. Even without OE and APT's he can still dish out some damage to a wounded ship who has managed to get past the wall in front. Be very careful to keep him out of harms way as a key part of the strategy is being able to aggressively re-roll black dice. Having the assurance of being able to turn 2 blanks into at least a hit/crit is extremely powerful and lets you get 8-11 damage rolls out of Demo.
Fighter Screen
(We who are about to die salute you!)
The generic TIE fighters in this list are here for a very basic reason. They are here to die. There main role is to just tie up enemy bombers for a turn or 2 preventing shots on Demo so it can get in the critical goal. Every time an enemy fighter shoots at your TIE that is a victory for you. Deploy them so they are able to assist and screen for Demo. Try to spread them out so no one intel ship can make them all heavy. I don't think my TIE pilots know how to land as they typically never make it out of my games alive.
Now that I have explained some basic aspects of the fleet I want to give my defense of the Clonisher and by that I mean it is not a one trick pony and actually takes a large amount of skill to play correctly.
The Defense.
This is a very very fragile list. You are using 5 small based ships with 4 or 5 hull, at most 3 shield with minimum defensive options, and all of your ships only kill at close range....I repeat close range. This is what makes this list take skill and is very less forgiving. You have to anticipate your opponents movements and position to be in the right place at the right time. If you fail to do that you will have Raiders blowing up and your opponent flying away into the sunset. Flying two ISD's or Rieeken with aces gives you a lot more mistake room compared to a DeMSU. This is the ultimate boom or bust type of list. That being said that is what makes this list so fun. To me this list rewards you for anticipating your opponents move and punishes you for making mistakes. I had an opponent this past weekend actually ask me "Do you ever feel cheep running Raiders?". I promptly replied "Nope". It is a play style that takes the fight to the enemy and puts lots of pressure on both players. I don't think there are any cheep strategies in this game as each has its strengths and weaknesses and ultimately the player who played better typically wins.
Comments on Counters:
A lot has been made of Rieeken and he is a good counter to some of the aspects of the fleet. What Rieeken takes away is the ability to activate last then activate first and destroy a ship removing it from the board. This renders the TRIPLE TAP strategy mute as the ship is still around to shoot, still around to block. When you combine this with an MC80 that is already hard to take out with a triple tap your Demo will often be toast at close range to an MC80's side arc. Goodbye 98 points! You can't play against Rieeken the same way as you would any other Admiral.
First if you are playing against Rieeken then you really don't need to be second player. If you have the choice often it is in your advantage to just be 2nd player and make them pic from your objectives. Why p lay into their hand and pick a crappy objective. Don't be locked into having to play first player and thinking if you cant activate last and attack first you are doomed! You still have one big advantage that you have a ship that can move then shoot. Going second gives you even more activations after they are done activating. Against a 2 or 3 ship list that is huge. Even against a 5 ship Rieeken list you will still get last activation letting you use Demo to move up and kill something after it has activated. In the AAR below I faced a 5 ships TRC 90 list with Rieeken. Demo can one shot TRC-90's pretty easy so I chose to go 2nd giving me last activation.
One Rieeken list that you still need to go first against is a toilet bowl swirling list that flies around the board edges using rebel aces to bomb you. You still need to go first in order to catch up with the rear ship with Demo and/or use your other ships to block the conga line. It's key you use your 2nd Gladiator and other Raiders to cut off escape on the side of the board and also cut off escape to the middle if they dive south. Their fighters can't defend the top of the line and the rear at the same time. Use Demo to chase, others to block.
One effective way to go at this list is to Speed up and charge right at it. Basically, force the person using it to make hard decisions. Activate Demo first, lose 2 Raiders to an MC30 or ISD. If you try to slow roll this list you will likely get crushed. That being said if you see your opponent deploy at speed 3 and charging right into you plan ahead and slow your Raiders to speed 1 opening turn. Let them dash out and overextend for Demo to take advantage. an Ozzel list or someone banking Nav commands and tokens could make this difficult on the counter to that.
Against a list that has more activations than you changes your strategy. That is why going 2nd can be a good thing providing they are not also a DeMSU. Prioritize taking out one of their small ships with Demo to even the activation advantage. I have yet to play a mirror match so I can't speak to this but my guess is deploy with Demo in the rear and make sure everyone has a flanking support.
Maybe it was that comment made by someone this weekend that made me want to even right this overblown rambling post but hopefully 1 or 2 people will find this useful.
Fighter Screen
Edited by BMcDonald7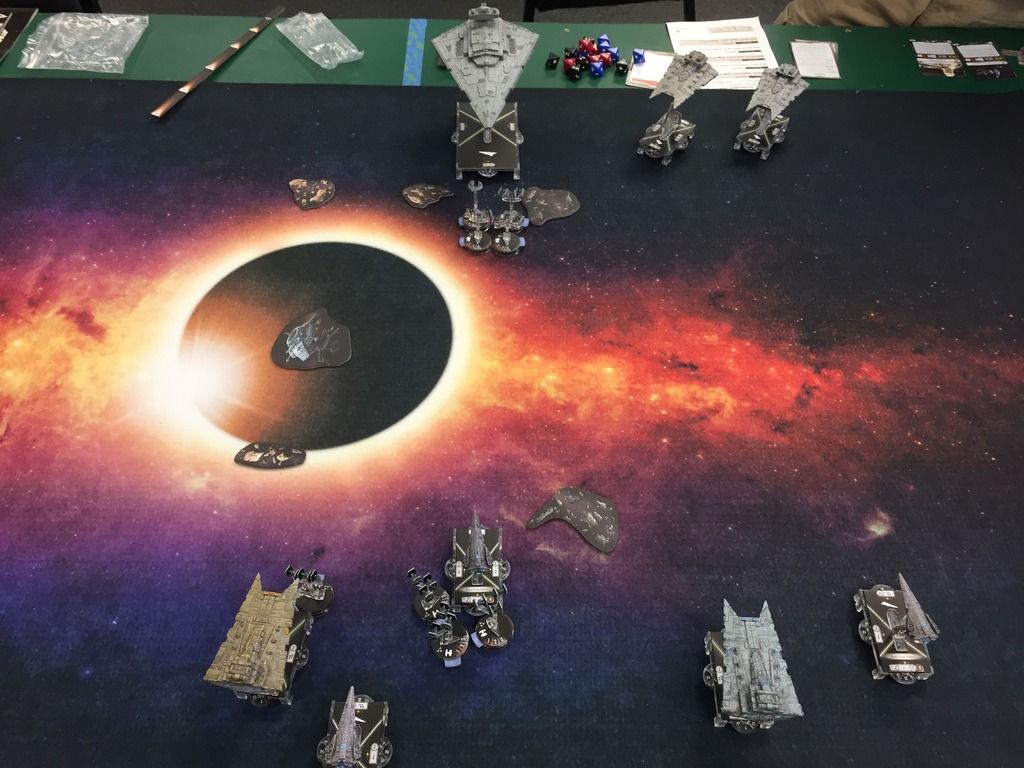
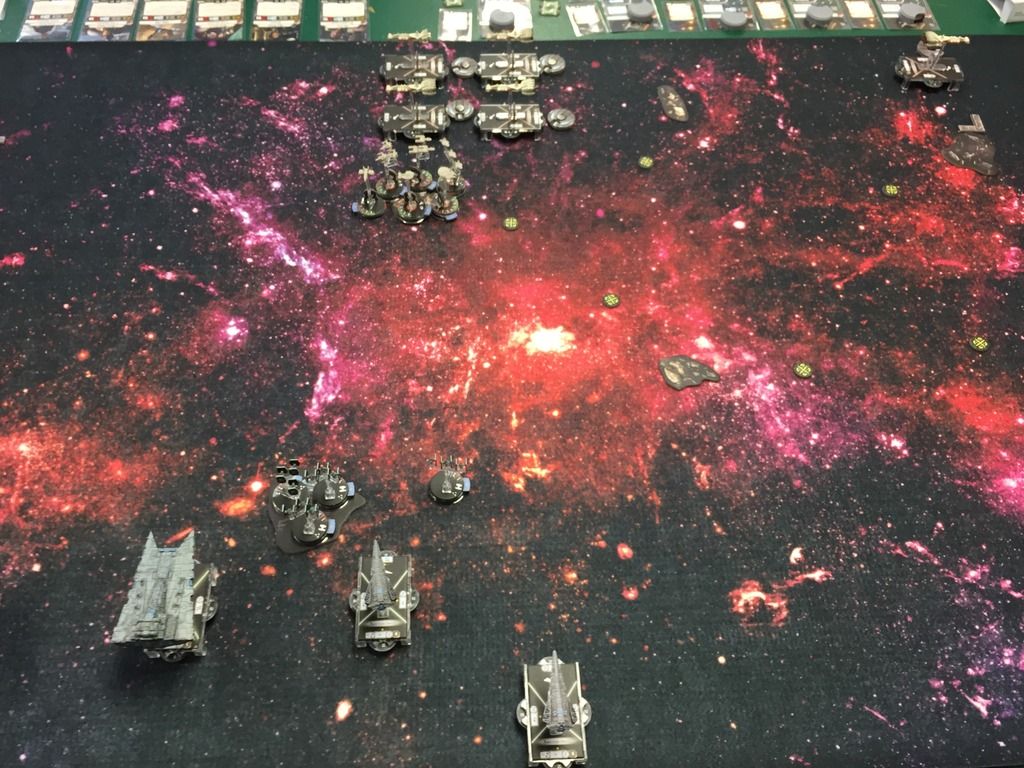
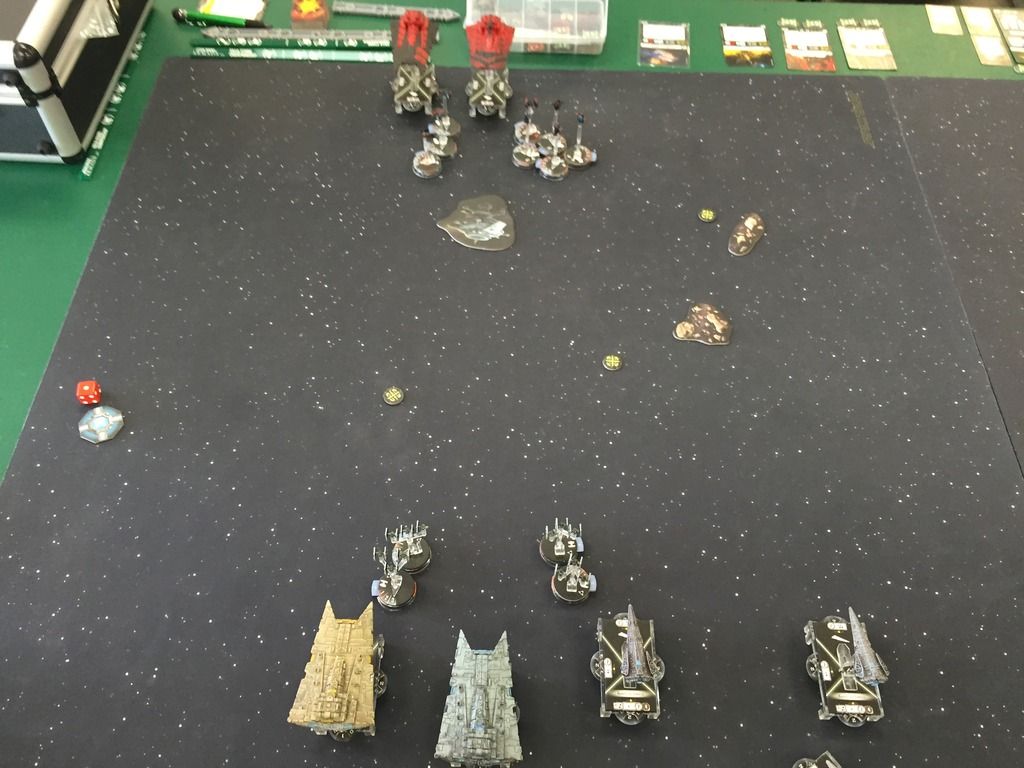 I knew I needed to go slow on this one moving up and keeping good arcs on his tokens to give him no good options on where to deploy Demo. I moved my 2 glads out with the fighter escort and positioned my raiders to move in behind to cover the rear.
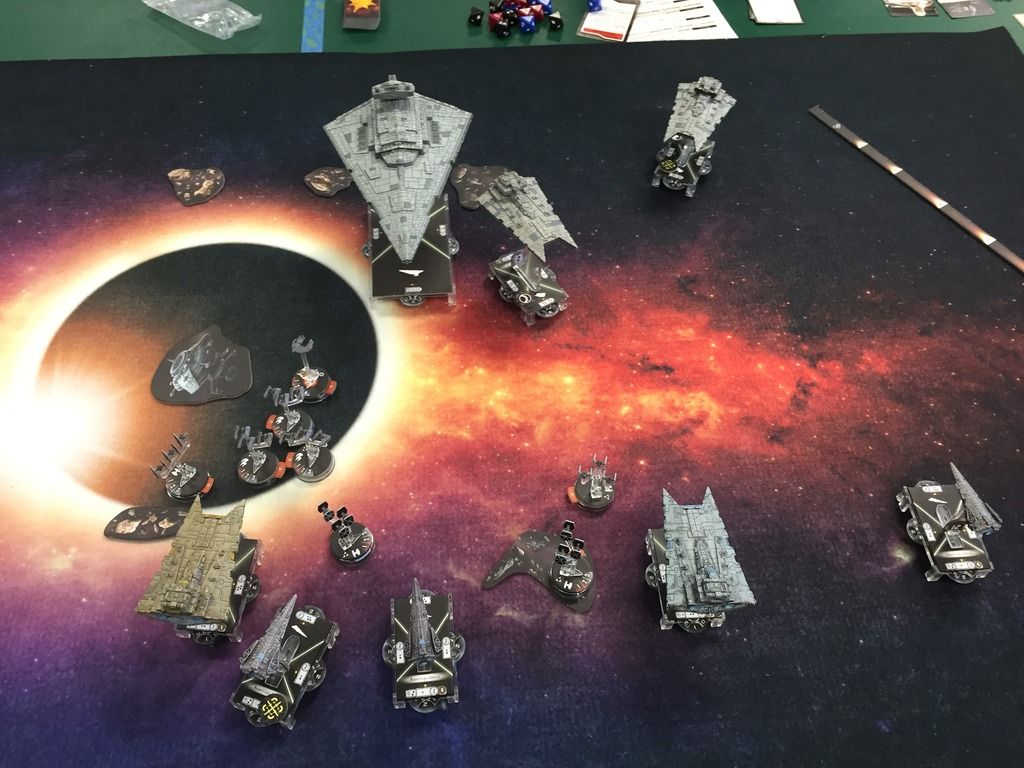
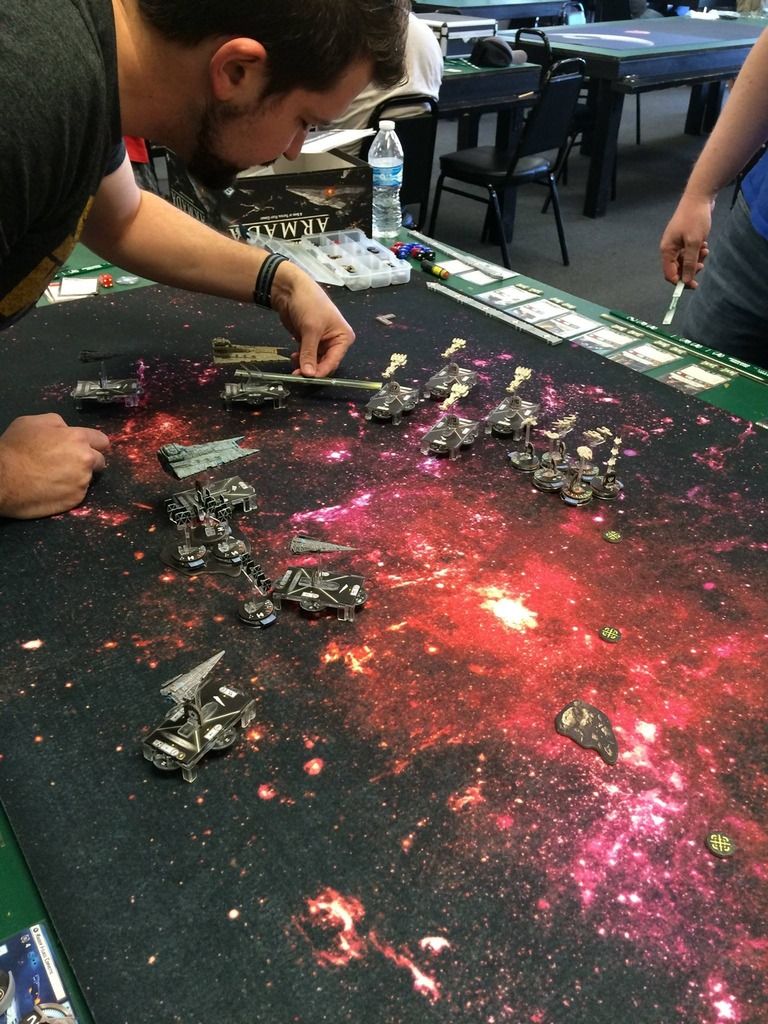
 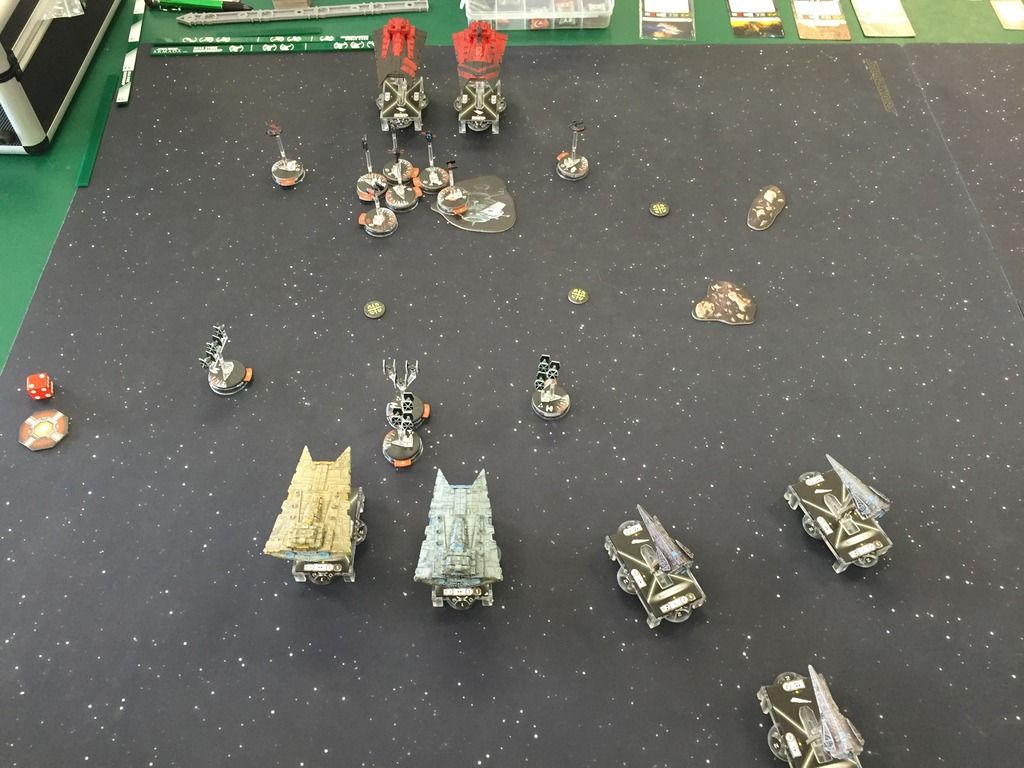 At the start of turn 2 he chose not to deploy Demo. He lowered Tarkin's Glad on the left to speed 0 and Demo was just out of range to make a 4 speed assault so I chose to keep demo back. He moved his left jumpmaster forward and tied up my ties and then proceeded to make a bombing run with Rymer and some of the Firesprays. He was rolling pretty good and most of Demo's front shields were gone. I noticed I had an opportunity to move my 2nd Gladiator forward and get just outside of close range to his right Glad letting it move into range of my Glad so I moved it forward. This let me keep Demo back to still keep a good arc on one of the tokens and move up my raiders to cover the others.
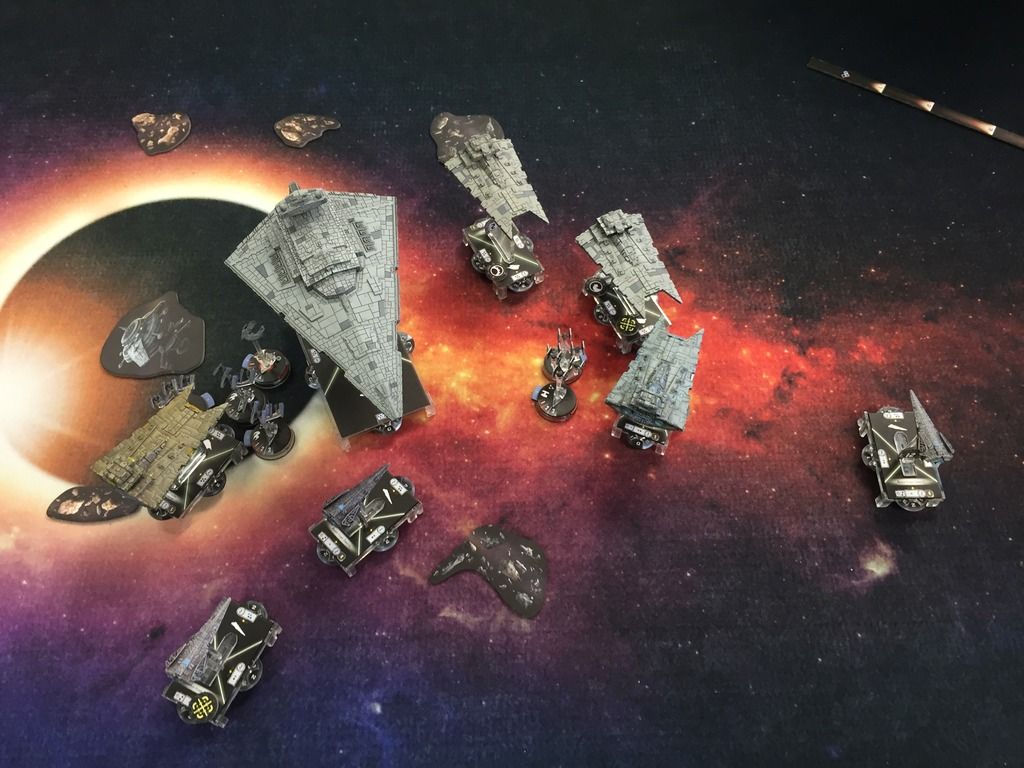
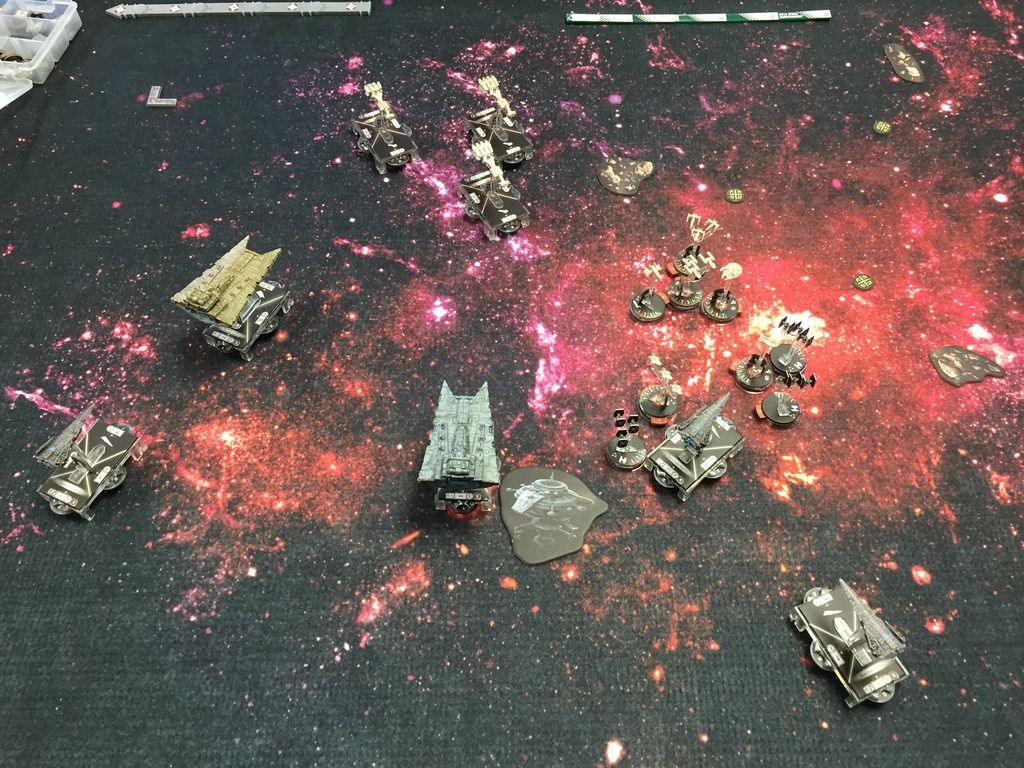
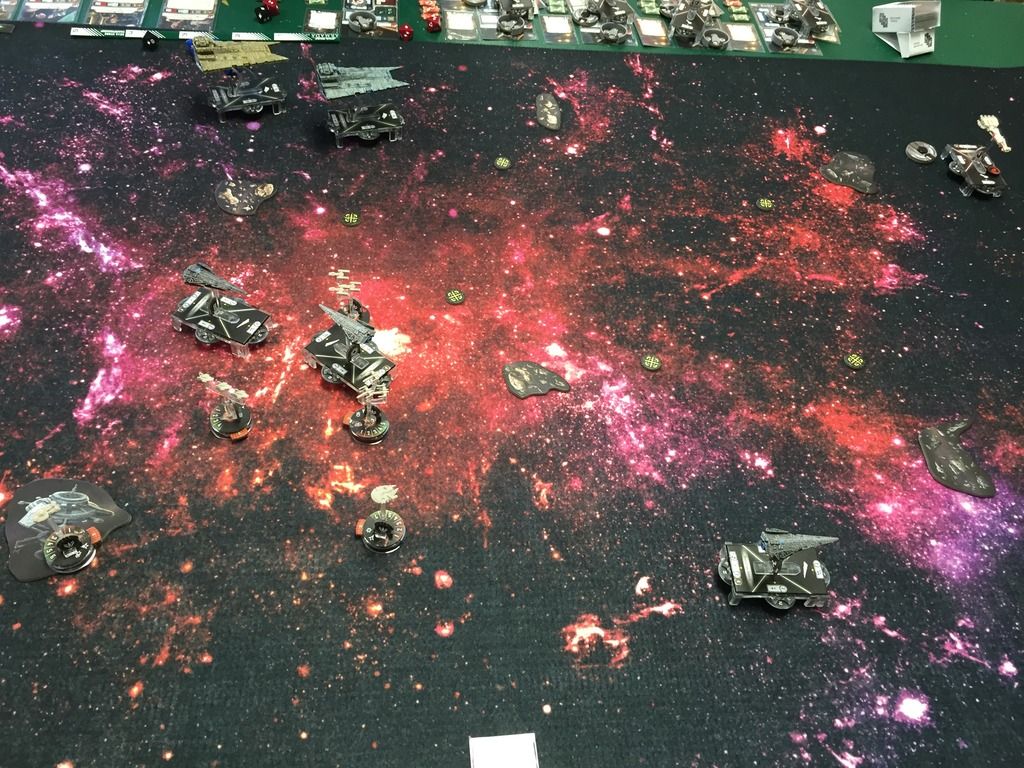
 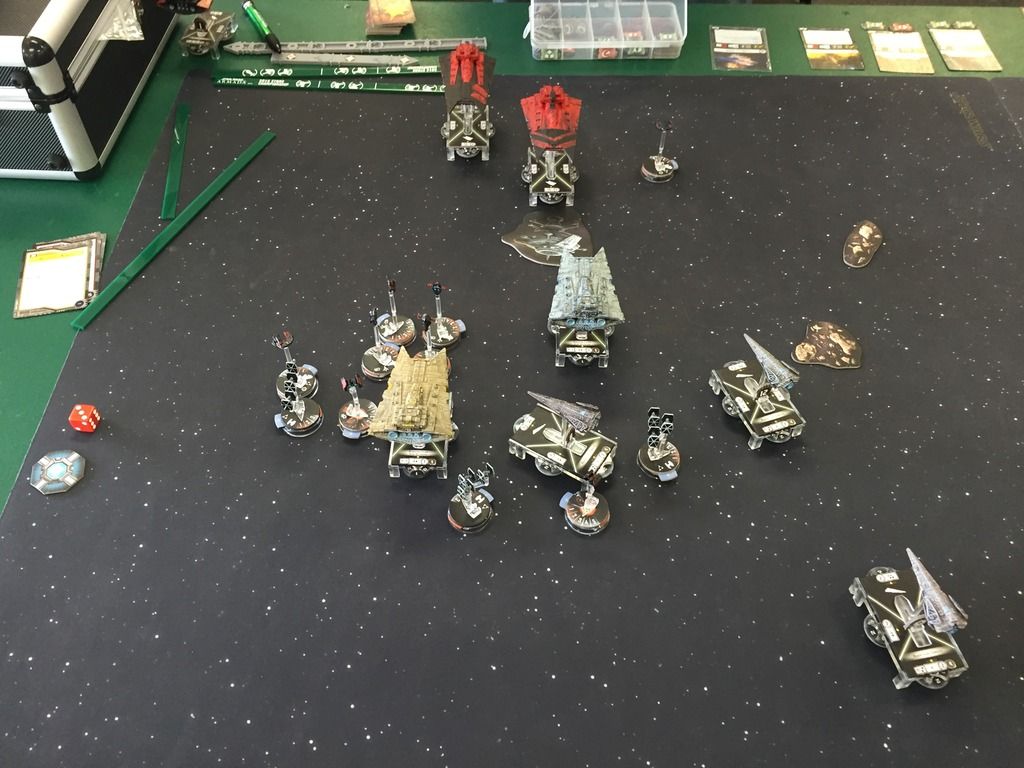 So I forgot to take a picture right as he deployed his Demo just to the right of my Demolisher pointed right at my ship. He had a very small area to deploy and gave my center raider a double arc shot on the rear of his Demo. I activated my Raider and got off some good rolls and 2 APT's doomed his Demo and it blew up without getting to fire a shot. He now had no good options and had to move his right Glad off to the right but still within range of my Glad and my right Raider so it met its demise. I moved Demo up to get off shots on Tarkin's Glad before she blew up to his Fireball.
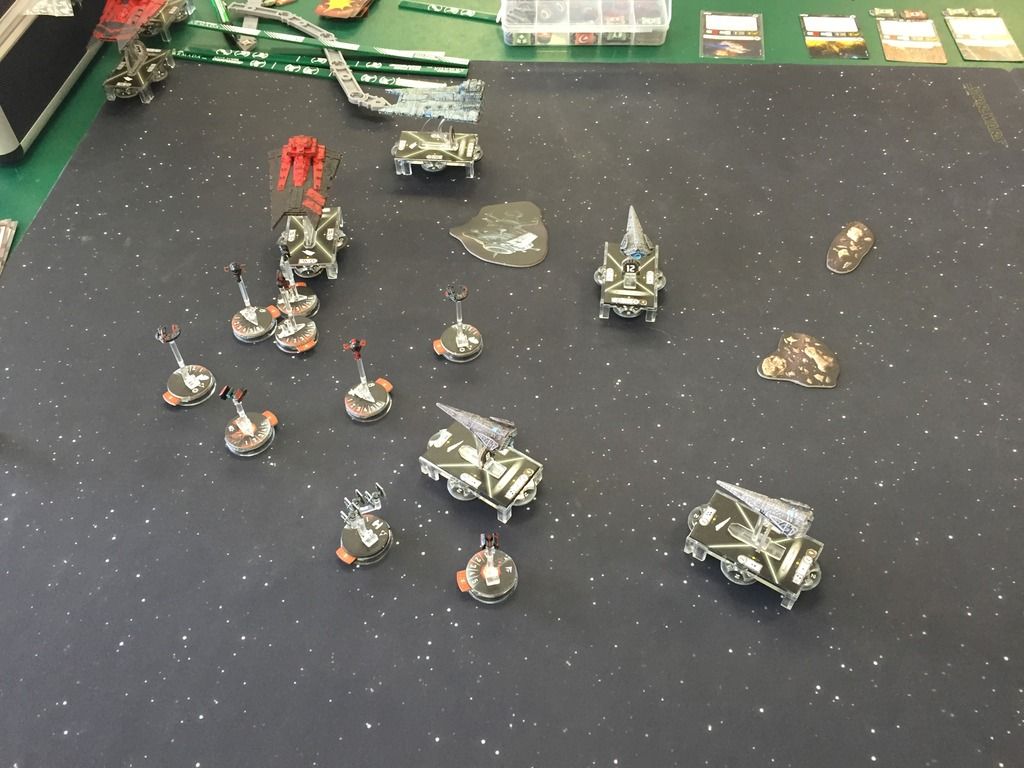
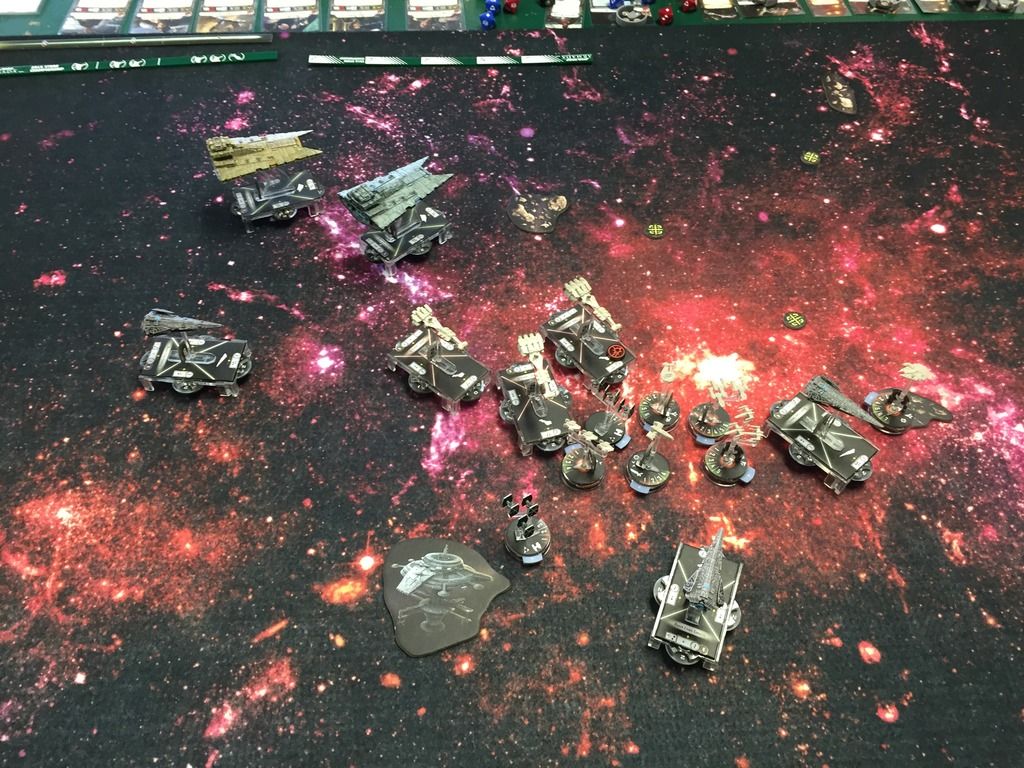 (3 Zombie TRC-90's) His squads did some damage and killed my fighters but it wasn't enough to put serious hurt on any of my ships.
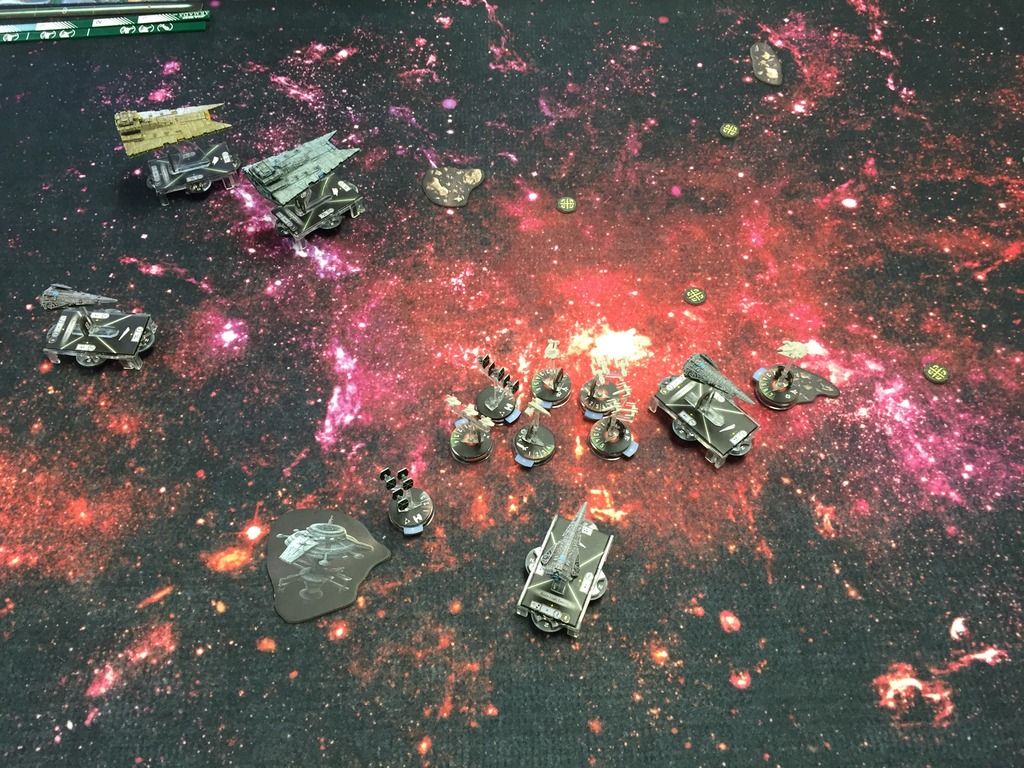
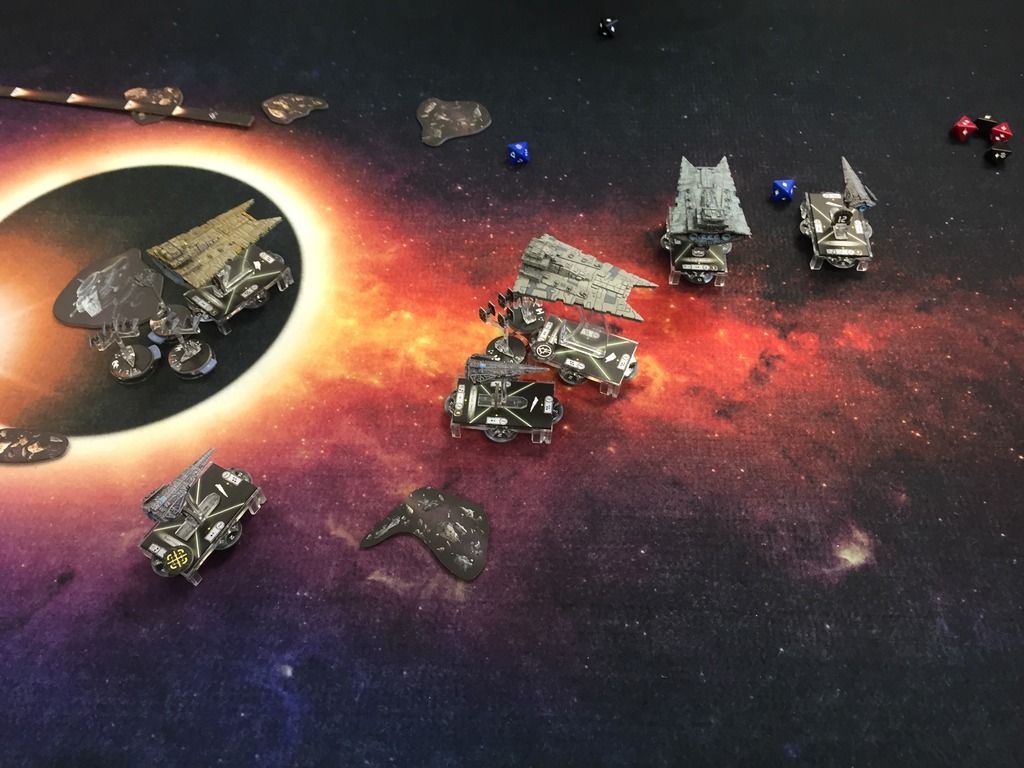
 My Raiders chewed up his squads and he made a run with them. I proceeded to race around the corner but we chose to call the game and end it there. I secured an 8-2 around 200 or so MOV giving me the Regional win.