Hi
I need please your point of view.
R5-K6 is no more present in the v2. Should I design a R5-K6 for v2 or should I use a regular R5 astromech for Garven Dreis ?
Hi
I need please your point of view.
R5-K6 is no more present in the v2. Should I design a R5-K6 for v2 or should I use a regular R5 astromech for Garven Dreis ?
5 hours ago, Malburet said:Hi
I need please your point of view.
R5-K6 is no more present in the v2. Should I design a R5-K6 for v2 or should I use a regular R5 astromech for Garven Dreis ?
Either would be fine, but I think developing your own version of R5-K6 (or a 2nd edition version of the original) would be fun.
Thanks, have we change the dice roll of the v1 by two or three charges ?
Edited by MalburetOn 12/11/2018 at 6:52 AM, Malburet said:Thanks, have we change the dice roll of the v1 by two or three charges ?
I'm sorry, I don't understand the question. Would you please rephrase?
.Sorry... in V1 with R5-K6, after spending a target lock, you have to roll a defense dice, on a evade result you can acquire a target lock on the same ship.
I suggest to do the same but with two or three charges instead the dice roll.
Oh, that is a great idea! I would vote for 3 charges.
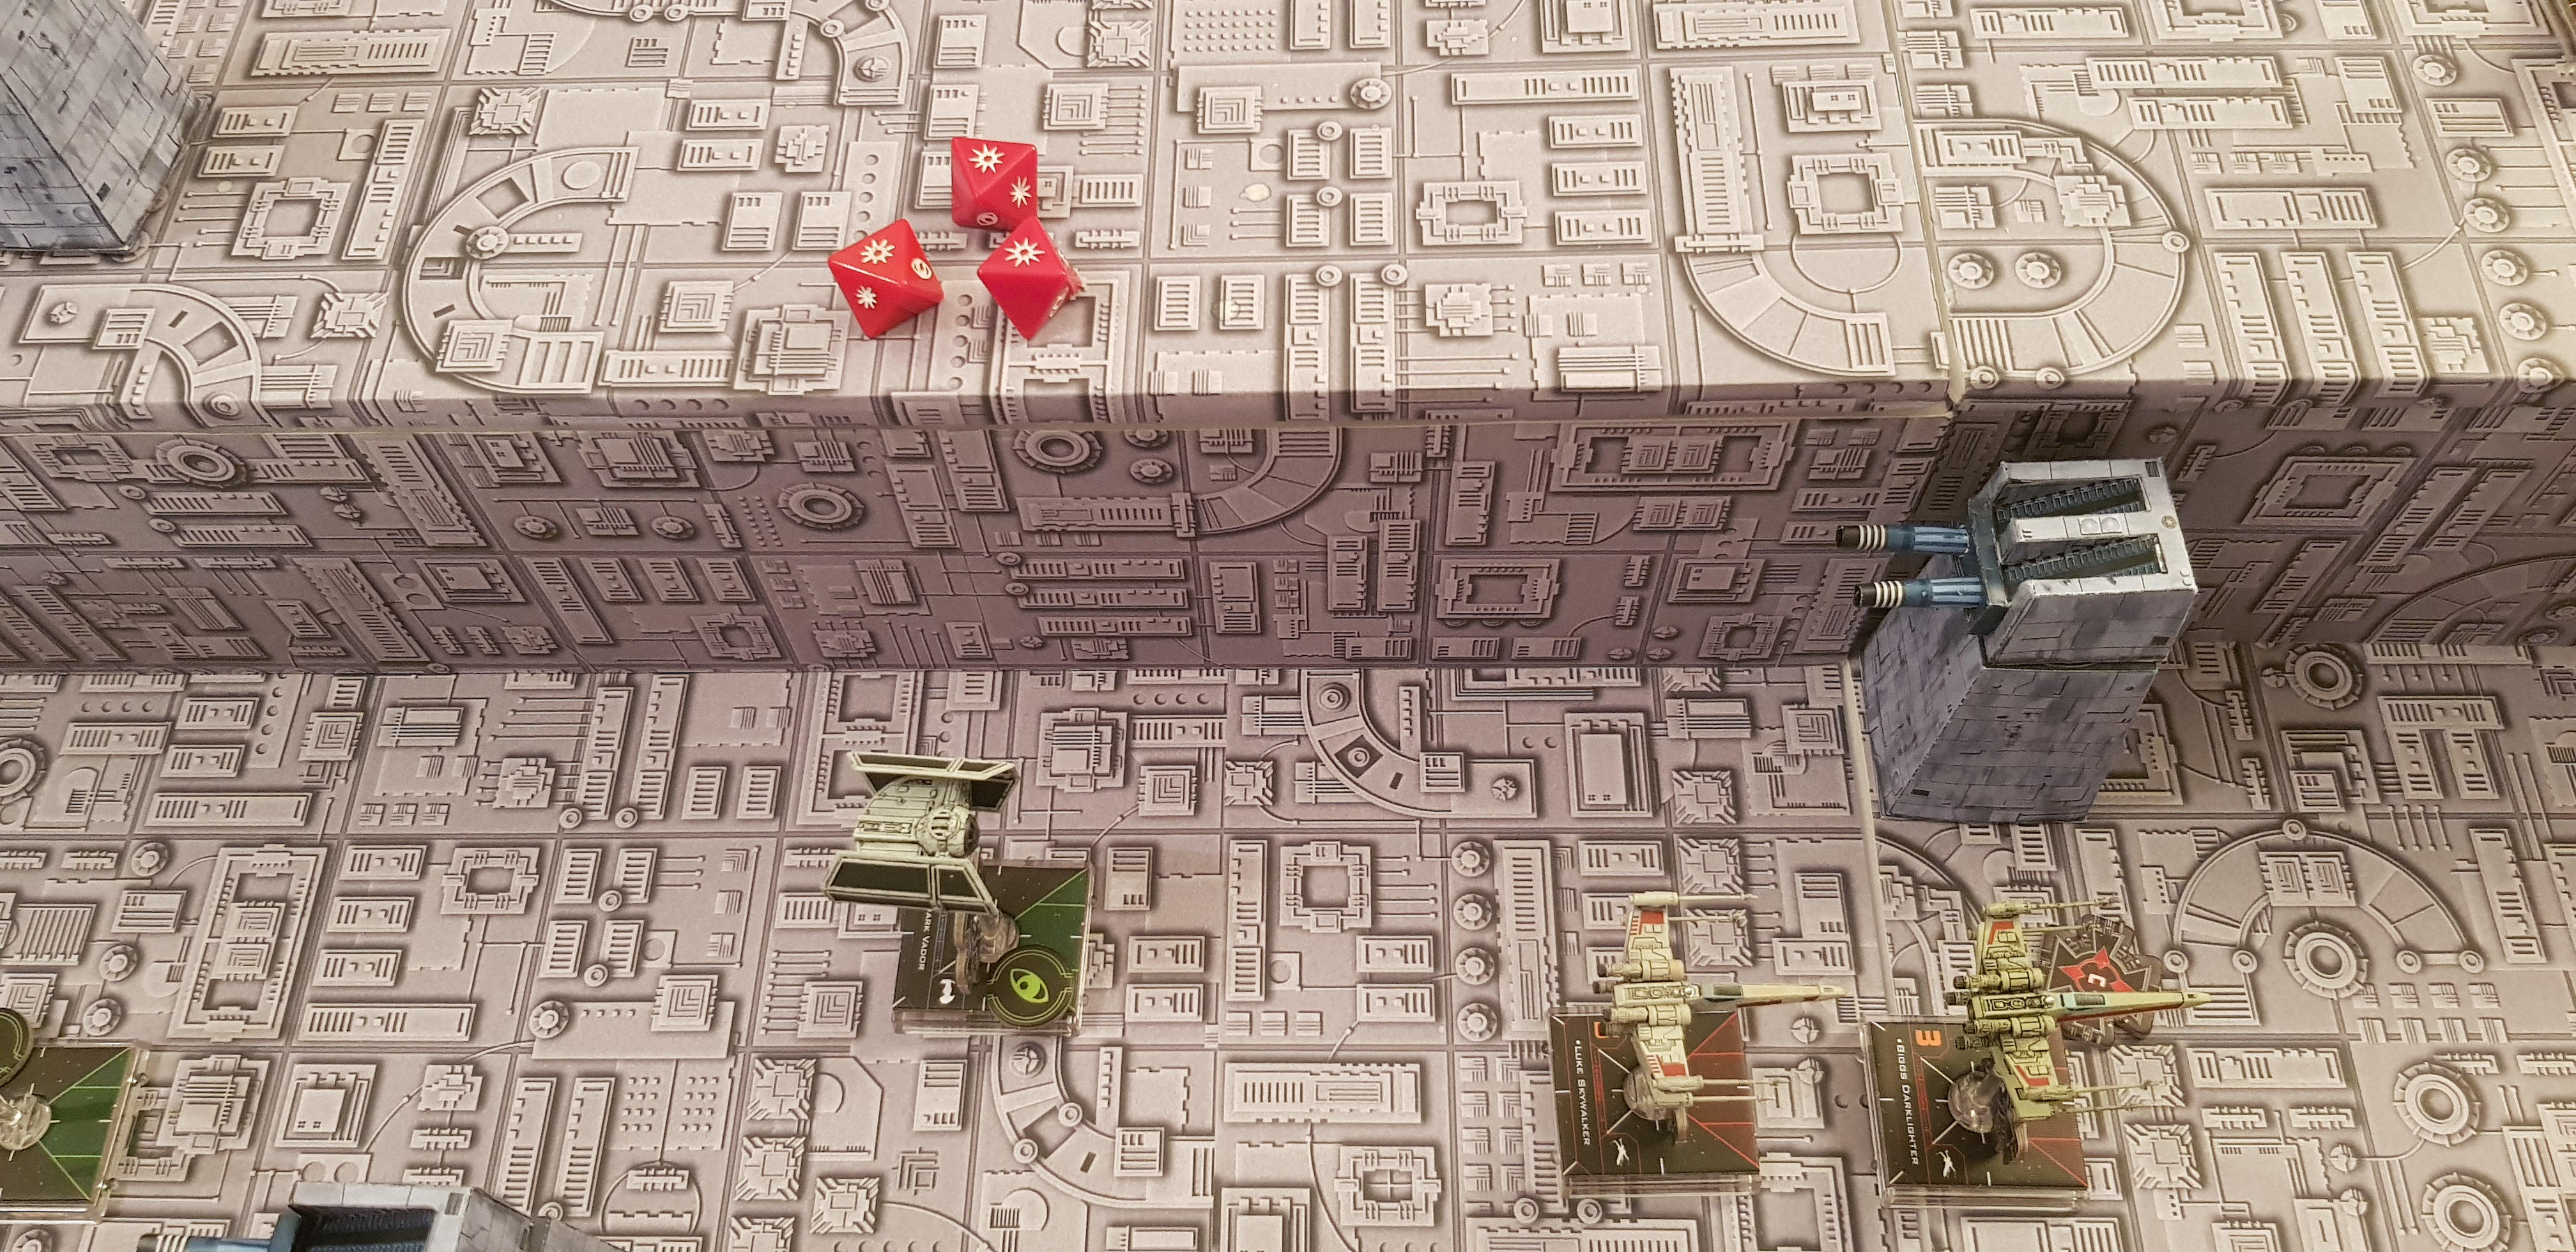
Hi, last week, we have played the 2J-UU’s Trench Run V2.0 scenario.
We had a lot of fun, thanks a lot.
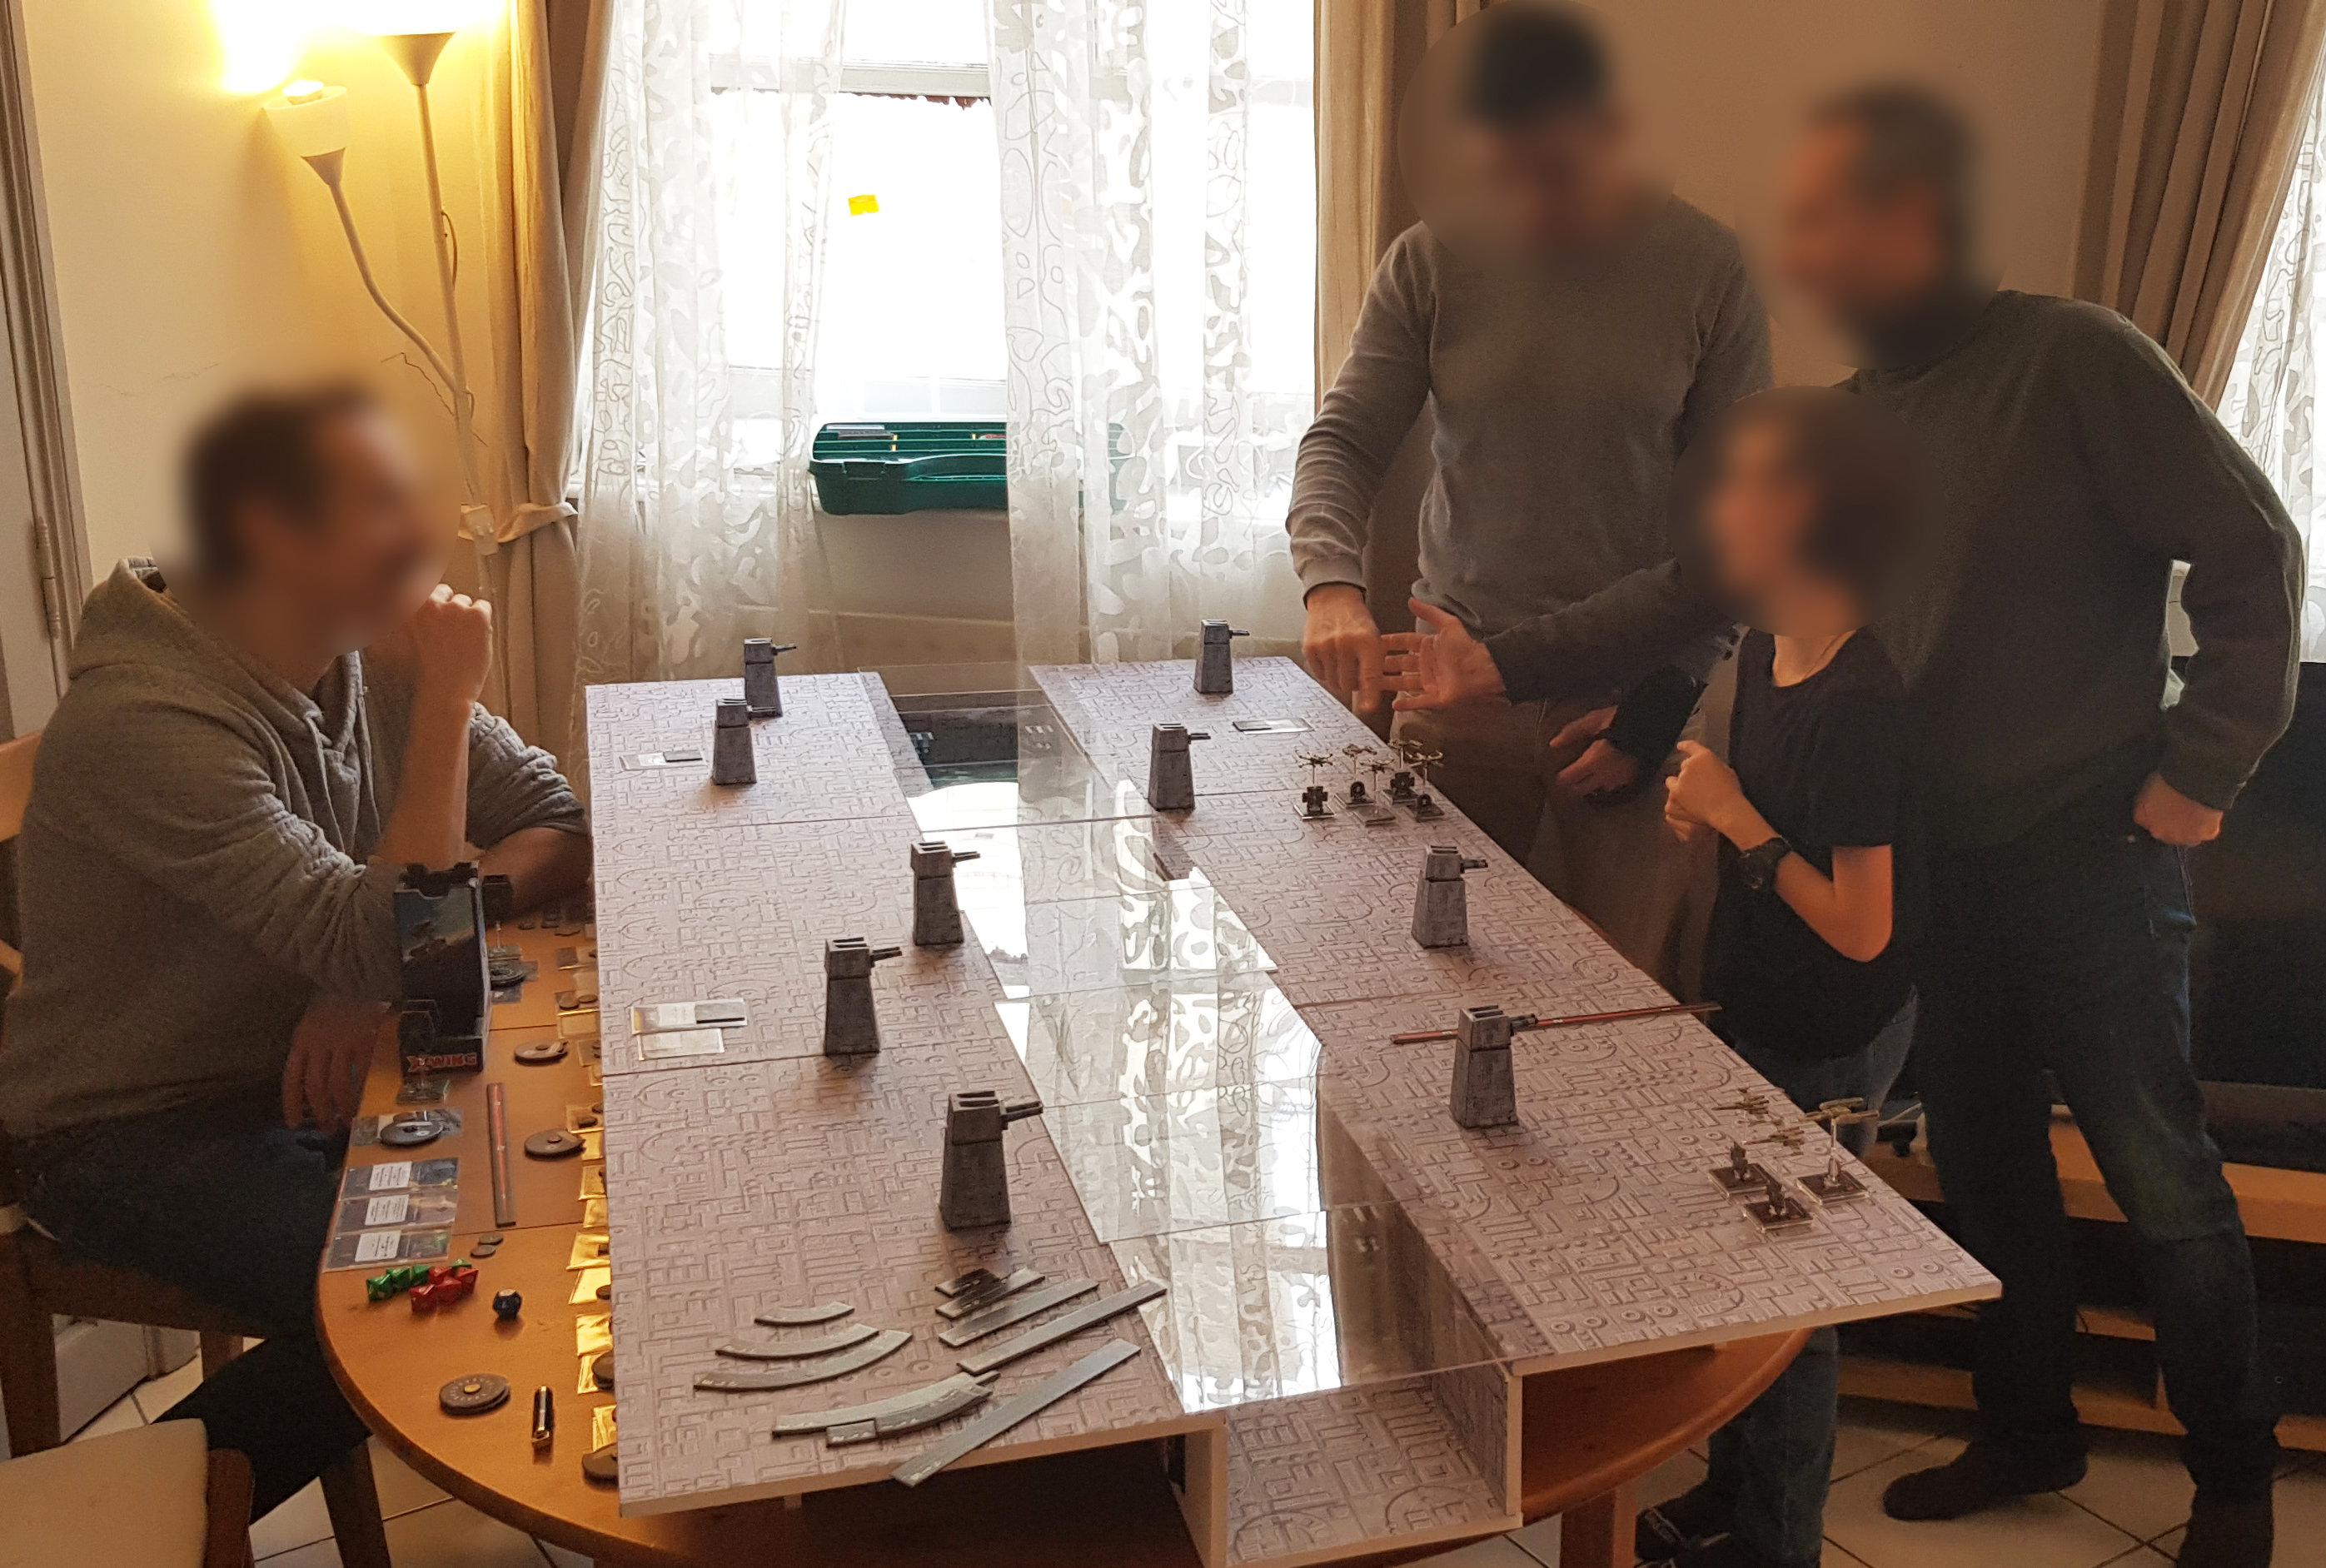
Here is a quick AAR/
The rebel players split their task force in two groups. Luke, Wedge, Biggs and one Y-wing to rush in the trench or support them, and the remaining of the ships had the mission to destroy the deflection tower.
As answer, the imperial player send Vader and Black 2 to 4 against Luke and his wingmen. The remaining Tie fighters against the other X-wing and Y-wing.
So the game was divided into two distinctive battles.
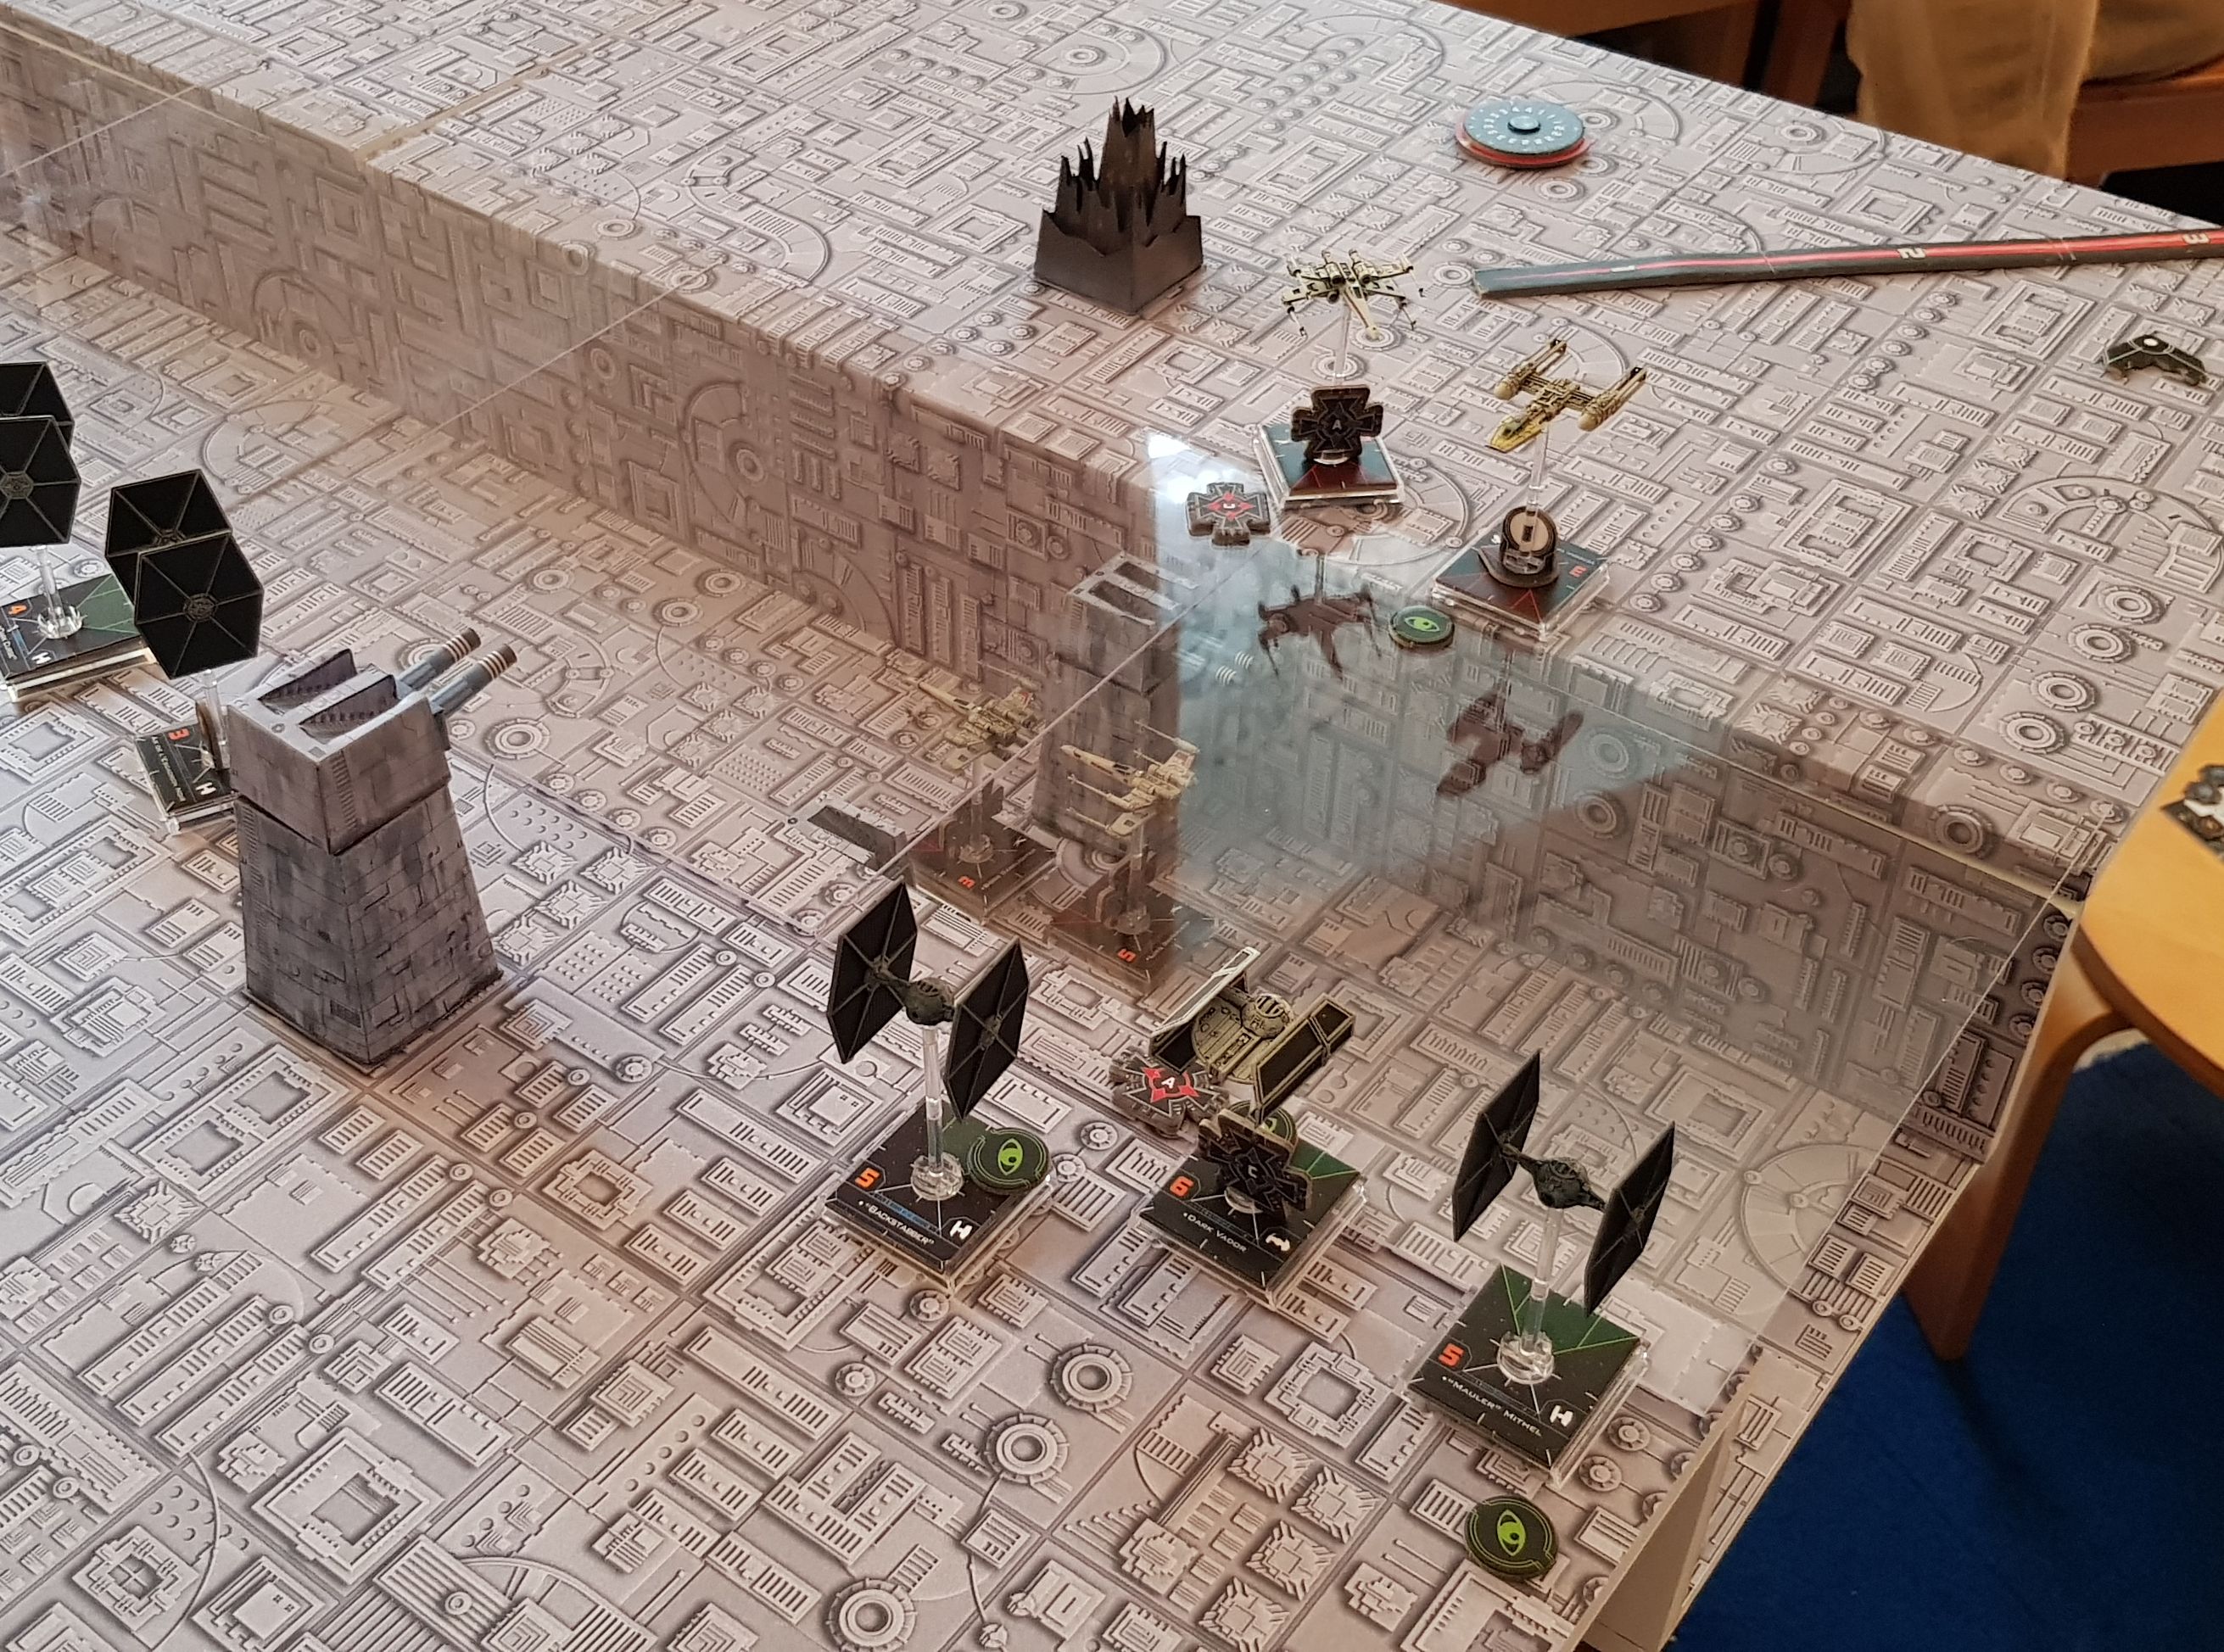
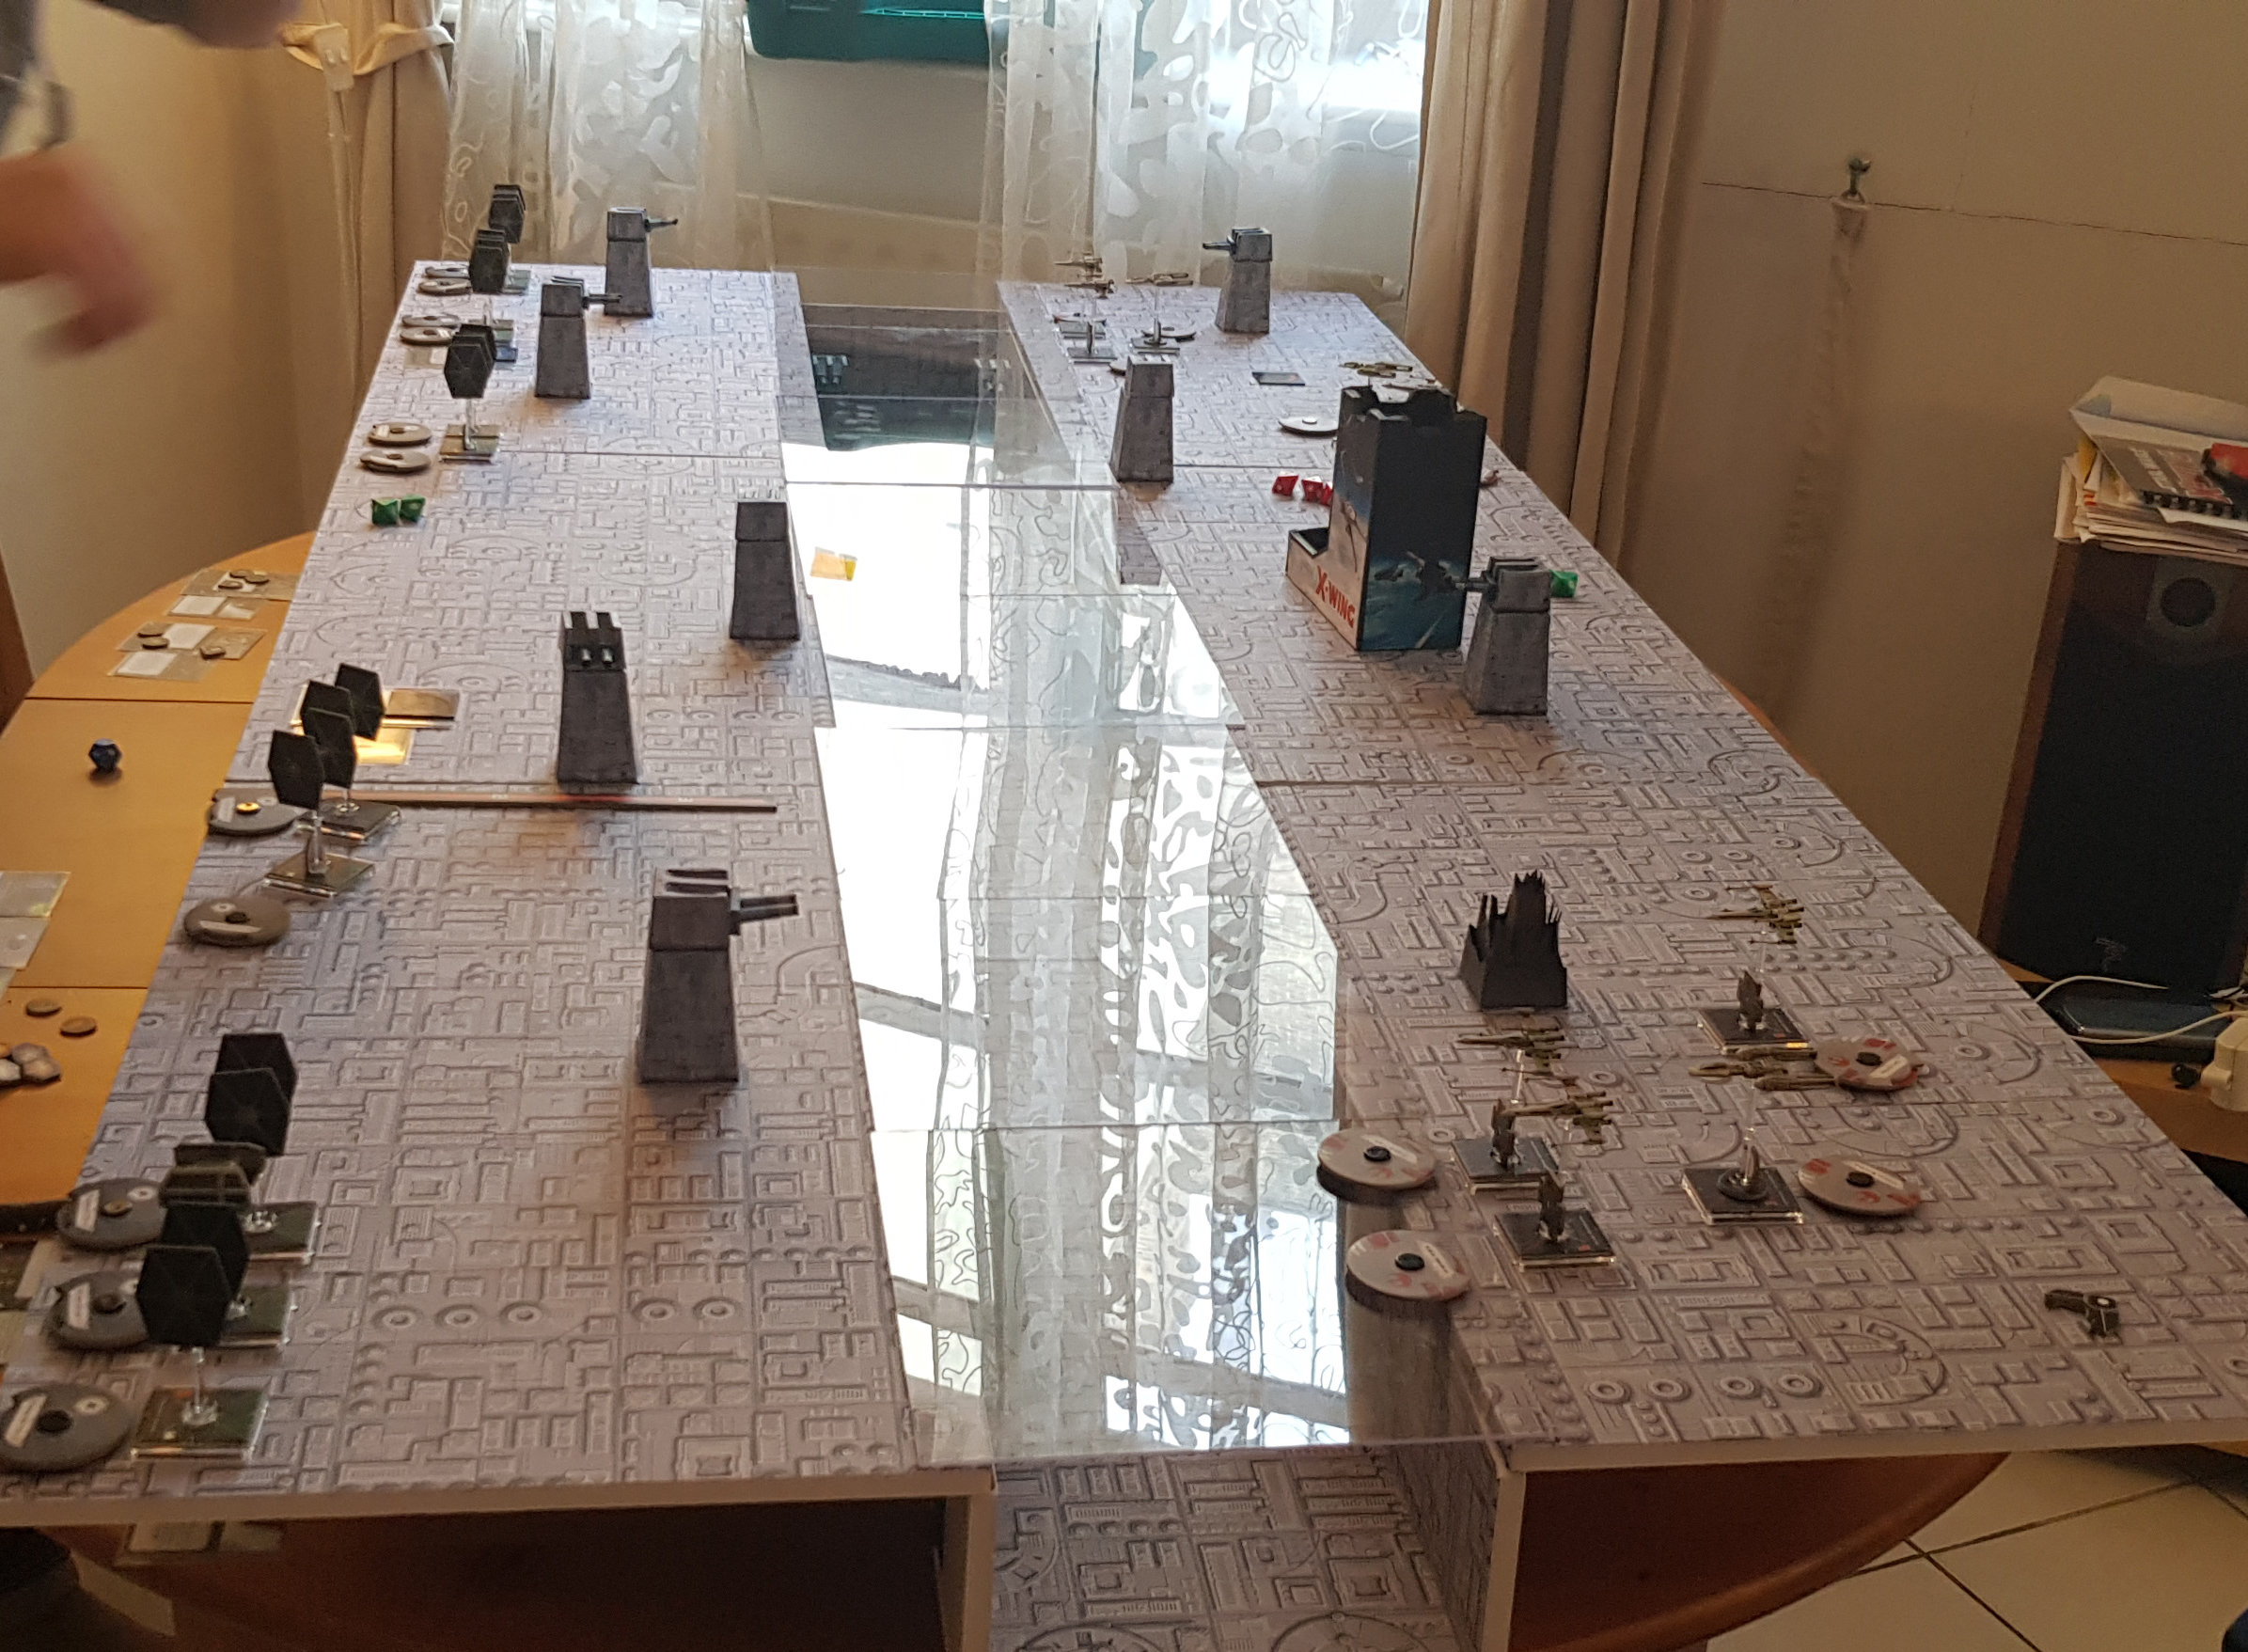
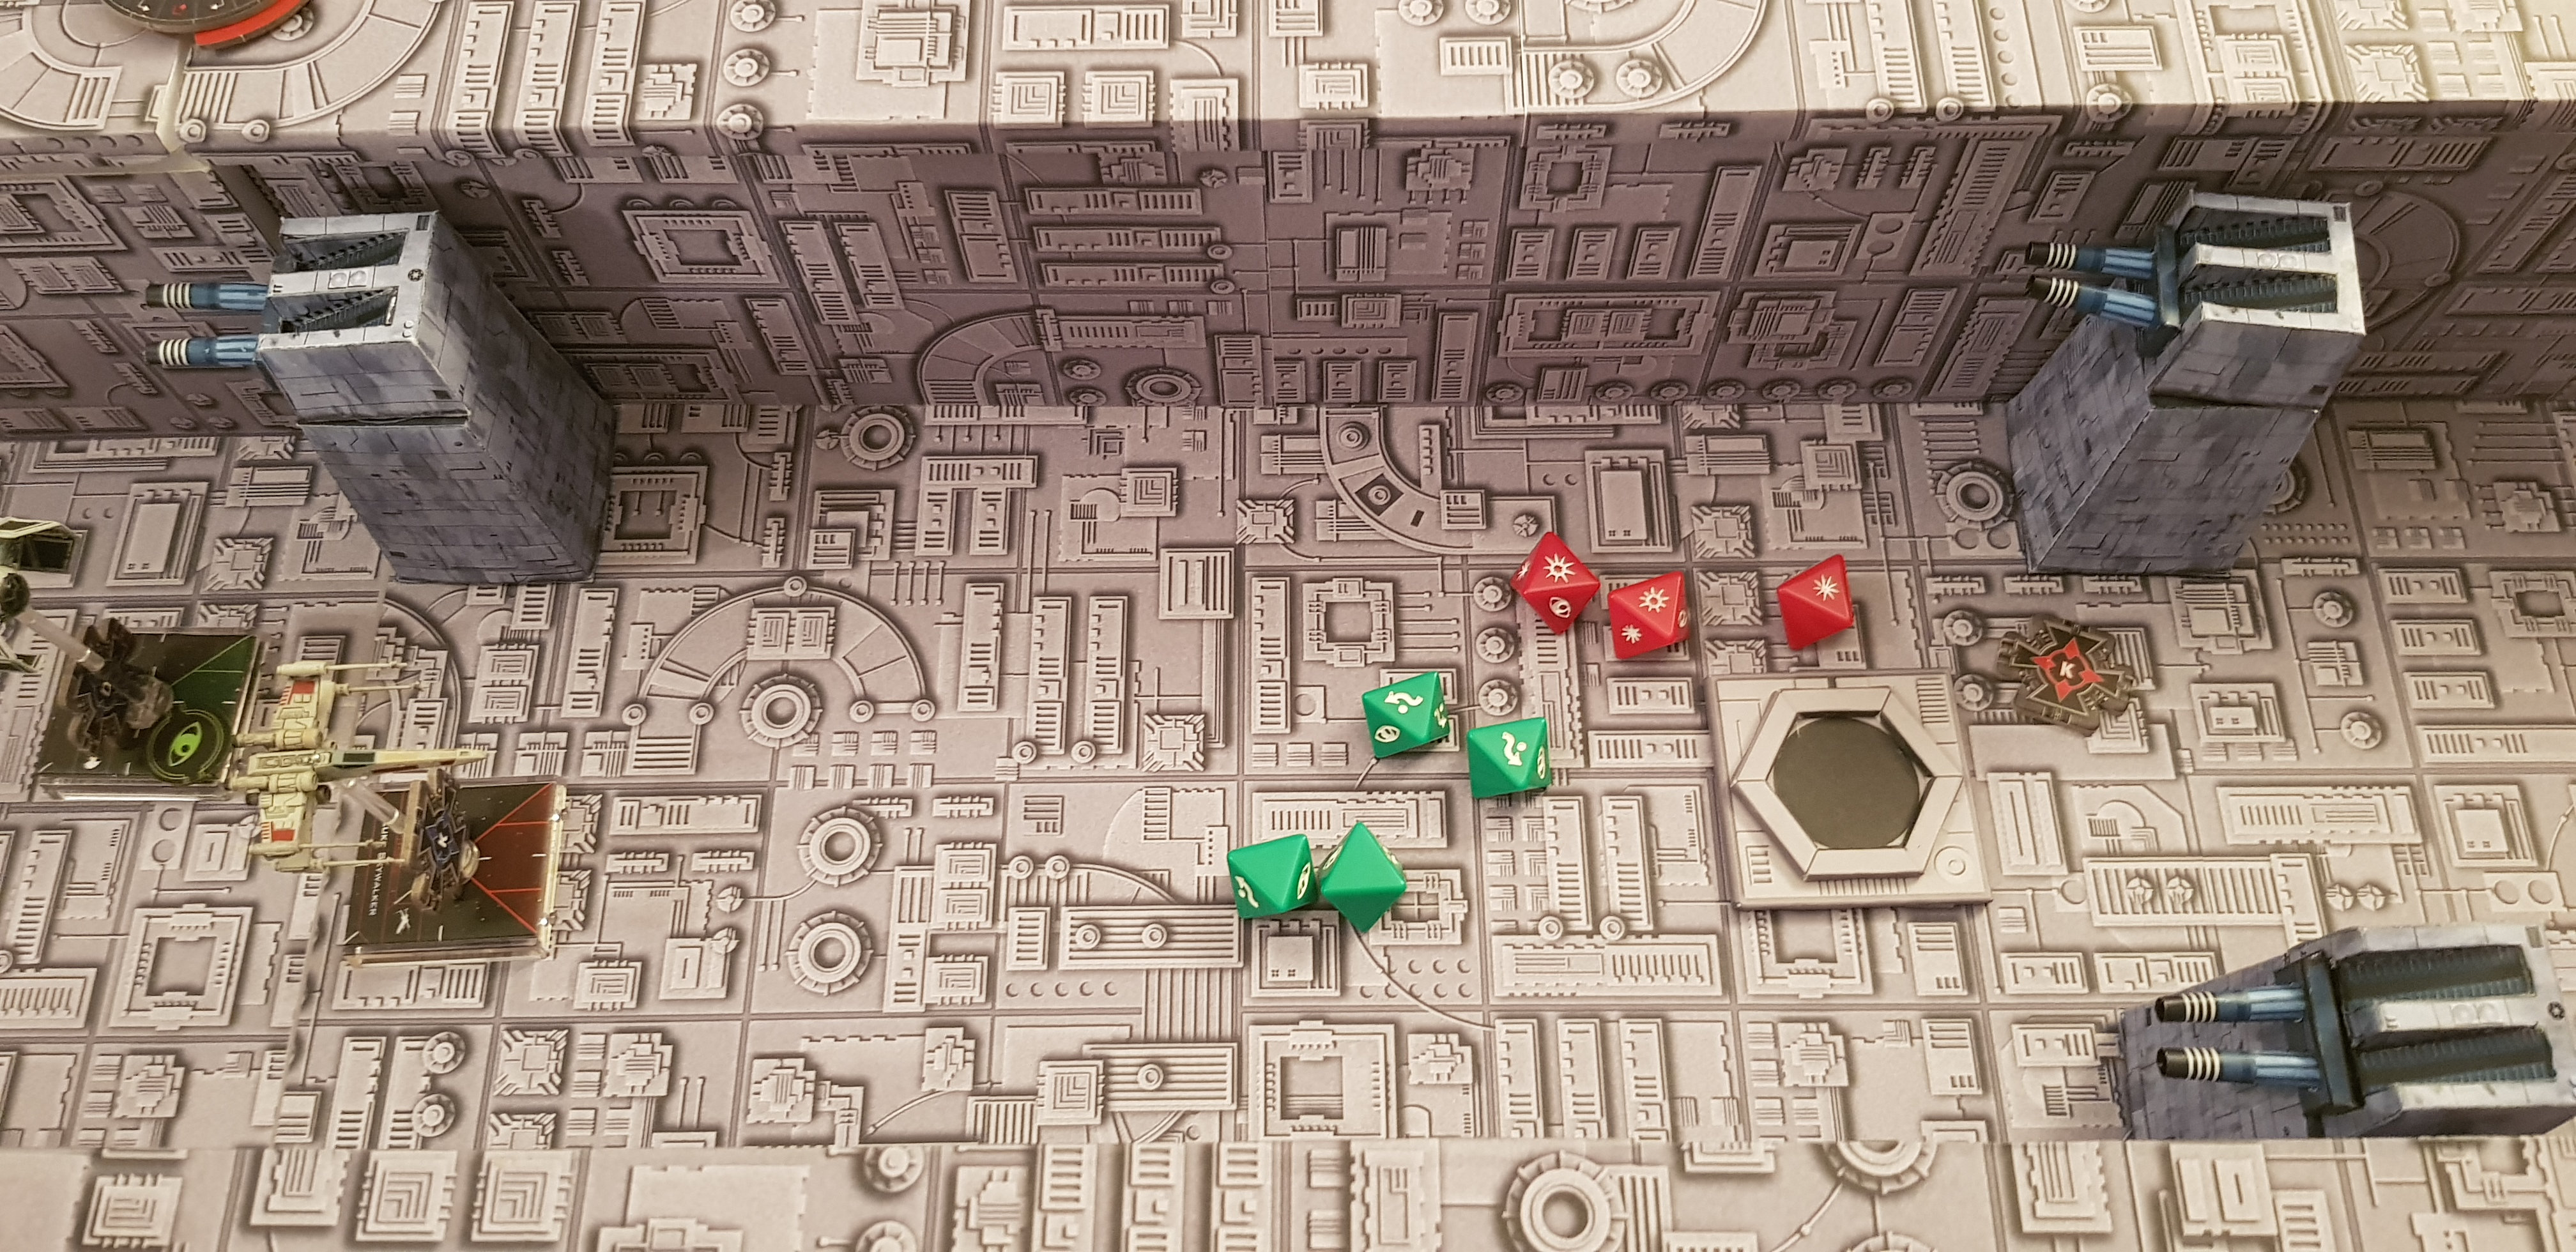
The attack group against the Deflection Tower have success to destroy the Tower but was entirely destroyed by Turret and Tie Fighters.
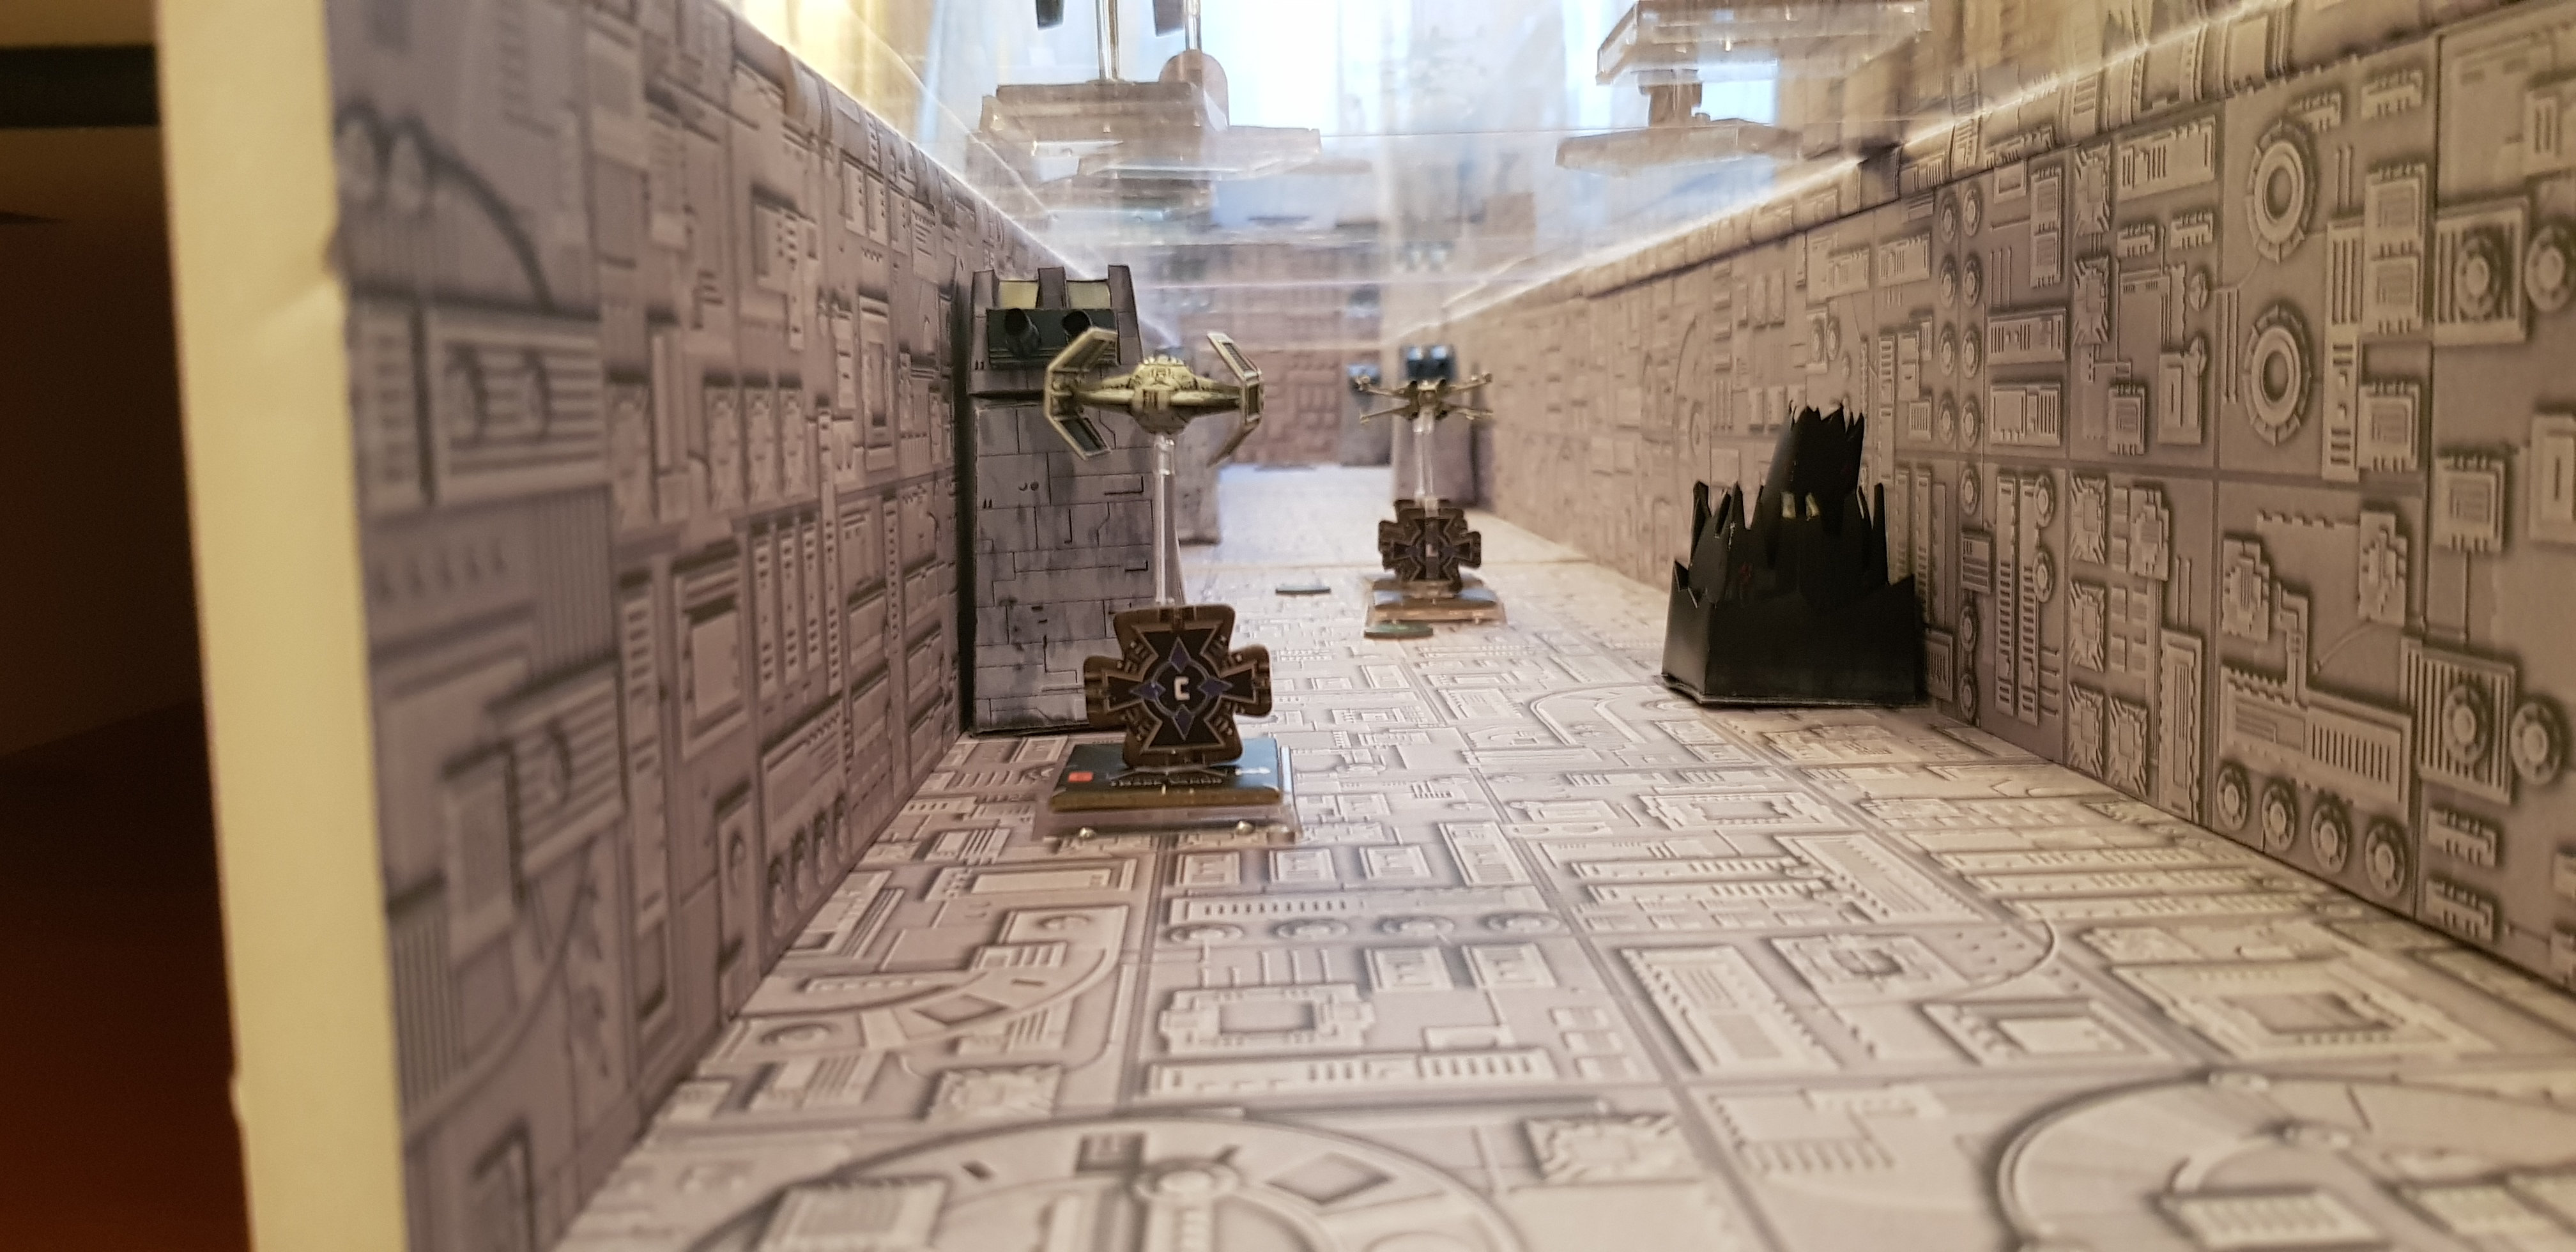
Because all players have screwed up enter correctly in the Trench only Luke and Biggs for the Rebellion, and only Vader and Mauler Mithel entered in the Trench.
Biggs used his power to support Luke.
At turn 8, Luke was the only survivor and hit the exhaust port, the Death Star is destroyed! J
The Falcon was useless.
Now some comments:
Players suggested to reduce initiative’s turret to one or two. With an initiative of 7 the imperial player can rotate turrets after ship movements. With a lesser initiative the imperial player have to anticipate the rebel ship’s movement, like a “real” FLAK turret. 😉
The board is huge, ship sent to destroy station objects haven’t time to enter in the trench. May be you can reduce the Board to 127cm (50 inch) long like the Death Star Trench Run Singapore.
Ion Cannon Turret can ruin the pursuit in the trench.
BTW, in the trench during the pursuit, Rebel in some situation can be tempted to program a 1 ↑ to let the Imperial player go ahead and transform the Trench Run in Top Gun movie! 😉 … not very fluff.
Death Star Trench Run Singapore has interesting Trench special rules for movement that prevent these weird situations.
But anyway the game was fun.
Edited by Malburet
I have updated my Trench game mat design with a better version that is actually scaled to X-Wing. Need to get some pictures of it out on the table with some actual miniatures on top but all my X-Wings are being repainted right now.
This is just the 3d model I made, rendered in Unreal Engine.


Taking a look at the rules, I am confused as to how many surface turbolaser towers there are. The text says the Imperial player places 6, but the image of the map points to both the black squares and the small white hexes that are on the edge of the trench, but not in the trench. These add up to 11. Which is what people usually use? 6 or 11?
The five turbo lasers on the surface along the trench edge are in fixed positions that the Imperial player may not change. The remaining 6 surface turbo lasers can be positioned by the Imperial player as they see fit according to the rules.
On 12/22/2018 at 4:58 PM, Malburet said:BTW, in the trench during the pursuit, Rebel in some situation can be tempted to program a 1 ↑ to let the Imperial player go ahead and transform the Trench Run in Top Gun movie! 😉 … not very fluff.
Thanks for the write up!
Personally, I like the ability to just go 1 forward to let the others spring past. It doesn't always work and it means someone is slowing down, instead of going towards the end. I always had fun with it.
I ran this scenario today. I have a few questions/observations.
1. How are critical hits dealt with on power nodes?
2. The run down the trench seems long. Has anyone done something to alleviate that? I am thinking of increasing the range of the launch zone to range 3.
3. How long of a range do the trench turrets have?
On 2/16/2020 at 11:15 PM, chrisrivers said:I ran this scenario today. I have a few questions/observations.
1. How are critical hits dealt with on power nodes?
2. The run down the trench seems long. Has anyone done something to alleviate that? I am thinking of increasing the range of the launch zone to range 3.
3. How long of a range do the trench turrets have?
I suspect @2J-W will need to reply. Based on your questions, I think you are running his version.
2 hours ago, Biff said:I suspect @2J-W will need to reply. Based on your questions, I think you are running his version.
I am using this one from your post:
https://drive.google.com/open?id=10w3L0ANbK3caj9VYJBxcxxgctP5OceAj
Although I took at look at 2j-W's version and like a few things there that I might modify yours with (looser limits on quantities of ships in the trench)
@chrisrivers Ah - my mistake. Thanks for clarifying.
1. Treat critical hits against power nodes as if they were regular hits. I'll add that clarification in a future update.
2. The run down the trench has been fine, but it can be a matter of opinion based on the kind of balance/experience you want to have. In my version, it is designed to be a pretty brutal run. Single ships don't usually stand a chance, but groups of three providing a level of screening for a "leader" will do fairly well. By fairly well I mean that 1 ship of a 3 ship formation should have a high likelihood of getting a shot off against the exhaust port and maybe a 2nd ship having 50/50 odds at getting a shot off. We've played this mission allot, and have demonstrated a real level of balance with its rule set, so much so that I'd be reluctant to change the distance of the run (either expanding the entrance area or extending the firing line further down the trench) without changes in other areas of the mission. Later runs down the trench tend to be easier because some of the trench turrets have been destroyed, but the rebels may not have top cover at that point in the mission, again a bit of a balance thing. If you have an interest in less rules (perhaps a more "realistic" tactical simulation of the trench run), check out this military version of the trench run.
3. The trench turrets will fire at anything within their printed arc. The printed arc has a length of just over R2 - something like R2.25. I used a ruler and found that the printed arc extends 9 inches from the half hexagon representing the turret.
Bottom line, I'm glad you've given the trench run a try and wish you the best in developing your own flavor of trench run mission. We've had allot of fun with it over the years and are enjoying the military version now as a change of pace.
58 minutes ago, Biff said:@chrisrivers Ah - my mistake. Thanks for clarifying.
1. Treat critical hits against power nodes as if they were regular hits. I'll add that clarification in a future update.
2. The run down the trench has been fine, but it can be a matter of opinion based on the kind of balance/experience you want to have. In my version, it is designed to be a pretty brutal run. Single ships don't usually stand a chance, but groups of three providing a level of screening for a "leader" will do fairly well. By fairly well I mean that 1 ship of a 3 ship formation should have a high likelihood of getting a shot off against the exhaust port and maybe a 2nd ship having 50/50 odds at getting a shot off. We've played this mission allot, and have demonstrated a real level of balance with its rule set, so much so that I'd be reluctant to change the distance of the run (either expanding the entrance area or extending the firing line further down the trench) without changes in other areas of the mission. Later runs down the trench tend to be easier because some of the trench turrets have been destroyed, but the rebels may not have top cover at that point in the mission, again a bit of a balance thing. If you have an interest in less rules (perhaps a more "realistic" tactical simulation of the trench run), check out this military version of the trench run.
3. The trench turrets will fire at anything within their printed arc. The printed arc has a length of just over R2 - something like R2.25. I used a ruler and found that the printed arc extends 9 inches from the half hexagon representing the turret.
Bottom line, I'm glad you've given the trench run a try and wish you the best in developing your own flavor of trench run mission. We've had allot of fun with it over the years and are enjoying the military version now as a change of pace.
I am mainly looking at the length of the run not in game time, but in real time. The game I ran, we played 3 hours and we were still a turn away from the first shot on the exhaust port. The players were all experienced xwing players too and since i want to run this at a convention where there may not be experienced players, and only 4 hrs, I was a little worried. Maybe it was because the Ywings went in first and they are slower than xwings.
@chrisrivers At Gen Con, we allocate 5 hrs to play that mission.