Fantastic in formation!
Fantastic in formation!
I played a very similar list tonight as well.
397/400
Grand Moff Tarkin
Precision Strike
Contested Outpost
VSD-I
- Defense Liaison
- Ruthless Strategists
- Expanded Hangars
VSD-I
- Defense Liaison
- Ruthless Strategists
VSD-I
- Grand Moff Tarkin
- Corrupter
- Director Isard
- Boosted Comms
5 x TIE Bombers
Major Rhymer
Jumpmaster 5000
3 x TIE Advanced
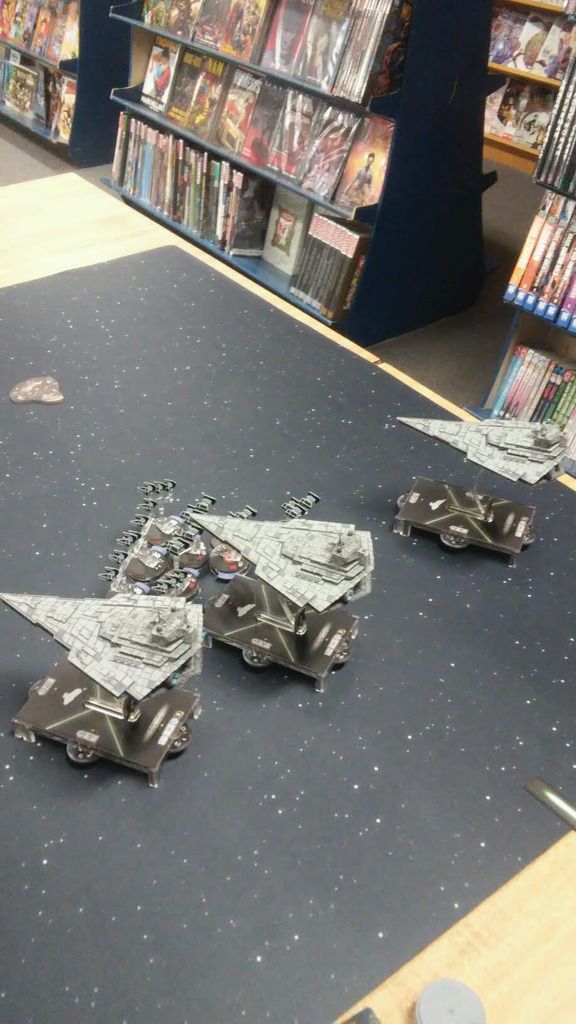
My opponent had an ISD-II, VSD-II, GSD-II and Raider II plus five TIE Fighter squadrons. I was the low bid, and let him go first. He chose Contested Outpost.

I did some creative obstacle placement so he had to deploy a little further away. I made a BUNCH of activation errors with my squadrons. For starters, turn one I flew my entire squadron formation forward, but kept my VSDs at speed one. Then I failed to reach any of them turn two with my squadron commands. So I'm definitely revising my list to get Boosted Comms on all three ships.
I also didn't use Ruthless Strategists once. Admittedly I ignored the TIEs for the most part. They popped in and did a little damage here and there, then he would drop his ships on top of them and I moved them away to break engagement. My Bombers did a terrible job of, well, anything. They kept rolling blanks! I did manage to salvage a victory, though. I lost two VSDs, two TIE Advanced squadrons and the Jumpmaster, but managed to kill the ISD and GSD. The biggest boon was that I sat on the station for all six turns, so that shot me up 120 points. Overall, a fun list. I just need to do a better job of squadron activations and maneuvering!
Vic-I + Flight Controllers + Expanded Hanger Bays + Motti
Vic-I + Flight Controllers + Expanded Hanger Bays
Vic-I + Flight Controllers + Boosted Comms
5 x TIE Bombers
10 x TIE Fighters
400/400 Points
So I only have two flight controller cards...
What can I take for the third VSD to do something positive with it?
Was considering ruthless strategists or perhaps ordnance experts.
Edited by Gottmituns205I was going 1 Flight, 2x Ruthless, to clear away enemy Rhymers... So definately, 2 Flight, 1 Ruth, could work...
or you could default to Gunny Team, regardless
This is the list I'm going to be bringing tomorrow:
905th Tactical Bomber Group
Commander - Grand Moff Tarkin
Assault Objective - Precision Strike
Defense Objective - Contested Outpost
Navigation Objective - Superior Positions
Victory I-class Star Destroyer "Madam Mim" - 86pts
- Defense Liaison
- Ruthless Strategists
- XI7 Turbolasers
Victory I-class Star Destroyer "Gaston" - 86pts
- Defense Liaison
- Ruthless Strategists
- XI7 Turbolasers
Victory I-class Star Destroyer "Lady Tremaine" - 127pts
- Grand Moff Tarkin
- Flight Controllers
- Boosted Comms
- XI7 Turbolasers
TIE Fighters (4) - 32pts
Howlrunner - 16pts
TIE Bombers (4) - 36pts
Major Rhymer - 16pts
Total - 399/400
The basic plan is to screen with the TIE Fighters and Howlrunner. If my opponent activates his squadrons with commands before my fighters, I'll use a squadron token from one ship to jump Howlrunner in there and attack, then the Lady Tremaine will activate the rest of the TIEs who will jump in with five dice and a Swarm re-roll. That should blast a hole in a lot of stuff. The Ruthless Strategists are there as insurance against larger swarms or those really tough formations (Jan and Wedge, for example), but I can always let my opponent engage the bombers so I can use their five hull and not kill my own fighters.
In my test game on Wednesday with a similar list, I held back with my ships thinking I could soften my opponent up with bombers. What I wasn't thinking about is that my first activation launched my bombers out of command range so my second squadron command was wasted. So the Madam Mim and Gaston will fly very aggressively, both to engage with their black dice faster but also back up my squadrons with Ruthless Strategists if need be.
I plan on taking plenty of pictures and writing up a batrep sometime this weekend.