Afternoon everyone,
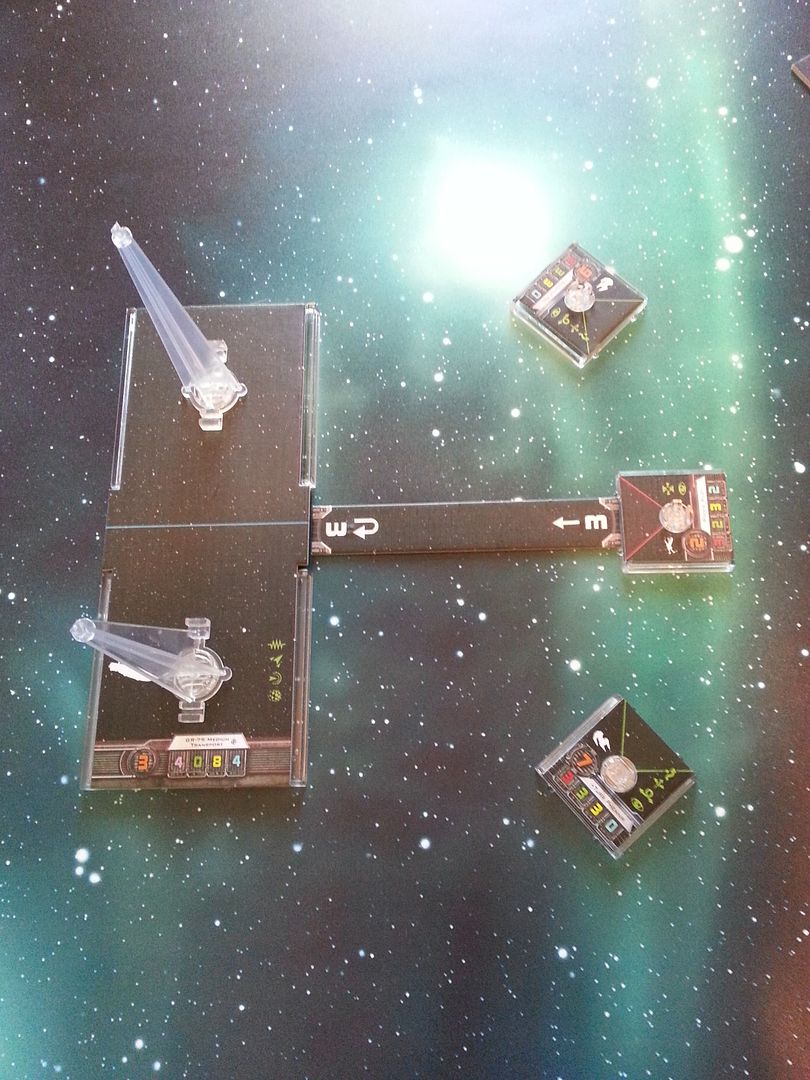
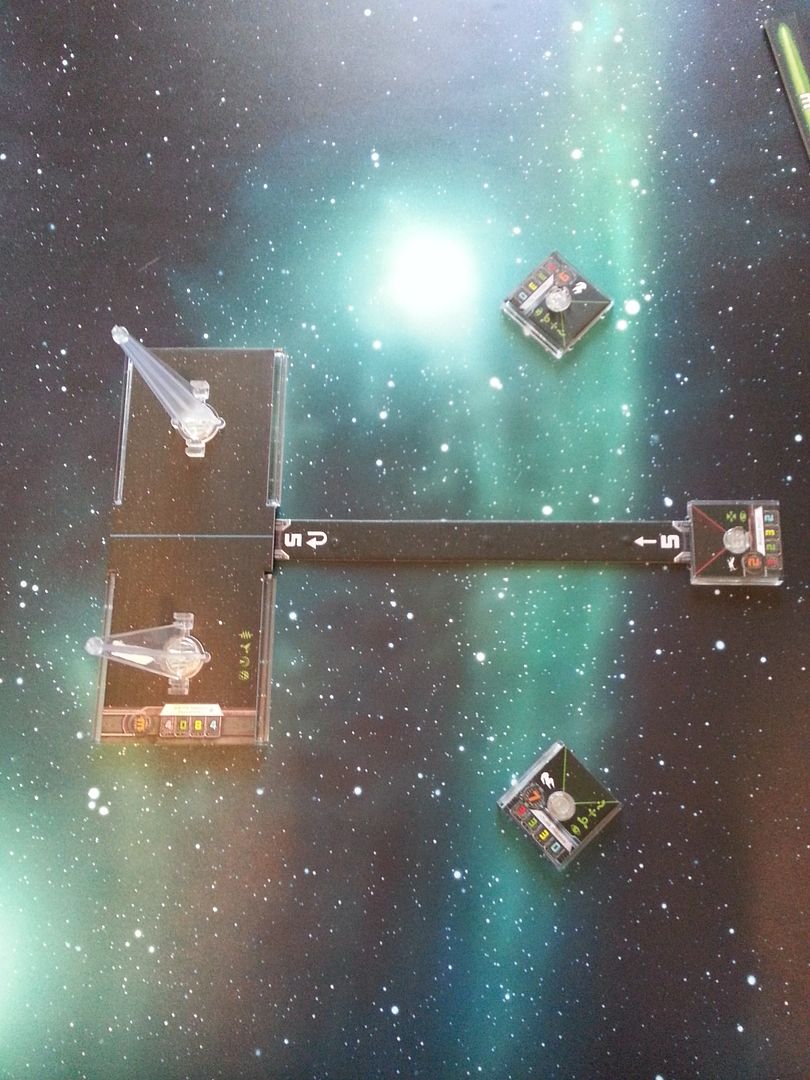
I'm writing this in order to help everyone visualize what deployment options you have when deploying from the Gozanti. I'll try to keep it as organized as possible, but you'll have to bear with me as it is a work in progress. The most logical order I can think of is in order of titles and the options they bring to the table.
Suppressor/Vanilla
Starting this off, we're deploying two ships at a time with no change to their Pilot Skill. At first glance, this option seems to lend itself very well to deploying two arc-dodging aces as they don't need a PS in combat but benefit greatly from the uncontestedly high PS during activation.
Pinch Maneuver
For this maneuver I'm using Turr Phennir and Soontir Fel, but Carnor Jax can effectively fill in for either as well.
Deploy one from the front, and the other from the rear. Both of these ships will execute a Turn and Boost-bank to collapse on an enemy ship. To get the enemy in the kill zone, execute the following turns:
Enemy is three bases off your bow or closer
---Use the 1 turn
This avoids any return shots on the interceptors, and gives you a range 1 shot. The downside is you're in very close proximity and they'll get either a range 1 or 2 shot on the Gozanti as well.
Enemy is three to five bases off your bow
---Use the 2 turn
This is the real kill zone. It's the same as above, but they'll only have a range 2 shot on the Gozanti.
Enemy is five or six bases off your bow
---Use the 3 turn
You're reaching for it on this one, but it's possible if you really need it. They'll either have a range 2 or 3 shot on the Gozanti, but you'll lose your Range 1 bonus on the interceptors.
Requiem
Requiem is a good option if you want to give your Gozanti a bit of an alpha strike feel. It gets the most bang for its buck if you use it with low PS units that have one-shot weapons.
Surgical Strike
Here is an ideal candidate for a rapid strike with bombers. The bump in PS is most noticeable here, as it allows you to use low cost bombers that will still get a hit off before the enemy epic ship has the chance to vaporize one of them. To pull this off, you need to cheap bombers with Advanced Homing Missiles. Any extra ordnance is optional, as you may not get another shot. Another good idea is a Fleet Officer on the Gozanti to give the bombers a focus.
Deploy both bombers from the front, executing the following banks:
---Use the 1 bank if the enemy capital ship is Range 3 from the Gozanti.
This is the closest you can possibly be and pull off this maneuver. This one is very high risk, as failure will take a few turns to remedy and you can get run over in the process.
---Use the 2 bank if right near the Range 3 border.
Use the 2 banks if you think you're going to barely be in that Range 3 band. This is likely going to be the most common of these strikes, as most players have started recognizing when they're close enough to Target Lock.
---Use the 3 bank if in the Range 4 band.
This one is again a high risk maneuver, but at least you've got the following turn to recover if it falls through.
Vector
This is the go-to TIE Fighter deployment style, and the one I'm most looking forward to. Use this if you just want to be able to deploy a chunk of units at any time. It's kind of the brute force approach to using the Gozanti.
4 Block TIE Fighter Formation
Unlike the previous two titles, this one is primarily dedicated to deploying in a tight formation while maximizing actions. For this, I'll assume it's Howlrunner, two Academy Pilots, and an ace of some sort (mine will be Wampa.)
Deploy in the following order:
---Academy pilot using the 1 turn, followed by a Barrel Roll away from the Gozanti and backwards as much as possible.
---Academy pilot using the 2 turn, followed by a Barrel Roll away from the Gozanti and a half base in front of the previous Academy pilot.
---Ace using the 3 turn, with either a Focus or Evade action.
---Howlrnner using the 1 turn, with either a Focus or Evade action.
All of that adds up to a formation that looks like this
And if you really want to close up the formation, bank away from the Gozanti using 2 banks for the Academies and 3 banks for the Ace and Howlrunner. This part is optional and takes up a ton of real estate, but is a good idea if you're coming into a dense asteroid cluster.
This is only the start, as I have a feeling that deploying and planning for deployments will greatly affect how Epic is played. I, for one, am very excited for this. Hope this helps everyone else, and please comment or critique in case you think of something else. Otherwise, enjoy and fly casual.


