I wanted to share a batrep from a small tournament I went to recently - normally attendance is better, but it was poor weather right after Thanksgiving, so...
Anywho, onto the batrep - Escalation, using standard build. I brought my TIE swarm, dubbed "The Hornet's Nest".
Round 1 was versus 3 Kihraxz Fighters (Cartel Marauders) straight up. I Brought:
Howlrunner
Night Beast
Black Squadron x1
Obsidian Squadron x1
Deployed in opposite corners, so it took a couple of turns to get lined up. I was almost able to drop a Kihraxz before they could shoot back; I took some damage, but not enough to end one of my stalwart defenders of the Empire. My opponent then expected a K-turn and moved to line up that shot - I slow-rolled with a 2 straight however, not expecting the scum fighters to gun their engines. My pinwheel formation was blown, but the angles left me with some prime shots and a Kihraxz went down, with a 2nd dropped to 1 hull. The return fire brought down the Obsidian pilot. I dropped the 2nd fighter, losing my Black squadron in the process, and Howl and Night Beast gave chase on the last, nearly dead K-fighter. A few rounds of jockeying left me with no shots until I was able to corral the fighter at the corner of the board and unload, securing victory.
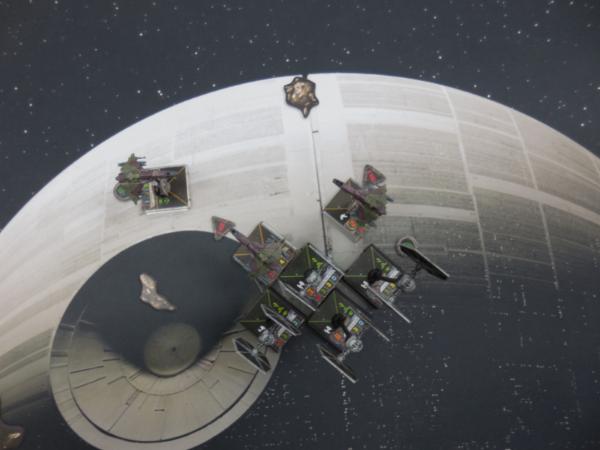
The Scum fighters turn around too soon...
Win; 60-27
Round 2 saw me face off against the other local swarm player - we go back and forth and games are usually pretty close, but we both have differing builds typically.
My Swarm:
Howlrunner w/ PTL
Night Beast
Black Squadron w/ Crackshot
Obsidian Squadron
Epsilon Leader
This left me with a 7-point init bid (mainly because I couldn't afford another TIE with it)
His Swarm:
Howlrunner w/ Crackshot & Stealth Device
Omega Squadron w/ Crackshot x2
Black Squadron w/ Crackshot x 2
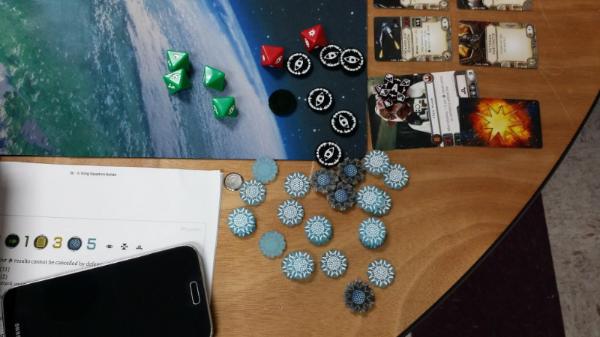
Once again, deployment saw us in opposite corners. Orienting for our opening joust I felt like I had the better lineup, but his evade dice shut me down pretty hard. Twice I laid fire on his Howl that should have killed her, and he rolled 3 evades and a blank the first time, and 3 evades and a focus the second. When I shifted to one of the Black Squadrons, he triple evaded again. On the opening volley, I managed to take out one Black with a timely Crackshot; his return fire killed my Obsidian, and decided the game about 30 minutes before we even got to time. My evades weren't bad, but I was taking damage. I shifted to denying shots and taking advantage of how bad his attack dice were treating him. For half an hour I ended up causing inconvenient bumps, leaving him without actions, or just rolling out of his arc, even if it meant losing my own shot. Nothing else died on either side after my Obsidian Pilot, and at the buzzer I took my modified win and liked it. Closest game I've ever had, and all came down to him picking a ship that was cheaper, because more of his ships had it in RB1 and it hadn't shot yet. Given our friendly rivalry and love of swarms, we're planning to rematch this week with our 150 point lists, since we both brought 9-TIE lists.
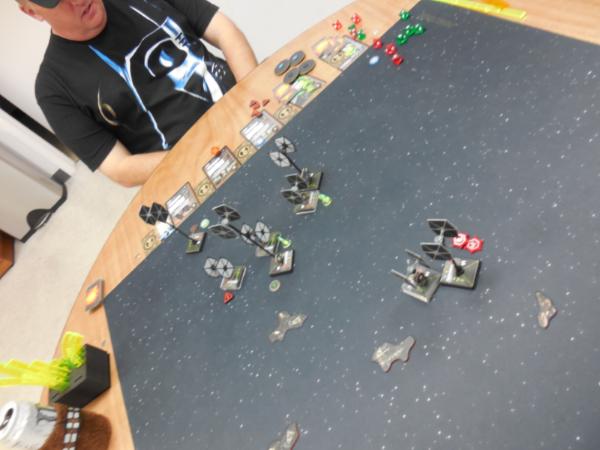
Looking at the endgame board, he was just as perplexed as I was...
Modified Win 15-13
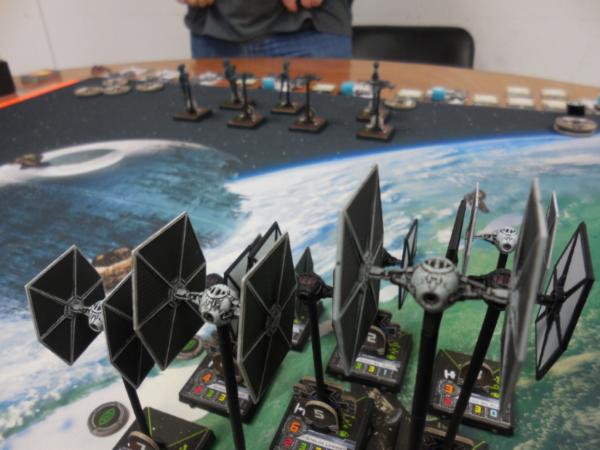
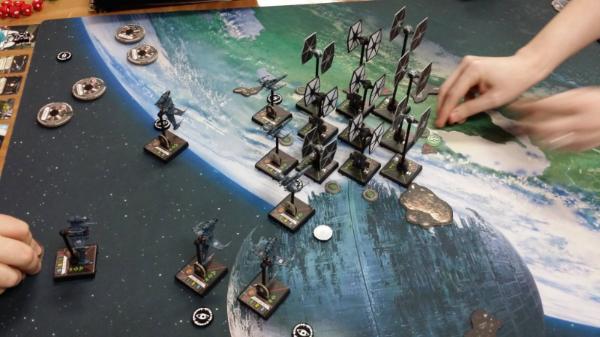
Round 3 brought me to the last undefeated player other than myself, but more importantly, I got to play on the Endor mat that the TO got sent to him from Worlds. That mat is sweet, let me tell you - actually I'll show you the games, because pics.
My Opponent brought a Blue Squadron B w/ FCS, 2 Golds (one with a TLT), and Chewie in the Falcon with C-3PO, Lando, Wired and EI.
My Swarm:
Howlrunner w/ PTL
Night Beast
Black Squadron w/ Crackshot
Obsidian Squadron
Epsilon Leader
Omega Squadron w/ Crackshot
Omega Squadron w/ Draw Their Fire
My opponent in this one was actually a newer player, and had never faced a swarm before (whoa...) so I apologized in advance for what was about to go down, and used the game as a chance to offer him some tips about dealing with swarms and maneuvering in general. He kind of shoved himself in the corner, thinking I would stay in the open space on the right side of the board; instead I hugged the RB2 space between the edge and the field, leaving him little room to maneuver and wailed on him until the rebels stopped moving. To his credit, he recognized the danger Epsilon leader presents in a protracted dogfight, and made sure to drop him first. Two other pilots took 2 damage each (one took a direct hit from a bad crit roll when I beached myself on an asteroid chasing his last Y-wing down). Once I blocked Chewie though, I dropped him like a bad habit - the few evades he actually got, I pulled with Crackshot.
Win 120-19
Round 4 kept me at the Endor table for what would prove to be a pretty epic Rebel vs. Empire matchup, but one I had seen before (hence the Draw Their Fire guy in my list).
Rebels:
Ten Numb w/ VI, Mangler Cannon, Fire Control System, E2, Weapons Engineer
Blue Squadron B w/ Fire Control System x3
Bandit Squadron x3
Empire:
Howlrunner w/ PTL
Night Beast
Black Squadron w/ Crackshot
Obsidian Squadron x2
Epsilon Leader
Omega Squadron w/ Crackshot x2
Omega Squadron w/ Draw Their Fire
I wasn't a fan of needing to deal 44 damage to the rebels - 12 more than I had. He also placed obstacles in a way that ensured that I would lose some actions the turn the shooting started. I decided early on that I would direct all my initial fire at clearing the Z's out, since I could outmaneuver the B's if I didn't have little mosquitoes biting at my heels. Ten Numb actually did the lion's share of the damage to my swarm, as he just shredded TIEs in the midgame. 2 Z's died without firing a shot, and 2 B's died without dealing any damage. My opponent caught on to what I was doing early on and was able to keep Numb bumping on the outskirts of the swarm, leaving plenty of targets, and the WE combined with the FCS to ensure he always had a reroll. He also killed my Epsilon right before I was going to mass K-turn - I think he half expected if I had to eat the stress that I wouldn't do it, because when I stayed the course, 2 B wings lost their shots and I put 12 damage combined on them. Numb went down last, but not before taking an Omega from full to dead in a single volley as his 4th kill; 1 other died from combined fire from the rest of his squadron.
The hornets spy their prey...
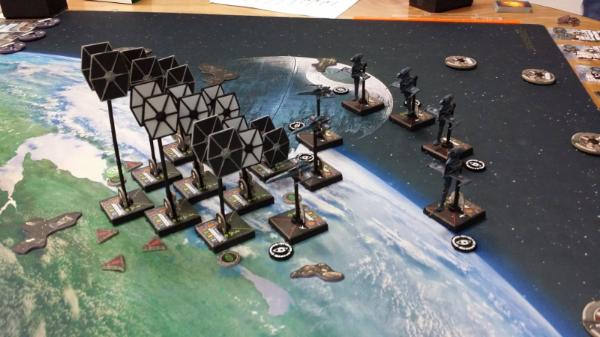
...and close in for the kill.
The bandits realize they aren't flying home from this...
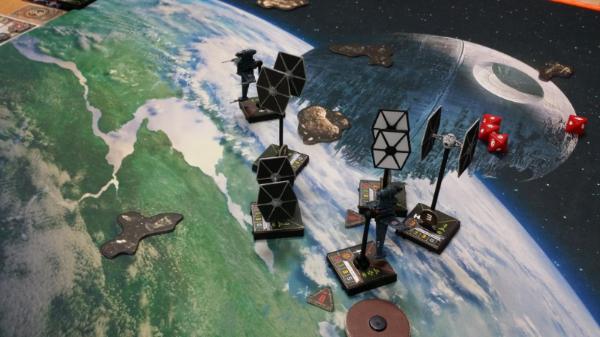
Cleaning up the last B's
So many shields...
Win 150-91
That left me 4-0 and 1st place for the day. Our winter kit didn't come in on time unfortunately, which was the main motivator for me that day, but it was a fun time, and I have enjoyed kicking the rust off my old favorite lists to run from the wave 1-2 days.