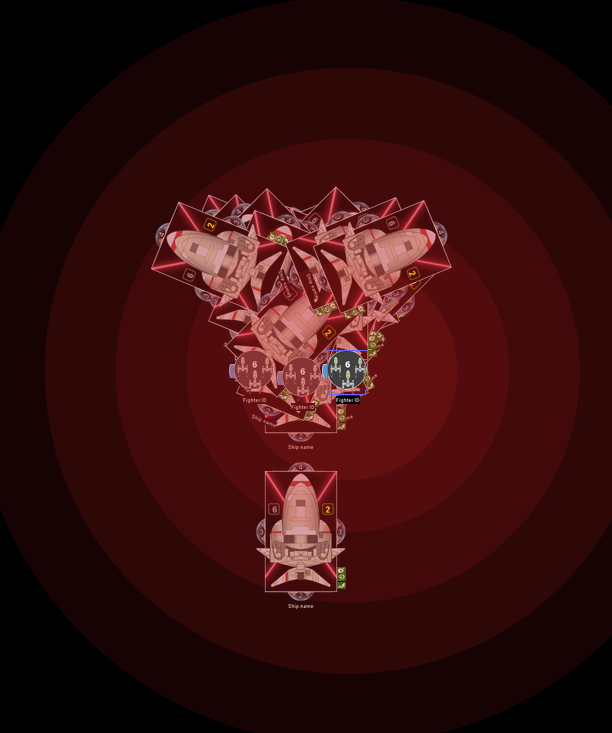
Alright flight leaders, we all know these things look like a mon cal's head on darkside crack (plus wings). So, let's learn how to bomb the crap out of them.
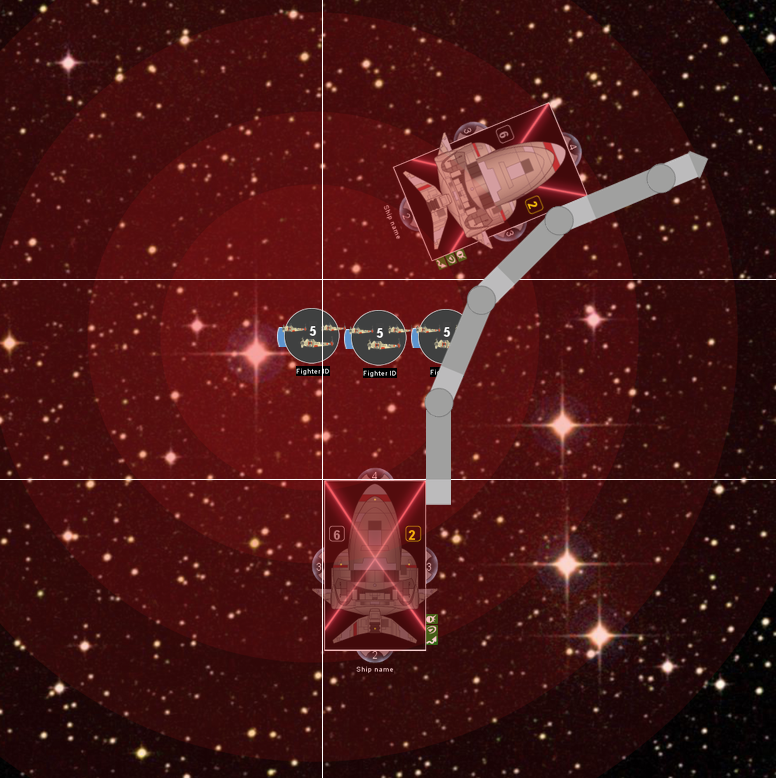
First, I think any pilot worth his Porkins brand Spicy Pork Rinds knows a speed 2 or speed 1 medium is so easy to hit, stormtroopers would get them... maybe. So we're going to examine the notorious speed 3 case. If we're pretty sure he doesn't want to navigate, we have this situation:

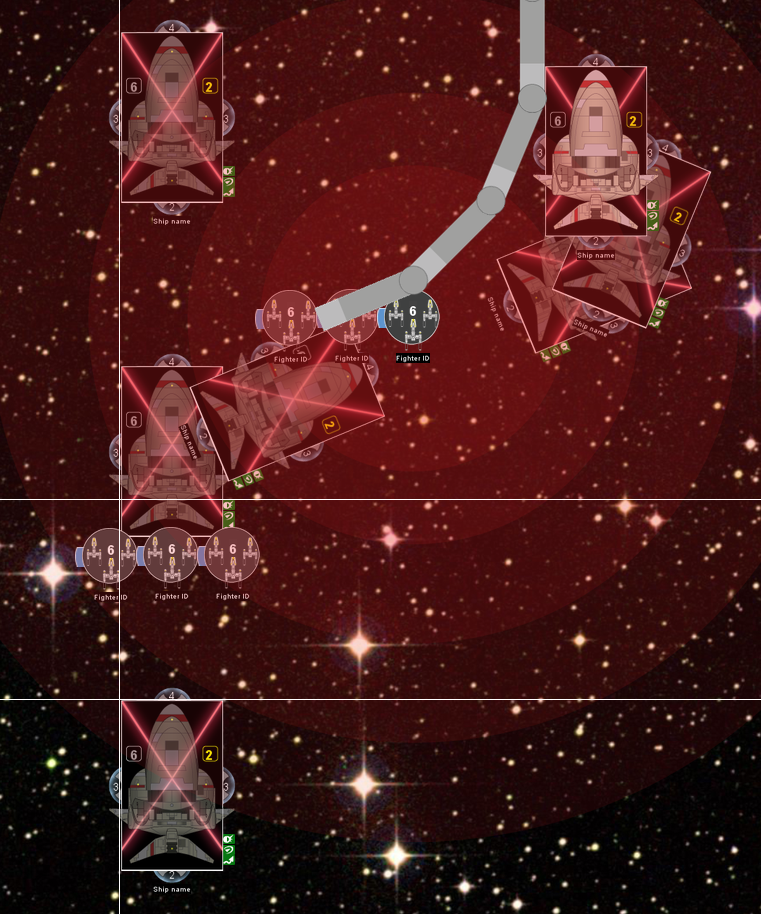
I've put our y-wings on the maximum spread of the formation to indicate the range of best locations to guarantee some protons up his froggy tail pipe, where there's only two shields. You can see here that we'd at most be able to squeeze in 5 fighters , but 4 should be no problem. If the potato's got a dial up his sleeve, it gets slightly more comlpicated with the extra yaw capability, as seen in the next figure:
With that extra yaw from a navigation dial, things have to tighten up. This is where you've got to STAY ON TARGET and bring your boys in no more than one flight stand's width away from the centerline, (that means packing 3 fighters means almost touching), and at distance 1 away from the bow of your frogger. if you can manage that, you've got yourself an easy time to lock protons. Because this doesn't require fighter movement, this also applies to you b-pilots.
Now after those two runs, that's a different story- unfortunately, even with a speedy A-wing, you're going to need to receive a squadron command to effectively sortie if the potato keeps steaming at 3. On the plus side, that also probably means the fatty's so far out he's effectively out of the fight. He'll be needing to turn around at some point, and in the mean time, you can try to burn some plasma to setup for your last one or two runs as he avoids the Great Unknown Barriers of Doom (table edges), but if there's other targets out there it might be better to try to get ready for them. Thankfully, fatties tend to travel in lines, leaving you a convenient next target.
 . They're able to catch up no problem (on a squadron command). Adding ryhmer just makes it stupid easy. Corrupter is just. plain. awesome. Why that title is 5 points without an attack restriction vs Liberty is mind boggling to me.