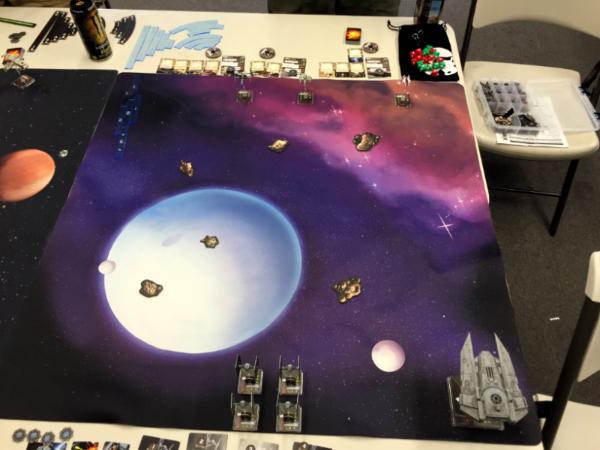
On Saturday I participated in my first X-Wing tournament. It was small, with only 8 players, but I got three good games in with the same list, two with players that I hadn't met before. I started taking pictures, but the end of round 1 was close, and the whole round two was stressful as well. This is the list that I ran:
Captain Oicunn (42)
Game 2:
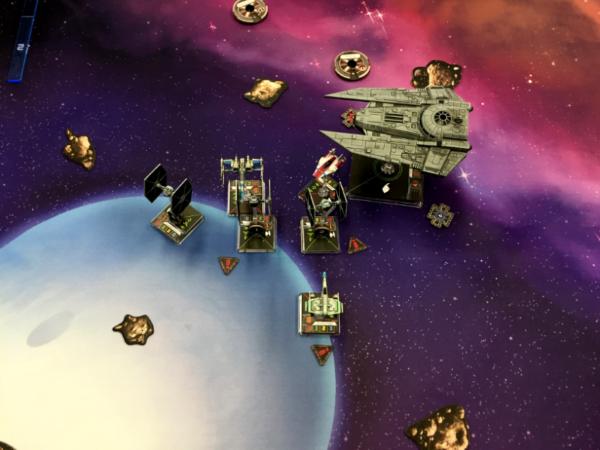
I only got this one picture of the game, because my opponent was very confusing. I couldn't tell what he was doing with his tokens, and he insisted on just remembering he had stress half the time. I had to really pay attention. He ran something like:
B-wing Ten Numb with veteran instincts, Nien Nunb, and a mangler cannon, a PS2 k wing with one of the turrets that wasn't a twin laser turret, and the moldy crow HWK Kyle Katarn with a recon specialist and some kind of turret.
I deployed exactly the same as before, with the Decimator to my right and the TIE box in the middle. The B wing was to my left, with the HWK in the middle and the K wing kinda mid-right area. The Decimator moved straight up, and the TIEs went as slow as they could. The K wing came pretty close, but not quite in range.
The next turn, the asteroids made the k-wing's move very predictable (a picture would be helpful here...) so the ties moved relatively straight to get in position. I guess right, and the k-wing moved into range of all 4 TIEs. The Decimator turned sharp, and acquired a long range target lock on the K wing. The HWK moved forward with its focus stack, and the B wing got in range of the top left TIE. He shot first, and managed to kill the top left tie between the B wing and K wing. The Decimator at range 3 plinked off a shield, and when it came time for the TIEs to shoot, suddenly he wasn't so sure they all could. Not seeking an argument, (it's just a game after all) I agreed to roll off to see if the "on the line" was in or not. It was. The K wing lost the rest of it's shields, and lost a hull.
On the next turn one TIE blocked the K wing, and the other two K turned behind it. (I was pretty proud of this, I wish there was a picture). The K wing couldn't move, so the Decimator slammed straight forward into it, making it take another damage, and reducing it's agility to 0. Plus Mara Jade gave it some stress in the combat phase. The HWK and B wing were still somewhat far away, but they both were lined up for shots. I lost the TIE that blocked the K wing. The Decimator took some shields from the HWK, and the remaining two TIEs took the K wing down to one hull point.
On the next turn, the TIES did green moves forward, the K wing was able to move away, and the Decimator gave chase. The B wing did some damage to the Decimator, while the HWK whiffed at a TIE fighter. The Decimator missed the K wing, and the K wing did a little more damage to the Decimator. One of the TIEs shot range 3 through an asteroid and managed to kill the K wing. The other one put the hurt on the HWK, and left it with 3 hull.
The next turn was more about maneuvering, as I got ready to ram the HWK. One TIE blew himself up on an asteroid (I do that a lot) but I took another 2 hull off the HWK with the other TIE, taking a at least another hull on the Decimator in return. However, when the B wing was moving, it was going to hit the Decimator. I hate to call people cheaters, but I looked away for a second to my friend's game, and when I looked back it was just barely not touching my ship. I asked him about it, and he insisted that he cleared it. There was no way I could prove it, so I just kept playing. The B wing wasn't facing me, and he was stressed from Mara Jade, so I didn't think it was completely game changing.
The next turn, I saw that I could easily ram the HWK and kill it. I flew the last TIE as far away as I could, since we were running out of time. I rammed the HWK and his B wing cleared his stress and got ready to turn around. I don't remember exactly how much it had, but the Decimator was not at half yet. The last few turns was me trying to run, but I wasn't able to escape.
After a pretty miserable game, Loss: 61-60
I was next to his first game, and saw his last game, and they were both pretty similar. He wasn't very friendly, and wasn't very clear what he was doing half the time. He brought a debris cloud, but in one game conveniently decided that you can't shoot if you landed on one. Luckily his opponent that game called him on it. Not a good competitor, which is a shame, since every other person there was really laid back and nice.
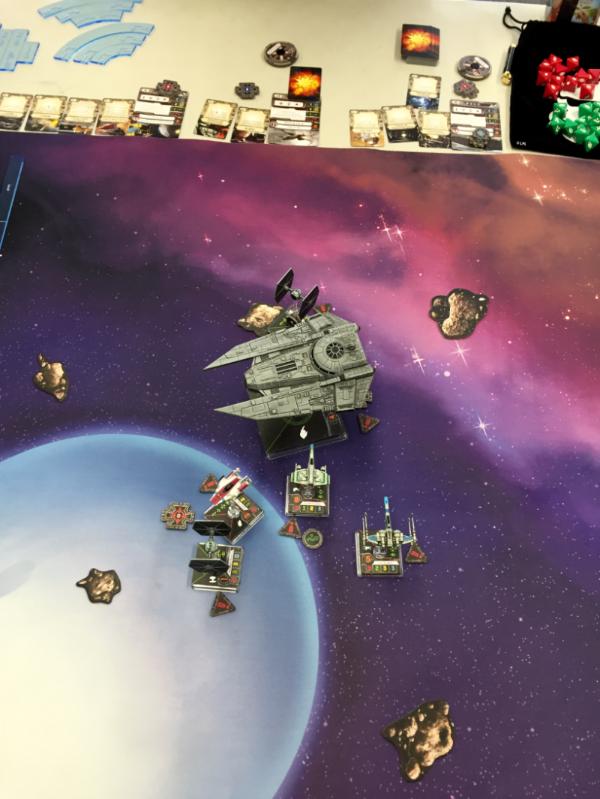
Anyways, the third game I played was really short. My opponent had an expensive star viper, and an expensive Hound's Tooth. I honestly don't remember anything they had.
I deployed the same way as before. The Hound's Tooth deployed straight in front of me, while the star viper was all the way to my left.
Everything converged on the Hound's tooth, and I was able to block it in place for the duration of the game. The combination of Mara Jade's stress and bumping denying him actions, made it hard for him to do much damage. He killed a TIE fighter and some really good rolls from the star viper took half of the Decimator's health, and I killed both of his ships. Again, I was able to block with one TIE, and K turn with two of them behind it. Pretty proud of the maneuver, so I'll try to get pictures of it at some point. Not that it is original, as I'm sure it's pretty standard, but I am finally getting the hang of it.
He was a really good sport about it, and a nice opponent, but I was his third loss in a row.
Win: 100-37
I came in 5th of 8th, which is better than I hoped! I was aiming for 7th, but I had a really good time. Sorry for the lack of pictures, but any feedback on my decisions at all would be greatly appreciated. Thanks for reading!