WEATHERING With Pencils.......Dirt, Streaks, grime, Rust, Blaster Burns......UPDATED

By Barry Harker, in X-Wing Painting and Modification

Hello Braxton.

Yes that is a good idea.

But not a necessity....I didn't wash any of my models.

But then I didn't handle them to much.

The reason for washing sometimes is factory release agents on models.

But this is only ever on injection moulded plastic kits.

FFG models are assembled and painted

There fore would of been cleaned already.

But there is also the natural grease in the pause of your skin.

From your fingers.

But as I said.

Didn't wash my models.

And the varnish I use is Acrylic

So it doesn't react....with anything.

Just have to be careful with the temperature.

A warm environment will make sure the paint doesn't plume.....go a misty white.

Ideal temperature is above 20 degrees.

Paint molecules don't work very well below 15 degrees,

I'm a professional painter in my job, I spray in temperatures above 25 degrees, to make the resin set properly.

But you don't need that much heat.

Also. Thin spray coats. Don't go to heavy.

But most of all,Have fun.

all the best.

Barry.
Great tutorial, and another fine tip!

This is genius. Thanks!

This is genius. Thanks!

Great tutorial, and another fine tip!

Glad this was of help to you guys.

I imagine it can be frustrating for some out there

If they feel uncomfortable painting there miniatures.

At least this way its an easy start.

And pretty effective too.

All the best.

Barry.

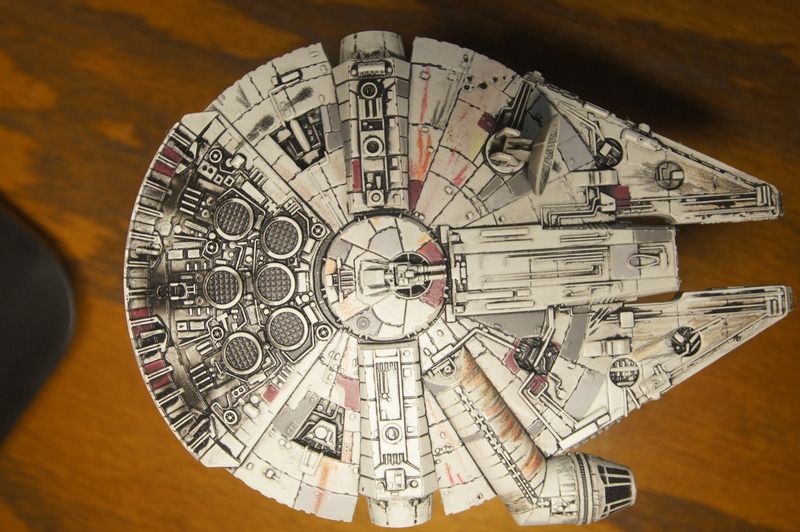
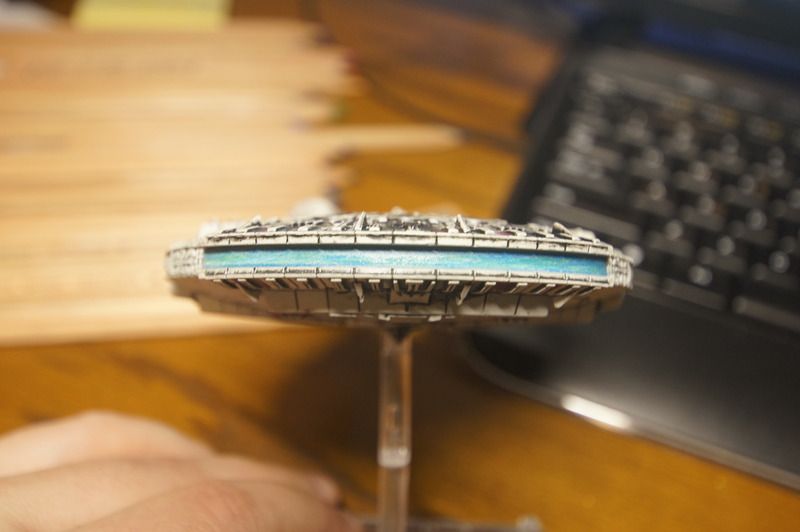
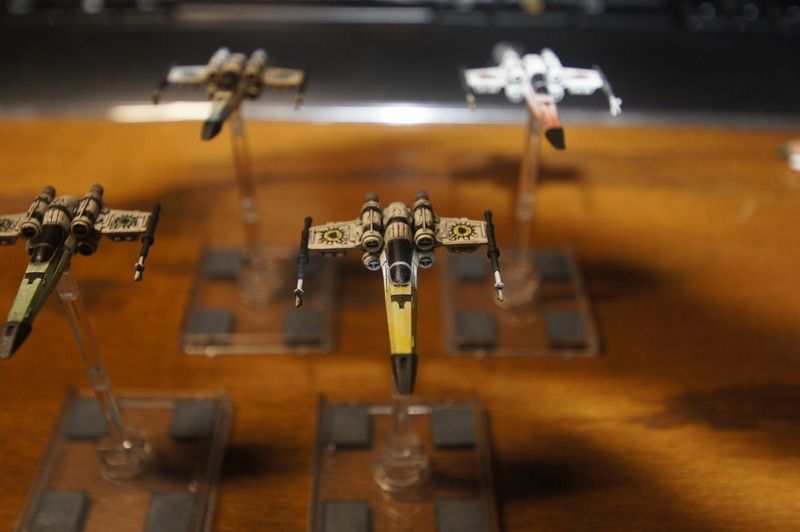
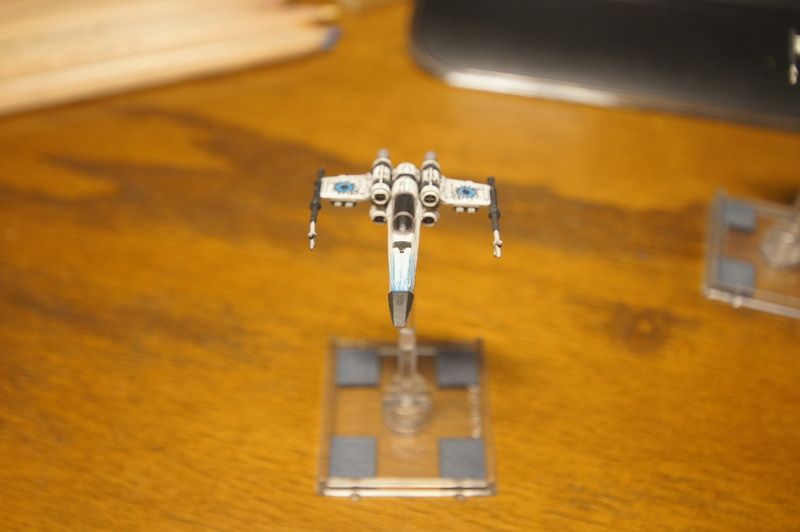
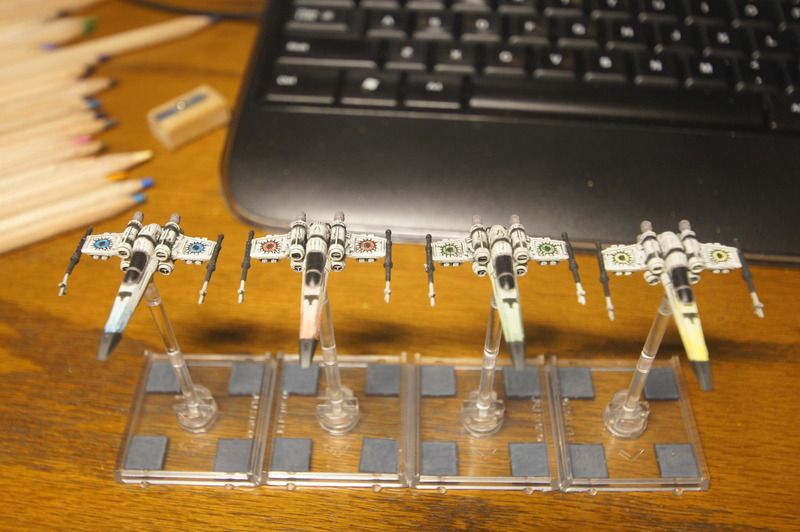
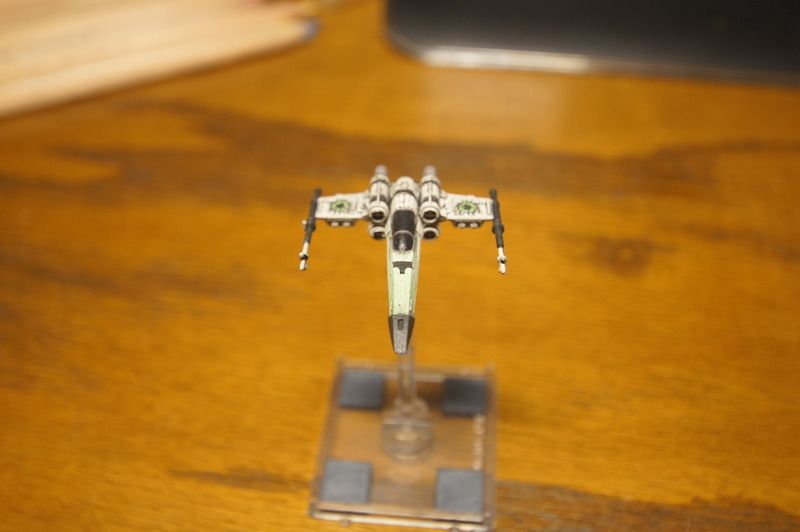
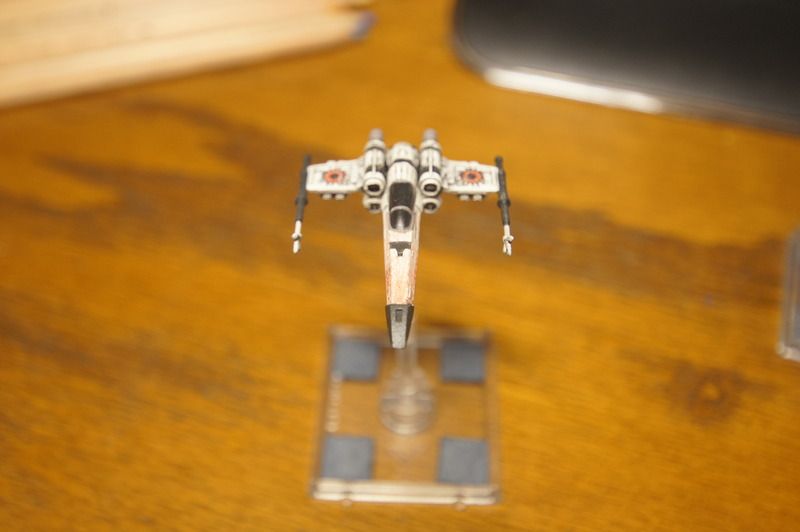
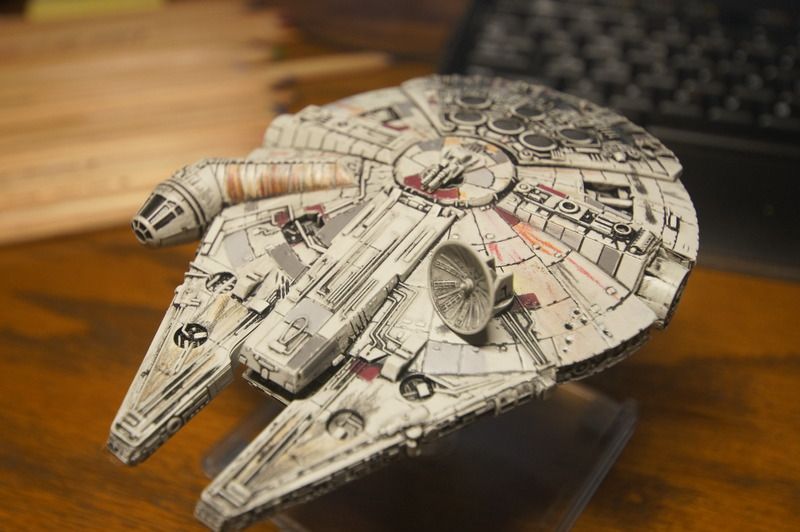
Thanks Barry! Since I've always wanted to paint my some of my miniatures, but have been too intimidated to spend the money and learn to use paint, I took your suggestion to use colored pencils. Here is some basic weathering I've done. Any and all suggestions are welcome, I've never done anything like this before, so I know I've got a long way to go. But it was very easy and cheap to get started!

_DSC9215_zps1p8zqubq.jpg

_DSC9223_zpsb69v90q4.jpg _DSC9219_zpsjf9wkwvx.jpg _DSC9178_zpsx4tgdb0s.jpg _DSC9201_zps7h7qqyrf.jpg _DSC9205_zpsa0fdmcxh.jpg _DSC9198_zpsbslddup1.jpg _DSC9202_zpsdeaa1ujh.jpg

Edited by derekstanggt

Looking at these things I get a distinct eighties comic book feel from them. Love it!

Thanks Barry! Since I've always wanted to paint my some of my miniatures, but have been too intimidated to spend the money and learn to use paint, I took your suggestion to use colored pencils. Here is some basic weathering I've done. Any and all suggestions are welcome, I've never done anything like this before, so I know I've got a long way to go. But it was very easy and cheap to get started!

_DSC9215_zps1p8zqubq.jpg

_DSC9223_zpsb69v90q4.jpg _DSC9219_zpsjf9wkwvx.jpg _DSC9178_zpsx4tgdb0s.jpg _DSC9201_zps7h7qqyrf.jpg _DSC9205_zpsa0fdmcxh.jpg _DSC9198_zpsbslddup1.jpg _DSC9202_zpsdeaa1ujh.jpg

Great job, glad you achieved what you were aiming for and did a good job doing it

Pencils are a nice and easy way of achieving a simple finish.

Or adding a bit more detail.

But in a way that's easy to control.

Great job.

All the best.

Barry

Edited by Barry Harker

iLWNph.jpg

More fun with Pencils.

Decided to do a few more Xwings using the Pencil Method.

again, not full re-paints. just a case of a few coloured pencils, a decent sharpener and eraser.......for the mistakes.

Oh......and some good reference :D

The Internet is a Vast sauce of information for reference.

But I think you cant beat a good book !

Most of My decent star wars books I purchased back in the early to mid 90's

Some have been discontinued but there are still plenty out there, mostly on Ebay.

5OxWOi.jpg

My two Favorite books for reference are the Star Wars Chronicles and Star Wars Technical Journal.

They have fantastic photos of the Studio Models used for the Filming.

so you don't get much better than that.

UmdeST.jpg

Jfa6QR.jpg

r26mVT.jpg

NQ5M1m.jpg

Edited by Barry Harker

Wedge, Red 2

jT8ICP.jpg

ZOiAAc.jpg

Bn6m1M.jpg

Edited by Barry Harker

Red Leader

5UQ5qt.jpg

gq9reI.jpg

az1o2z.jpg

Edited by Barry Harker

Well its all about enjoying the Game and for some, the Enjoyment of adding something extra to the models.

Not to everyone's taste I know.

But for some....very enjoyable and easy.

and I like the effect. after all, the FFG Miniatures are very well done already.

they just need a bit of dirt and grime :P

rOfv5K.jpg

J2OSaU.jpg

All the best,

Barry.

Edited by Barry Harker

This thread is absolutely fantastic for this of us who, due to a lack of experience, are slightly terrified about painting! Will definitely give some weathering a go. Thank you.

Edited by SeerOzymandius

This thread is absolutely fantastic for this of us who, due to a lack of experience, are slightly terrified about painting! Will definitely give some weathering a go. Thank you.

Hello SeerOzmandius.

Thank you and glad to help out.

That's the reason I posted this page on the Forum.

Its a trick from the armour modellers.

But taken a bit further by using the pencils to do all of the weathering.

If you have a local Art shop.

You can buy single Colored pencils.

Black, Brown...for rust,to start with.

maybe a white for highlights and some beige and grey colours for panel shading when you get more confident.

Keep em sharp,and you will find it a fun exercise.

If you have an eraser...rubber.

Cut it at an angle with a knife.

The models are very small

So you need a pointed eraser to rub out any mistakes you might make.

Another good trick, as I have shown earlier.

Is to spray the model with mat clear coat/laqure.

That makes it easier to Draw on to the model.

And then when your done and happy with the finish.

Another coat of mat laqure.

Job done.

The laqure is very thin when sprayed.

So won't make the model look thick with paint.

You only need to dust the coats on.

Have fun.

And maybe show them off when your done !

All the best,

Barry.

Thank you FFGEvan for moving the Threads Over.

All the best,

Barry :D

....why have i never thought of pencils for this?

consider this idea STOLEN! with regards :D

For years I've read about modelers using pencils to replicate or enhance panel lines on aircraft models. Never considered it since I build mostly 1/35 scale armor. This use is a revelation of what can be accomplished with pencils.

Definitely going to sharpen my old pastels. Thanks Barry!

:)

For years I've read about modelers using pencils to replicate or enhance panel lines on aircraft models. Never considered it since I build mostly 1/35 scale armor. This use is a revelation of what can be accomplished with pencils.

Definitely going to sharpen my old pastels. Thanks Barry!

Hello Stoneface.

the idea was to show others how easy it is to add that "little extra something" to there model.

and you will need your sharpener !

the sharper the pencil....the finer the detail.

have fun.

all the best,

Barry.

Well,

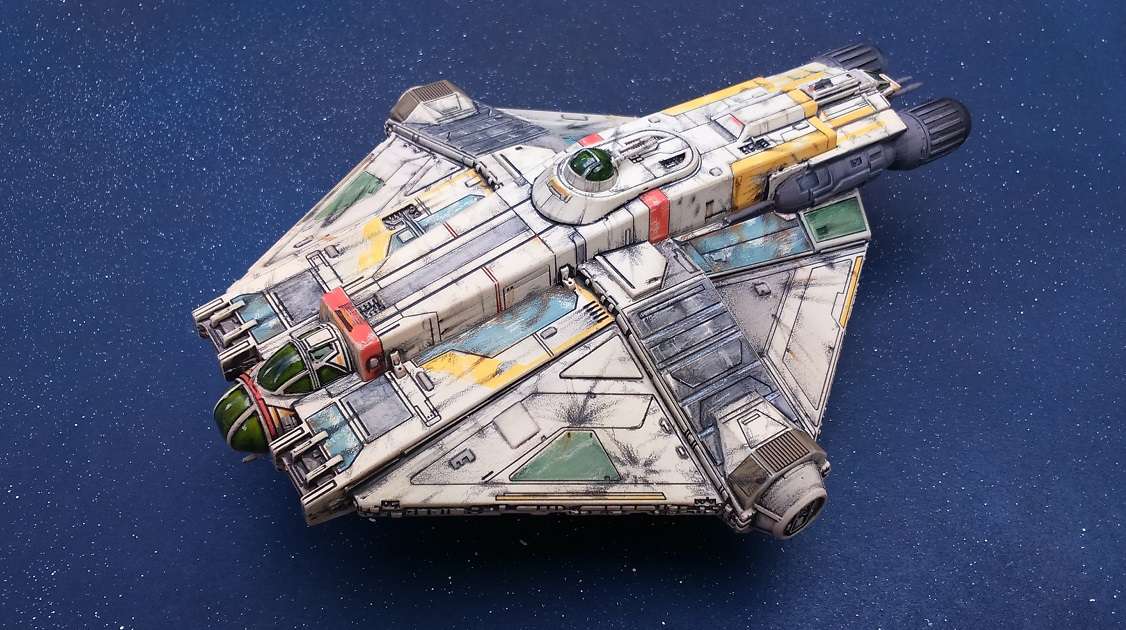
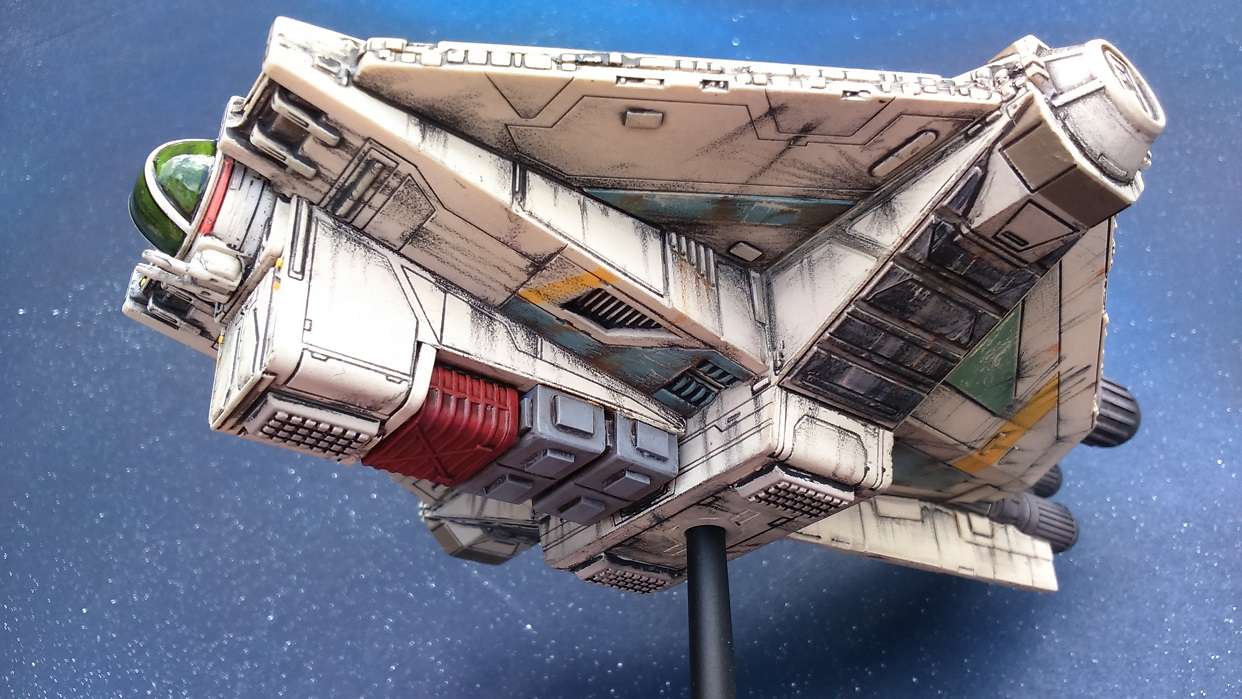
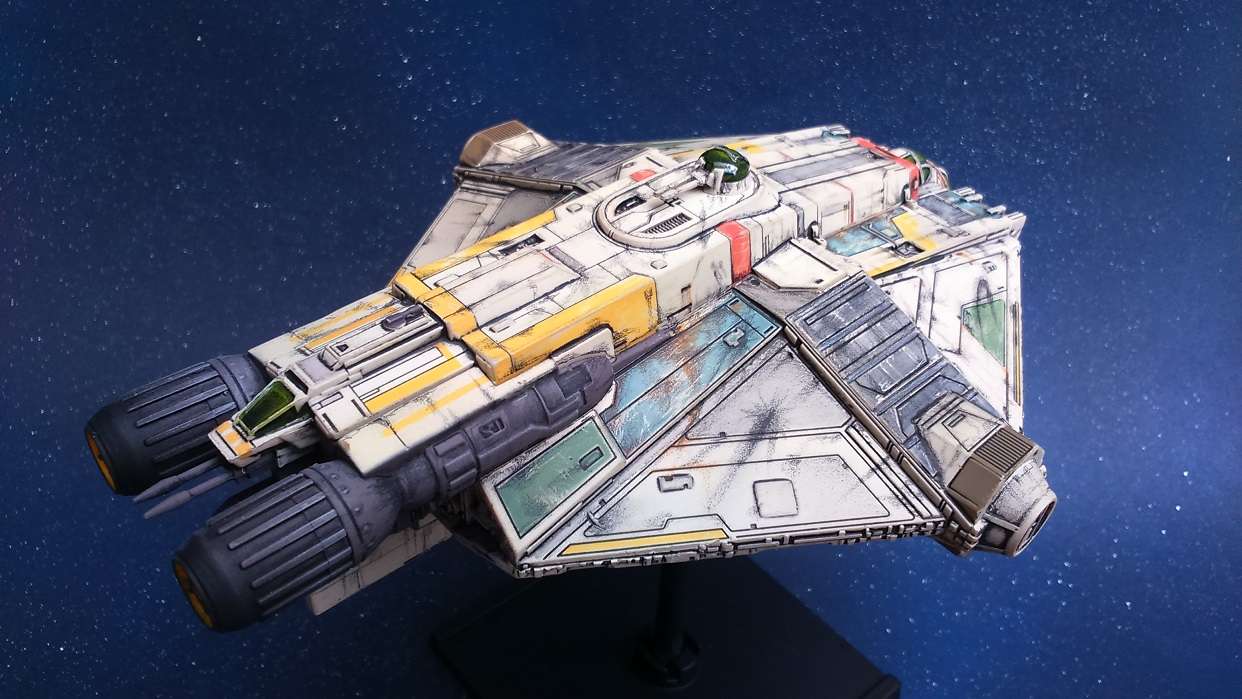
Another model and another excuse to use it as a colouring book and scribble pencils all over it !

However this time I need to make a few modifications to the Model.

The GHOST is really nice.......if not a little Big. ( at least in my eyes )

But that Bloody stand is AWFUL !

rF1daI.jpg

Firstly I prized the model apart, drilled a hole and then glued in a Styrofoam tube with supports.

I then drilled a hole in the base, and used an acrylic rod as the support rod from the base to the model

( its easy and

I will show How I did this )

ftcJKs.jpg

The Model comes apart easily enough with some gentle prising, I used the flat edge of a steel rule and then twisted it.

take your time around the whole model and it will start to "POP" open.

I then drilled a 4mm hole and added some support struts in the base of the model where the stand will slot in.

5rZRoR.jpg

Edited by Barry Harker

And then using reference on line....and there isn't much !

I continued to weather the model.

Firstly I attacked the whole surface with Scotch Bright......Scouring pad on washing up sponges.

I did this to wear the surface paint, I also Scratched the painted areas with a scalpel blade

to wear the paint in the right area.

27agb3.jpg

3b5VLU.jpg

cD5rX3.jpg

Before you start using pencils to weather the model.

Its a lot easier to spray the model with mat Varnish, this will allow the pencils to draw on to the surface a lot easier and hold their colour better.

then once you have finished all of the pencil work, respray the model in the mat varnish again to seal in your pencil work.

wzDxKM.jpg

Edited by Barry Harker

With adding a new place for the Stand.

I can now fill the space between the landing gear that has the Magnetic catch cargo hold, With cargo pods

jgKQPp.jpg

Kx9eXD.jpg

hfeRmb.jpg

You can also see here the difference with just using pencils over the standard FFG paint scheme.....

4dflux.jpg

Edited by Barry Harker

Everything I used to "weather down" the Ghost model.

27agb3.jpg

LZEwfA.jpg

The colour marker pens were used to colour the blue and green panels in, wash them out a bit as they are to strong

in the normal colour.

ONE OF THE MOST IMPORTANT PARTS IN THE PROCESS.......MAT CLEAR COAT

Use it BEFORE you start shading and drawing the blaster marks and grime on the model.

It gives a perfect surface finish for the pencil's to stick too when your drawing on the model.

as coloured pencils contain wax.

and with out the mat finish to draw onto. it doesn't work very well.

you can then spray the Spray Varnish again to protect your pencil work.

this is Also very important.

The Clear Enamel is what I used on the cockpit glass to give it a high shine.

The windows on the ghost have a green/yellow tinge to them.

so I used a green pencil as a base colour over black, and the yellow as highlights.

xwQXIw.jpg

s0NoCq.jpg

Edited by Barry Harker

TKXBFe.jpg

gDq5t4.jpg

s7Iygg.jpg

Edited by Barry Harker

Cargo Pods and new stand in place.....

fhzXQF.jpg

bTQ2ZJ.jpg

ftcJKs.jpg

Edited by Barry Harker

TEIp4q.jpg

MaSvxL.jpg

LcB9gf.jpg

UwnFo8.jpg

All the best,

Barry.

Edited by Barry Harker