This is my first attempt at a Star Wars Armada Battle Report so feedback is welcome!
Disclaimer! I don't pretend to have the technical skills that some others do but the big red arrows around the pictures will hopefully give you an idea of speed and direction for ship movement over the turn and I've done a play by play run down.
In this battle we have 400pts of Rebels led by me up against 400pts of Imperials with a friend of mine, we game fairly regualy and you will notice we both tend to go for fairly balanced ship/squadron builds, Imps tend to focus on larger ships with me having a mix of both. Lists are as follows:
Me - Rebels
Assault Frigate MK2 B (113)
General Dodonna
Adar Tallon
Flight Controllers
Expanded Hanger Bay
Neb-B Escort (77)
Raymus Antilles
X17
Salvation
Cr90a Corellian Corvette (47)
Leia
Cr90a Corellian Corvette (44)
Dutch Vander Y-Wing (16)
5 Y-Wings (50)
Keyan Farlander B-Wing (20)
3 A-Wings (33)
Imperials
Motti
VSD 2 - Flight Controllers, X17's,(97
VSD1 - Chierenau, Expanded Hangers, H9 turbolasers (96)
Gladiator 1 with demolisher
3 Tie bombers
Major Rhymer
3 Tie Advanced
3 Tie Interceptors
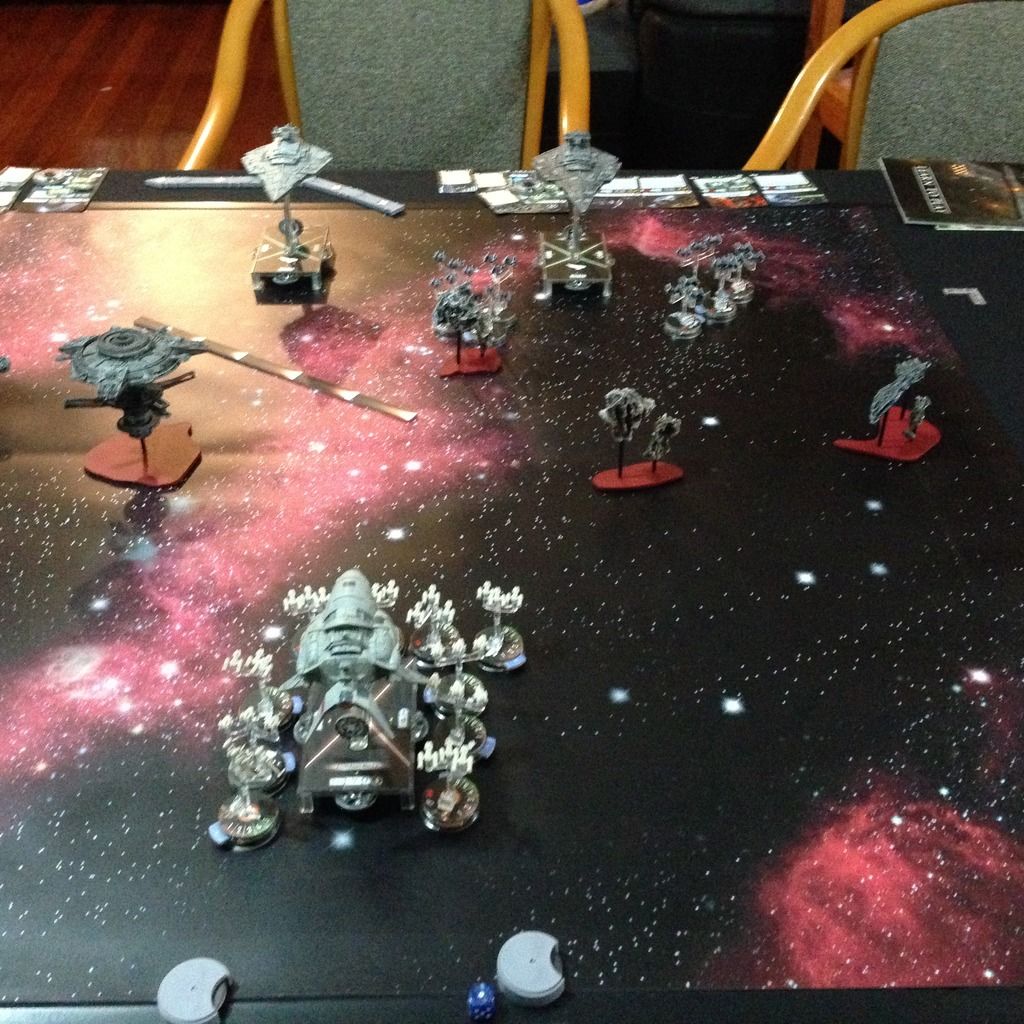
The Setup
Imps deploy in standard imp deployment "A" ready to charge across the field and give out some pain while the Rebels deploy opposite and try to decide which side of the board they feel like playing on as they engage in another exiting round of don't get shot to death by the imperials. You will see over the course of the game how quickly rebels can manouver to take advantage of slow Imps but you will also see how quickly it can go wrong as I make a few simple mistakes and end up crashing into each other (well almost...) At the moment though it seemed like a sound plan!

Turn 1
Both players generated large amounts of Nav commands and manoeuvred into positions. Strong advance with distinct side wards shift.


Final thoughts
The plan worked... sort of... The plan was always to take out demolisher first, he's fast/hitty but also fragile (compared to a VSD...) so you would see how much attention he took. Going first gave me a big chance to take him out which I doubt my imperial counterpart will let me get again!
That said you will also have noticed how quickly Salvation became out of position and it really didn't contribute anything significant to the battle. At one point I was **** close to ramming my ASF with salvation which would have killed the ASF... I really need to work better on positioning and moving that thing around, it's not as easy as a frigate which is far more obvious.
Also note I may have completely thrown away that corvette at the end, I'm not nuts, that's called just for the giggles in a friendly game. At a comp he would have driven past the VSD whilst flipping the bird and generally not dying...
A great game against a solid opponent, hope you guys enjoyed reading and this wasn't terrible. If I get feedback and peoples seem to enjoy the reports I'll post some more in the near future,.