12 Pictures of a Demolisher Eating a Yavaris
As part of my contribution to the Ship-heavy vs Squadron-heavy debate, I have put together some images showing a very simple engagement between two of the most commonly cited ships: the Yavaris and the Demolisher. This does not contain rocket-science tactics or anything revolutionary like that - in fact, it's almost the opposite because I am trying to illustrate how sometimes the simpler ship which requires simpler tactics can also be the more powerful.
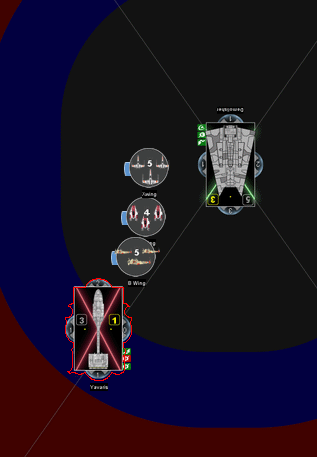
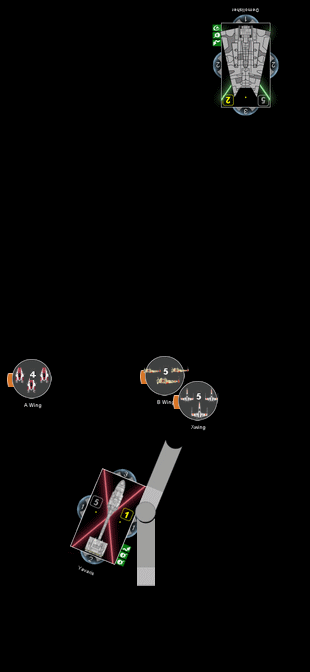
- Nebulon-B Escort (Common build: Raymus, Yavaris =69pts)
- Also shown: Xwing, Awing, Bwing (38pts)
- Gladiator 1 (Common build: Demolisher, Wulff Yularen, Engine Techs, Assault Concussion Missiles =88pts)
The Yavaris starts its turn far away (about distance 7) from the Demolisher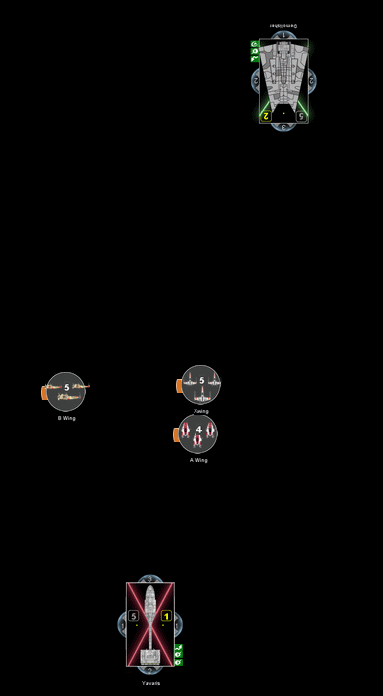
The squadrons are in range for orders, and out of the Yavaris' path.
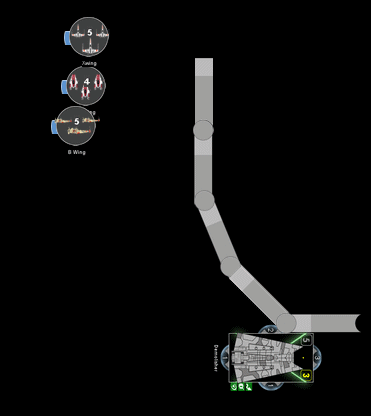
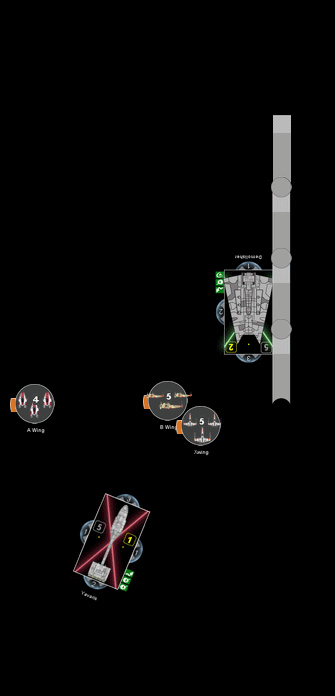
Option 1: If Squadrons attack at long range
The Yavaris can give an order to the X and Awing, allowing them to move and shoot into the front of the Demolisher this turn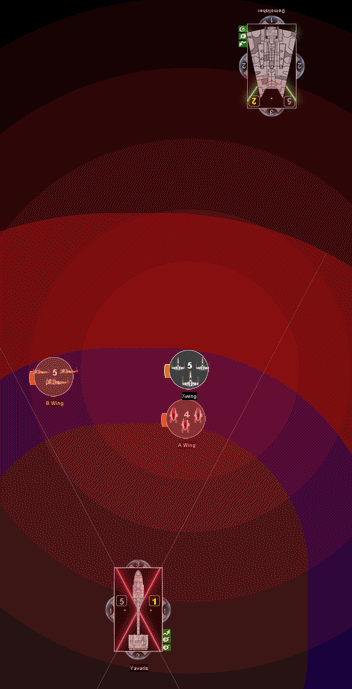
XWing and AWing move in to attack (probably causing 1 or 2 damage, 1 of which is probably redirected left).
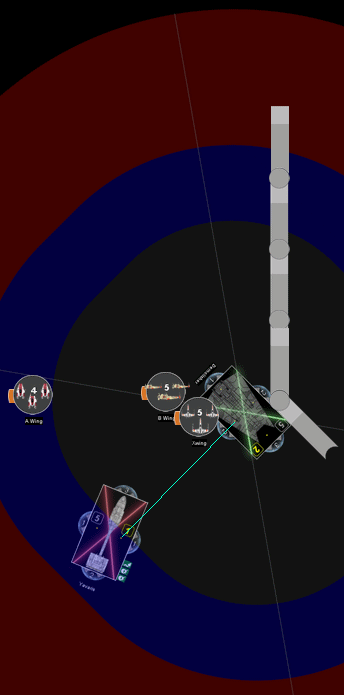
However if they move into range 1 of the Demolisher, even if they stay as far back from it and as much in its direct path as possible, the Demolisher will be able to move past them at Speed 3. This will leave them stranded for the next turn -
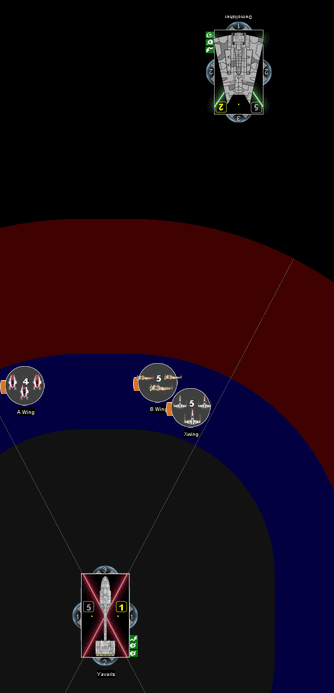
1) Outside of the Yavaris' command order range
2) Not in range to fire without a command
2) Unable to force the Demolisher to crash into them in order to get pushed along by it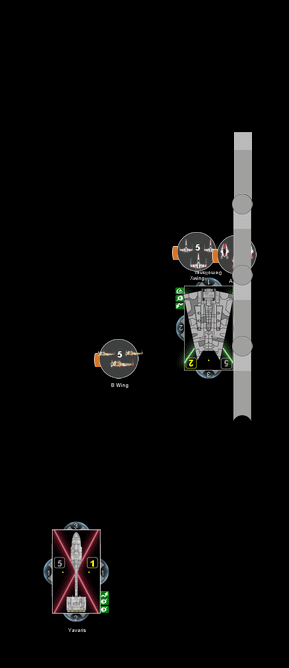
This means that the Yavaris' owner should not send them forward, and would almost always want to hold them back for this turn in order to get a double tap off next turn and have them in command range.
This was not an optimal play, so now we look at option 2.