Last nights game involved a Rebel Assault Frigate focused fleet, using ECM and Intel Officers to mess defence tokens, while the Imperial fleet went upgrade light...
The Imperial Fleet - 299 Points
Victory II – Admiral Motti
Victory I – Naked
Gladiator I – Demolisher and Assault Concussion Missiles
Major Rhymer Bomber Squadron
2 Tie Fighter Squadrons
Tie Advanced Squadron
The Victory 1 ploughs straight in, this is followed up by the Vic 2 trying to catch any sneaky flankers and then Demolisher (playing against type) skulks around the flanks/rear of my fleet waiting to pounce on any ships that break through or try and out flank me. Rhymer n’Pals just makes a nuisance of themselves taking the odd shield off of unsuspecting ships and provides a fighter cover/speed-bumps as needed.
The Rebel Fleet - 296 Points
Assault Frigate IIA – Mon Mothma, Electronic Counter Measures and Intel Agent
Assault Frigate IIB – Electronic Counter Measures and Intel Agent
Corvette B – Tantive IV, Leia Organa, Electronic Counter Measures
3 x A-Wings
Pre-Game
- The Rebels were first player and we played Fleet Ambush.
- As the Imperial player when obstacles were placed I tried to force the flank attack down my right flank.
- The basic plan for the Rebels seemed to be to scoot the AF’s around a flank keeping out of short range.
- My plan was to follow them, loading up three straight navigate commands for both Victories.
The fleets are deployed 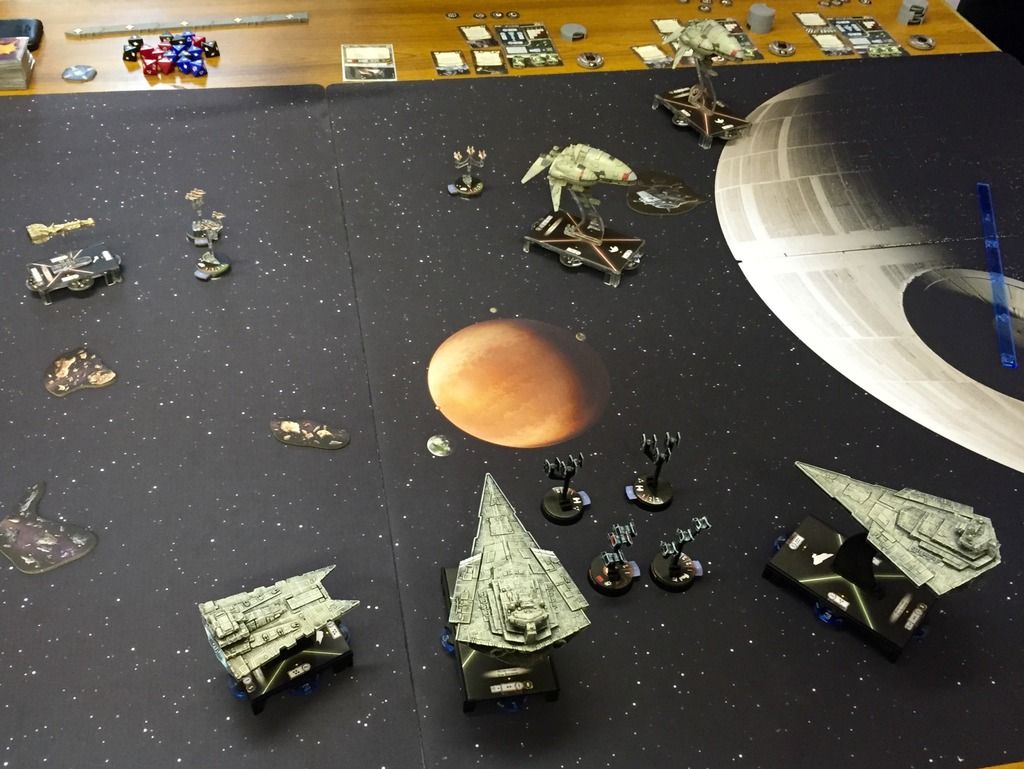
Turn 1.
There were a few long range exchanges but nothing too serious. Evade/Mon Mothma kills 2-3 red dice attacks.
End of turn 1
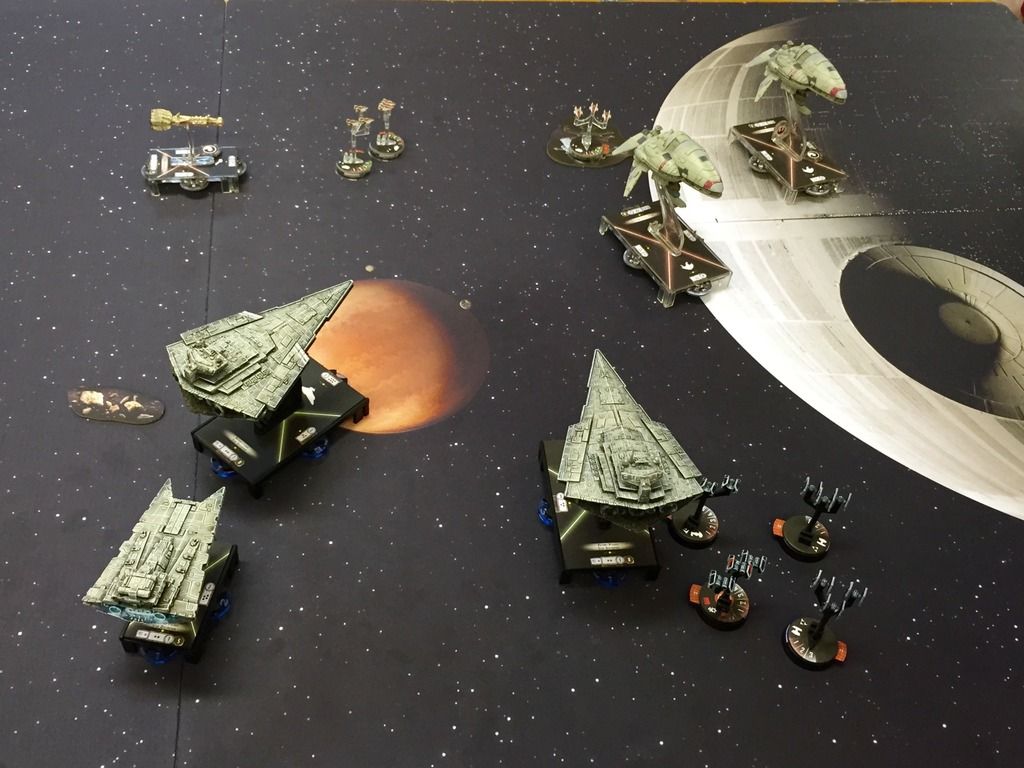
Turn 2
The next couple of turns saw the Star Destroyers come about face as the AF’s tried to dance around them. VSD's at speed 1 and constant Navigate Commands meant the AF’s couldn’t totally escape. Demolisher slowly started coming about, with intent to intercept the flanking AF’s at a point when they had crossed onto the flank f the VSD’s.
Because long range exchanges of turbo laser fire are not all that effective by the start of turn 4 shields had started to fall but no real damage had been caused.

End of turn 2
Turn 3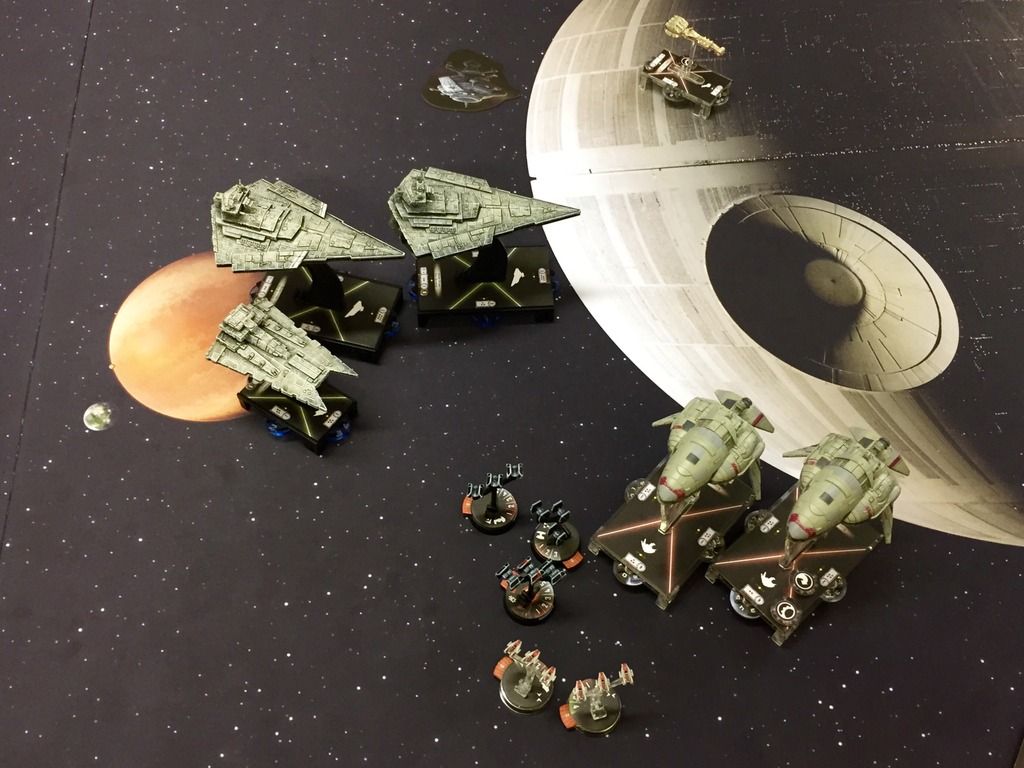
End of turn 3
Turn 4
During turn 4 Demolisher made an attack run but managed to do very little to the lead AFII (terrible dice) and by this point the Victory 2 was essentially out of the fight, she had lost all her defence tokens, was mostly de-shielded and was taking heavy damage. By this point the lead Assault Frigate had been mostly stripped of shields so was looking vulnerable. Next turn would be pivotal.

End of turn 4
Turn 5
The lead AF tried to avoid Demolisher by shooting and then flying away but doesn't get quite far enough. Demolisher finished off the last A-Wing in it’s forward arc, then swung around and unleashed her side batteries into the AF. This time the AF was unlucky and the withering fire destroyed the ship in a single attack (I rolled 9 hit/crits with a concentrate fire dial).
The Victory 2 had started to take a pounding and had 6 damage cards and a Crew Panic critical hit. During turn 5 I revealed a Navigate token and decided to take the hit (from a panicked crew, going to 7 damage) and slow to speed zero this put the Victory 2 out of range of all other rebel ships for turn 6. The remaining AF skirted the table edge and poured some fire into the remaining Imperial ships who were still fairly well shielded.

End of turn 5
Turn 6
The fleets separated and the Rebels jumped to hyperspace.
Final Thoughts
- Staying at Speed 1 and spamming Navigate commands meant I was able to almost keep forcing the AF’s movement as they were always in my front arcs. That said I’m not sure who was forcing who during this but it played out well. Was I forcing the AF to keep moving or were they forcing me to keep following?
- Using Demolisher as a blocker for ships that have broken through my lines worked out well. I know if I had gone off half-cocked with engine techs I’d have been out of the game for the most part.
- My deployment needs work, I failed to use fighter deployment effectively or foresee the direct the AF’s would be flying.
- Speed 1 can cause some hazardous manoeuvres that could result in friendly collisions (managed to avoid them this game – Thanks Dan!)
- Rhymer works wonderfully with basic ties. Best of both worlds really.