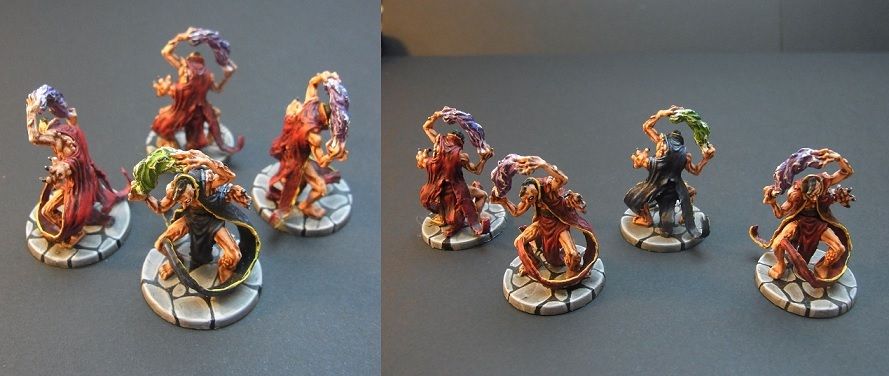
After seeing Engrimm's thread, I thought I'd post my own painted figures.
Not that many done yet, but here they are: (the bases still need to be done for all of them)
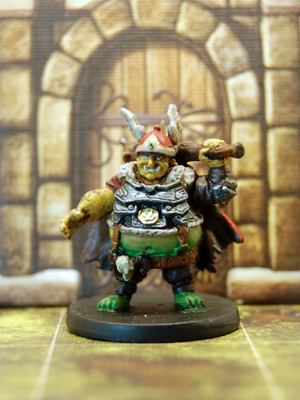
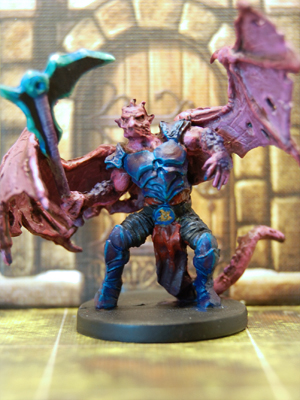
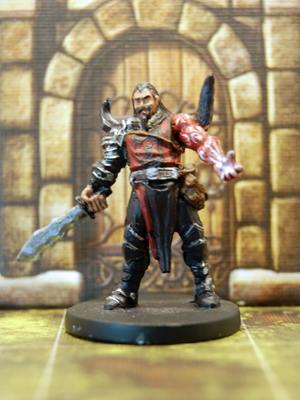
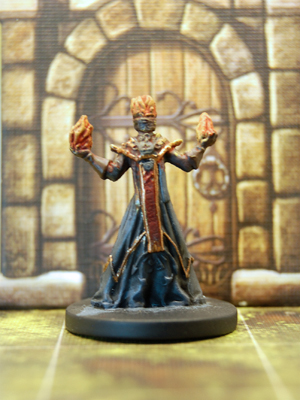
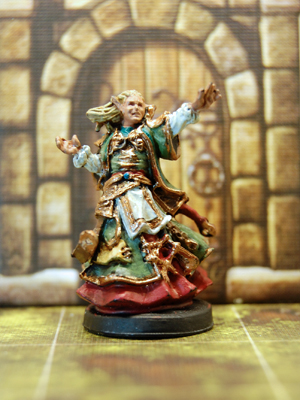
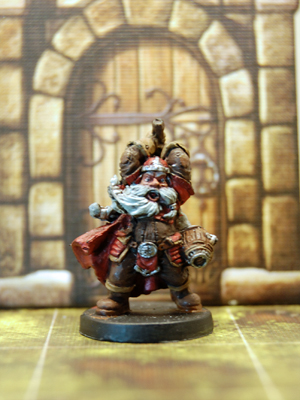
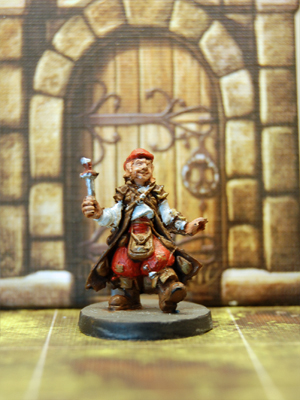
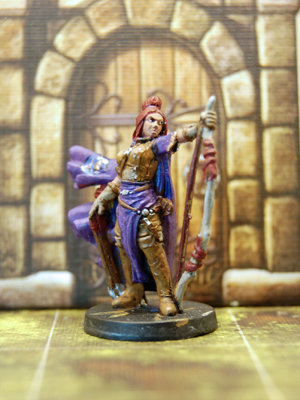
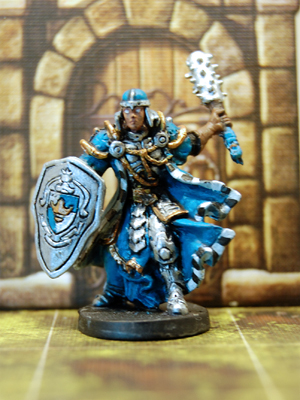
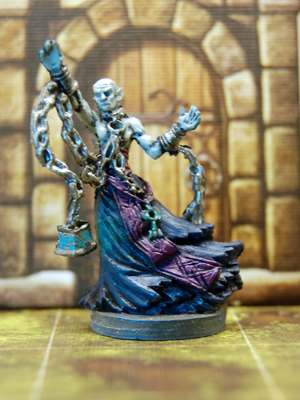
After seeing Engrimm's thread, I thought I'd post my own painted figures.
Not that many done yet, but here they are: (the bases still need to be done for all of them)


Hardest thing is to come up with variations for the master/minion monsters. I don't want to just put a red ring around the base..
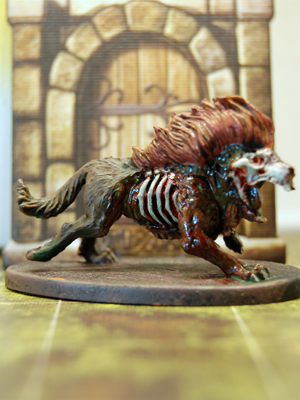
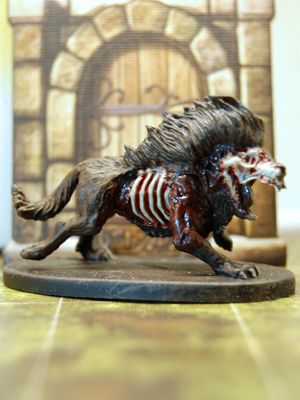
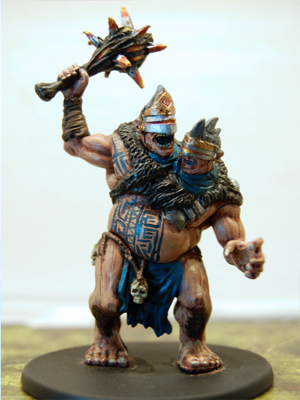
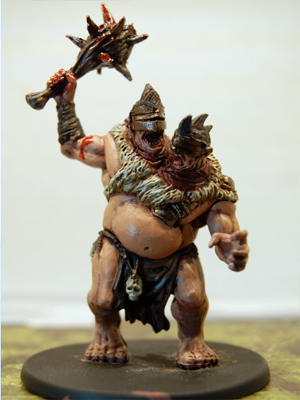
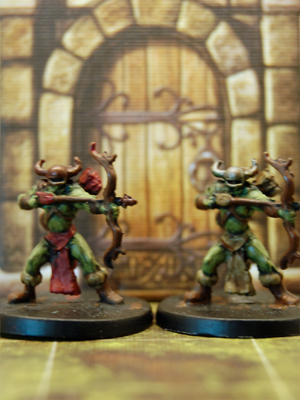
Very nice! Love seeing how other people painted their models, not enough share!
The tattoos on the Ettin are wonderful.
Edited by Engrimm
Seeing the other thread I was reminded that I haven't posted here in quite a while.
So here is an update!
(maybe the zombies can be an inspiration for the colors on yours gonz86)
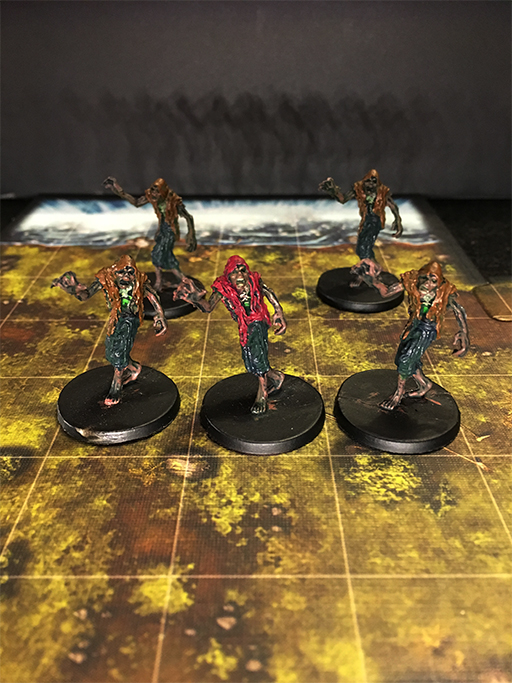
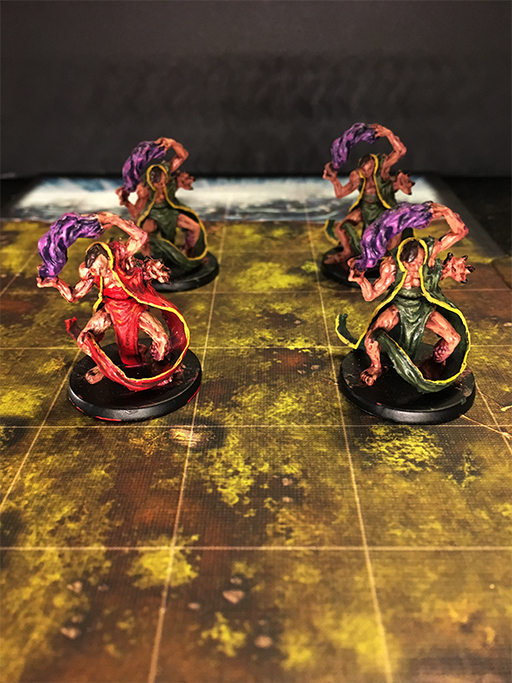
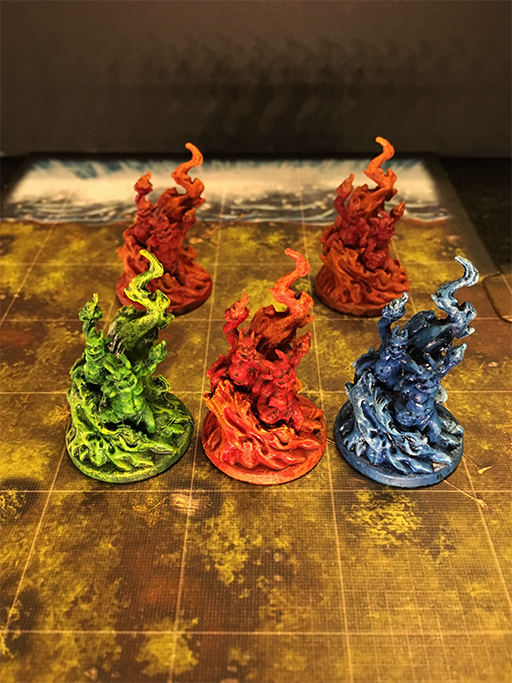
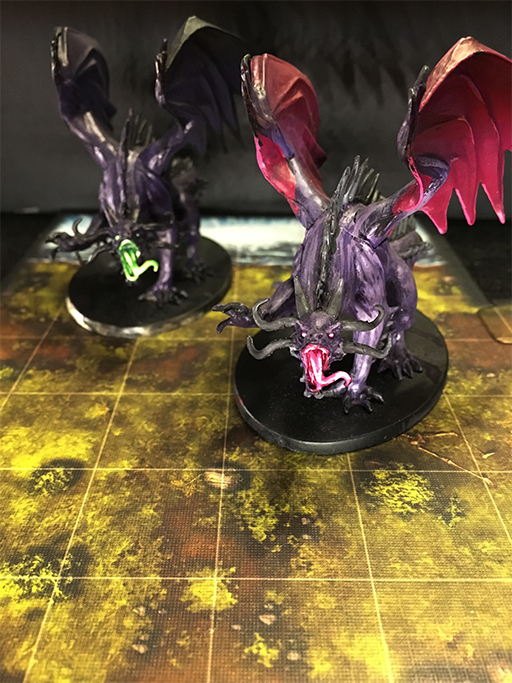
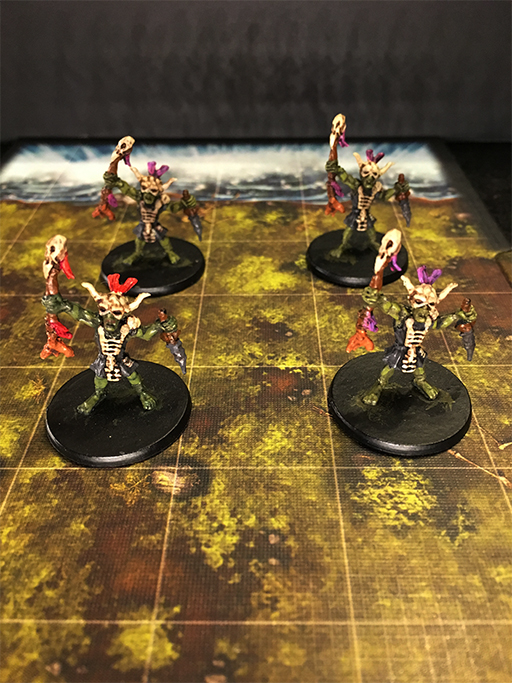
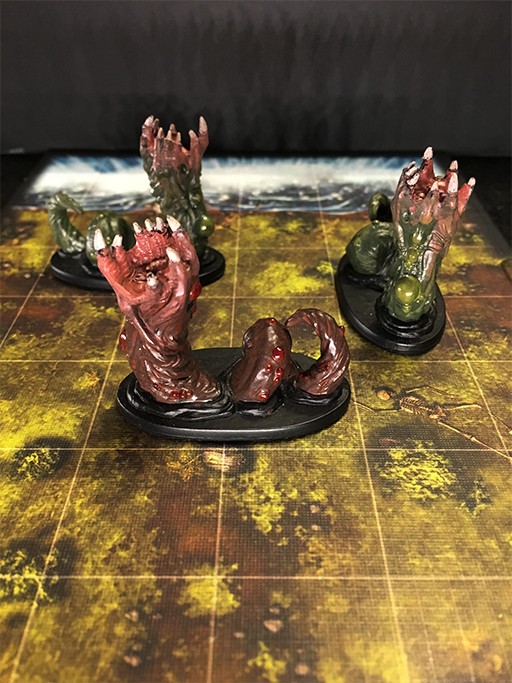
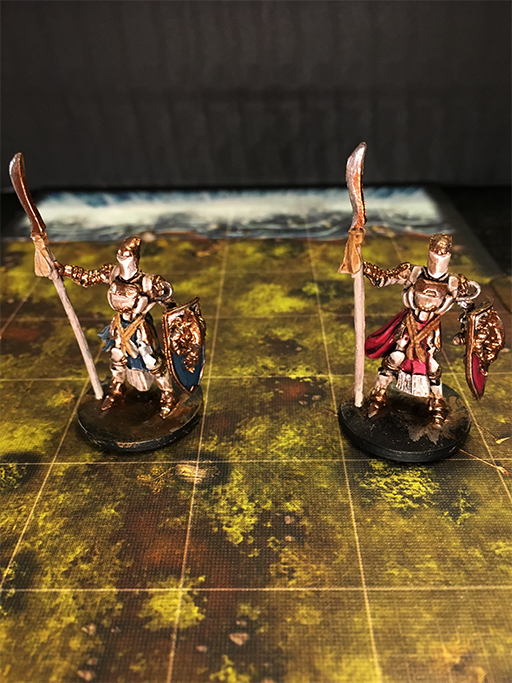
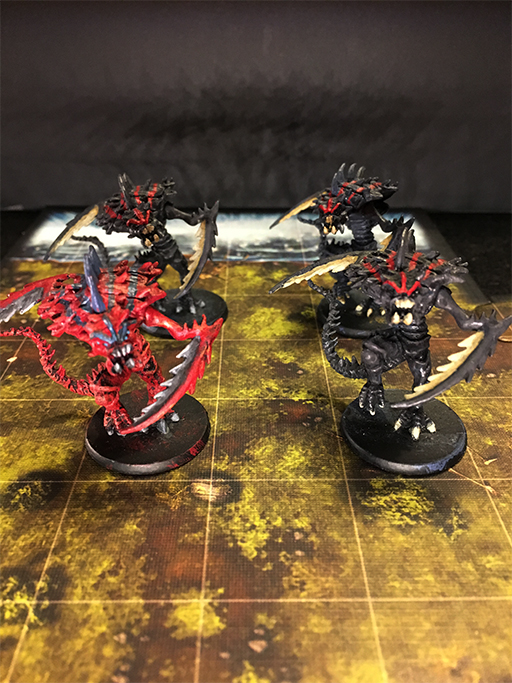
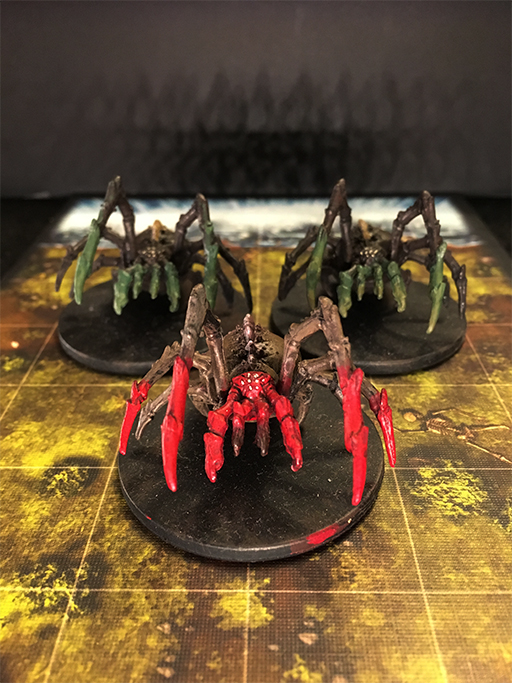
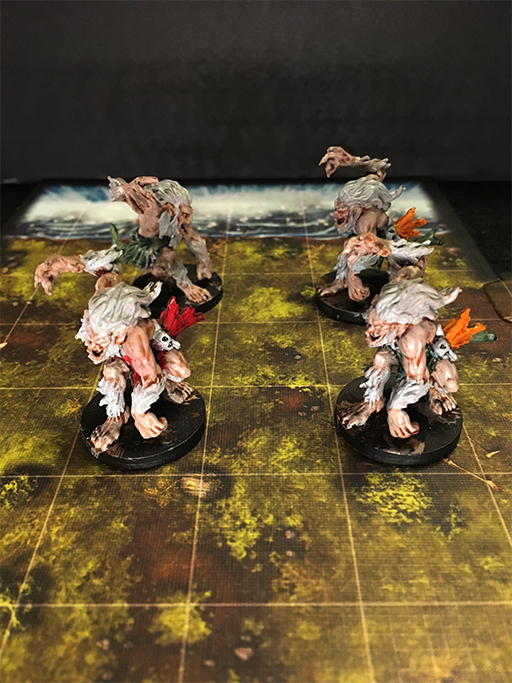
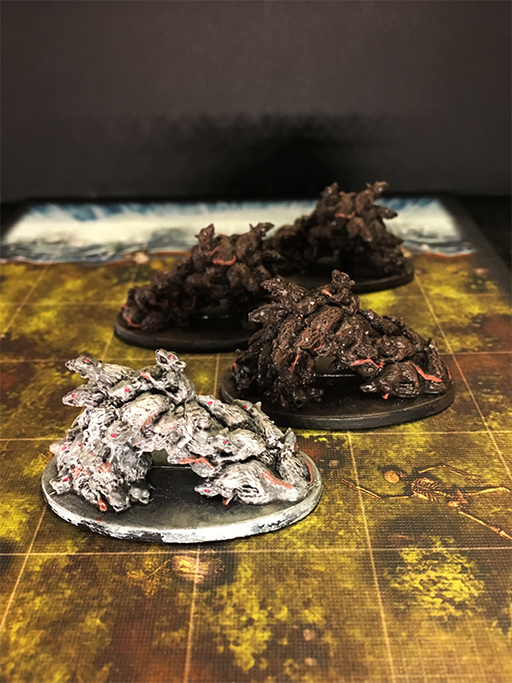
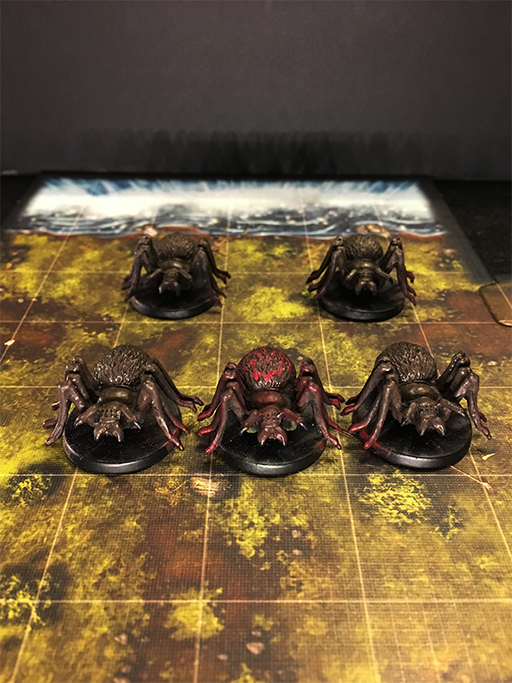
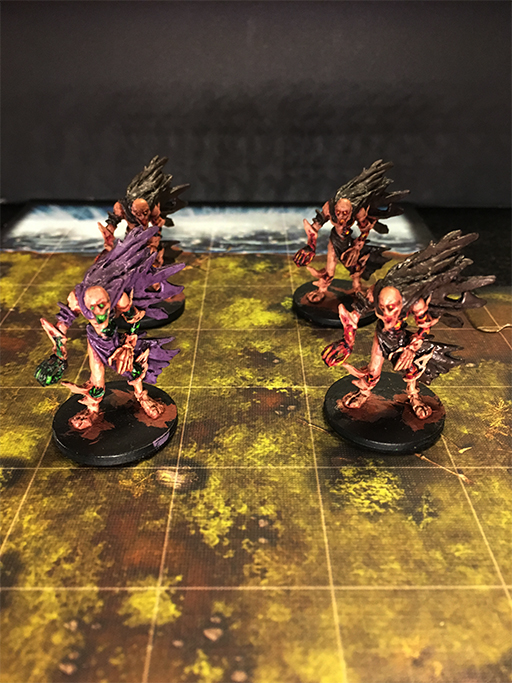

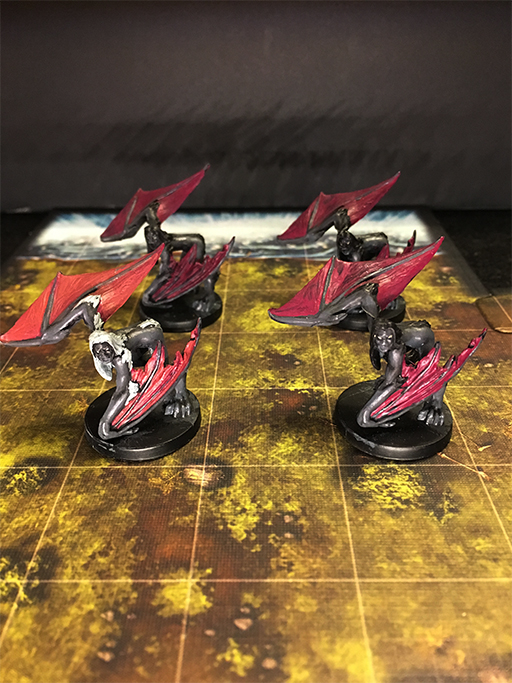
They are in top 5, for all I see.
![]()
I wish I had the skill, patience and mainly TIME, to do something like this. Unfortunately I barely have time to play, if I spend it in paiting, I´ll resume playing only in three or more years
![]()
wow these minis are stunning!!
great job, I hope I can accomplish the same degree of results.
im going with the same color palette for the zombies, but using green on the skin. i think ill finish them this week
keep updating this thread please!
Really love seeing the figures painted, great job everyone, they look fantastic. I used to paint a lot of figures but I am running out of ways to store them.
How do you store them once painted?
Edited by Mighty MartinWell, I just bought the Citadel Crusade figure case 2 weeks ago. It works great for descent as well.
Before I was just storing them in these cheap plastic boxes for screws and what not. Which also worked, but they are more protected now, and I like to have them in one big box
![]()
So if you got €100 to spend (or $120 or whatever the conversion rate is atm) then I can recommend it. It fits everything that is out atm, and there is still room left.
Edited by Atom4geVampire
Thats definately looks like the way to go thanks for that
![]()
I'll try and take a picture of mine tomorrow, to give you a better idea of how well it fits descent
Seeing this post I was determined to upload a couple of pictures myself, but I found that the photos just turned out horrible compared to the minis...Distorted colors, fading details etc. The cam is perhaps not top notch but certainly decent, actually it does nature macro photography quite nicely.
Any suggestions? I used 2 light sources with parchment paper in front of each. Perhaps I should go for a daylight bulp?
Would have loved to share some pics, paiting only since a year (started with descent), but content with my own progress, could be really motivating for others to see whats possible within a short time. finished the base monsters and some more...but seeing the photos, I just dislike them! Do you have similar experiences and just post them anyway? Your colors appear more "real" though. Btw, good work
![]()
Cheers and keep on painting
![]()
To be honest, I have the same. I'm looking at the mini's thinking, these look great! Then I take a picture and go, "they don't look that ugly do they?"
What I used for the original pictures was a white box that I turned inside out, with a small ikea ledstrip at the top, and then had my phones light reflected of a small white paper to light the front of the model, like a mini studio.
Then I took pictures with my camera. (which is pretty old) - I tried to find the box to take a picture of the setup, but I think I threw it out by mistake.
For the newer pictures, I just used my phones camera, and some extra light from my boardgame table lighting the front.
Thanks for the reply!
Will try tomorrow or so to get some better shots and post the results...I suppose as photography is an own artform, it might not be that easy to make the picture look as nice as the minis look in your hands.
Would be nice to have some thread where people post their descent paintjobs
![]()
How do you guys deal with skin, especially facial skin, on humans?
I tend to go white + brown ink to fetch the details, then highlight in lighter skin tone, but the result is always a very bright/pale face and very dark mouth/eye globes. which looks weird.
I also painted my Giants with washes and wasn't happy at all with the result. I wash the skin areas, which makes the mini looks awesome but way too dark, then highlighting the exposed skin areas with elf/dwarf skin tone which basically negates my wash.
I don't know how to describe it but maybe my problem is that I can't for the life of me reconcile wash with highlights, it either has to be all-wash (perfect for fleshing out the details but always too dark) or all-highlights (not as good for getting the details out of the mini, and doesn't work well with fine detailed areas like faces etc)
I use Vallejo paint.
Edited by IndalecioI always use washes almost all the time.
The base color is just selected knowing it will be darkened by the wash. (Also, don't go to overboard with the amount wash applied of course).
Then you highlight the 'raised surfaces' that would catch the most light by painting them with the original color.
(If needed apply an even lighter color to select areas)
I use Citadel paints
Edited by Atom4geVampirehaven painted too much skin yet (4 models) but I found the result reasonably good.
Using Vallejo, too. Altough I also go with a mix approach (which I believe is somewhat standard at the tabletop level):
Skin:
1.Dwarfskin basecoat
2. brown wash (ca 50% water/50 % brown ink) [if needed, using a 2nd, more darker wash for darker areas, applied only on the respective spots]
3. going back with diluted dwarfskin leaving out receses, folds etc
4. 1st highlight (ca 70% dwarfskin/ 30 % bonewhite)
5. 2nd highlight (ca 50%dwarfskin/ 50 % bonewhite)
6. 3rd highlihgt...
7. 4th highlight....
8 5th highlight (90% bonewhite)
This is basically how I go about painting in general.
I feel that especially for more detailled models a sequential layering approach works best for me atm, with (very) diluted paints. Resulting in smooth transitions
![]()
Mostly using washes as described in step 2, then coming back with basecoat color, then highlighting.
Depending on the model, using succesive drybrush steps for certain areas instead of layering highlights. (e.g.Ynfernal Hulks or Elementals)
Hope this could help a bit...if not, perhaps post a picture to show what exactly is bugging you?
Tried a bit more and the photos turned out a bit better: Jain, finished recently.
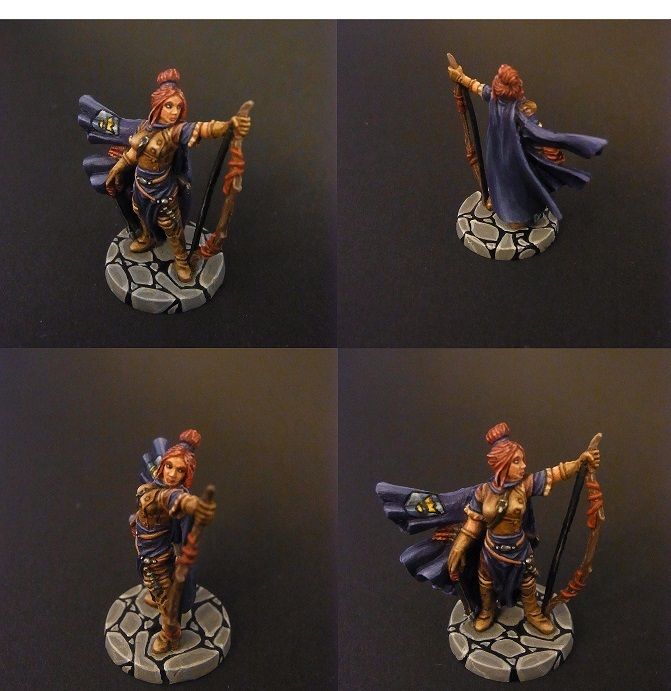
So how did you take them this time?
Atom,
You find time to paint your figures while maintaining your Descent Tracker!
Double WOW!!!
Now I feel lazy, thanks!
![]()
Good job on both by the way.
Well, in all fairness, the painting was at first sort of a team effort
![]()
Like I said, I only started painting when I got Descent.
A friend of my girlfriend painted Warhammer stuff and he was willing to teach us.
So it was us 3 sitting around a table painting Descent stuff and learning by doing. I guess thats why they are above beginner level because I had a good teacher
![]()
Now it just me and that guy that still paint, because I broke up with my girlfriend recently. Which I guess resulted in more time to work on the tracker and painting, but less time actually playing
![]() (she was part of group).
(she was part of group).
The thing is that I don't have the paints myself (the guy has like a $500 set of paint, which i'm not willing to invest for the little amount of paint I would use of each color) and his schedule is pretty busy.
Which means that we only meet like once a month for an evening of 3-4 hours of painting. I guess if I had my own paints I could finish faster, but hey..
![]()
So anyway, to give you an idea. I bought descent about 1 year and 4 months ago and here is where I am so far, with painting once per month with 2 or 3 people:
https://www.dropbox.com/s/kioat45vazqte5b/2016-02-02%2019.22.23.jpg?dl=0
Left is finished, middle is in progress (monsters/lieutenants are often started on, but because we paint so infrequent the quest we needed them in was already played before they were done and so we moved on), right is still to do.
So I'd say, if you could paint a couple of hours like once per 1-2 weeks, you could achieve the same. And you wouldn't have to give up much of your lazyness (believe me, I'm pretty lazy as well).
By the way the box in the background is the Crusade box I showed earlier, and here is a picture with some of the models actually in it.
https://www.dropbox.com/s/dex68wssll4x3rs/2016-01-31%2010.47.14.jpg?dl=0
If you put the heroes together in one foam (like I did) it doesn't work as well cause they're a bit small and because part of the concept is that you put big things with small things, so the bigger things push the foam and make other rows smaller and thus tighter around smaller figurers (if you get what i'm trying to say?). Other than that, it works really well!
Edited by Atom4geVampireAbout the photos:
I just put Jain on some black cardboard (I think it help to diminish relection), gave light with a desk lamp from the focus direction, some parchment paper in front of the lamp in order to diffuse light (i think thats important, otherwise the mini appeared "shiny").
Distance from light to mini ca 50cm (before it was too close i guess).
Its nice to have a painting group though, I also got introduced to painting by an warhammer veteran, occaisonally we do a session- but im the sole responsible for bringing color to descent, game material is purchased way faster than i paint
![]()
Want to go for some foamcore storage solution, i see one in the back of the crusade box?! But that takes time again..lol
The foamcore storage in the back is this: https://community.fantasyflightgames.com/topic/175326-storage-and-organization-of-tiles/?p=1607490
As you can see, I have made a foamcore storage for the heroes, but I wouldn't recommend it, at least compared to the crusade box
![]()
FFG keeps releasing new H&M packs, so heroes keep coming, and storage is already too small at the moment, even though I had left some room for new expensions.
Making just that one 'level' took quite some time. I would want to make it for all the monsters again..
![]() (considering they all have different sizes and stuff)
(considering they all have different sizes and stuff)
I thought I will share some more paintjobs on this thread, perhaps this will motivate others...
Comments welcome!
Agur Grisom, the latest addition:
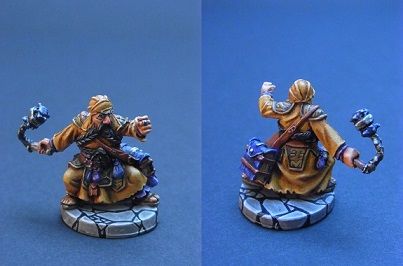
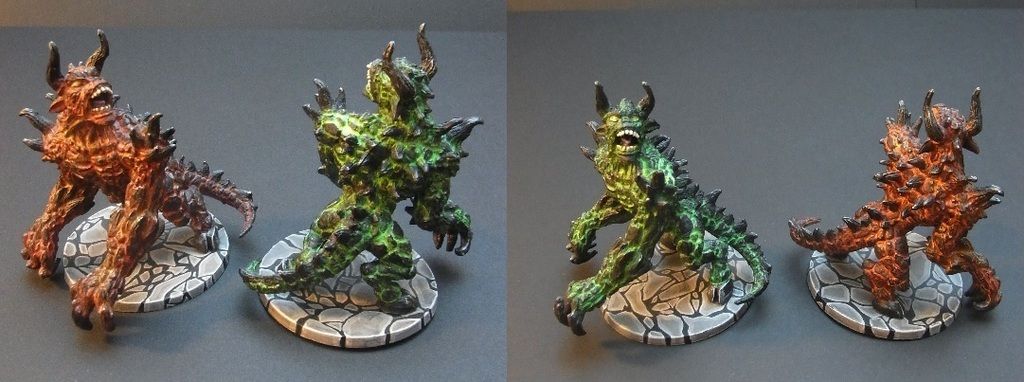
Fleshmoulders
