There must be someone else here who has pics of their painted characters. I would like to see em. Maybe a tie-dyed dragon . Our u could use attachable props, like a razorwing with an afro. That would be sweeeeeeet!
Monsters + Paint = Painted Monsters?
Earth Wyrm Jim said:
There must be someone else here who has pics of their painted characters. I would like to see em. Maybe a tie-dyed dragon. Our u could use attachable props, like a razorwing with an afro. That would be sweeeeeeet!
Ohhh, i totally agree. I would like to see a beastman in a 3 peice suit and a briefcase.
Hawknight said:
Shakkar said:
Now you take the color you used, let's say red for the dragon. Mix it with some black until you have a really dark red - 2/3 black 1/3 red. And dilute it with water until it is really a liquid. 1/3 color 2/3 water. Then you take a large brush and paint the complete figure without caring about any details, just everywhere. The diluted color will go into all "cavitys" (don't know if the wording is perfect). You will have darker color at all places where shadows should be.
Of course the complete figure will look a little bit dirty afterwards. So you have to drybrush. This means you take your red, mix it with a little bit yellow and put the color on your brush (a very hard brush) and paint until the brush is dry on a piece of paper - until no liquid is left - just dry color. Then you move the brush over your figure with some force and all parts which are higher become lighter. Do this several times using more yellow/white and less force - that will look three dimensional.
My main problem is i am severly color blind. The reason why i didn't post my nagas and a few other is because i was trying some stuff like this and REALLY screwed it up by getting the blending stuff all wrong, i have a hard enough time just seeing if I even paint over all the red (on the master beasties) if i am using any kind of dark color. I like the look of thees but I don't think as a colorblind soul i can ever achieve it the same way. I did use the dry brush method with the gold on my dragon up there, and it looks pretty cool to this guy, but then again, the way i see it might be a little different from the way others see it.
I sympathise about being colour blind, (stupid red/browns), its annoying...
OK, my first batch of pics. Please be gentle, my photography is crap. More to follow in a week or two when I've painted the ToI stuff and the remaining large-based models from the other sets.
Edit: The forum doesn't seem to like landscape photography. The right-hand side of these will be cut off. The full image is there, if you want to right-clock & select "view image" or whatever the IE equivilent is.
nice. are those airbrushed?
Earth Wyrm Jim said:
nice. are those airbrushed?
Nope. I do use a lot of inks and washes though.
These look great Slev. I am thinking though you could add a few highlights to really make them standout and give them more of a finished look. Just a suggestion as I find even the little things can help to really complete a mini.
There are highlights on them all actually. My painting style is rather subtle and as I mention, my photography is terrible.
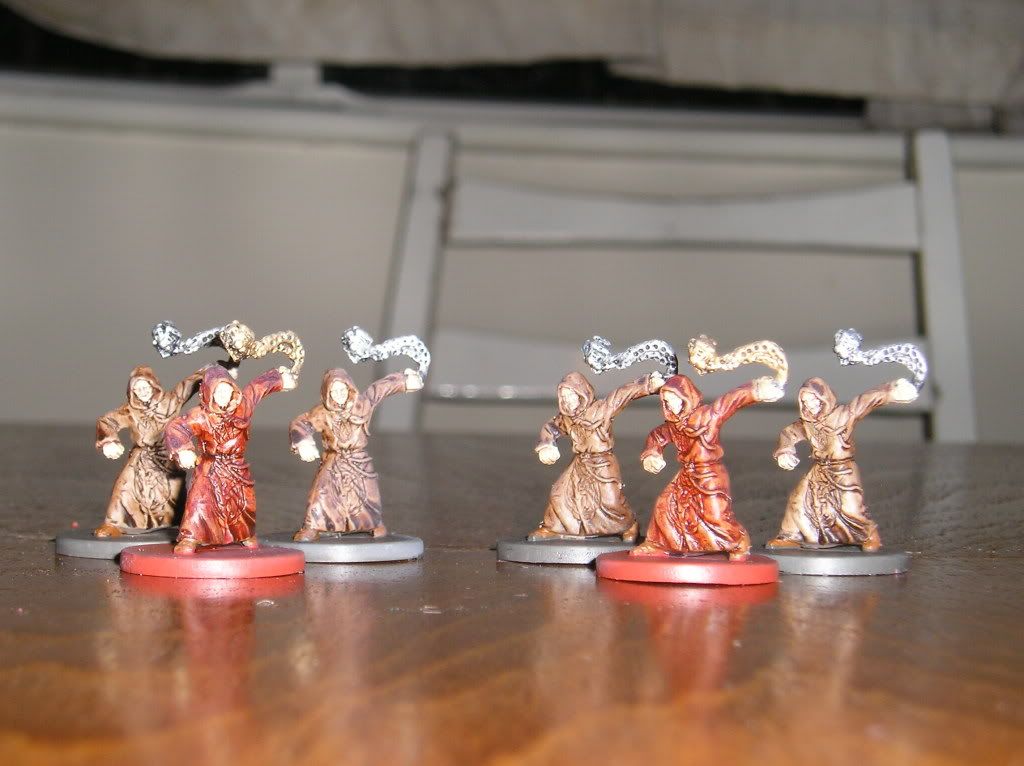
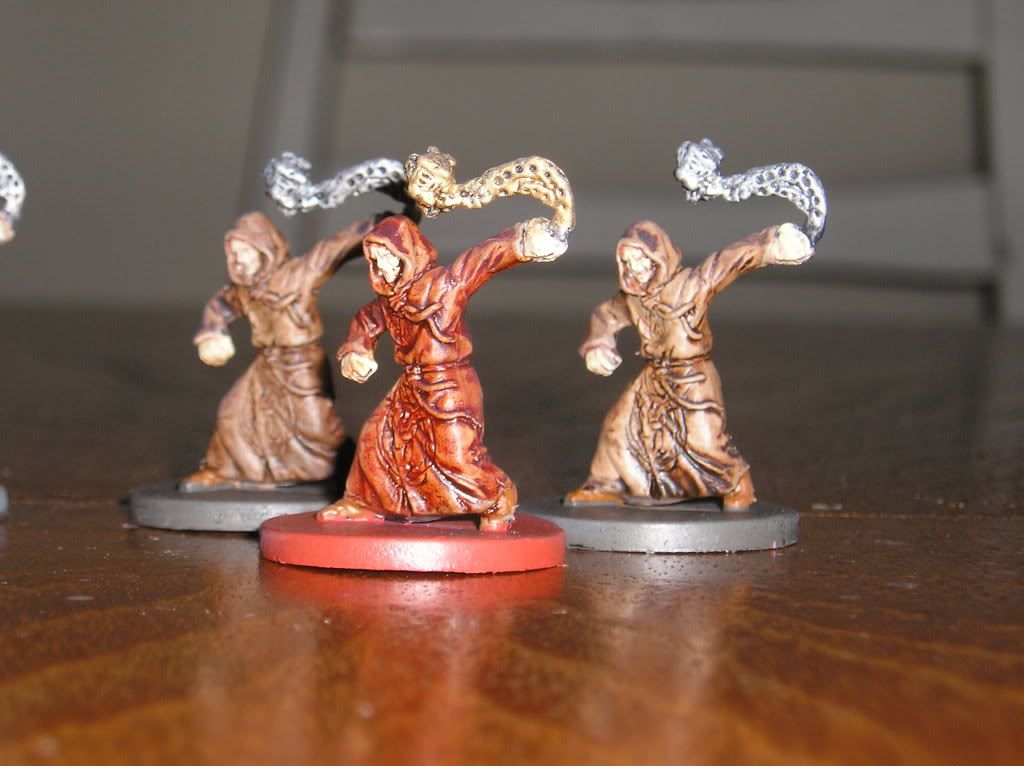
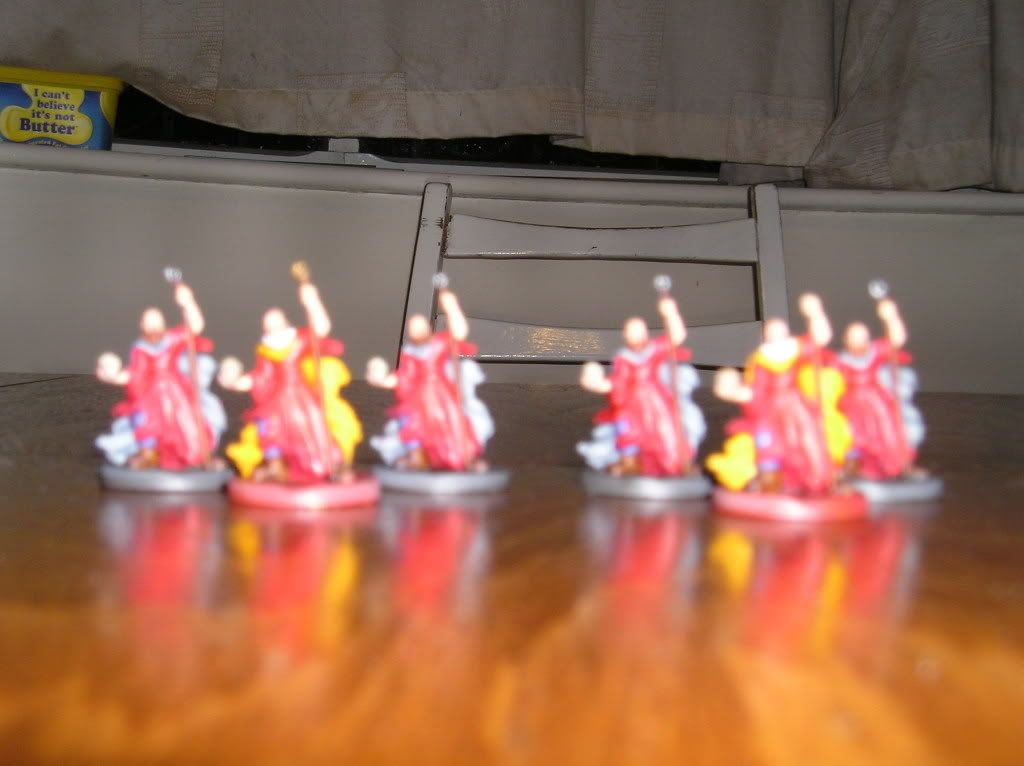
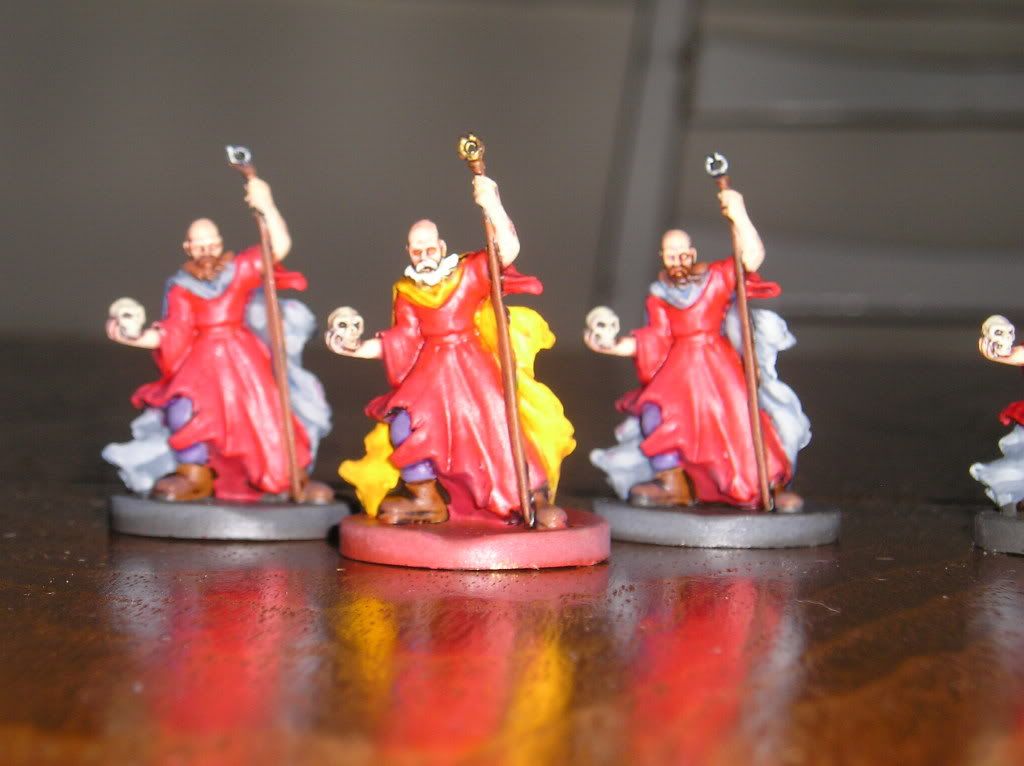
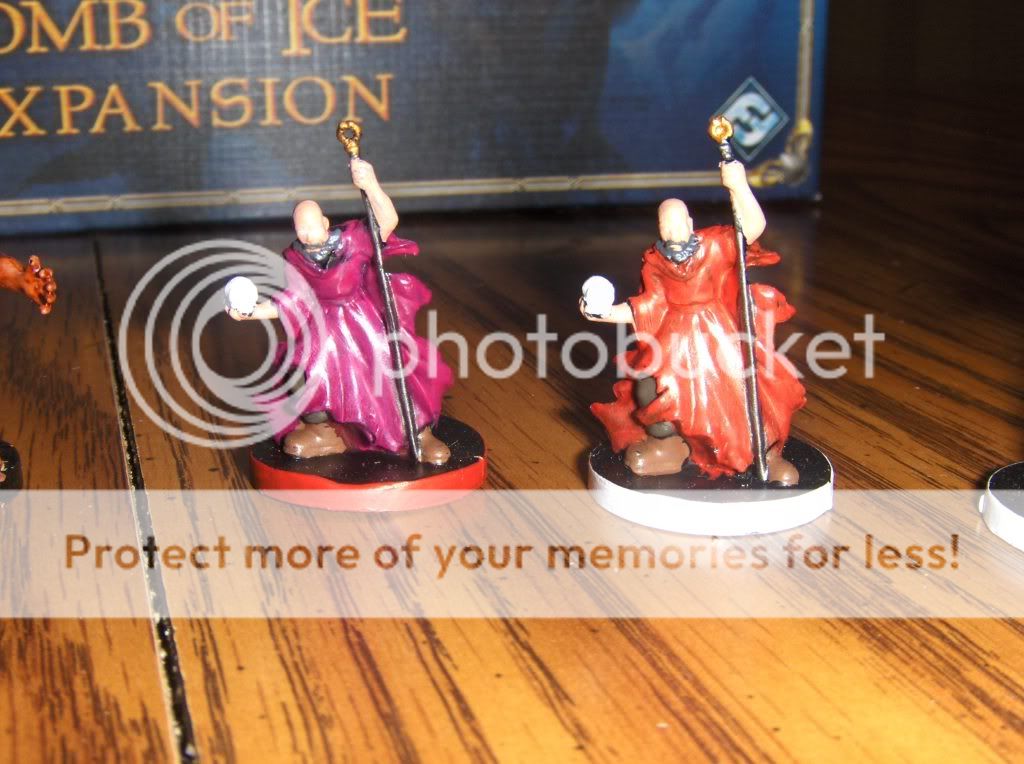
You can actually see the highlights on the Scorcerers' robes.
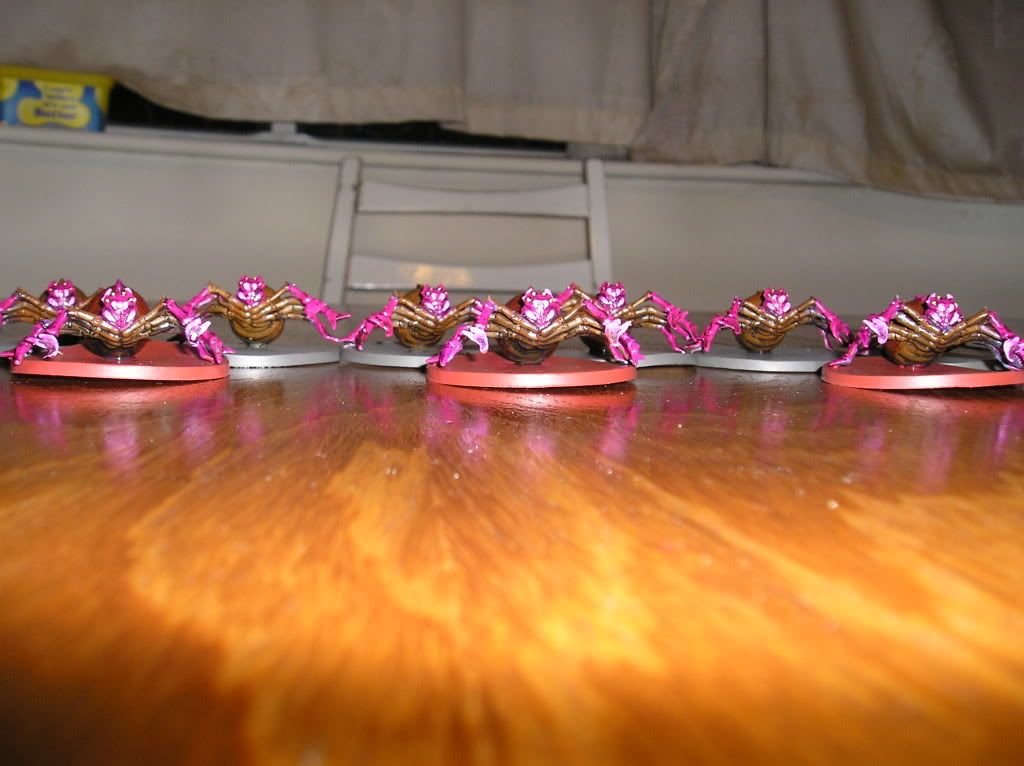
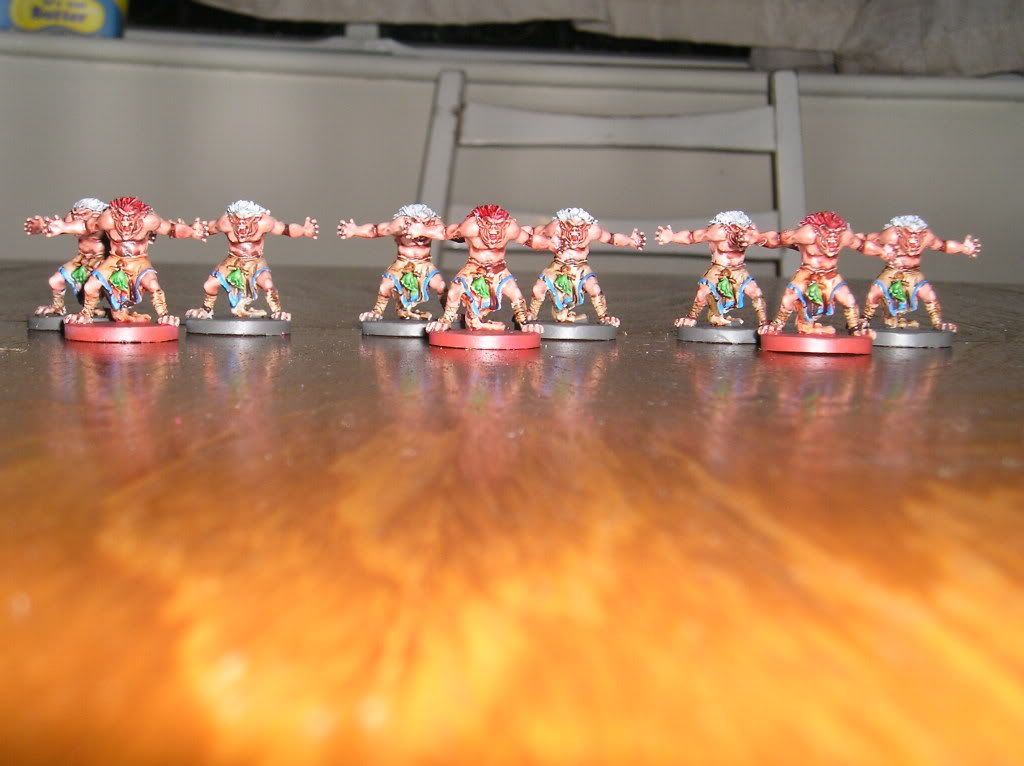
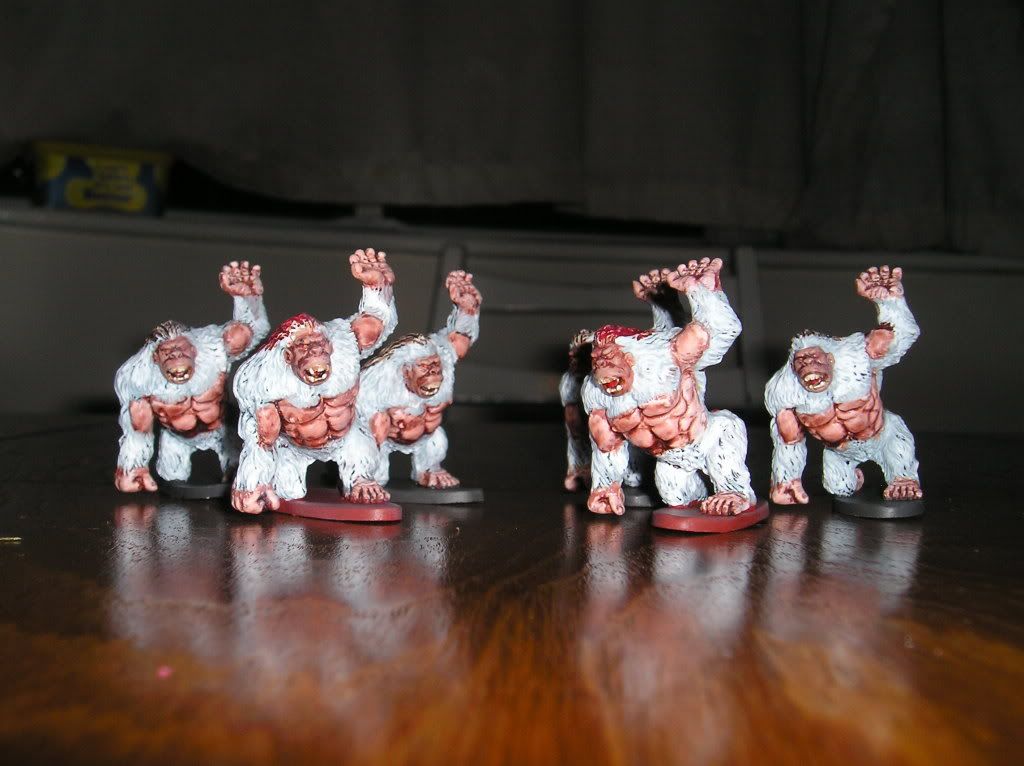
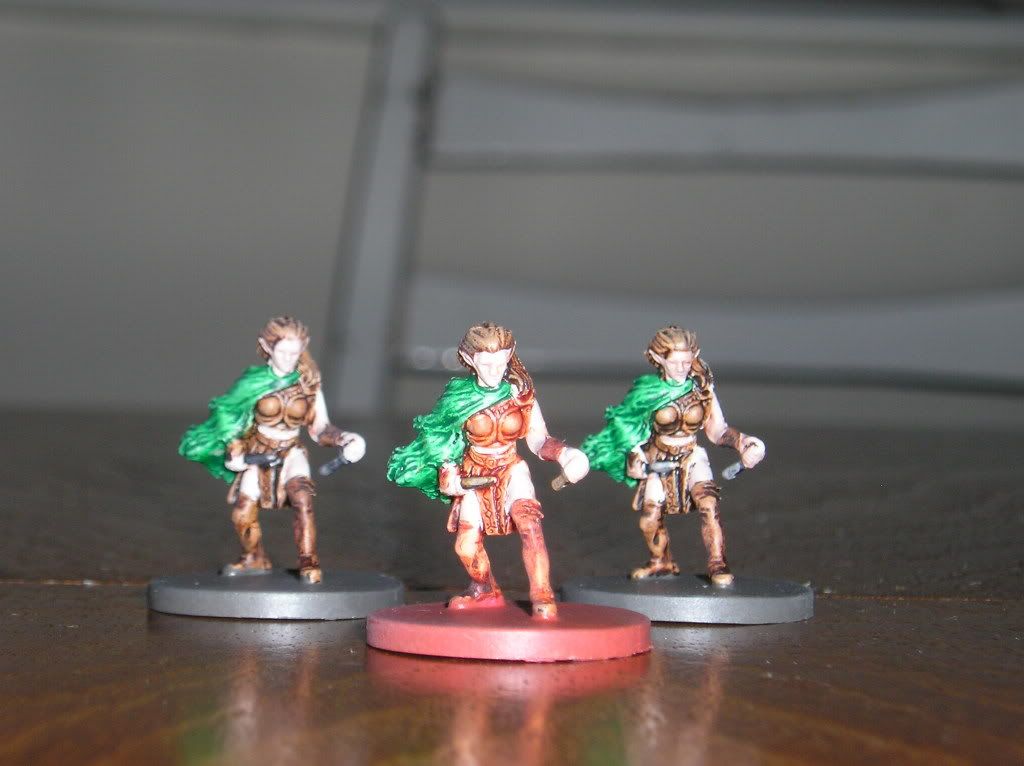
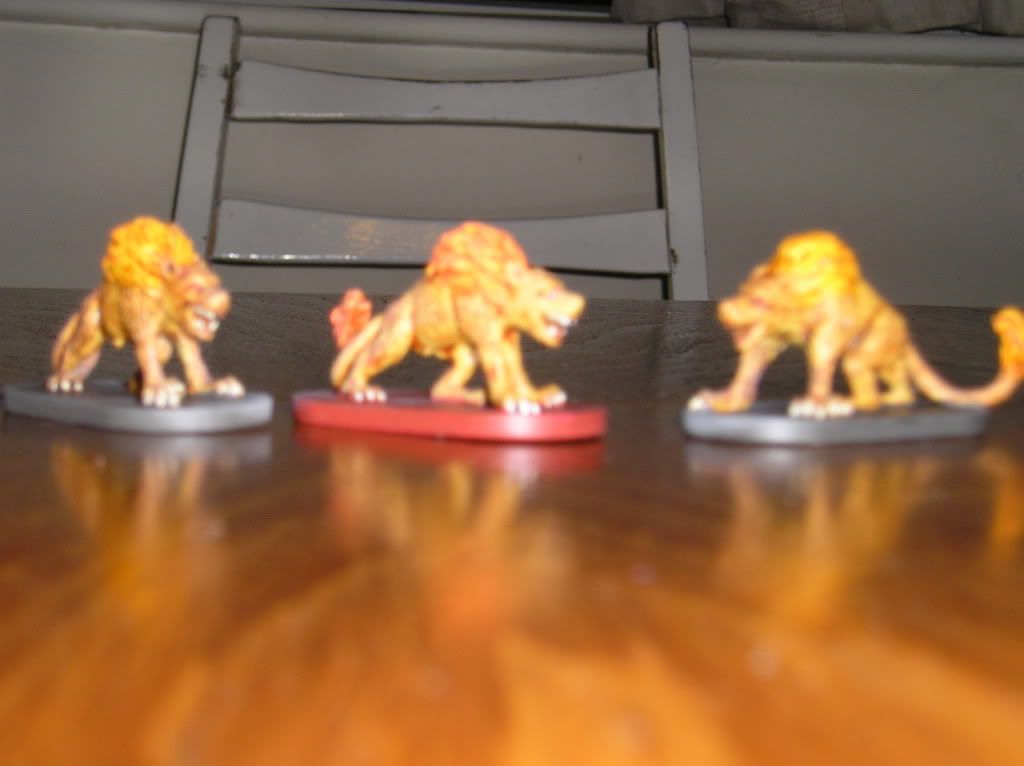
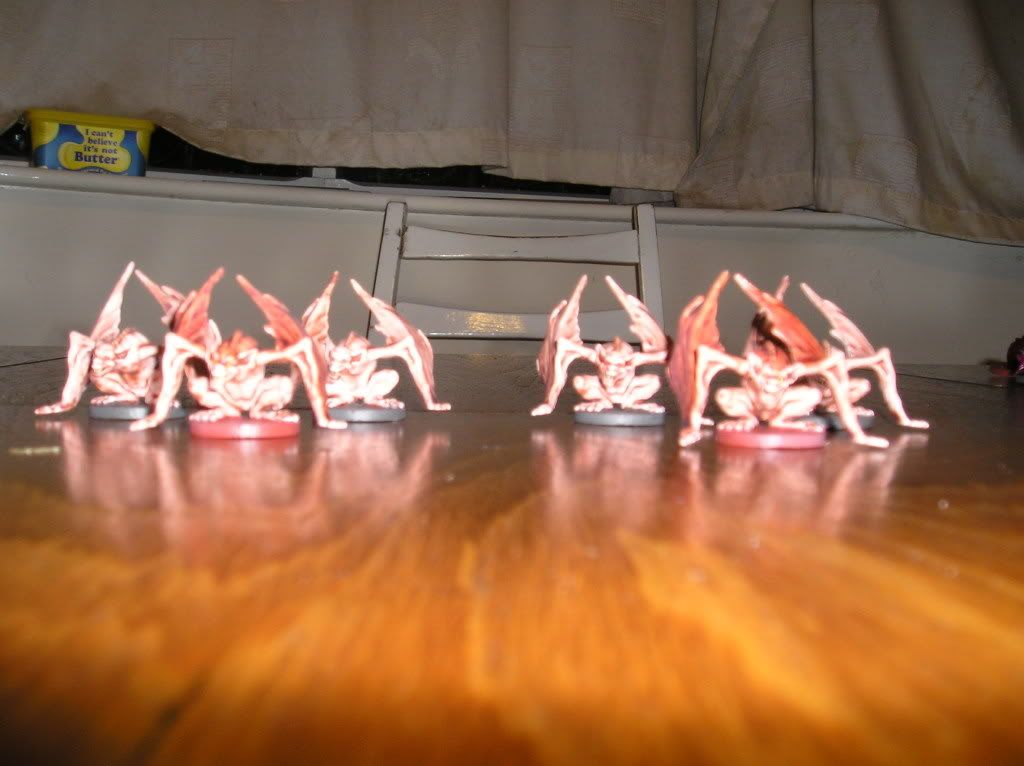
Well Here is my attempt at painting my Descent Figs. I have the Monks, Sorcerers, Skeletons all finished. The Beastman still need a wash on all of them and the hellhounds need detail picking out as well as basing
.


After i finish these I am trying to figure out what next to paint.
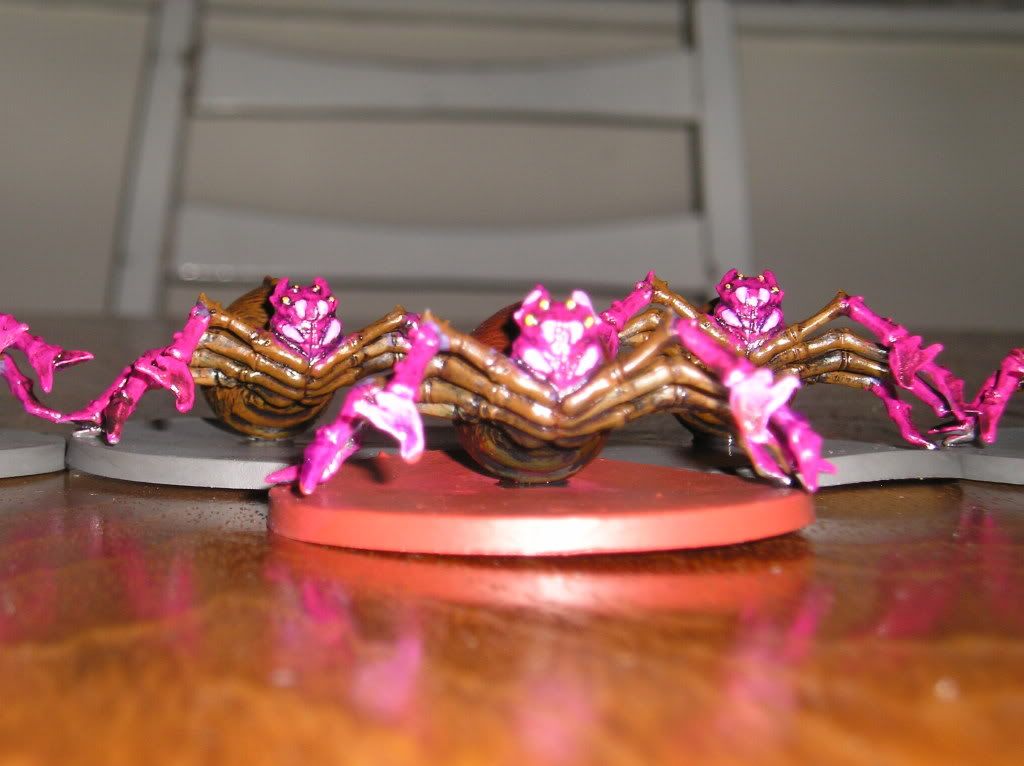
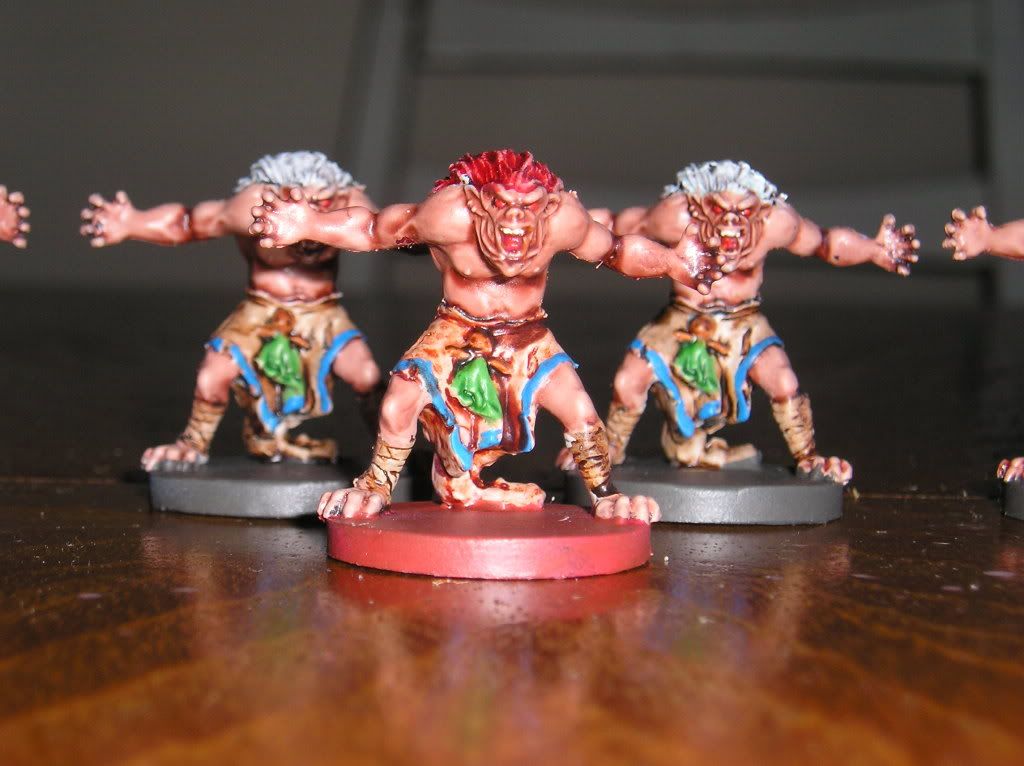
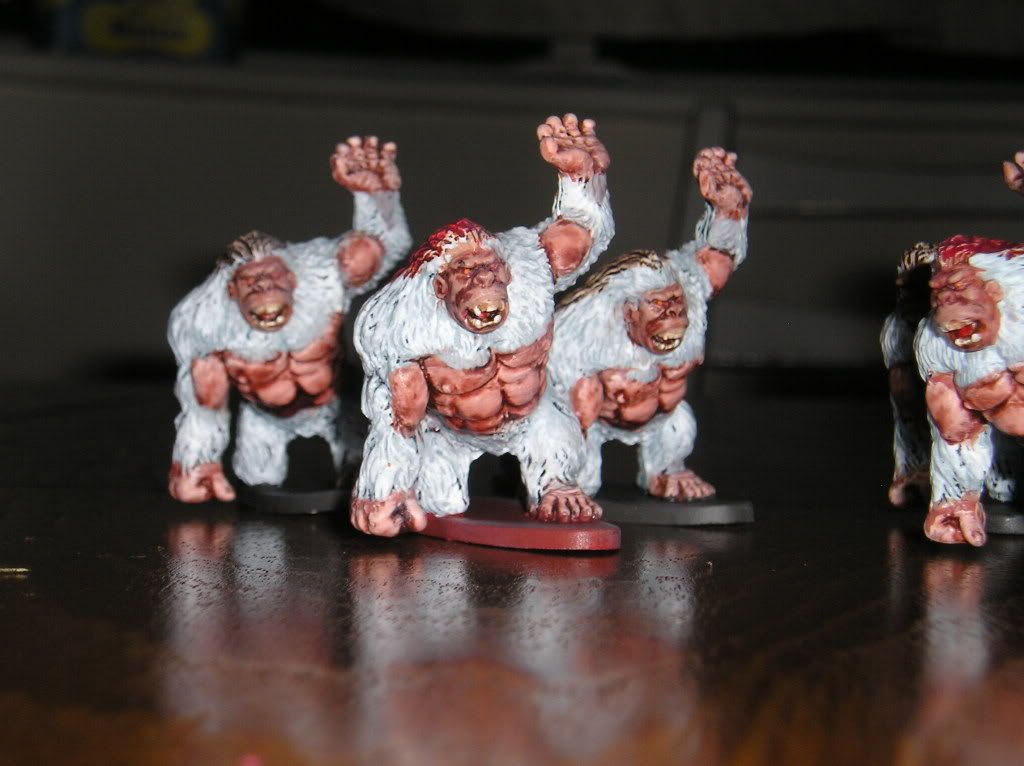
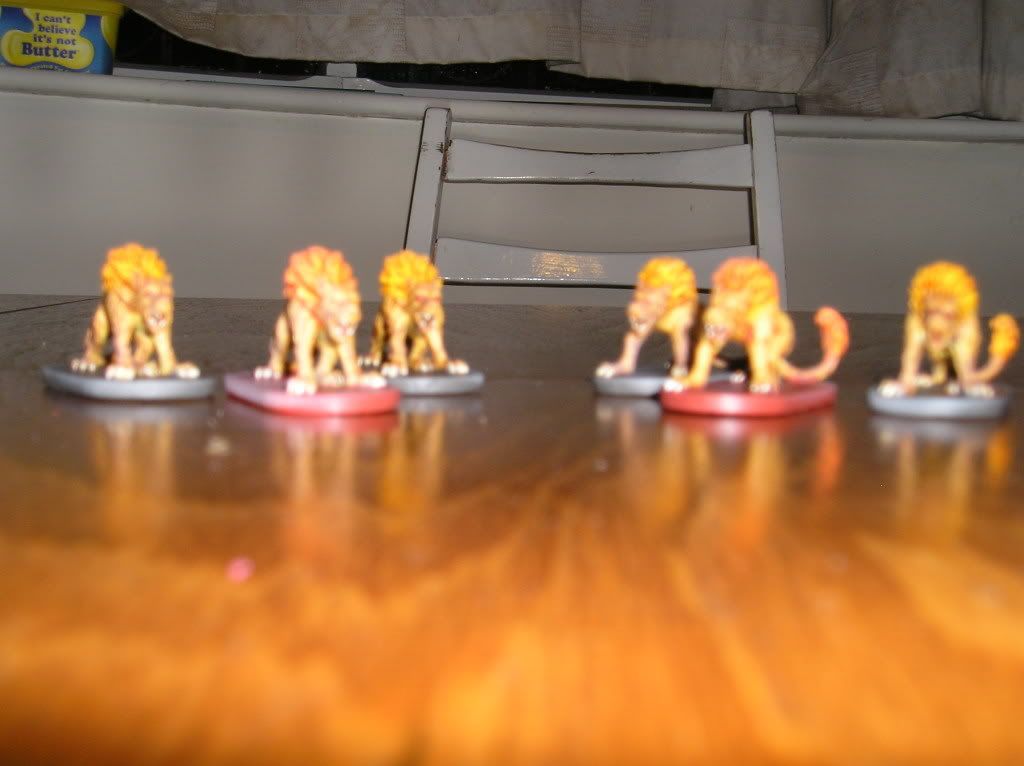
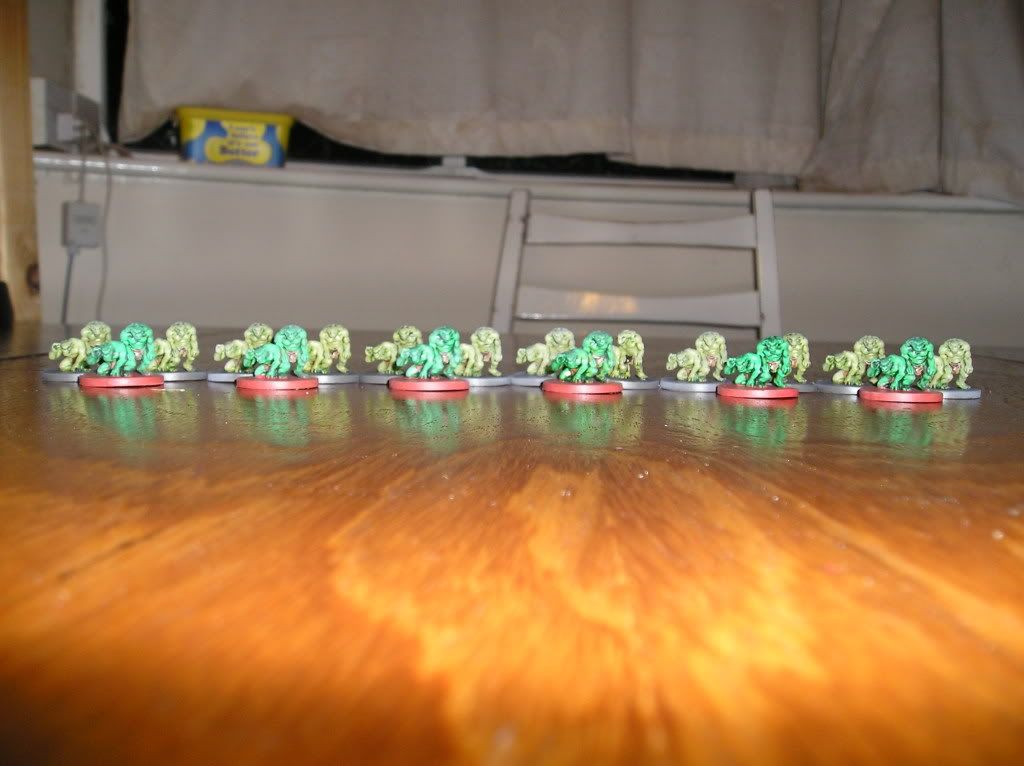
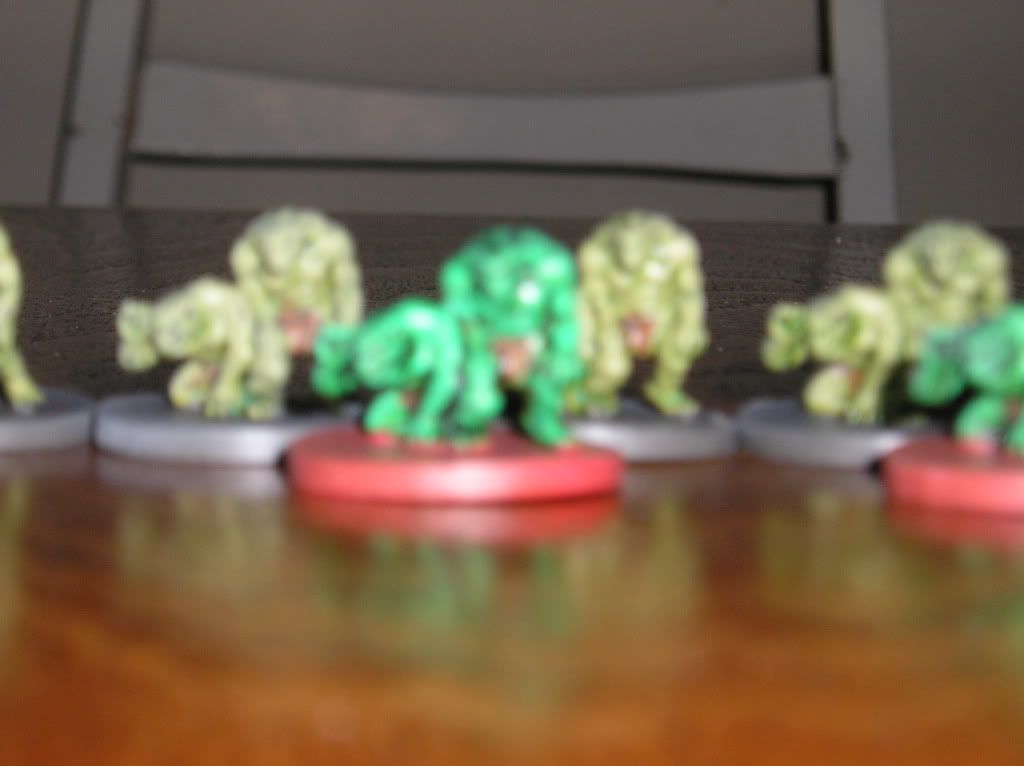
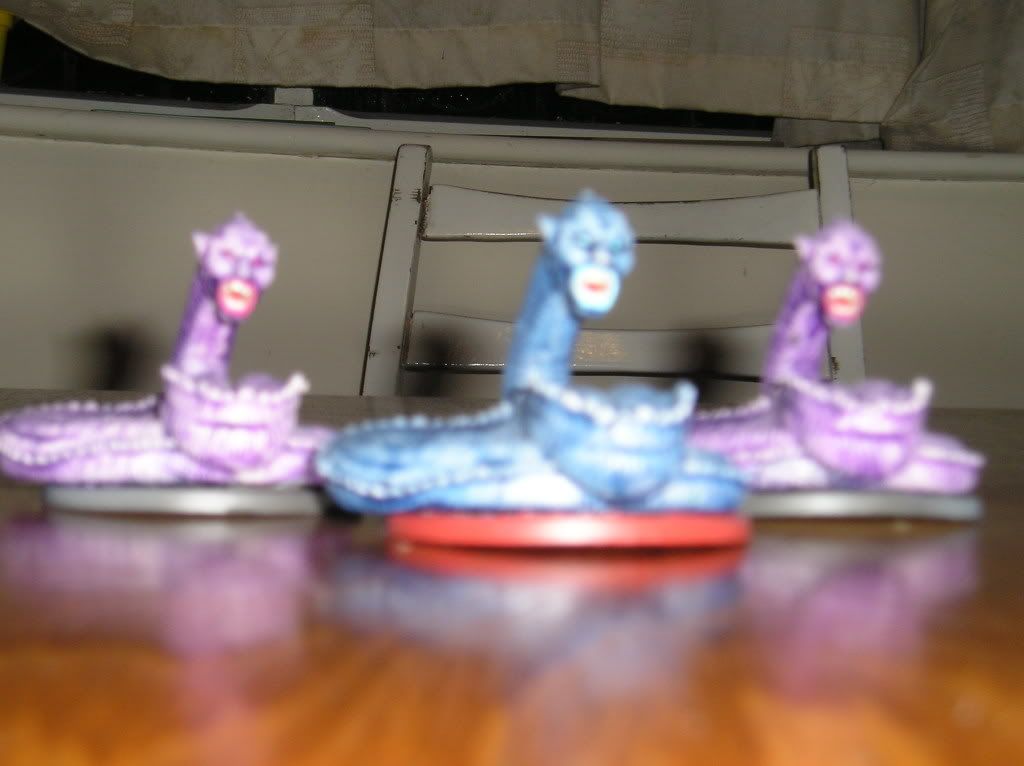
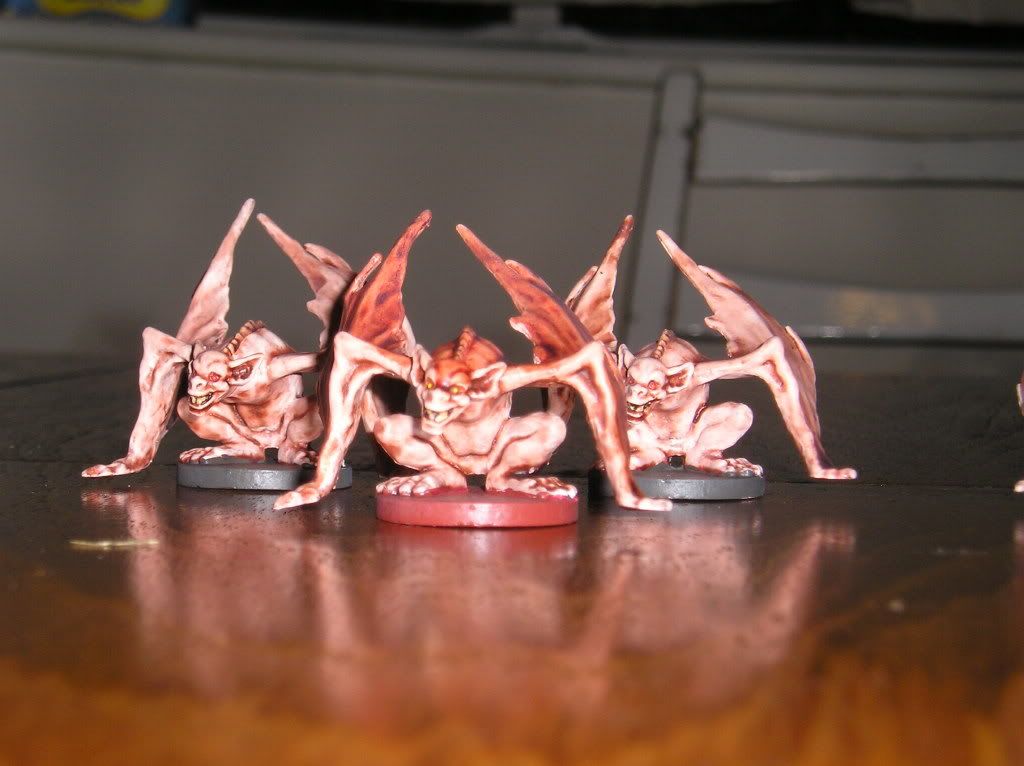
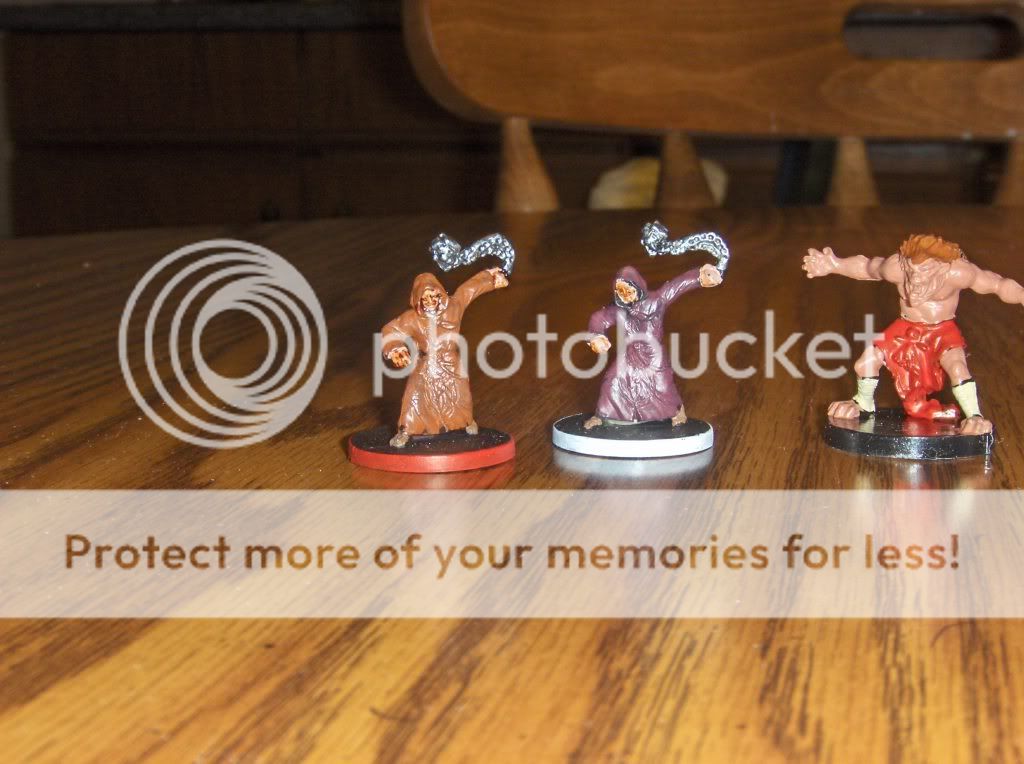
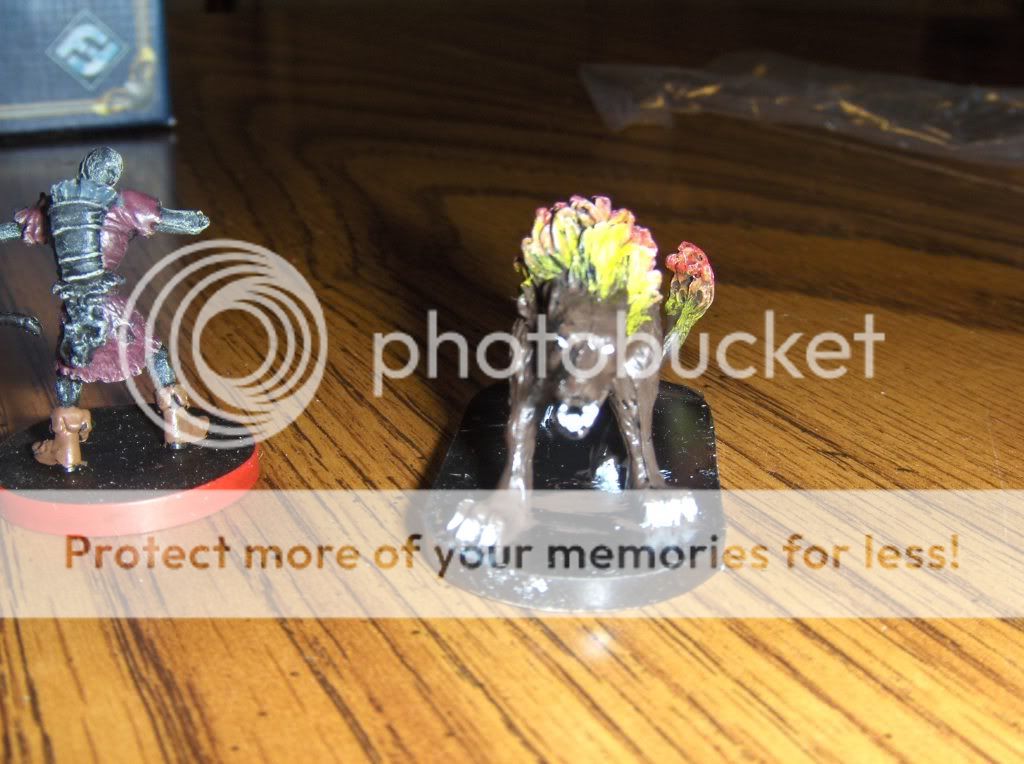
Here's a couple of close up's of some of my painted monsters.


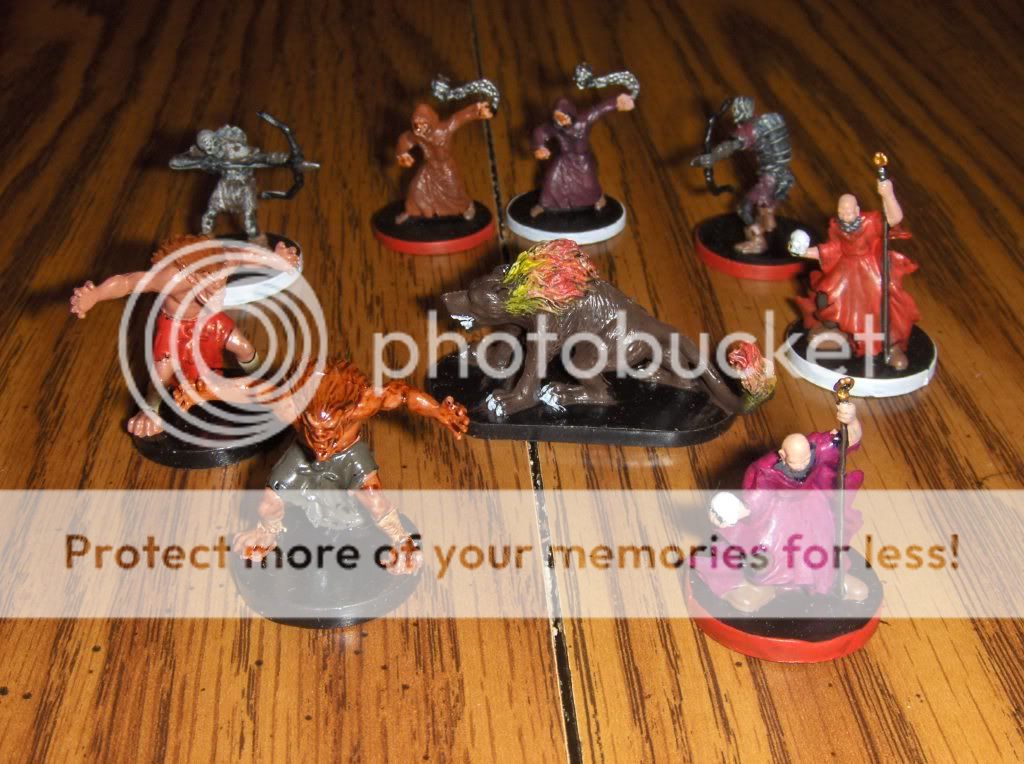
Here's a pic of all the base game and expansion monsters, except Tomb of Ice, because it only arrived today......I'll get around to it over the x-mas period.

If you want to see something really amazing, check this guys Descent miniatures out. His heroes are especially inspiring and I really like the way he's done the bases.
He actually posted these on the FFG Descent forum along time ago (a couple of forum changes ago) and they blew everyone away totally.
He claims to have painted the base set in 5 days or something like that and when questioned about that on the old forums, he stuck to his claim....so this guy is not only a great painter, he's very quick at it also, from what he says.....
When looking at the pics on his website, just click on the thumbnail pics for a bigger and clearer picture.
Descent base set;
www.tanksandtrolls.co.uk/speedpainting%20descent.htm
.......and some Well of Darkness;
www.tanksandtrolls.co.uk/speedpainting%20WoD.htm
........and some Altar of Despair;
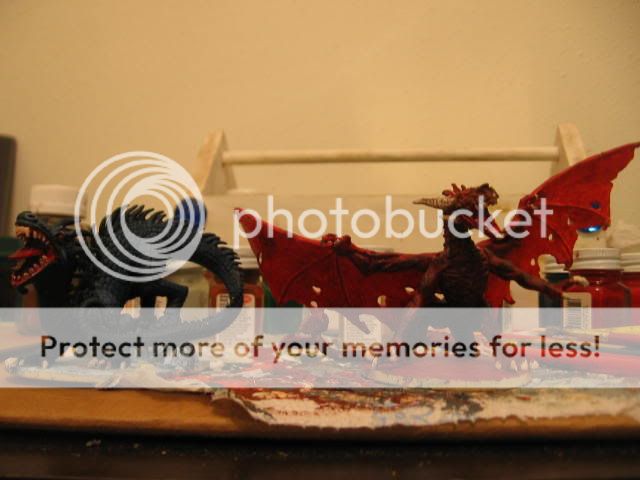
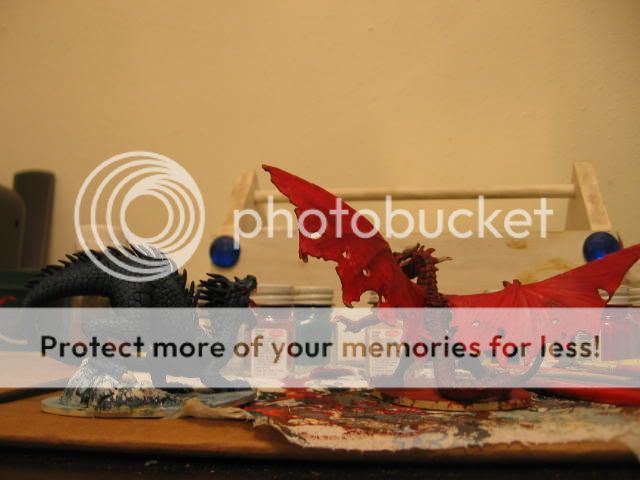
The Dragon aka "El Jeffe" and his brother from another mother, Ice Wyrm Jim!
Cool stuff! I just finished up the Shades and the Medusae. Now working away on the Lava Beetles and man are they a pain in the butt when trying to create the lava effect between their armour plates. I am going to paint the standards as per the card art and the masters will have crimson red plating as well as all that time consuming lava goodness coursing through their bodies.
Figure painting 101 for those interested in painting tips:
This is the process I use to paint
Type of paint: Testors model paint
Colors: as many as I can afford
Brushes: medium sized to needle point sized
First, cover the figure in a dark shade of the main color. Dont worry about getting paint on areas you dont want to be that color. (cover the entire figure if you want). Make sure to brush off excess paint that could cover up small details. Make the first coat a fine layer.
Let the first coat dry completely.
Next pick your second color. This usually is a much lighter shade of the first color. Lightly coat a small brush with your second color, then wipe it on a paper towel. I usually wipe and dab the brush until it quits leaving a solid paint mark. You want all excess paint off the brush. Here's the tricky part: lightly stroke the brush along the figure. You will notice the second color will only stick to the raised areas of the figure. Let this coat dry.
For the small details on the figure, you will need a very small brush, a steady hand, and patience. The details are where you show your skills. It takes practice.
Always remember its easier to paint in layers. This way you wont miss any spots, and drying between layers prevents colors from mixing.
To finsh the figure, I use a clear spray-on called "Dullcote". This takes all the shine out of the dried paint and protects the paint from rubbing off. The finish gloss is your decision. "Dull" or "matte" is my favorite because I do not enjoy shiny figures. "Satin" finish will leave a smooth semi-gloss and "gloss" or "high gloss" will leave your figures shiny. IMPORTANT: If you have painted any metallic colors on your figure (copper, chrome, brass) Do NOT finish with dull/matte. It will ruin the metallic properties of the paint.
The more coats of finish you apply to your figure, the more protected your paint will be.
Theres my simple painting method. If anyone thinks I forgot something, or has another painting method, please let us all know. Thanx
Hi Suprise Move,
I like what you've done with the rebasing. I assume that they are on bases you've cast to match your custom board. I am about to start casting a board and painting miniatures. Main question is how easy was the rebasing, and how did you mount them to the new bases? If just glued are they sturdy enough for gameplay?
Any advice greatly appreciated.
Popski
awesome work what surprise move posted!
i wonder how he managed to paint those tiny little heroes with all those details..
Ehy really nice miniatures *_*
I'm planning to paint mine miniatures too but i never paint anything and i hope to not paint bad =/
PS: Sorry for my bad english °° I'm italian.
popski said:
Hi Suprise Move,
I like what you've done with the rebasing. I assume that they are on bases you've cast to match your custom board. I am about to start casting a board and painting miniatures. Main question is how easy was the rebasing, and how did you mount them to the new bases? If just glued are they sturdy enough for gameplay?
Any advice greatly appreciated.
Popski
G'Day Popski,
The rebasing was easy to do, just a bit time consuming with some of the miniatures. All I did was use a sharp knife to cut the miniatures free from their plastic bases. Most came away very quickly and easily, but some were a pain and took a bit of effort.
The bases themselves are not cast. They are laser cut ply wood from a company in the US. You can get them cut to pratically any size you want and in variety of shapes. You can also get different thicknesses of wood. As far as buying mass bases goes, they are pretty cheap to. These are the guys I got mine through;
www.litkoaero.com/mini_bases.php
To make the bases look similar in colour and texture to my custom boards, I first spray undercoated them, then painted them with a textured paint tinted to a colour grey that I wanted, then drybrushed them with a lighter grey. I painted the edges red to designate master monsters. For the multiple space bases, before undercoating, I used a saw to cut thin lines to seperate the spaces.
The miniatures are simply glued on to the bases after painting using standard white wood-working glue. I've never had any problems with the mini's falling off the bases, at all. I guess though if you handled them very roughly, that could occur every now and then.
Cheers
surprise move said:
popski said:
Hi Suprise Move,
I like what you've done with the rebasing. I assume that they are on bases you've cast to match your custom board. I am about to start casting a board and painting miniatures. Main question is how easy was the rebasing, and how did you mount them to the new bases? If just glued are they sturdy enough for gameplay?
Any advice greatly appreciated.
Popski
G'Day Popski,
The rebasing was easy to do, just a bit time consuming with some of the miniatures. All I did was use a sharp knife to cut the miniatures free from their plastic bases. Most came away very quickly and easily, but some were a pain and took a bit of effort.
The bases themselves are not cast. They are laser cut ply wood from a company in the US. You can get them cut to pratically any size you want and in variety of shapes. You can also get different thicknesses of wood. As far as buying mass bases goes, they are pretty cheap to. These are the guys I got mine through;
www.litkoaero.com/mini_bases.php
To make the bases look similar in colour and texture to my custom boards, I first spray undercoated them, then painted them with a textured paint tinted to a colour grey that I wanted, then drybrushed them with a lighter grey. I painted the edges red to designate master monsters. For the multiple space bases, before undercoating, I used a saw to cut thin lines to seperate the spaces.
The miniatures are simply glued on to the bases after painting using standard white wood-working glue. I've never had any problems with the mini's falling off the bases, at all. I guess though if you handled them very roughly, that could occur every now and then.
Cheers
I thought you might have atleast pinned them to the base as well as glued them. I would suggest this to others if your considering to follow in Surprise's footsteps, ESPECIALLY if your or others you play with are heavy handed.
In other news on the painting front. I have completed my Lava Beetles and my Wendigo. Only have the Ice Wyrms left. I must say the Wendigo minis paint up nice! Pictures to soon follow.
CanadianPittbull said:
In other news on the painting front. I have completed my Lava Beetles and my Wendigo. Only have the Ice Wyrms left. I must say the Wendigo minis paint up nice! Pictures to soon follow.
I found the Wendigopainted up nice and easy as well. Plus, once painted, you can actually see thir eyes!
verry impresive nice work
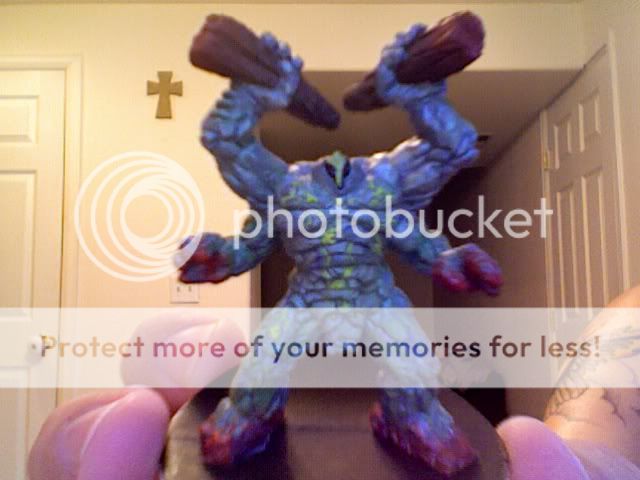
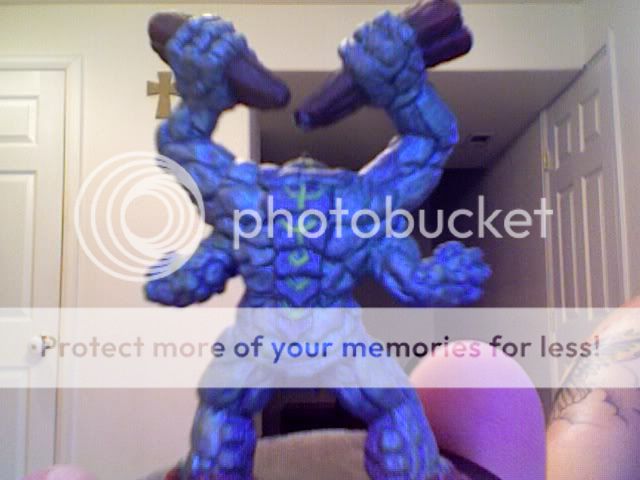
This is one I just did. My camera sucks, so I had to take it w/ my mac. You can't see it, but the eyes are two little beads of red.
Nice job dude.
Obviously, we can't see the eyes on the figure. I find the eyes on the descent figures are really well defined and reletively easy to paint in about three layers, each smightly smaller than the last.
Here are a few of mine which are also on my web page : http://www.members.shaw.ca/myles-99/Descent.html


