In this tutorial I will be going over the steps to achieve two different detail levels of X wing, the first which ill call level 1 from now on is a fairly simple process where by you can paint a whole gaggle of squadrons in an afternoon and they'll look great on the gaming table.
The second which ill call Masterclass is a fair bit more involved and will take longer. It will look better under close inspection and may be much more realistically proportioned and painted. However this does not mean that it will look better on the table and especally at distance, In fact at over arms length away the more cartoonishly proportioned level 1 is more sexy (you can actually make out the squadron color)
It is also possible to mix and match any techniques i talk about here between the two levels, you can go for something overly simple but with a detailed cockpit for example or any combination thereof.
The last thing I will add is that I only claim of having a cursory knowledge of painting minis and that anything in this tutorial is just my own process for achieving the results, if you think you can achieve the same or better results with a different method im all for that. I hope you share your creations with the community!
Anyone who uses this guide is welcome to post results in this thread ![]()
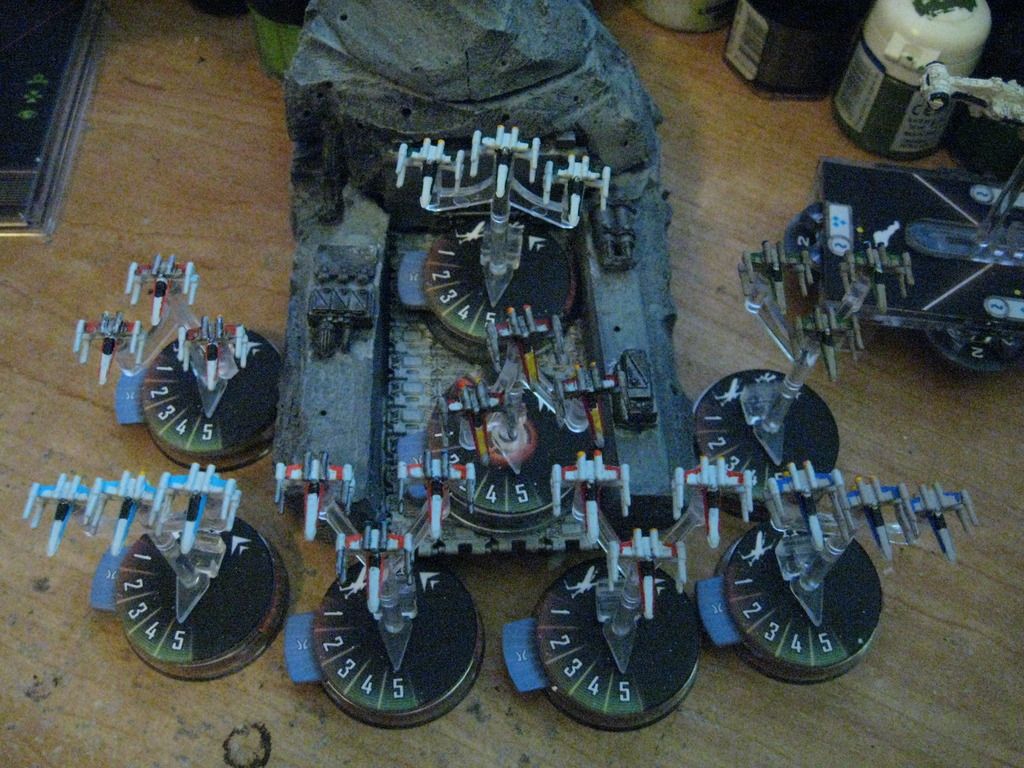
So lets start off with examples of the finished product!
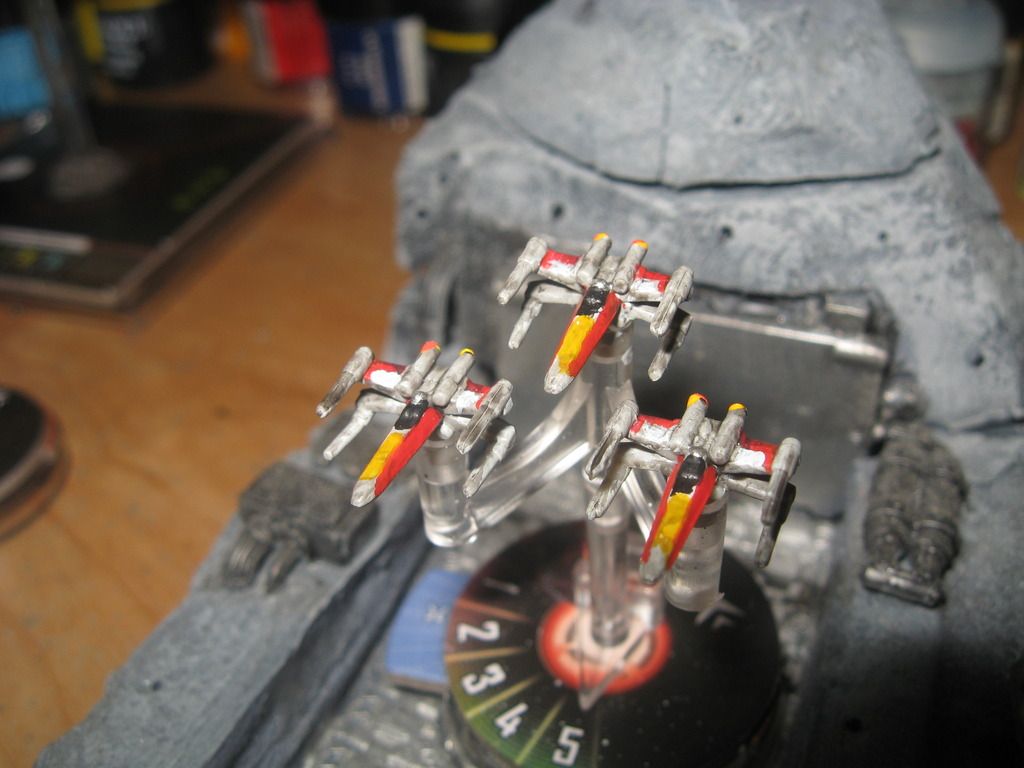
In this photo the 3 red squadron fighters on the left are examples of Masterclass work while the 3 yellow squadron fighters in the background are level 1, the Orange squadron fighter on the right is somewhere between those 2 levels. If you like any of these paint jobs you may like this tutorial or find it informative.

I will go over Level 1 first.
The Materials used in this tutorial are.
* A size 3 brush
* Razor blade or hobby knife for cutting flash (skipped that step in this one, refer to Tie tutorial)
* A base coat for the X-wings ( I used Celestra Grey for mine, however X wings are very shabby and you can get away with a number of colors)
* A black paint for the darker components of the craft
* Squadron Colors of your choosing ( I will be using Blue in this Tutorial)
* Astromech Coloring ( Green for this Tutorial)
* A dark wash, I recommend nuln oil though i sued baddab black
A shot of the used materials.

So the first step is too give the fighters a nice base coat, unlike Tie's however X-wings are very shabby looking craft due im part to having to repeatedly re paint them and not having the well oiled industrial machine the empire does. Every X-wing speaks to its history with its appearance, battle scars that haven't healed or marking from a former squadron that was decimated and the craft reintroduced.
Because of this you have alot more lee way in the Base coat, you might even consider using different base coats for a couple fighters or not even applying a base coat as the vanilla tan color they come in isnt a bad choice. The choice is yours but you have alot more options than with Ties ![]()
Here is a fighter before primeing

And a comparison shot between some Primed fighters and an unprimed one, it would give your squadron a great shabby look to leave some unprimed as such.

Note: Your options for applying the base coat are again varied, you can spray paint, brush paint, or even dip. I will not go over those techniques in this tutorial as it assumes some level of painting knowledge. I applied my base with a brush, though i recommend spraying
Do each step for every fighter that you have in a row, so that by the time you've finished your last fighter hopefully your first will be ready for a new coat of paint, You may have to layer the base a few times to get a good coat.
and here is a wing completed.

After you've applied the Base coat you can move on to the first step.
Applying all of the darker elements of the craft with a black paint. For Level 1 this is the cockpit window (use the grove in the model for level 1 cockpit) and the Engine intakes.

After you've completed that step you can move on to giving the fighters squadron colors, for level 1 painting i would recommend you dont worry about the paint being too large on the model or not perfect, in fact you want BIG marks and a little imperfection as this will look better and make it pop at a distance (of course it won't look that great close up though)
Paint a line on both side of the fuselage using the mold line as a guide, then paint the top, and if your feeling cheeky bottom wing chevrons


After you've completed your Squadron colors you can move on too the next step.
Painting the Engine exhaust ports red to get the sexy back profile. This is fairly strait forward.