So a Buddy and I "borrowed" enough stuff from each other's core sets to do a 300 point battle. I flew 2 Victory 2's, Tarkin, Howlrunner, and 7 regular TIEs. He flew 1 of everything the rebels had, Dodonna, Luke, and 4 extra X-Wings. Each of us put 2 extra upgrades on our ships. brought us each to 296.
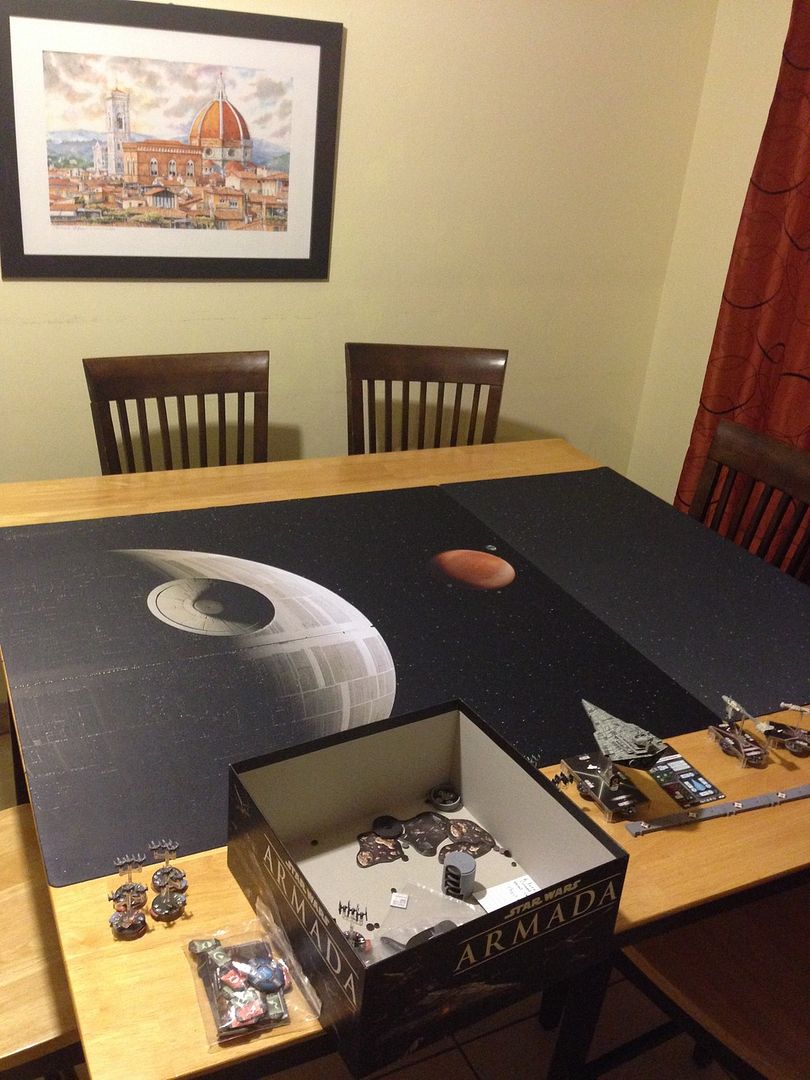
So I had more than enough room on my Kitchen Table for a regular play mat, but since we were going with a higher build cost I wanted to try and do the 6' x 3'. Well my table wasn't quite long enough, so I did the best I could. Got the FFG Death Star Mat, and the Starfield Mat next to it, but it went off the table about halfway through, so I pushed the other chairs up to lodge it in place.
 My next Kitchen Table needs to be huge®.
So here we are set up. I was thinking that I'd set the Victory's at an angle in hopes of getting both Front Arc, AND Side Arc shots as often as possible.
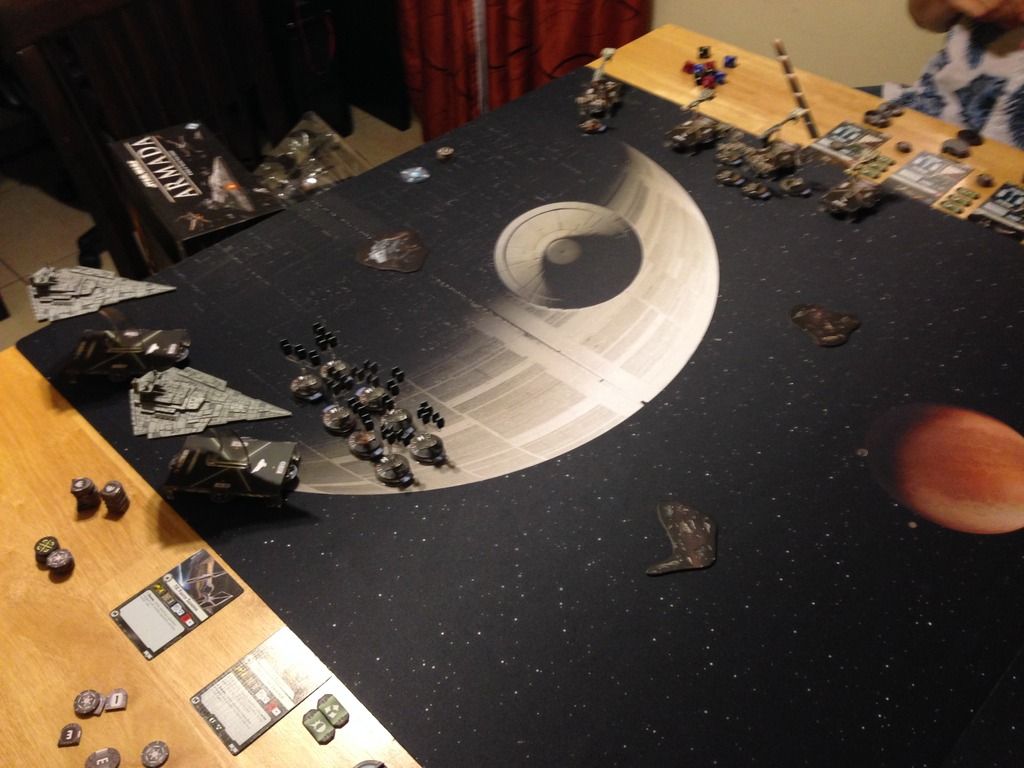
Well, the bottom-most Victory ended up being just out of range almost the entire game. That was a bummer. These things are difficult to steer. We both set our starting speeds to 1, so wasted 2 turns on approach before we even had a single shot. My TIE's rushed in to engage Luke Skywalker, and we took him out pretty quick, but then he did nothing but squadron actions, and ended up killing every last TIE I had left.
Here's the last picture I took:

The one Victory that DID manage to have shots ended up doing well. He had Tarkin on board, and I used him well to keep replenishing shields. Many of the others ships spent attacks on my TIEs. I took out one Corvette, and Almost a second before round 6 finished. That other Victory did manage to get a single ship in range - so one turn it got to attack, but that was it! I ended up losing by less than 20 points! So much fun, and so many lessons learned each game! Like - Don't be afraid to use Navigation as an action - even just for the extra yaw!