Gamma Base
Mission Control is a fantastic free tool provided by FFG for writing and publishing X-Wing scenarios. In my continuing quest to keep Mission Control on the public radar, I’m showcasing select scenarios from the vast collection now available on Mission Control.
Next in my Scenario Showcase series is a mission called “Gamma Base”. Gamma Base was designed to be a highly thematic scenario that captures the feel of Galactic Civil War being fought in the Original Trilogy. It also has the distinction of being fairly heavily play-tested for an amateur scenario. It has been subject to a lot of close scrutiny over the course of several months, and the current version reflects hard work from several people.
Mission Description and Overview:
“The Imperials have determined that a rebel base code-named Gamma Base is located within a dense asteroid field, and have sent an attack group to locate and destroy it. An evacuation has been ordered, but needs more time to gather essential personnel and equipment; the Imperials must be delayed.
The Rebels only have time to launch their Alert Fighters before the Imperials are in scanning range of the base. The Reserve Fighters will be ready to launch momentarily, but doing so would reveal the location of Gamma Base. Heavily outnumbered, the Rebel pilots must use their intimate knowledge of the local asteroid field to their advantage. The Imperial attack force must use their superior force to find and destroy the base before the Rebels slip away”

Taking cues from the Battle of Hoth, Gamma Base recreates a classic battle between Imperial and Rebel forces from the Galactic Civil War. The Rebels are scrambling to evacuate a hidden base before the might of the Empire descends on them and obliterates their base. The Imperial attack is coming in two waves; one to find the base, and another heavily armed wave to destroy it. The Rebels only have a few fighters scrambled in time to fight the TIEs looking for Gamma Base, and if they launch the rest of their fighters, the Imperials will know the location of the base.
The scenario plays out in two stages: the search for Gamma Base and the attack on Gamma Base. The search stage can be a very cagey game as the Imperial player tries to scan as many asteroids as they can while the Rebel player tries to take out as many TIEs as possible - especially any TIE that is going to find the base. The Imperial player might be able to guess the location of the base from the Rebel deployment and their target selection; likewise the Rebel player may be able to trick them into focusing their search on the wrong section of the map!
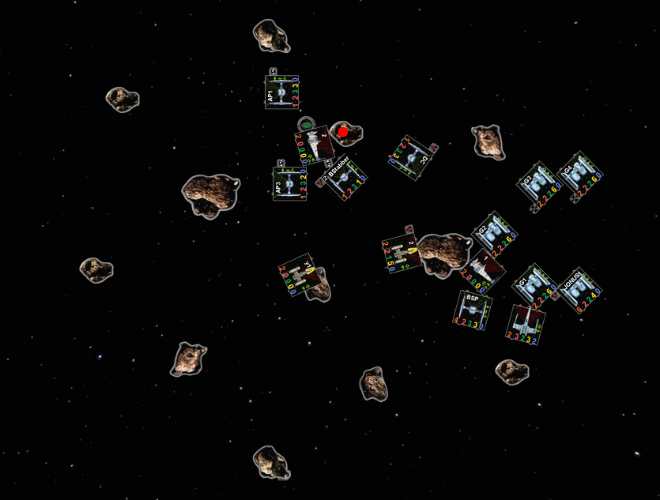
The second stage is more straight-forward: the Imperials make an attack run on the base as the Rebels scramble the rest of their fighters to protect the base as the evacuation finishes. Depending on how fast the Imperials were able to find the base, this can be relatively easy to near-impossible.
Setup and Deployment:
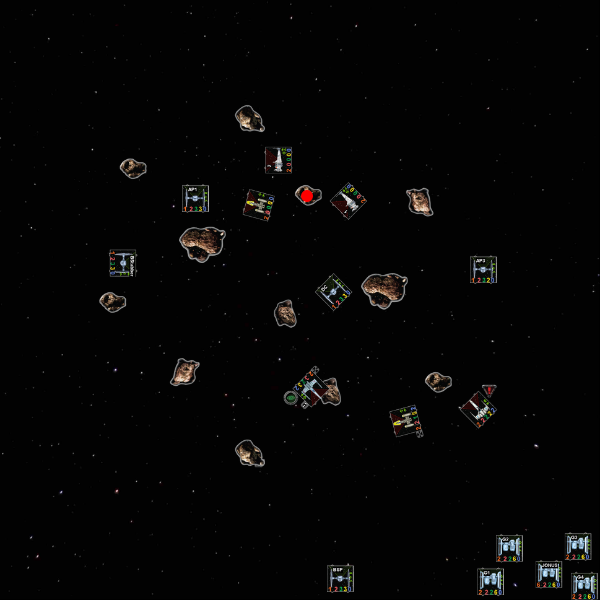
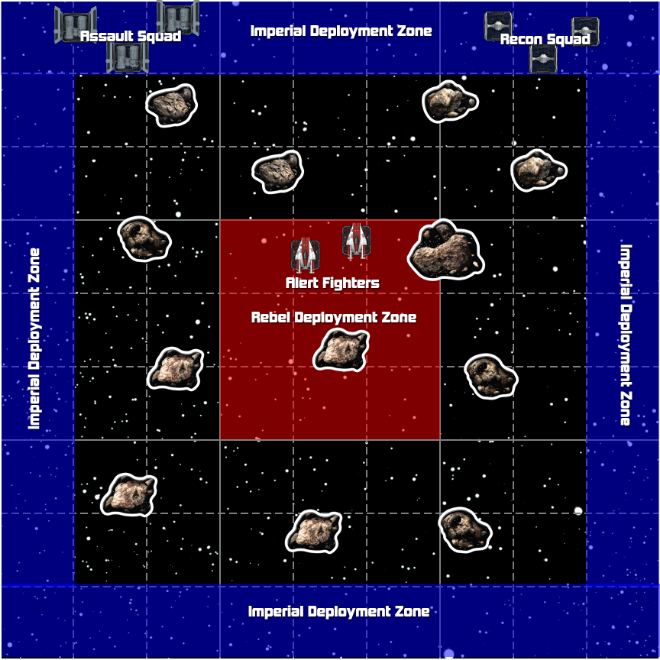
The Imperials bring an 80 point Recon squad and a 100+20 point assault squad against a 60 point Alert Squad and 80 point Reserve squad from the Rebels. The Imperials have a points advantage across the board; including a 20 point budget for upgrades in the Assault squad
The Imperials deploy first, choosing one board edge and deploying their forces at range 1. This board edge will also be where the Assault Squad comes on later. The Rebels deploy in the center of the map, after all the Imperials are on the table.
Special Rules:
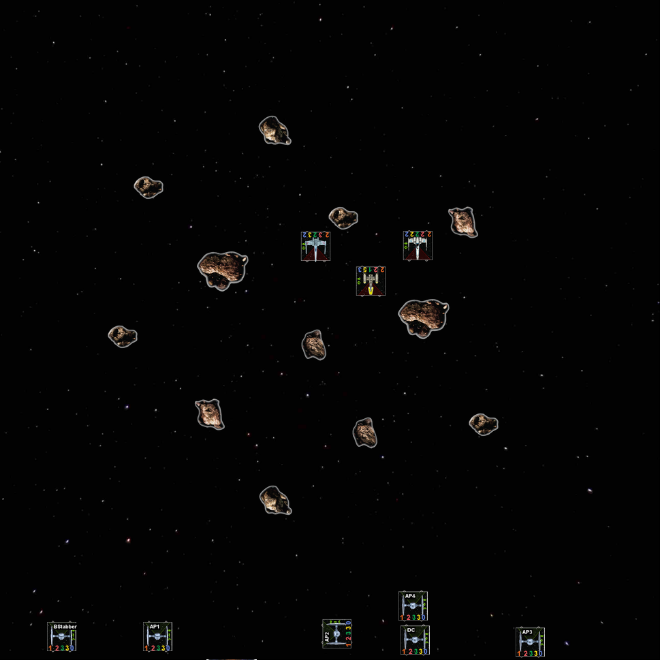
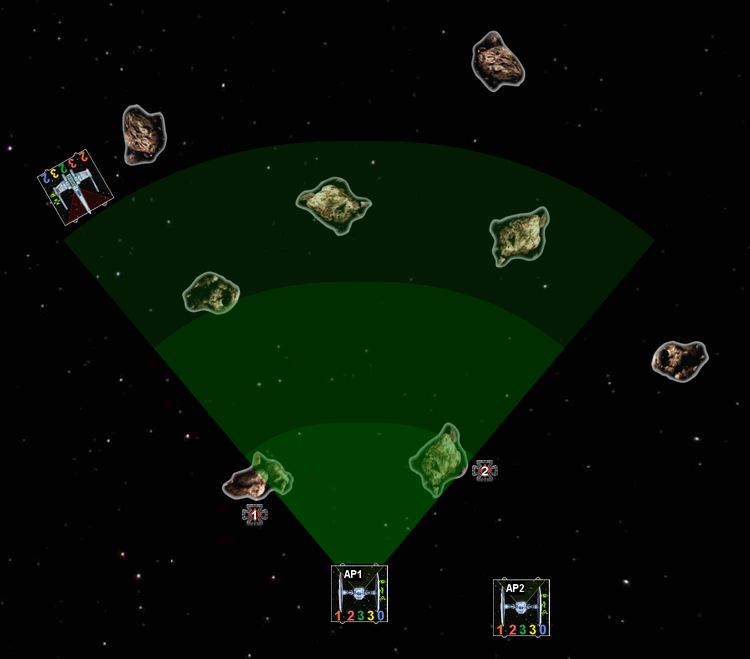
Asteroid Placement/Hiding Gamma Base:
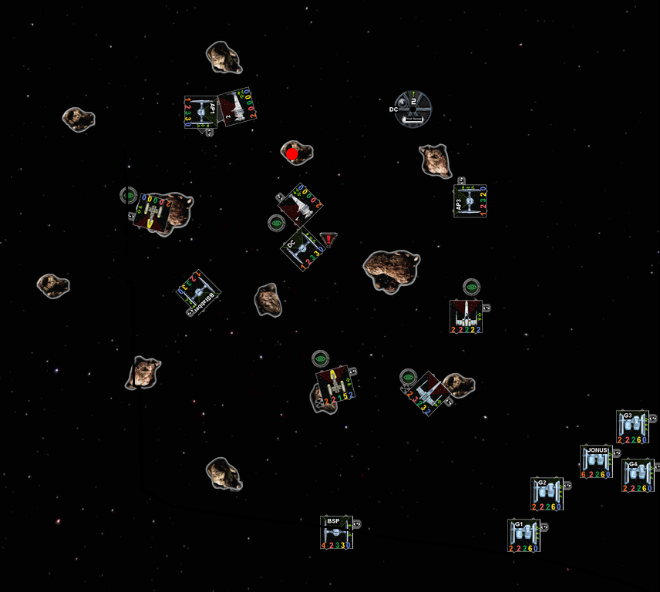
The Rebel player gets to place all 16 asteroids, with a little more freedom of placement than in a standard game, and then secretly designates one of them as Gamma Base. In my playthrough we used a target lock token, but that was on Vassal; in a tabletop game you'll want something thinner than a token, for obvious reasons, so I suggest a little slip of paper. Picking which asteroid you want to make Gamma Base is an important decision; a centrally located base is a safer bet; the Imperials will always start about half a board length away. Alternately, a base close to the edge is a risky bet with a potentially high payoff.
Scanning:
TIEs can scan asteroids at R1-2 with a delayed action. The Target Lock token representing the scan is placed in the action phase, but the scan is resolved after all shooting has been resolved, so TIEs may be destroyed before they finish scans- a nuance of the rules that may be very important to a Rebel player trying to keep Gamma Base’s location secret just a little longer.
TIEs scanning two asteroids
One TIE is destroyed with a lucky shot from the Rookie Pilot. His scan will not complete.
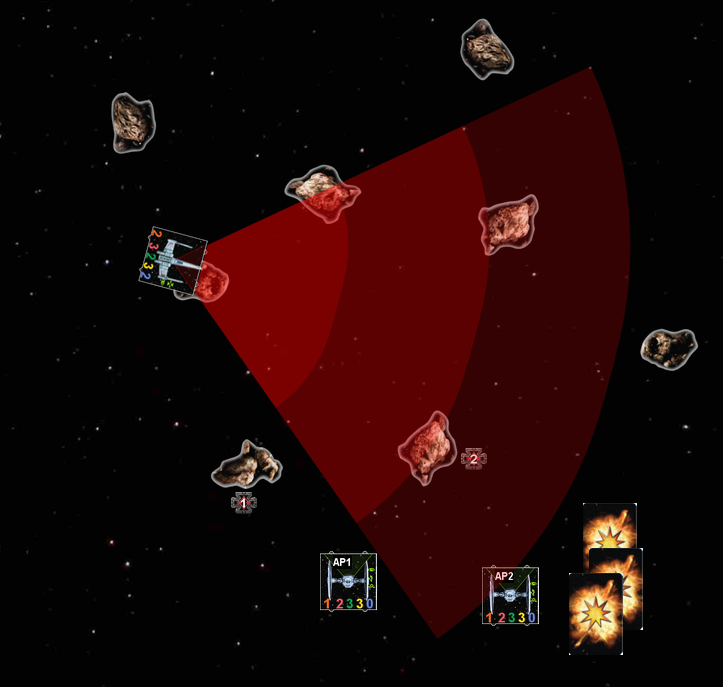
AP1's scan goes through, allowing the Imperial player to peek under the corresponding asteroid.
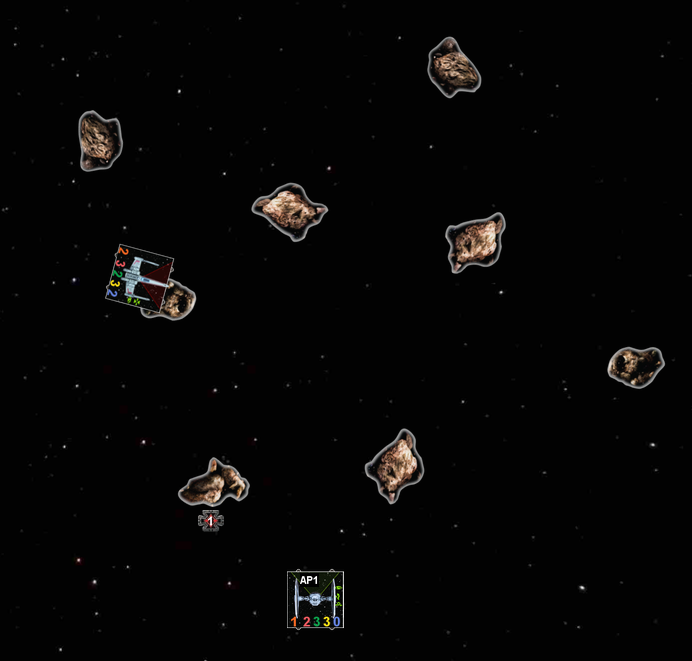
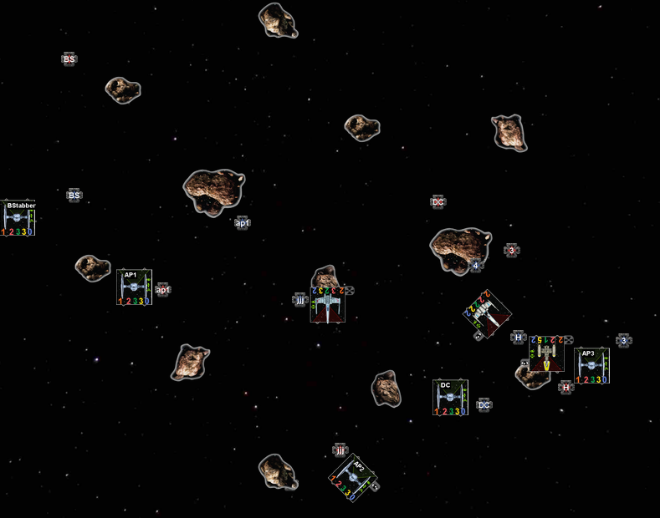
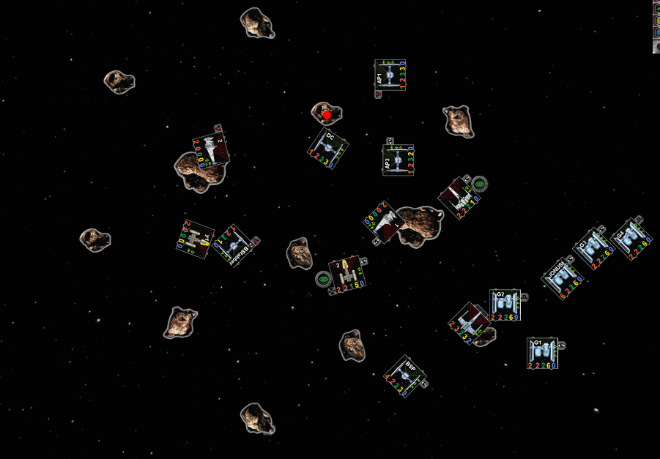
Rebel Fighters and Asteroids:
The Rebels have been flying in this particular asteroid field so long that they know it like the back of their hand. They ignore all negative effects of asteroids; they don’t lose actions or take damage from landing on asteroids, and, they don’t have their shots obscured by asteroids.
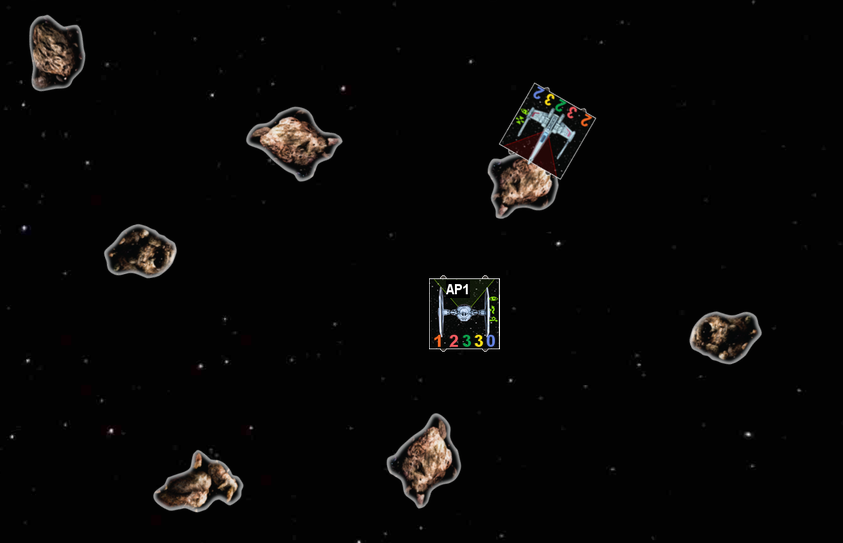
A Rookie Pilot taking advantage of the asteroid special rules to take a Range one shot at AP1. The Rookie's shot is not obscured, but return fire from the TIE will be.
Turn Counter:
One of my least favorite components to the scenario! A necessary evil; you’ll need to keep track of how many turns have passed. A feature I would quickly dispose of if I had a viable alternative.
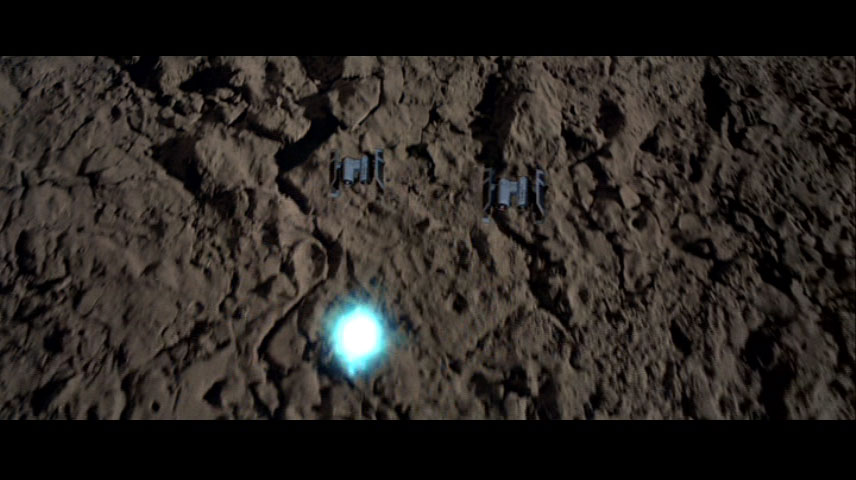
Gamma Base:
Gamma Base itself is not entirely helpless in the battle. Once revealed, it counts as an immobile huge ship with ten hull points and 8 shields, and has access to the Coordinate and Jam actions.